Creating a Task
You can create a new task in several ways: click + on the Tasks page, use the global + button in the upper-right corner and select Task, or click + in a Kanban board column.
Generate AI summary
Open this page in your favorite AI assistant
When the Add Task modal opens, complete all required fields:
- Task Type: select Standard for a one-time task or Recurring for tasks that should be created automatically on a schedule.
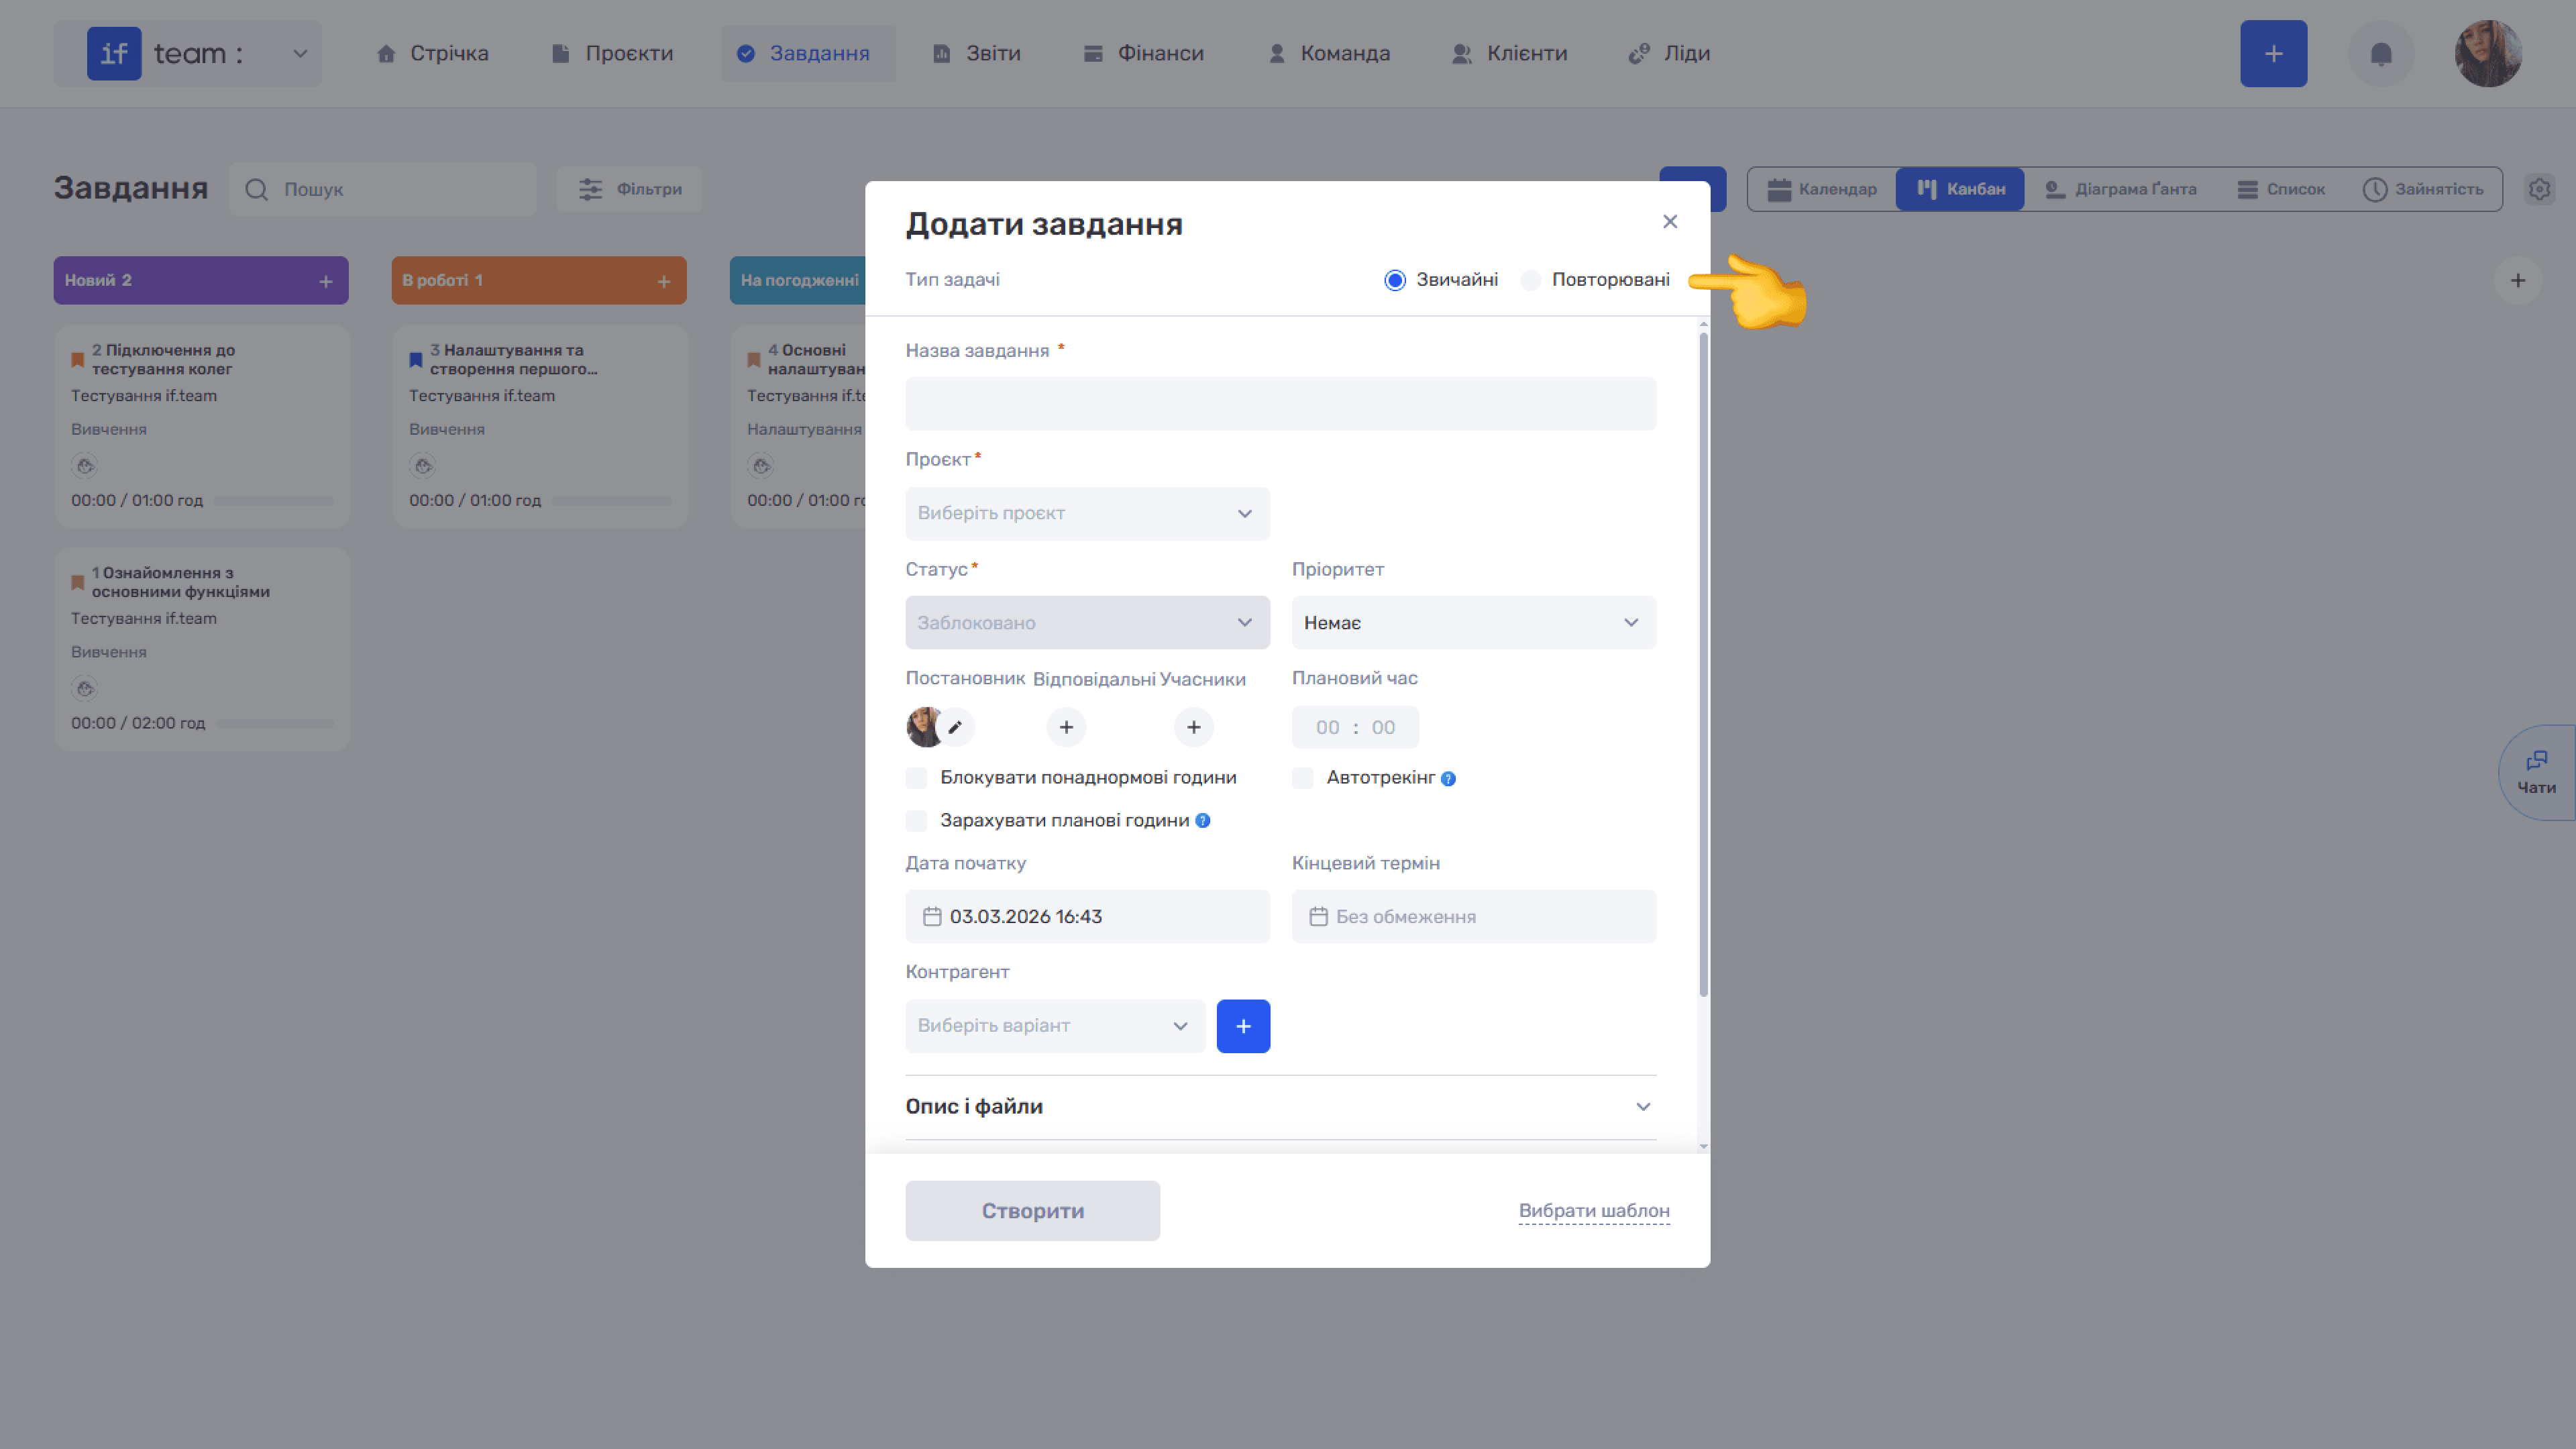
- Task Name: enter a name. This field is required.
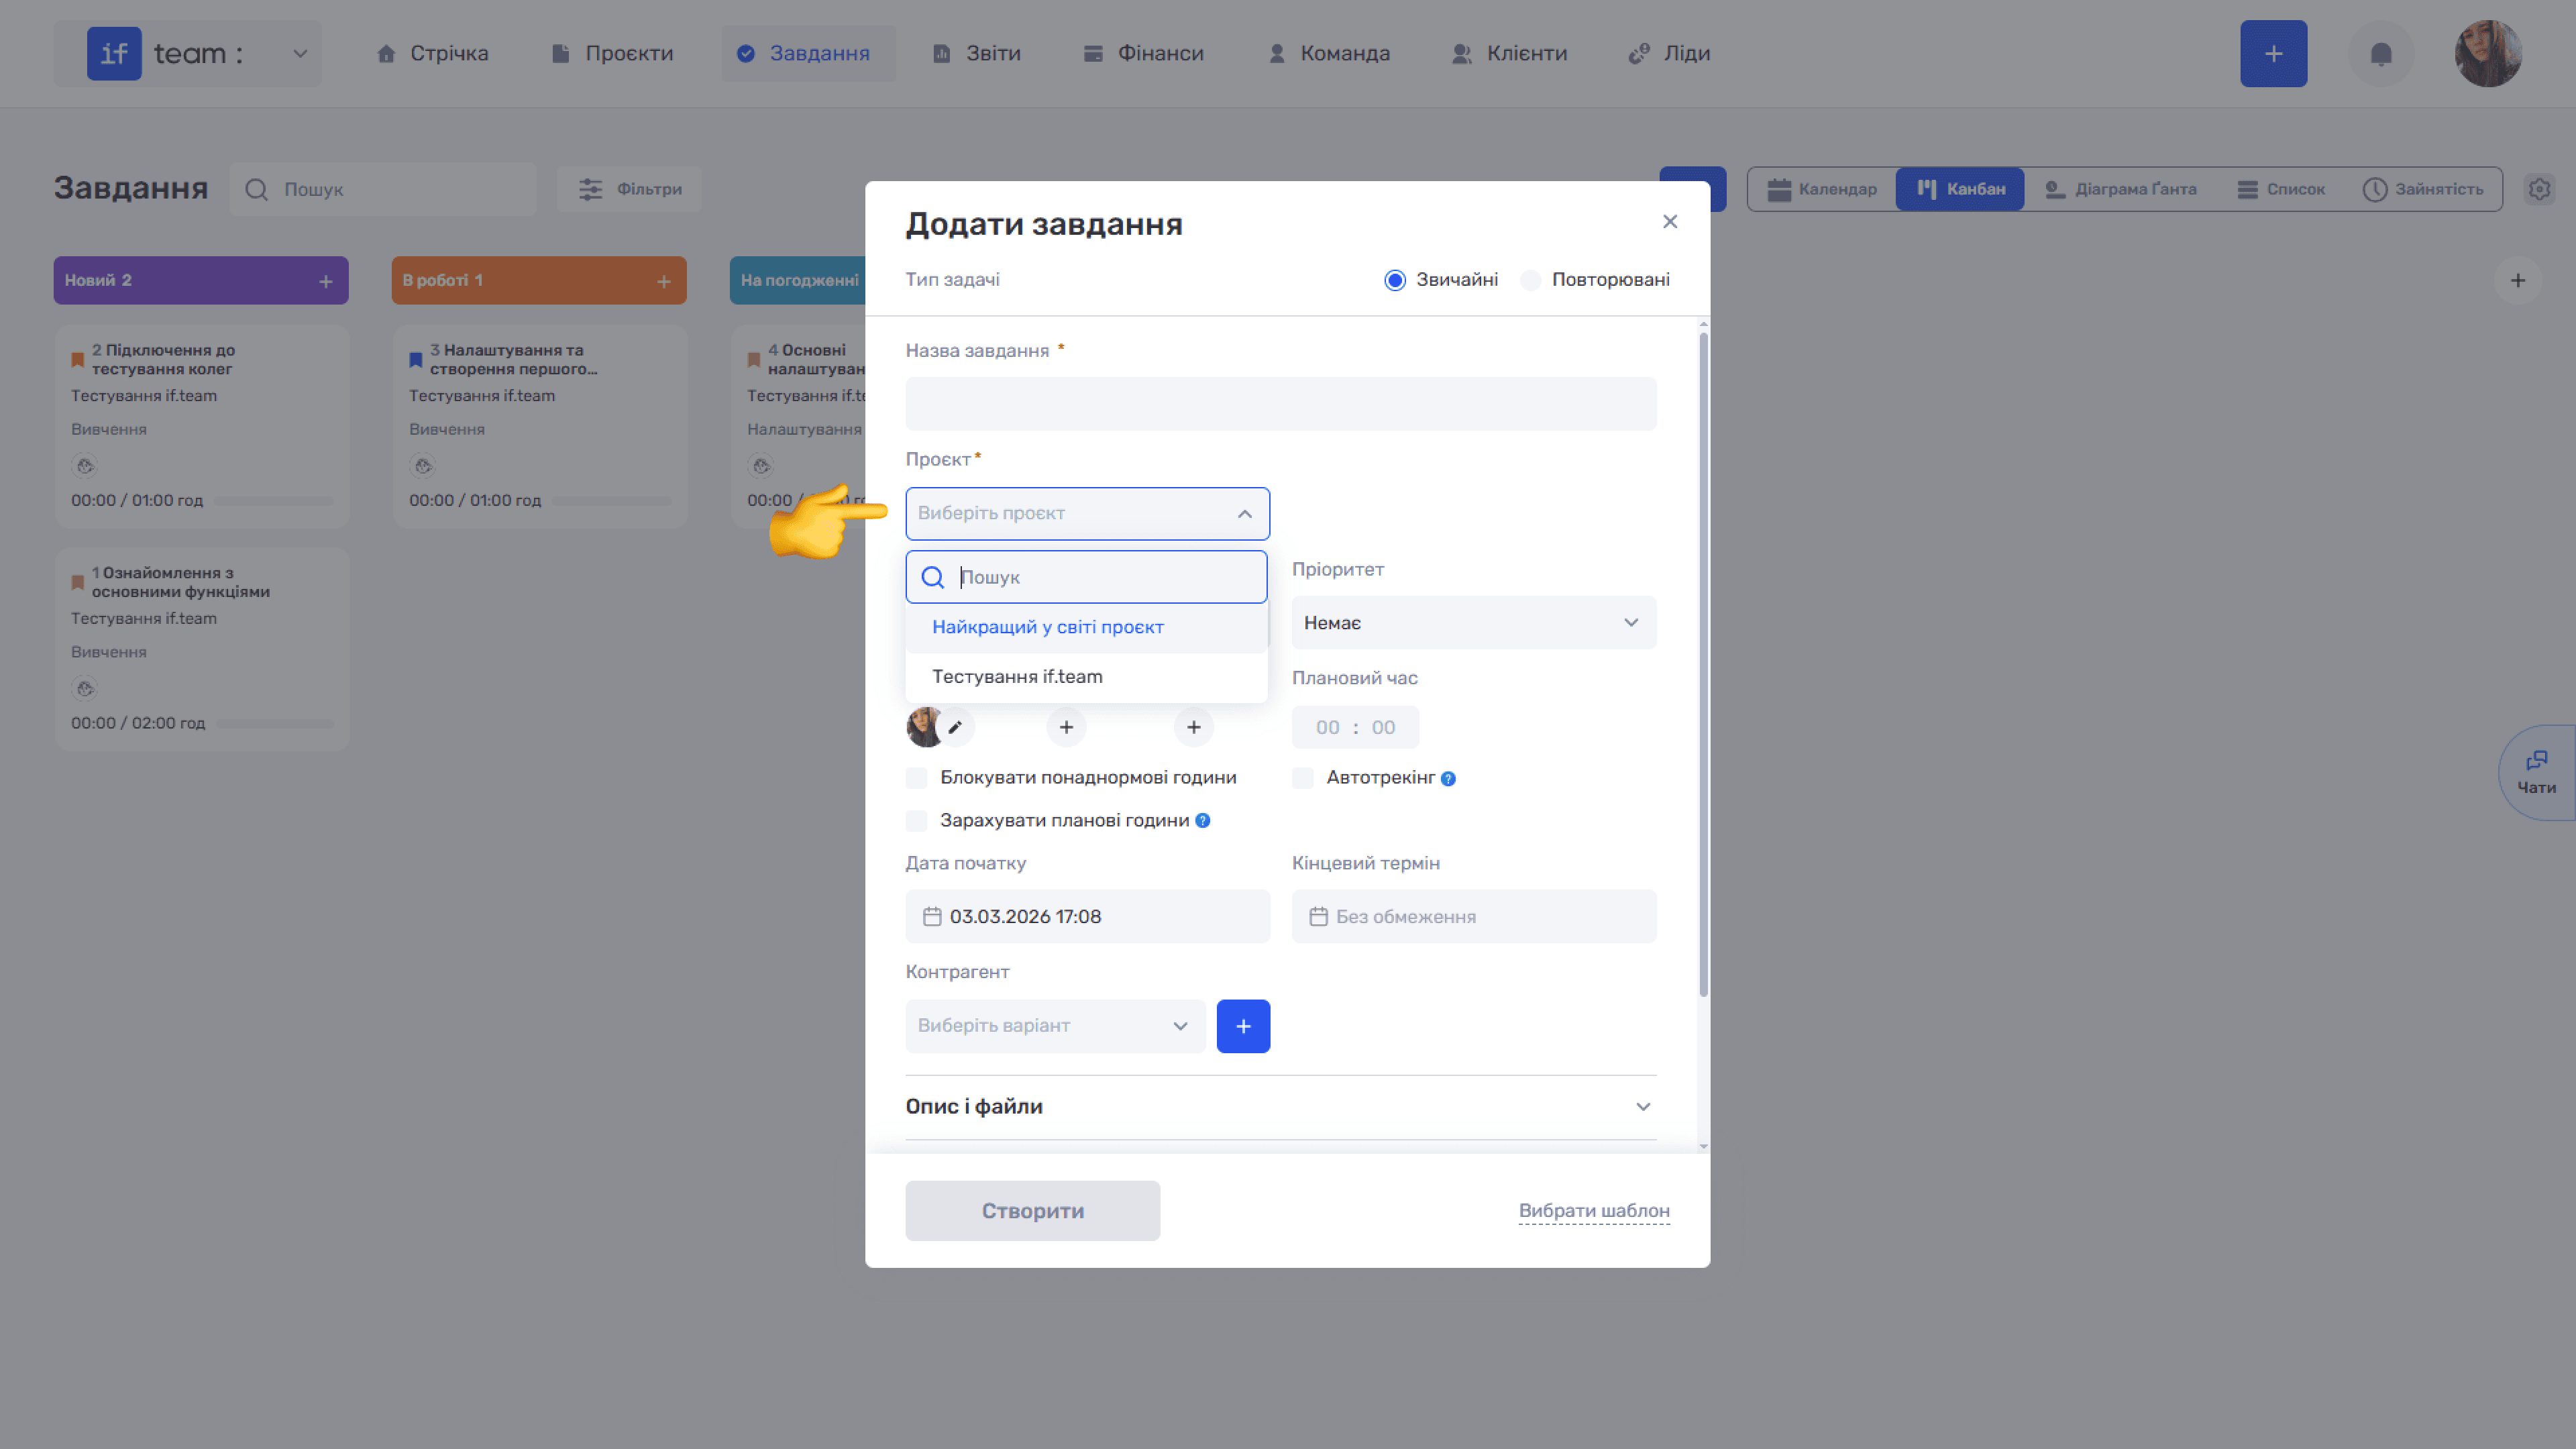
- Project: select the project the task belongs to. This field is required.
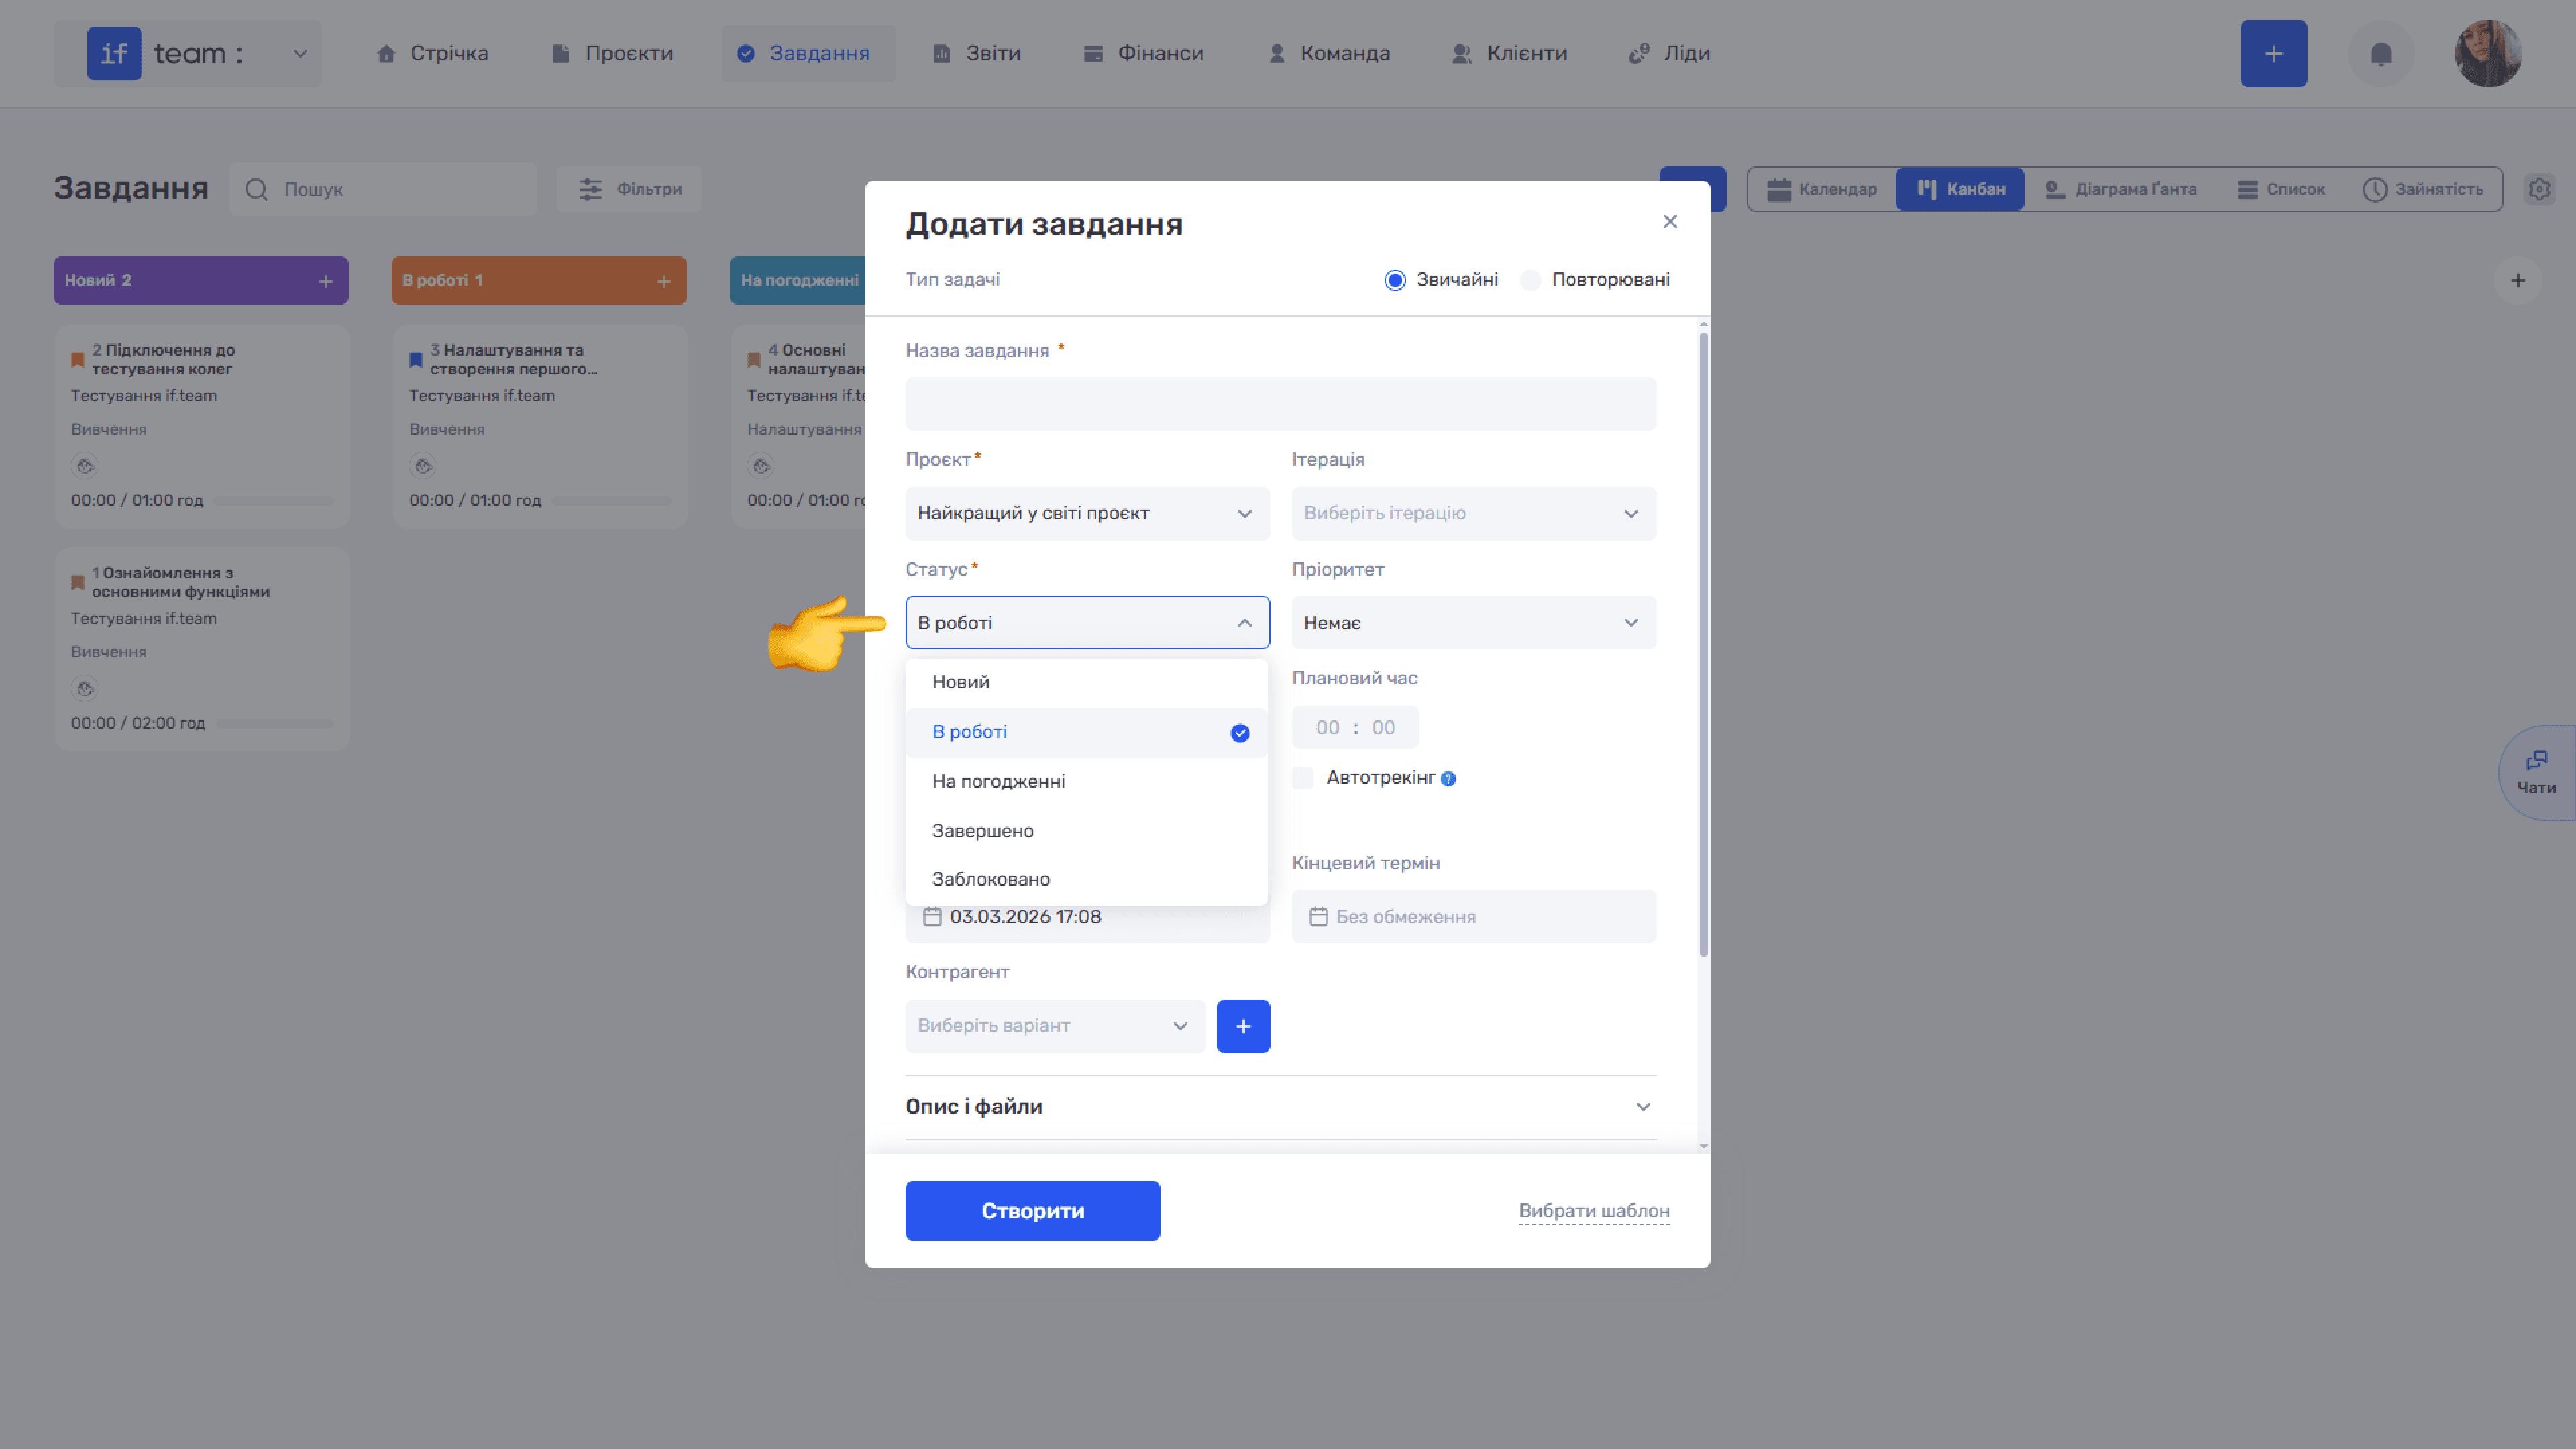
- Status: select the task’s current status. This field is required. The available statuses depend on the selected project’s settings.
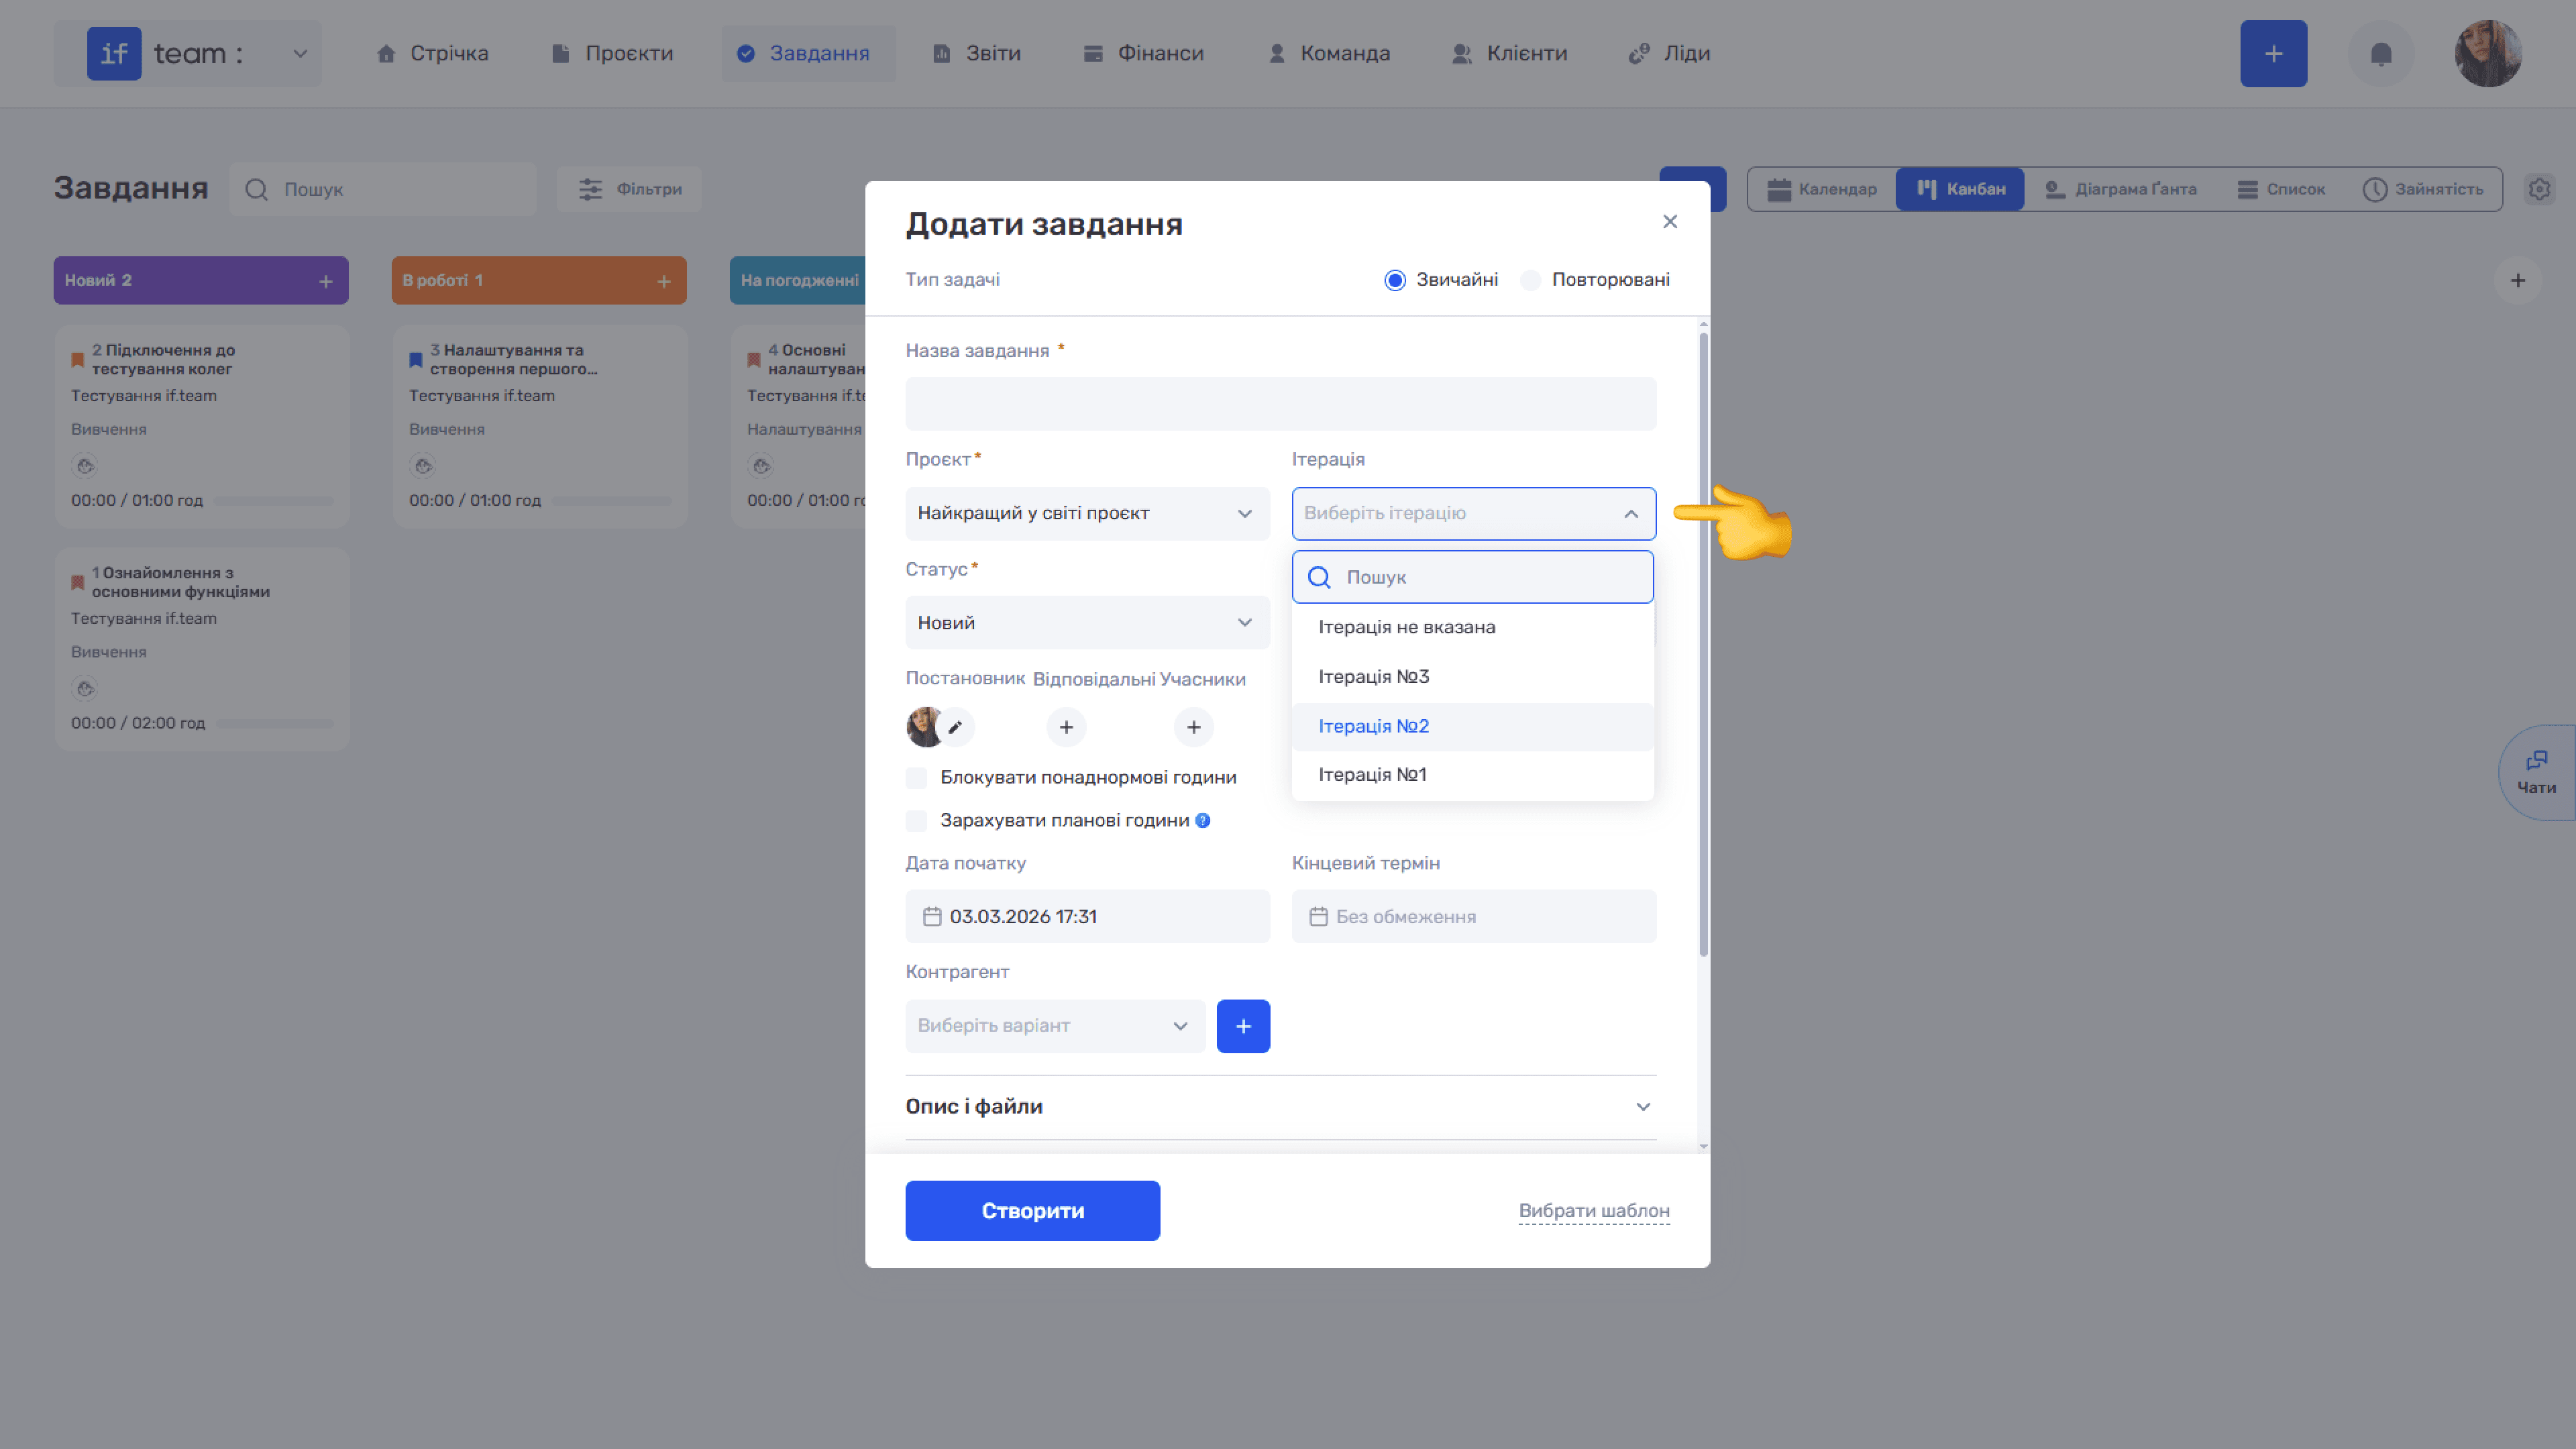
- Iteration: select the iteration the task belongs to. The available iterations depend on the selected project. If no iterations have been created, the list contains only Iteration Not Specified.
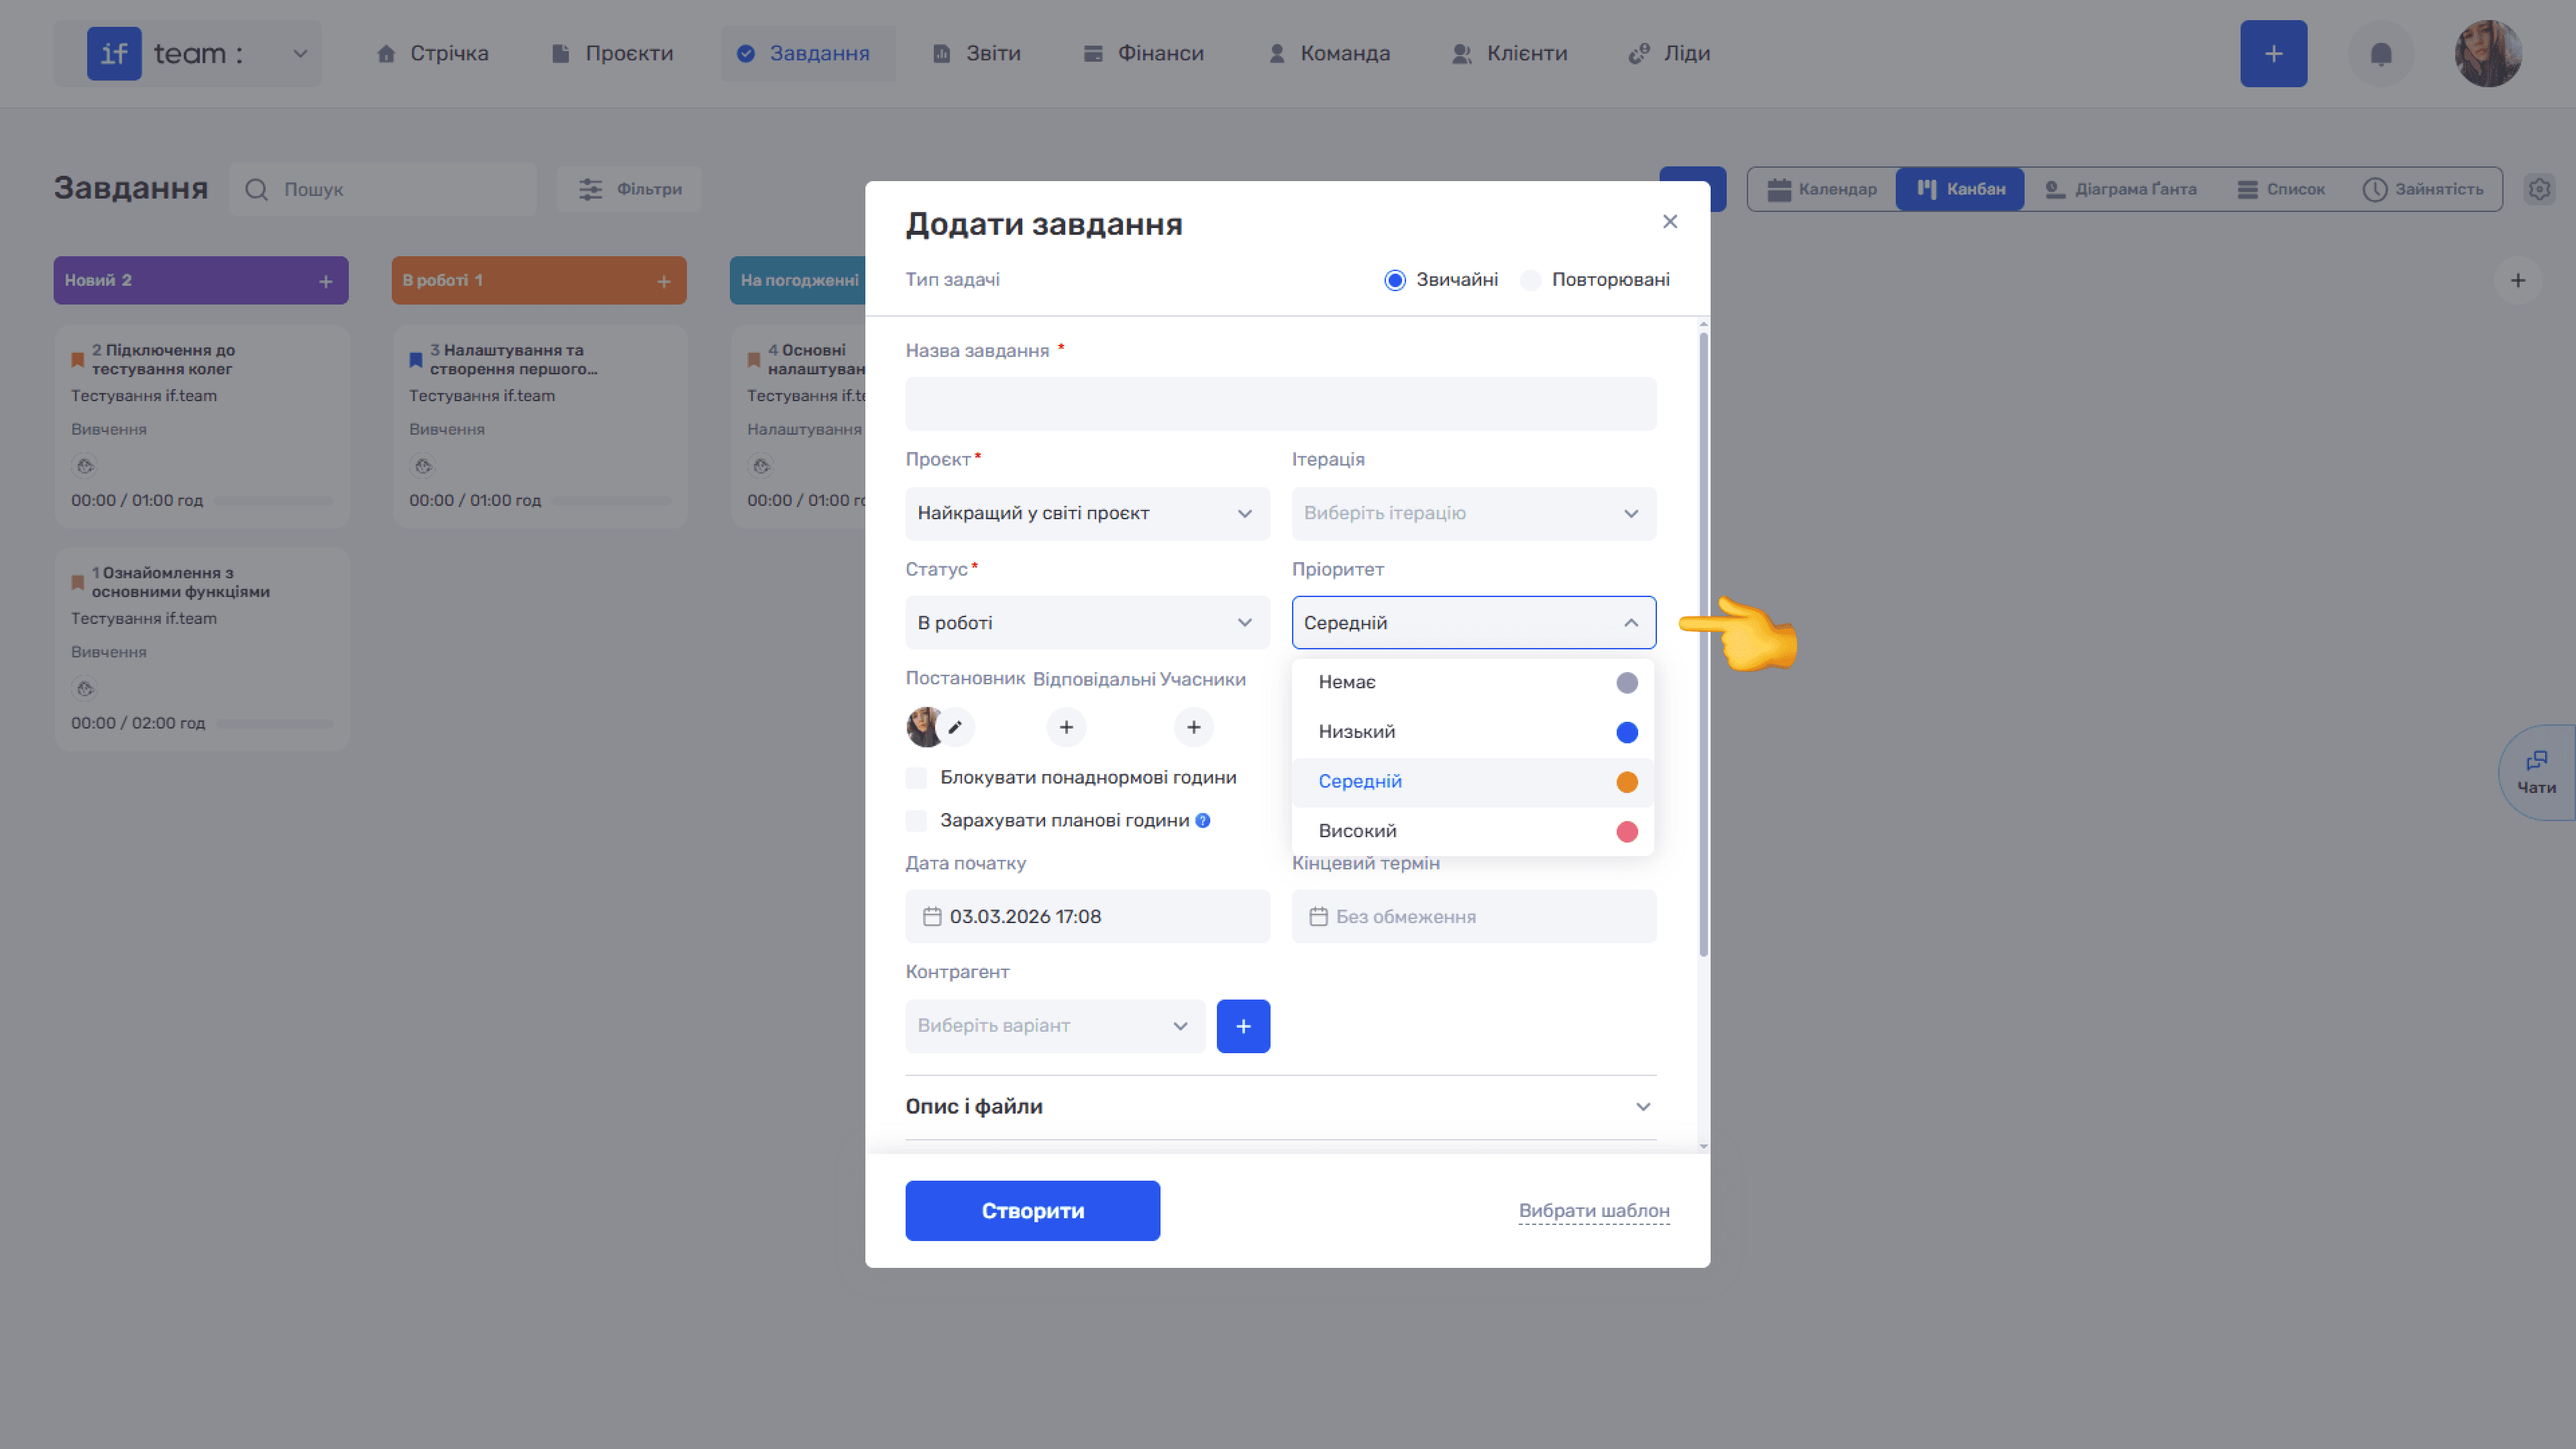
- Priority: select the task’s priority level from the list, for example Low.
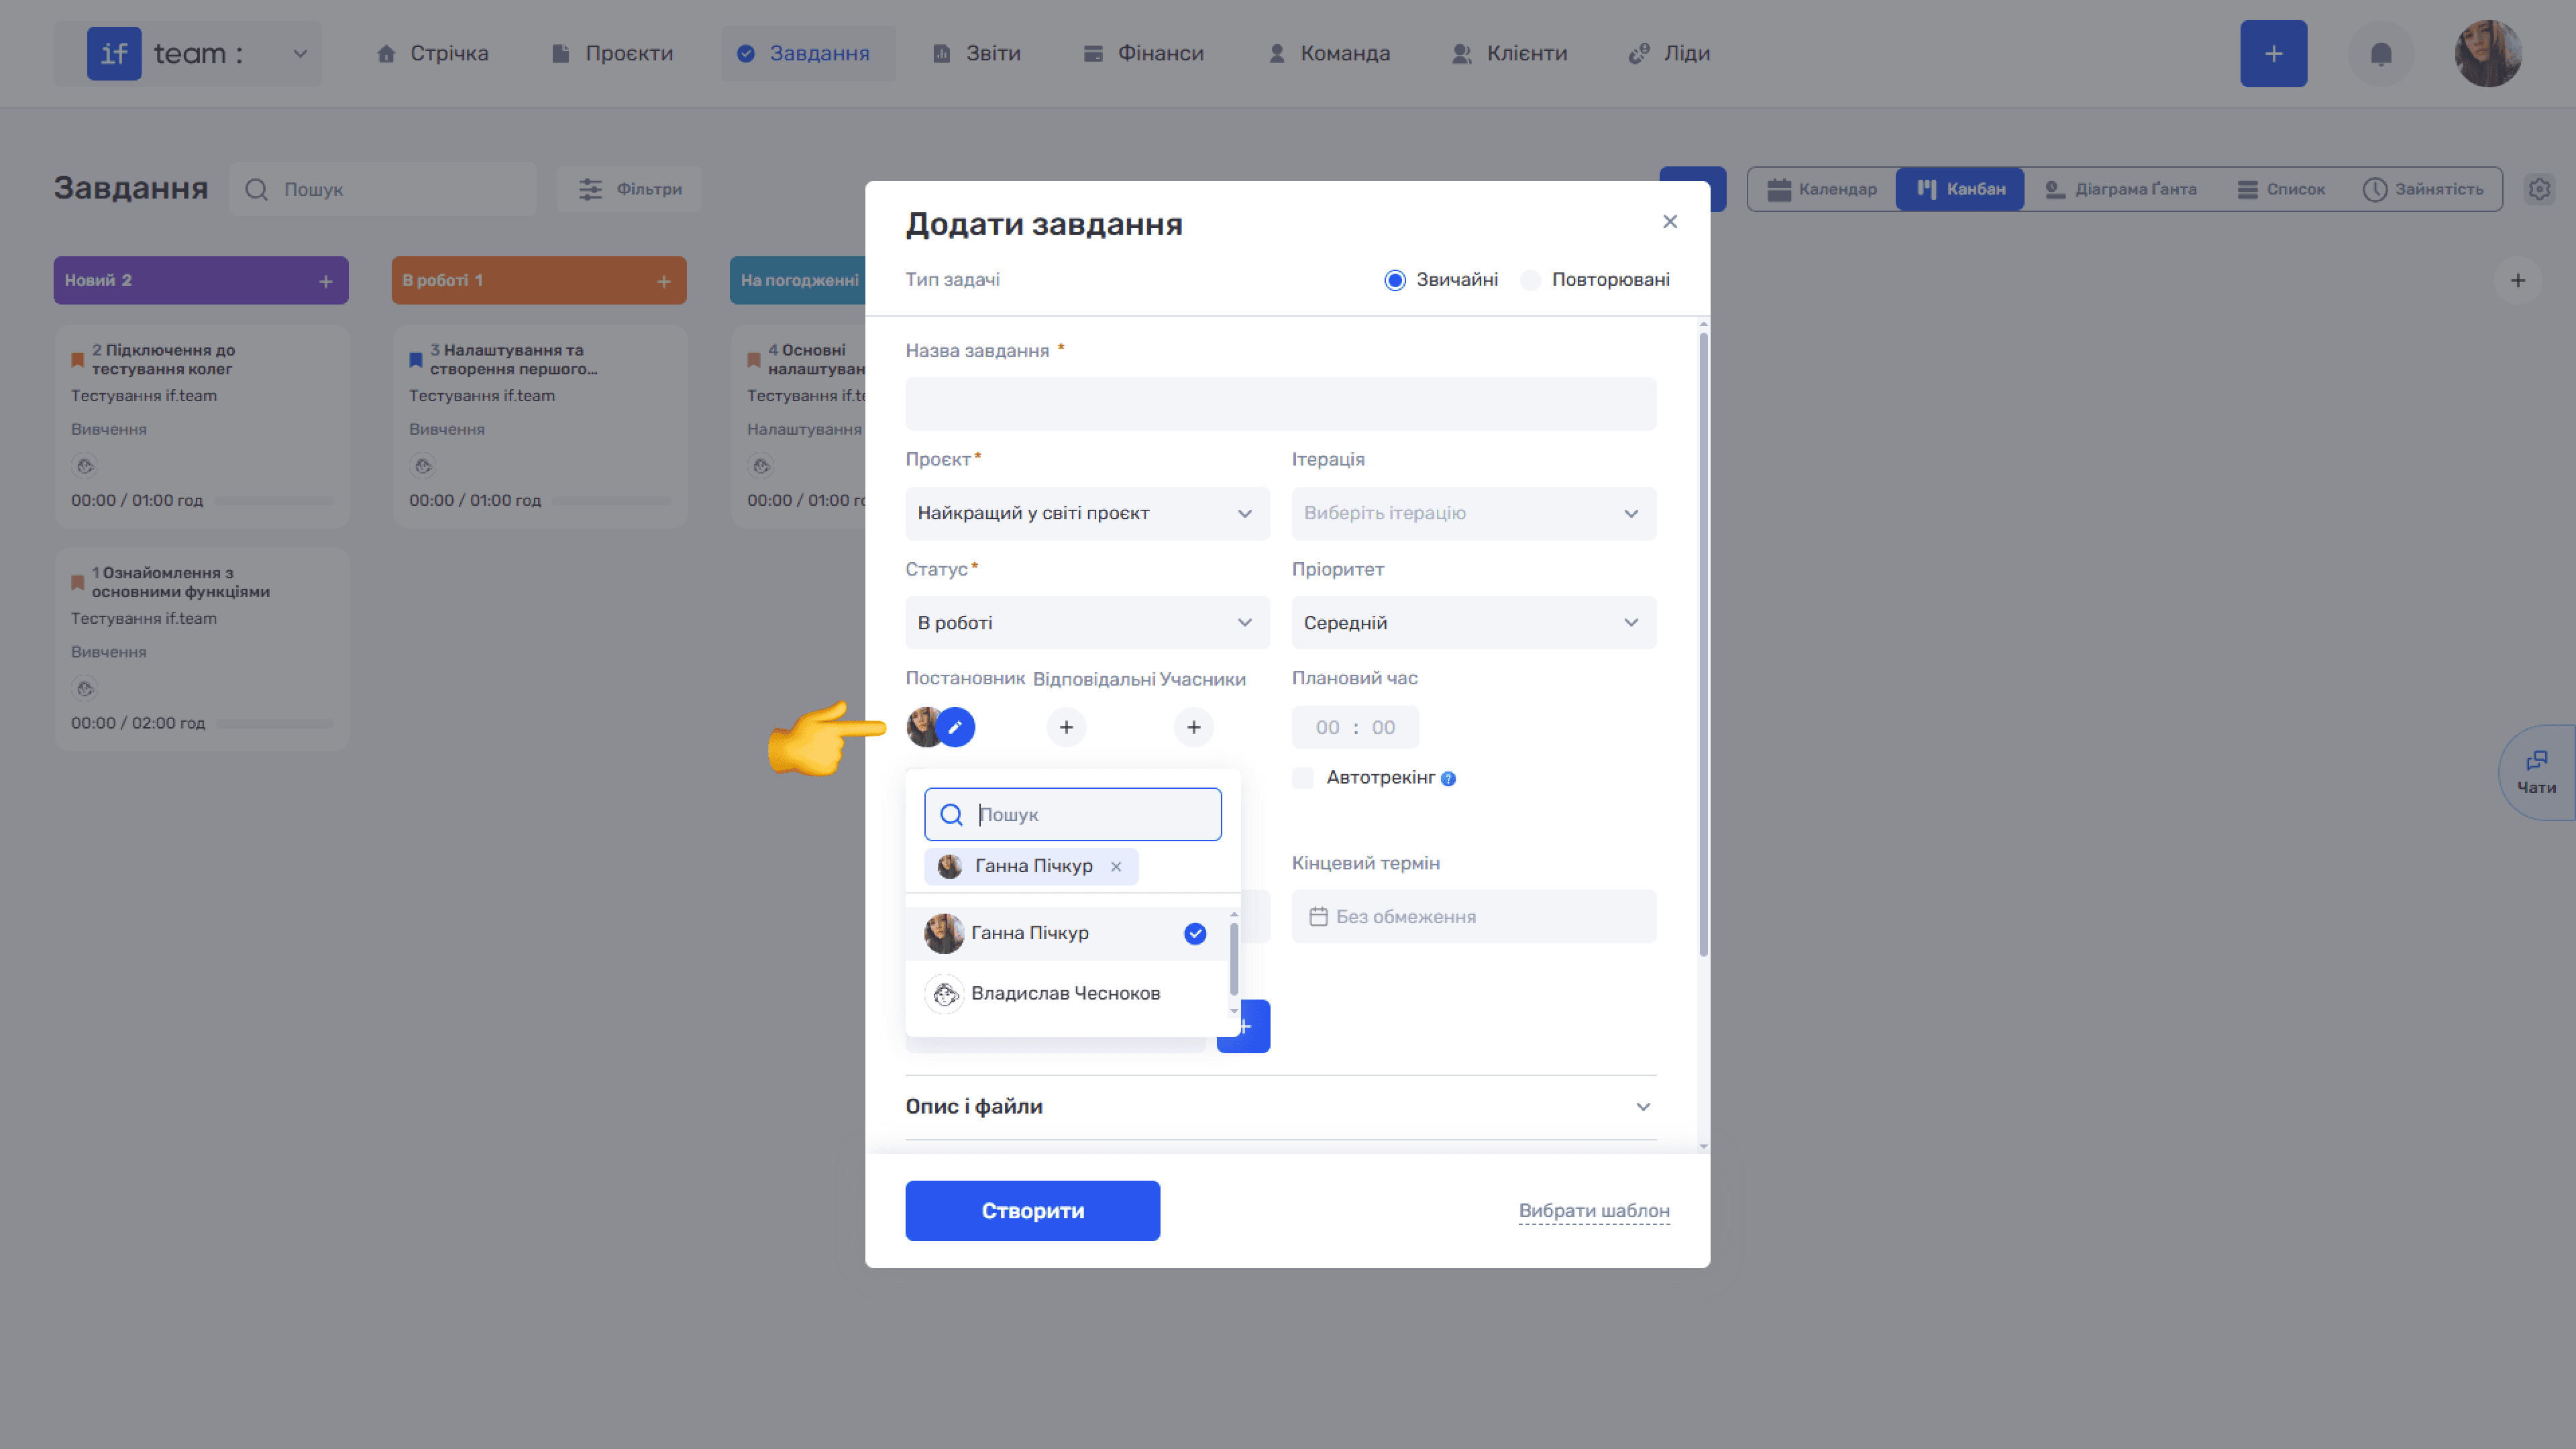
- Task Creator, Responsible Employees, Participants: assign the people involved in the task. The task creator is the person creating the task, who is the author by default. Add responsible employees and participants by clicking + and searching the list.
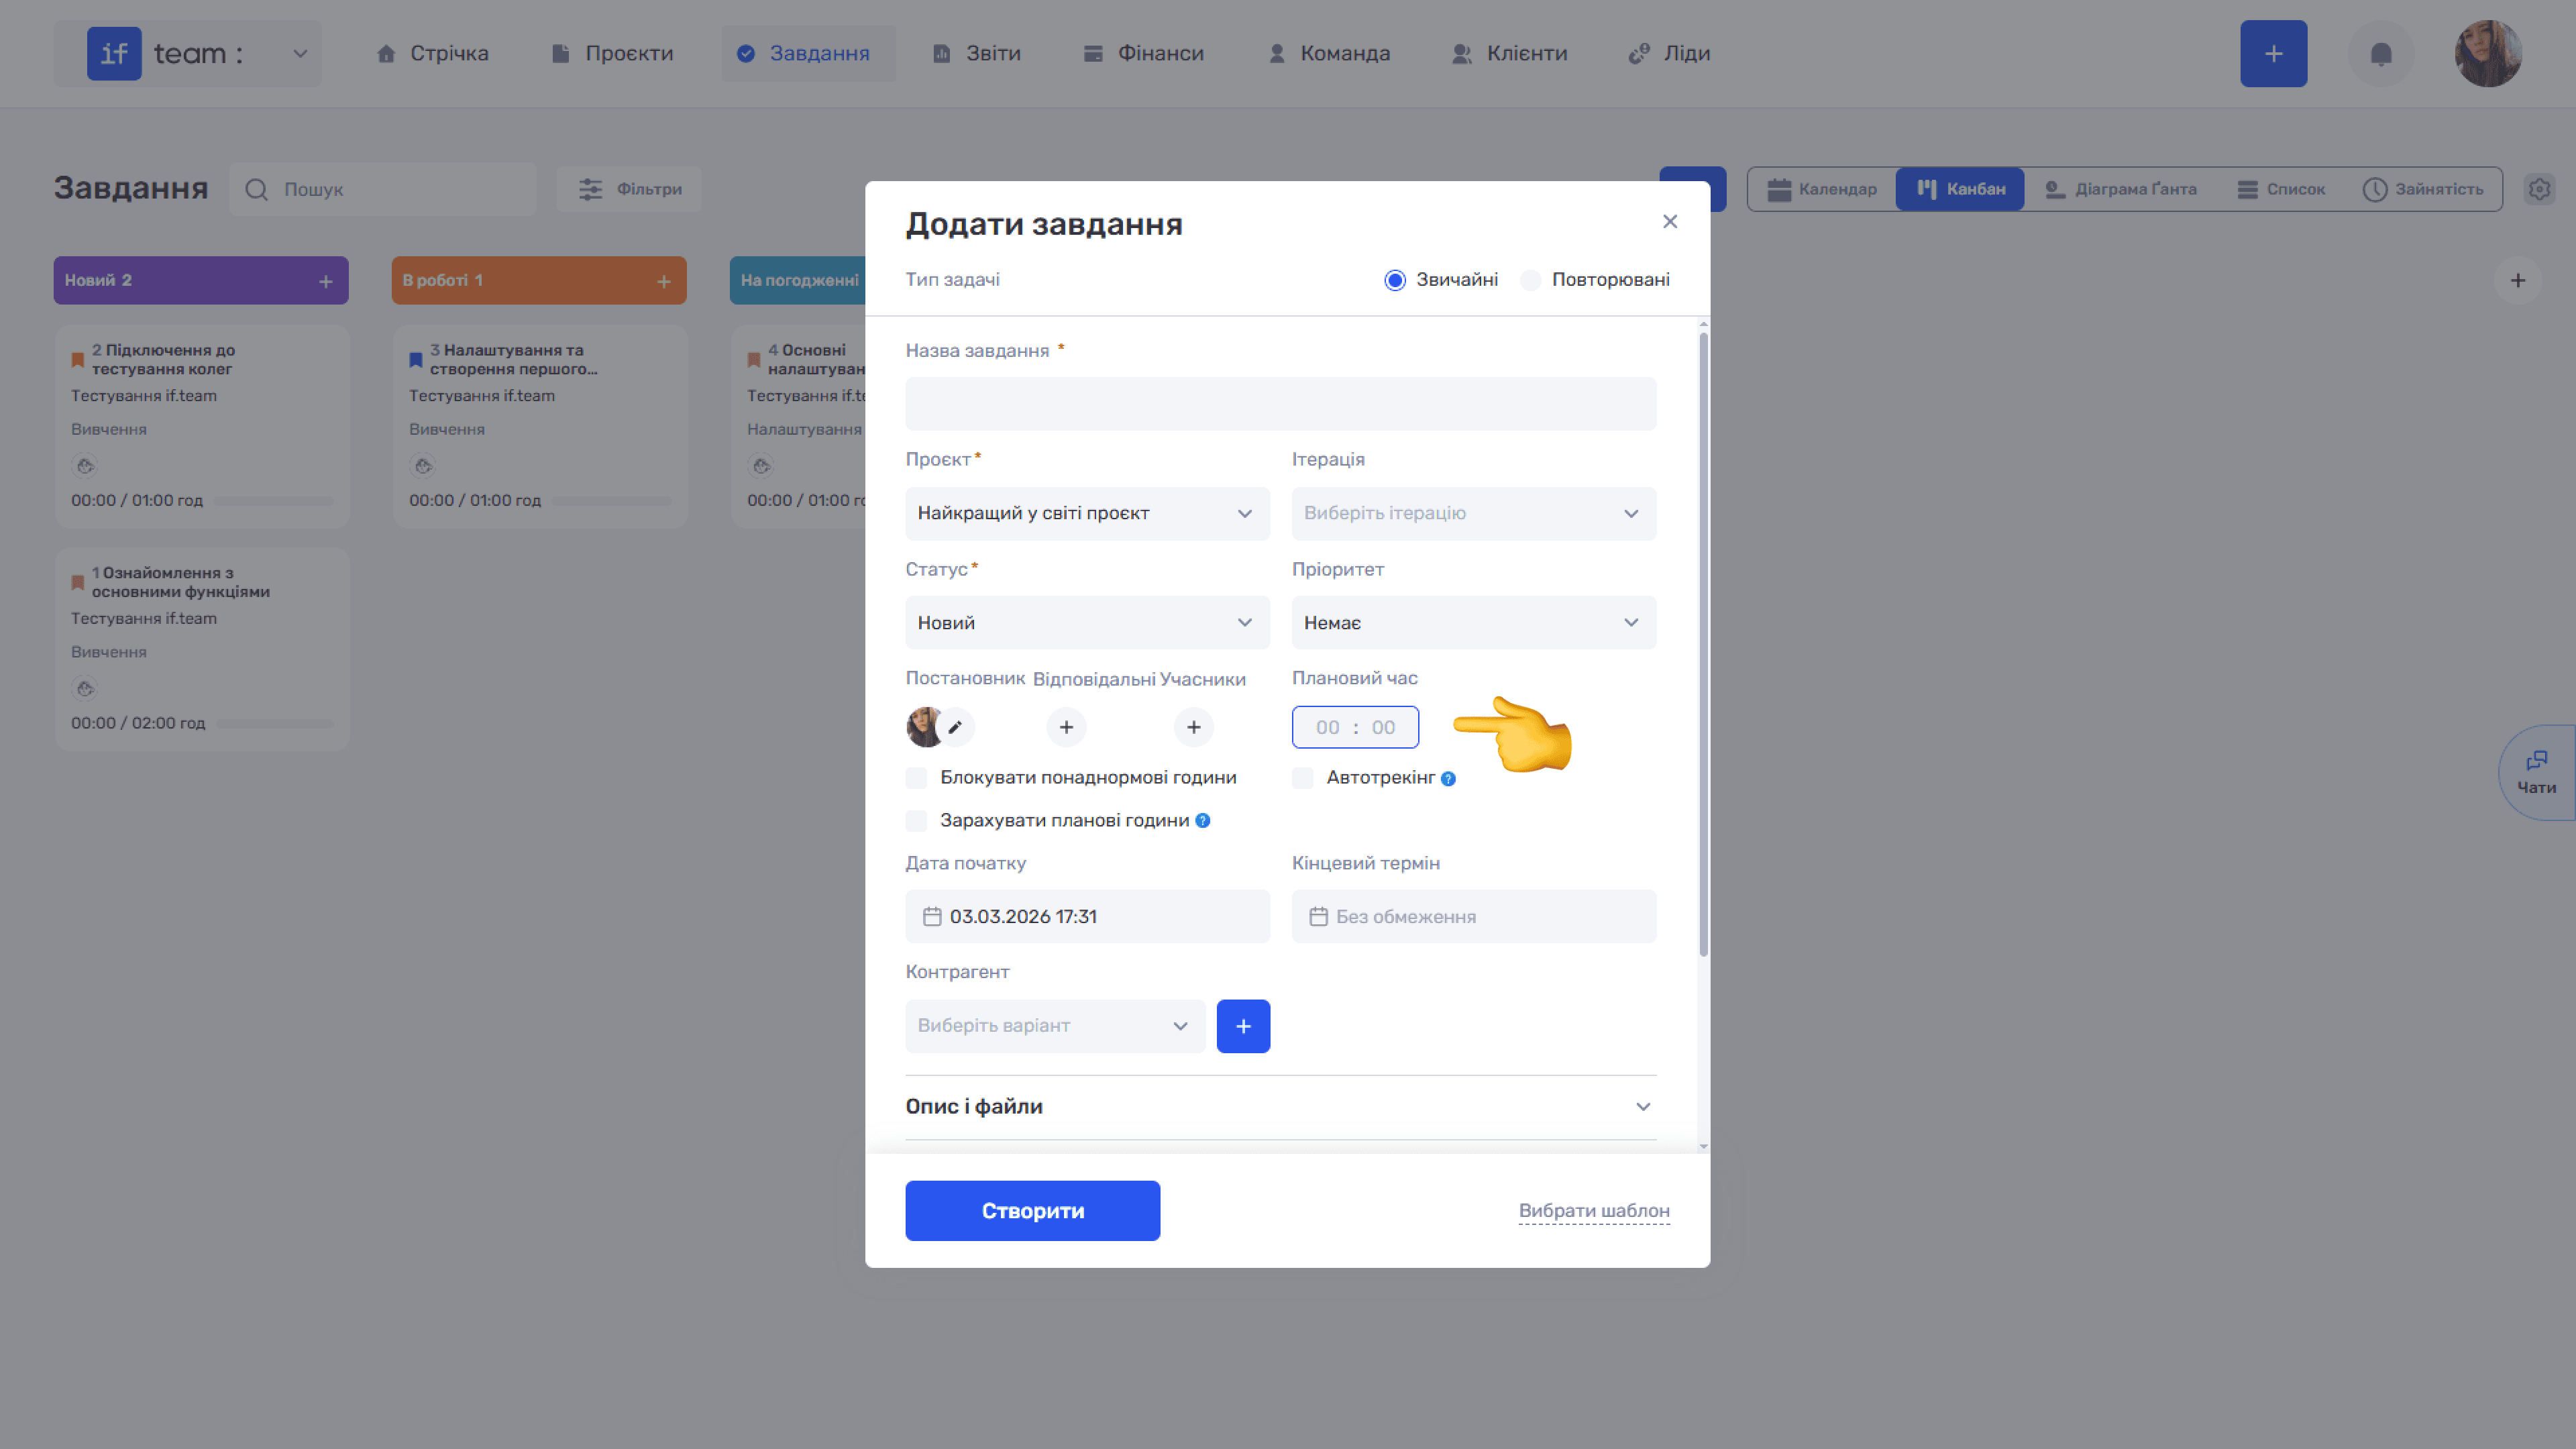
- Planned Time: enter the expected number of hours and minutes required to complete the task.
- Block Overtime Hours is a checkbox that prevents tracking more time than planned.
- Credit Planned Hours is a checkbox that automatically credits planned time as time actually worked after the task moves to a final status.
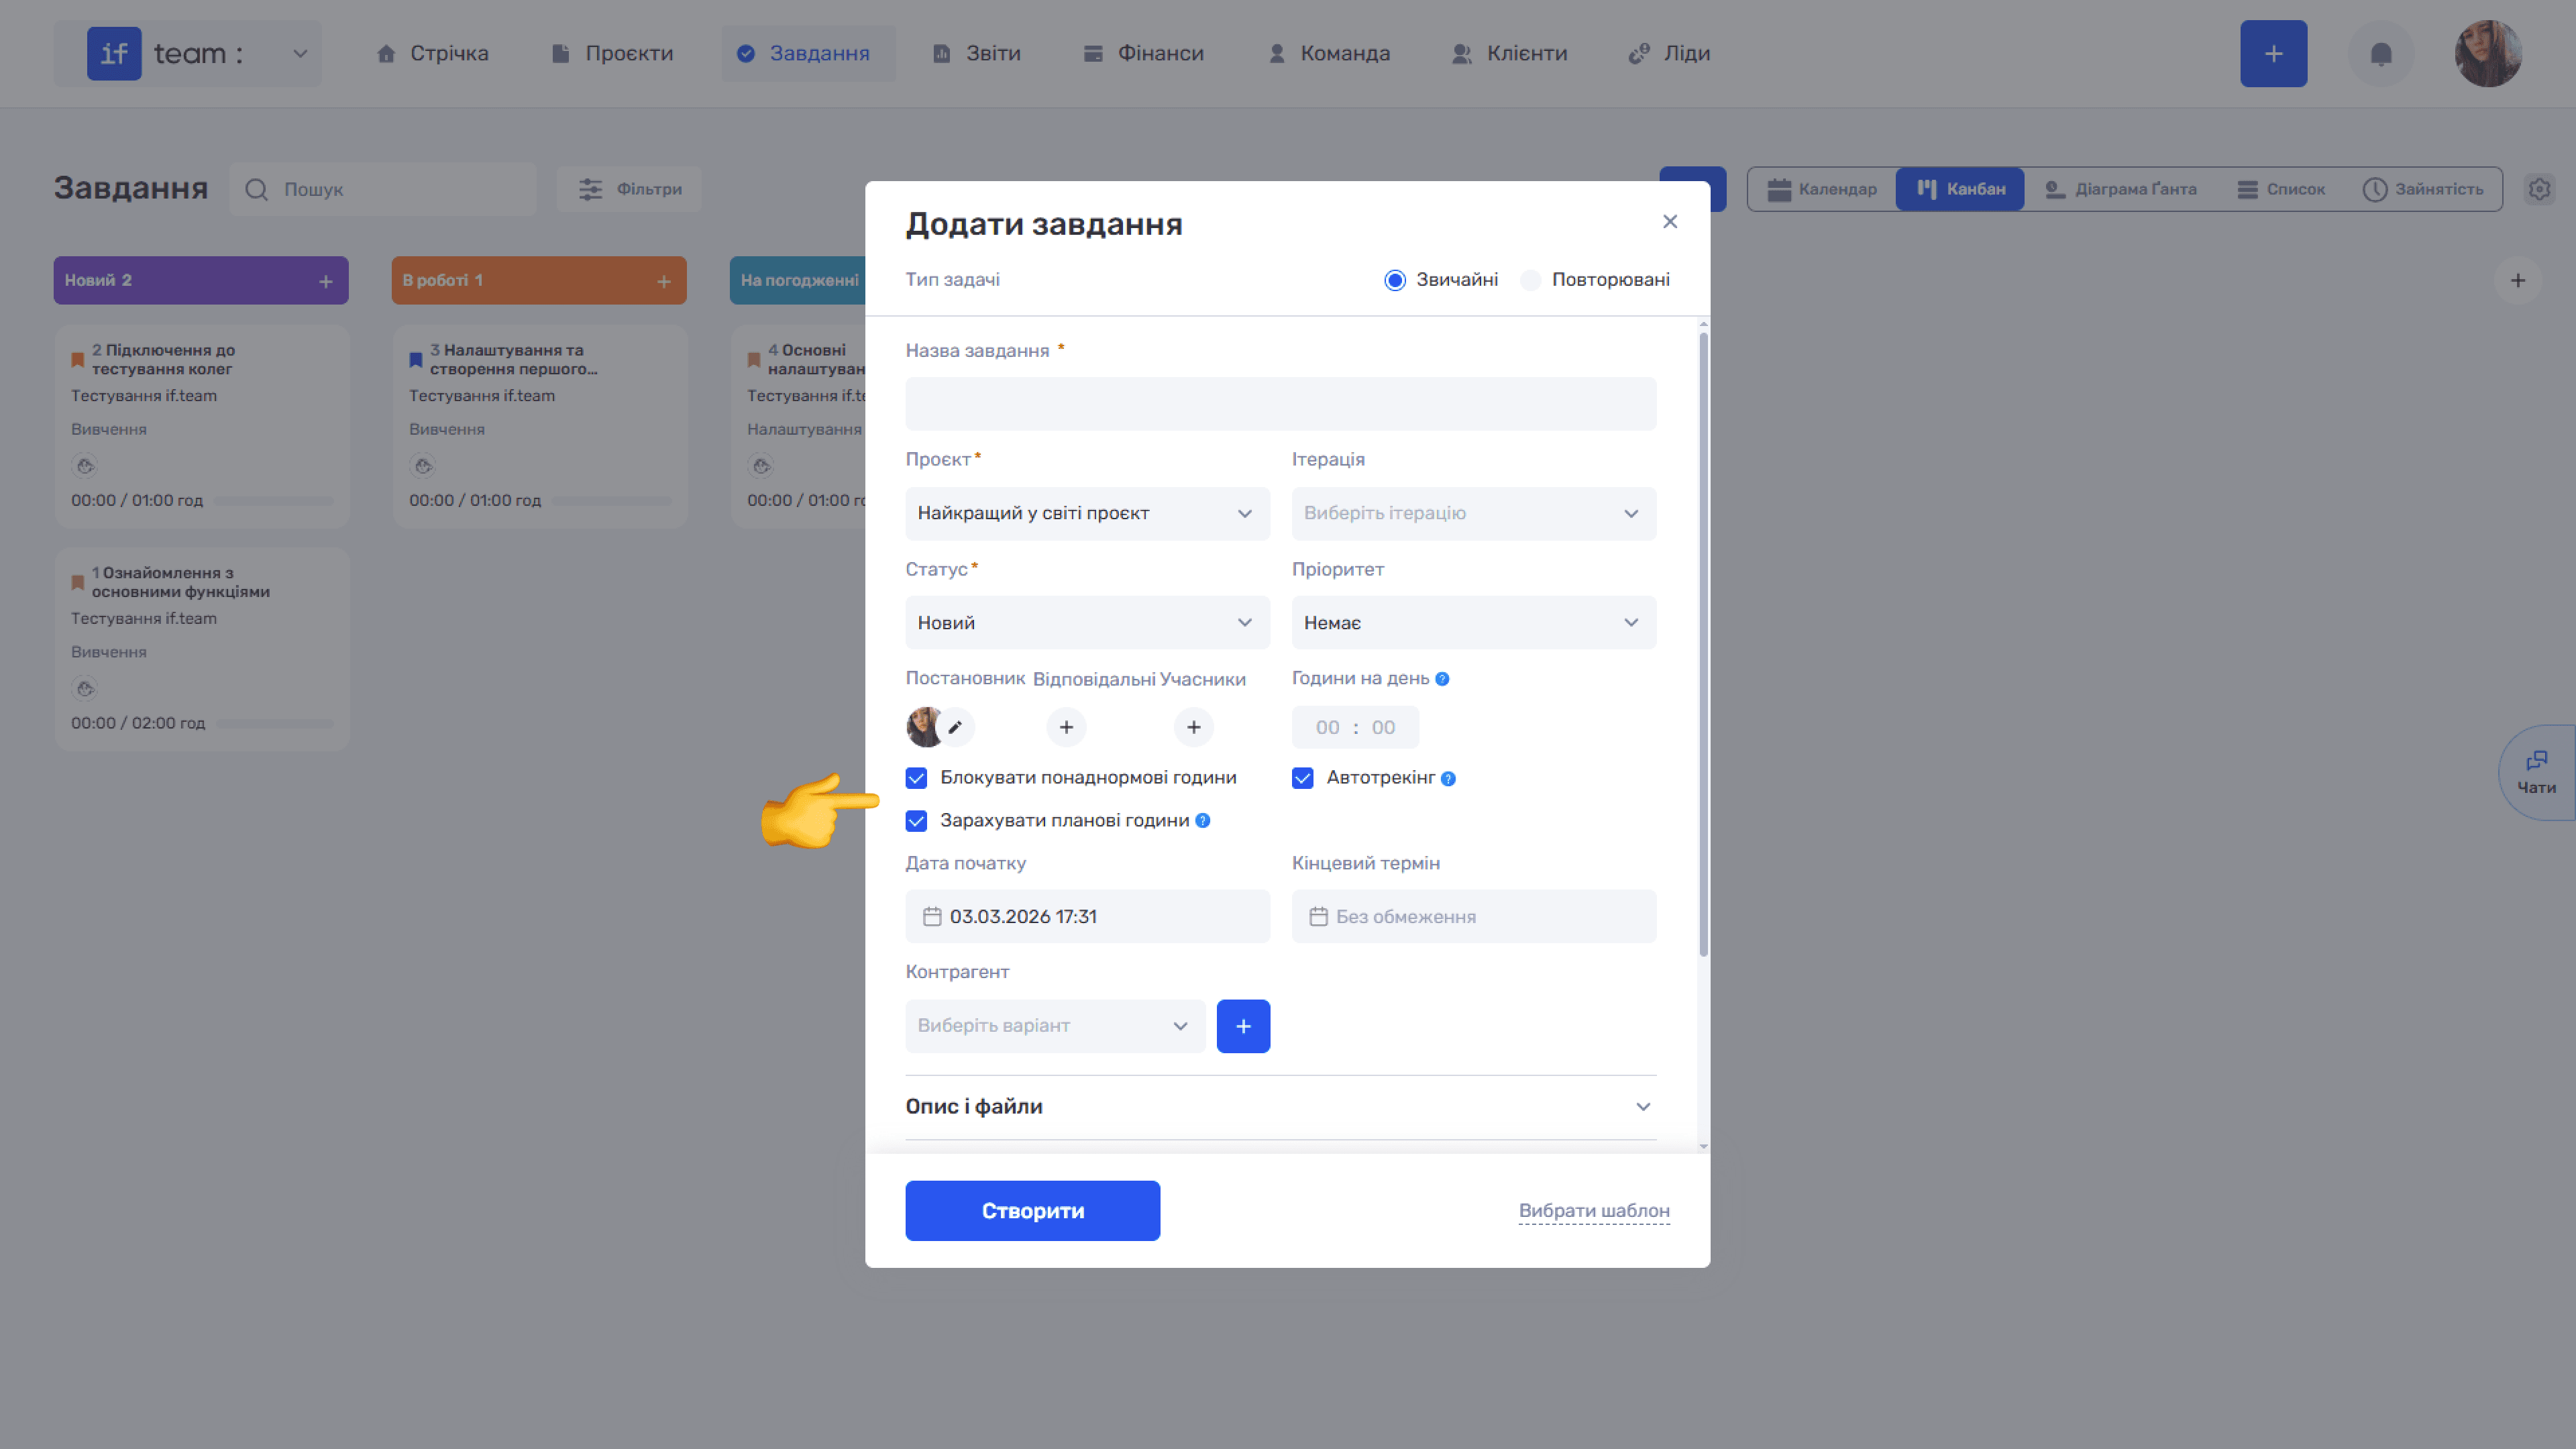
- Auto-tracking is a checkbox that enables time to be added automatically at the end of each workday. Once activated, Planned Time changes to Hours per Day. Enter the approximate number of hours you spend on this task each day, and the system records them automatically.
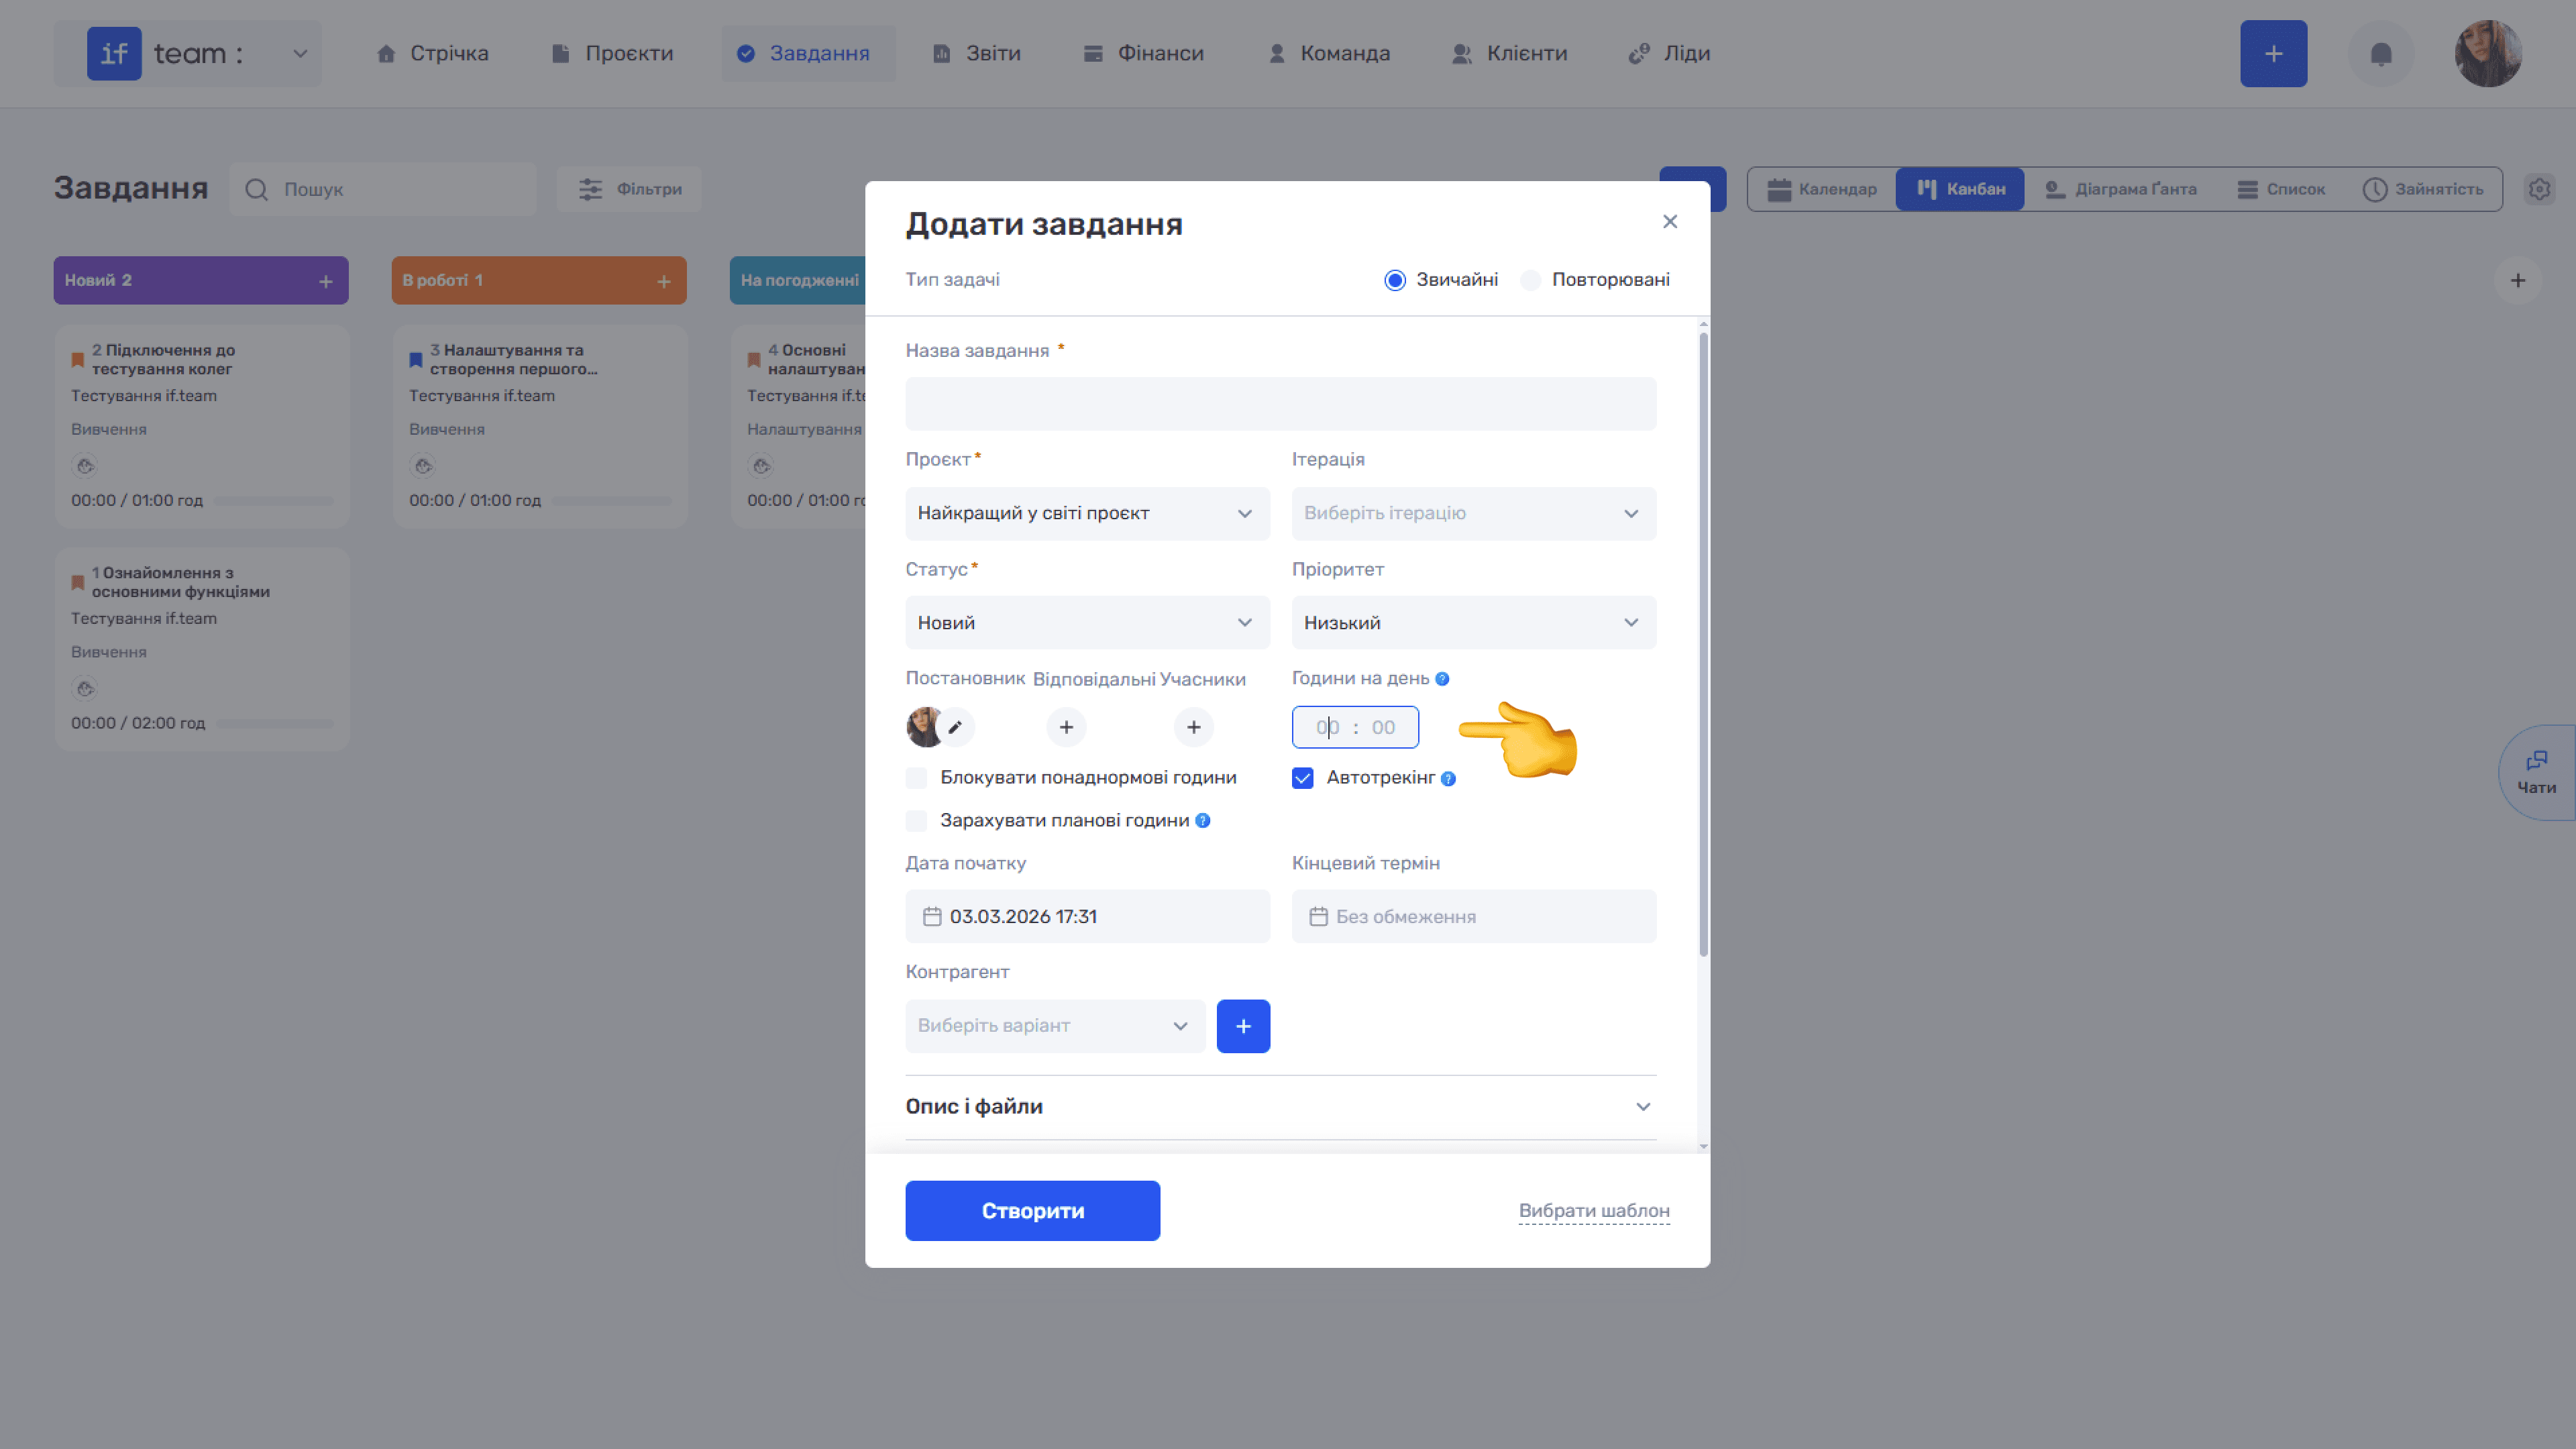
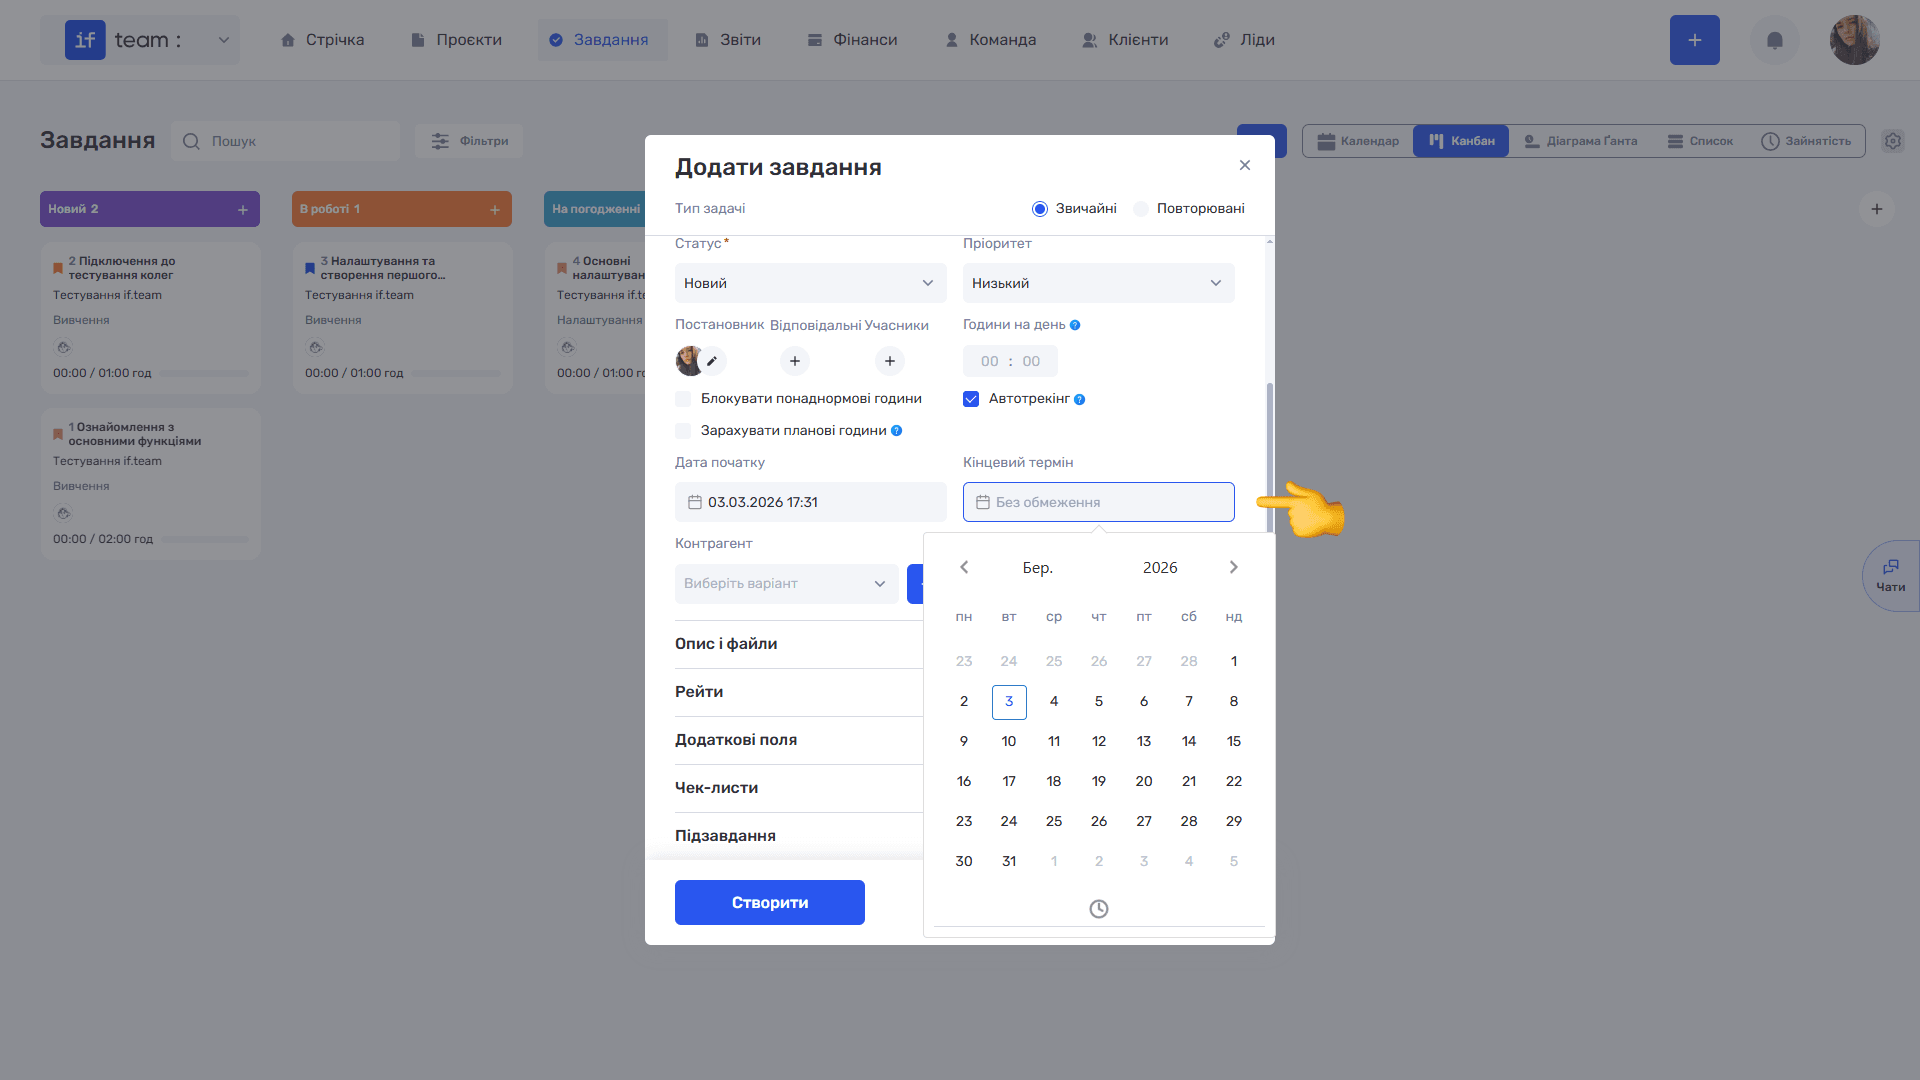
- Start Date and Due Date: set the task timeline. By default, the start date is the current time, and the due date is No Limit.
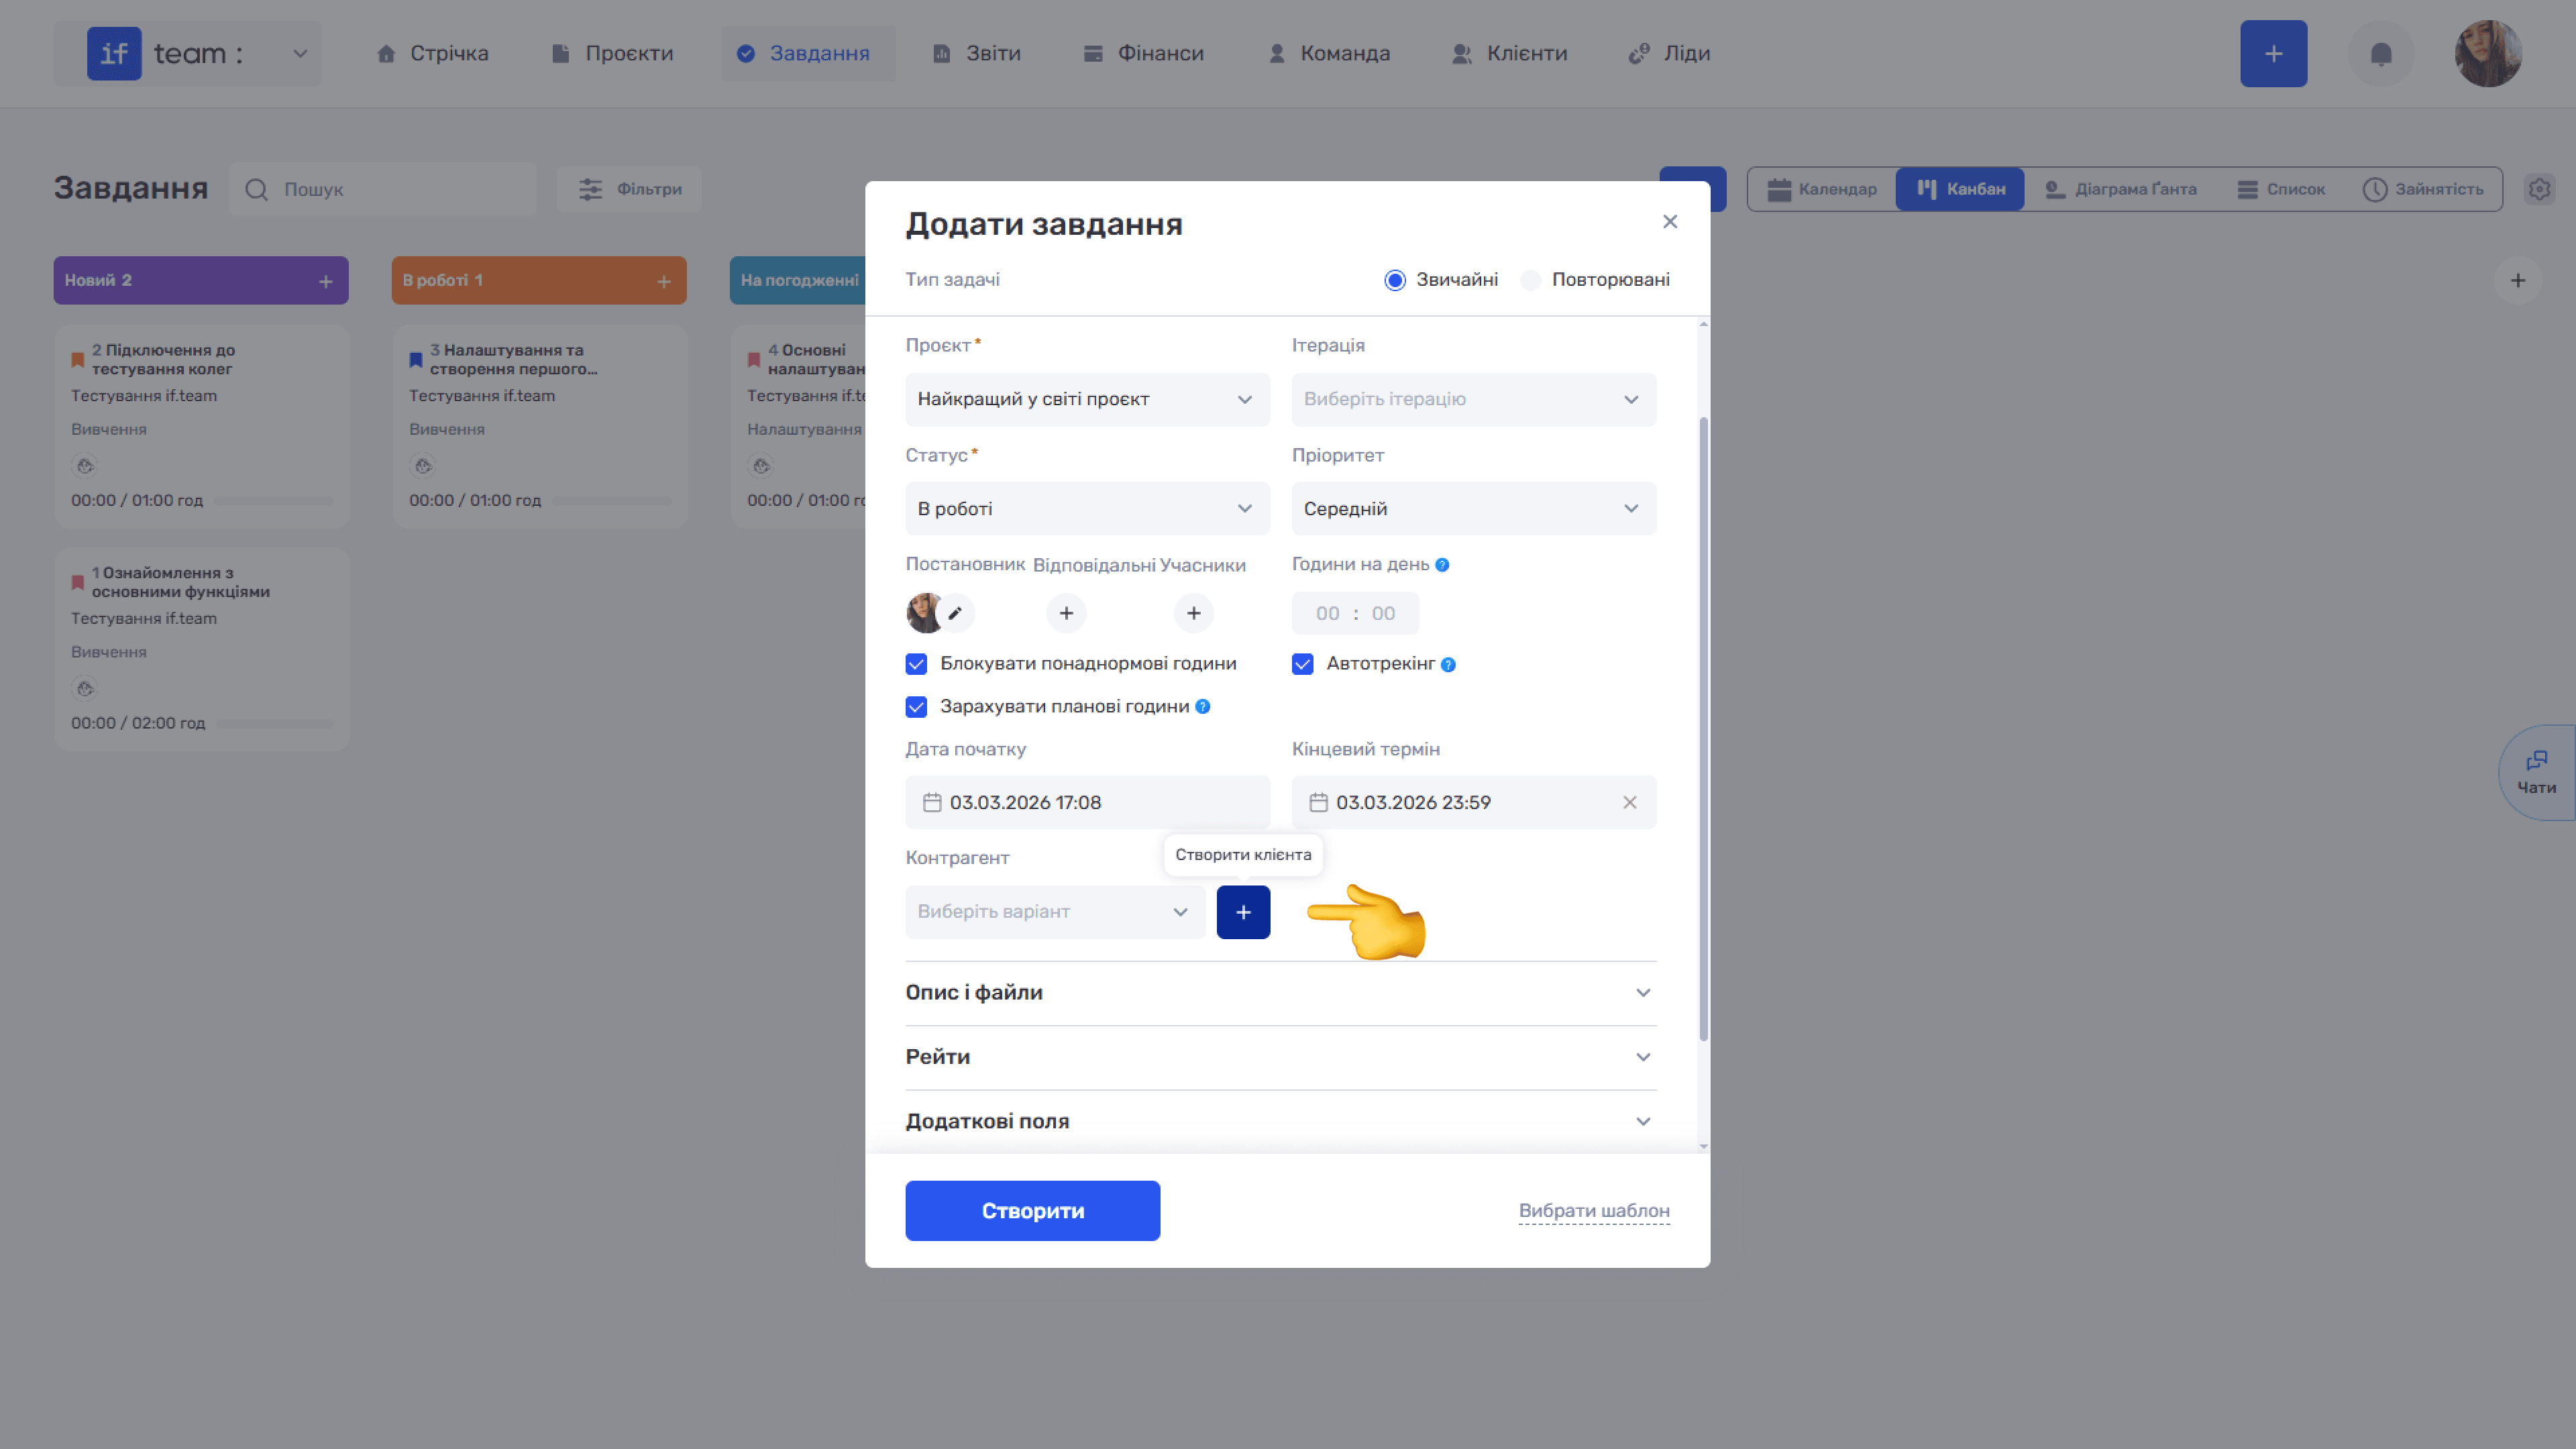
- Counterparty: select the client or counterparty linked to the task from the existing list. If they are not yet in the system, click + next to the field to quickly create a new client.
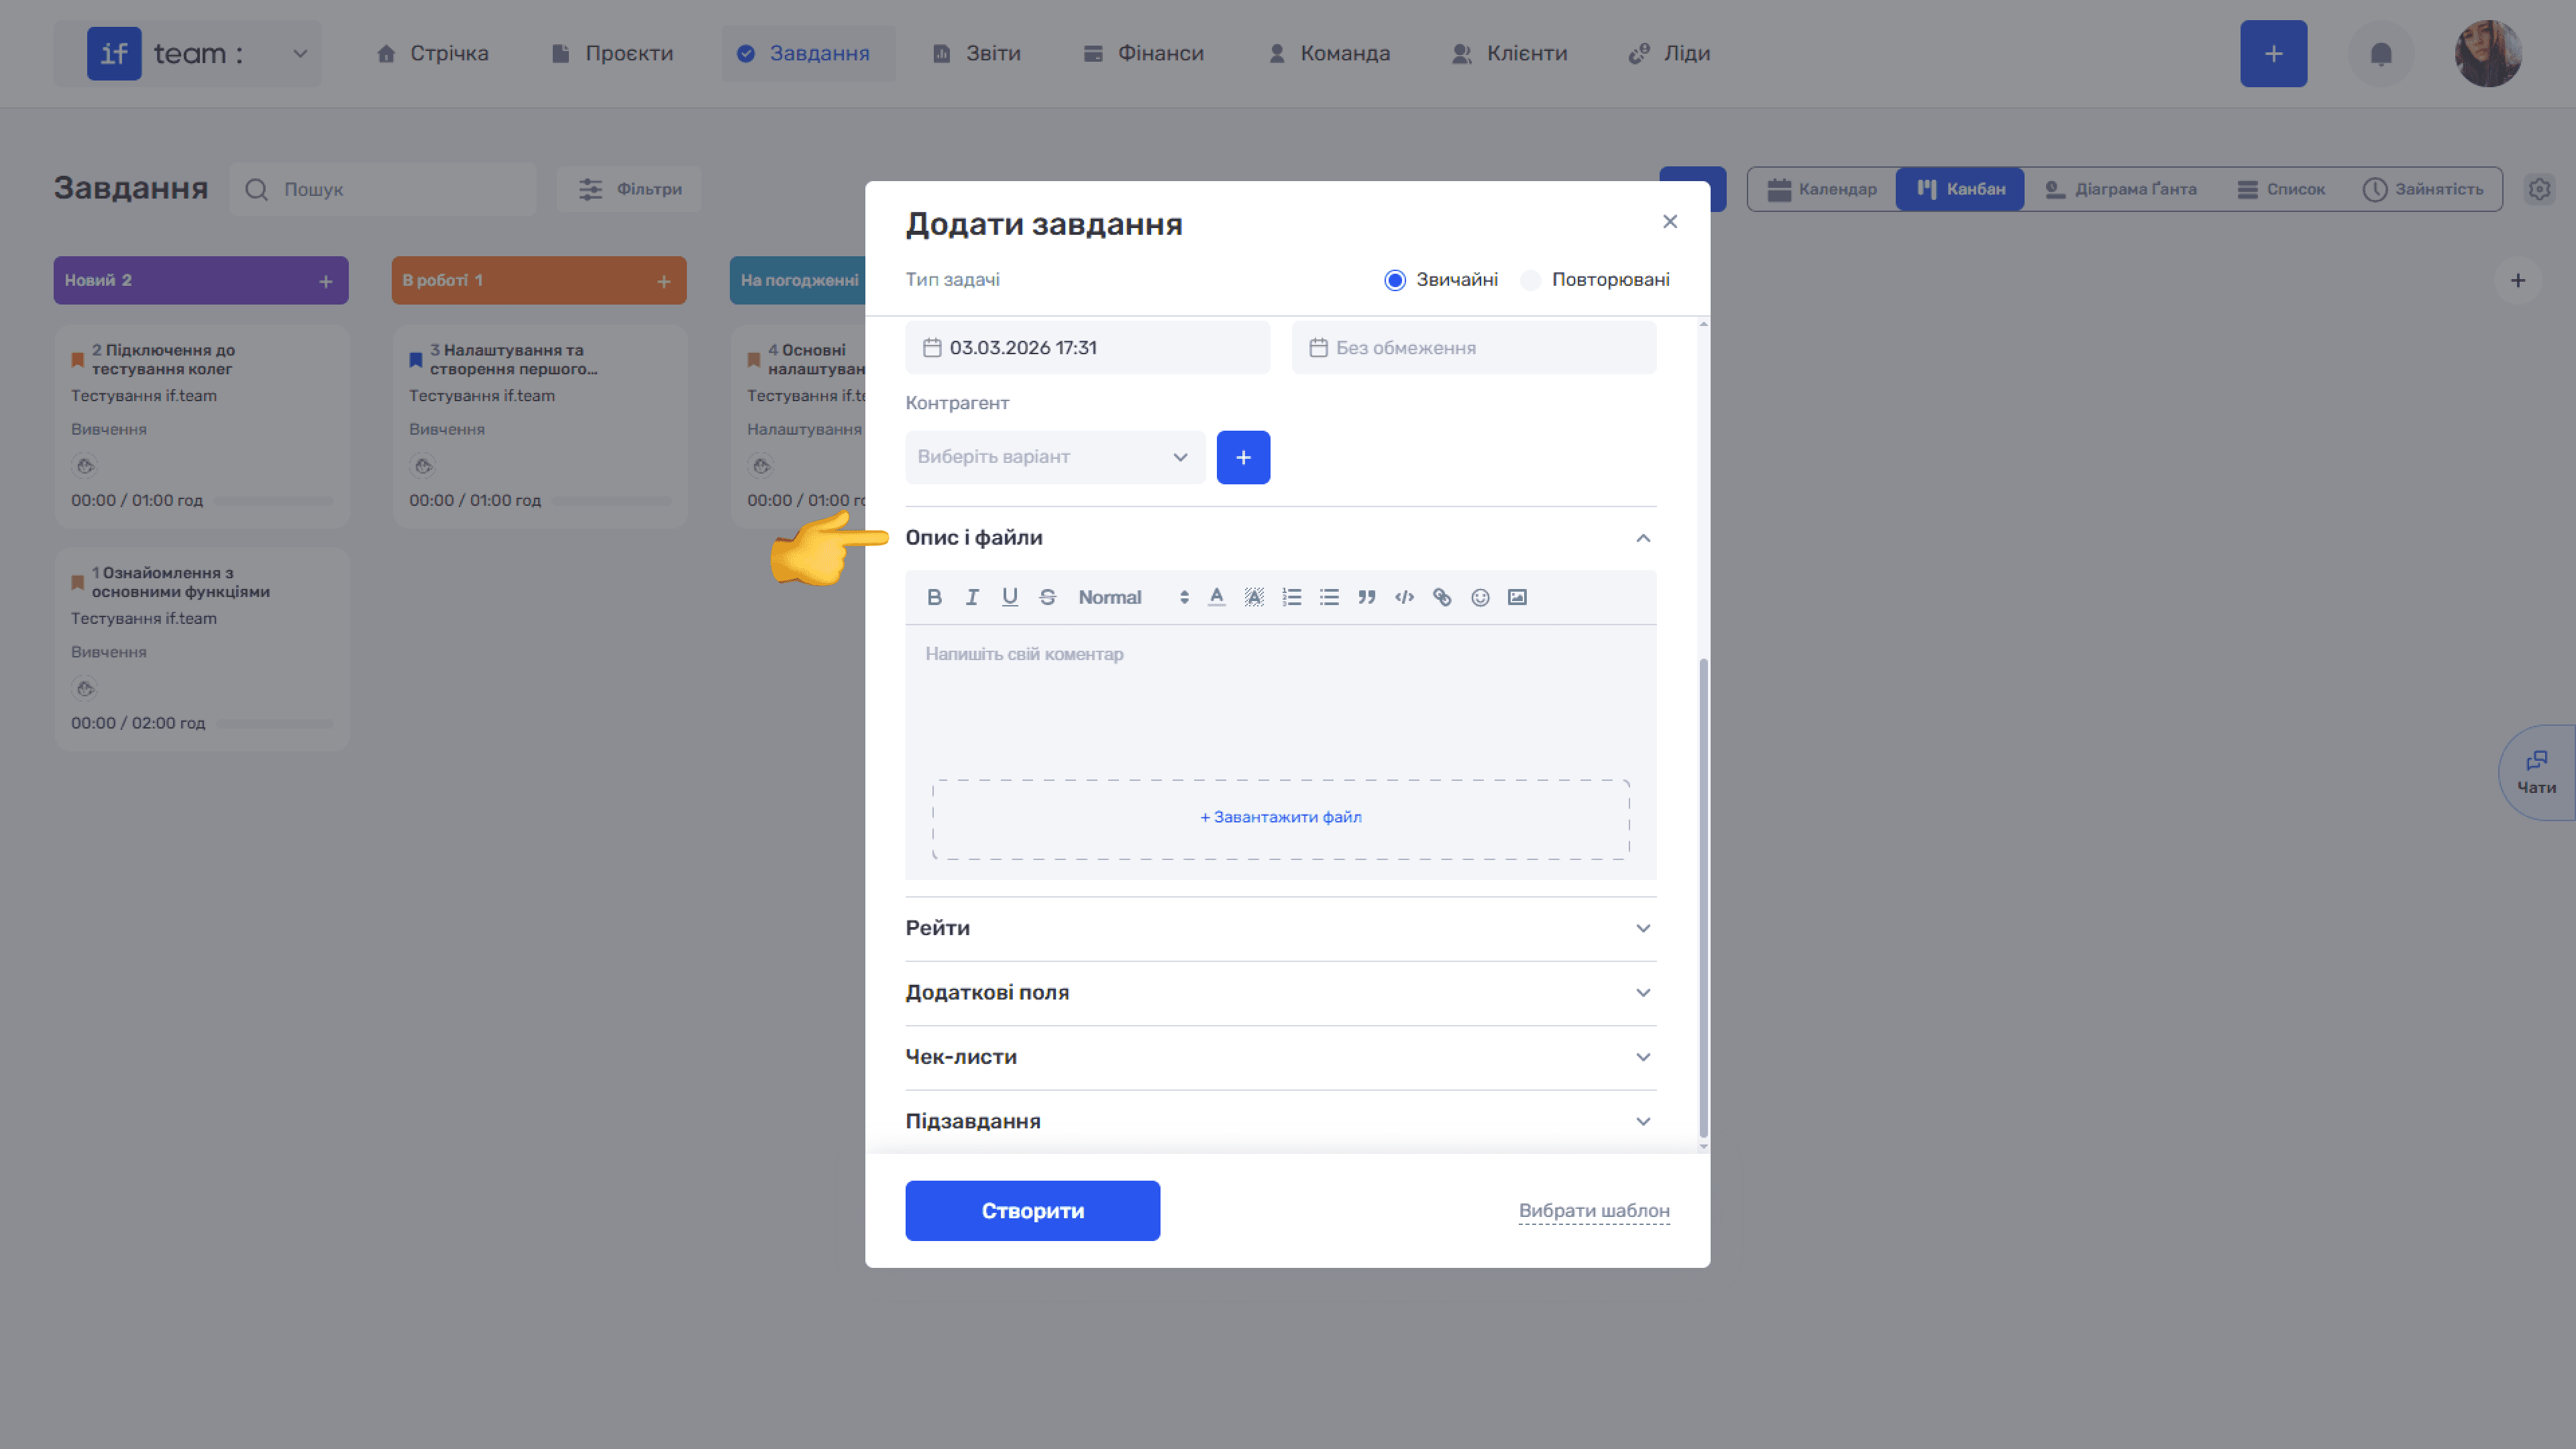
The following expandable sections appear below:
- Description and Files contains a text editor with a formatting toolbar for a detailed task description and a + Upload File area for attaching documents.
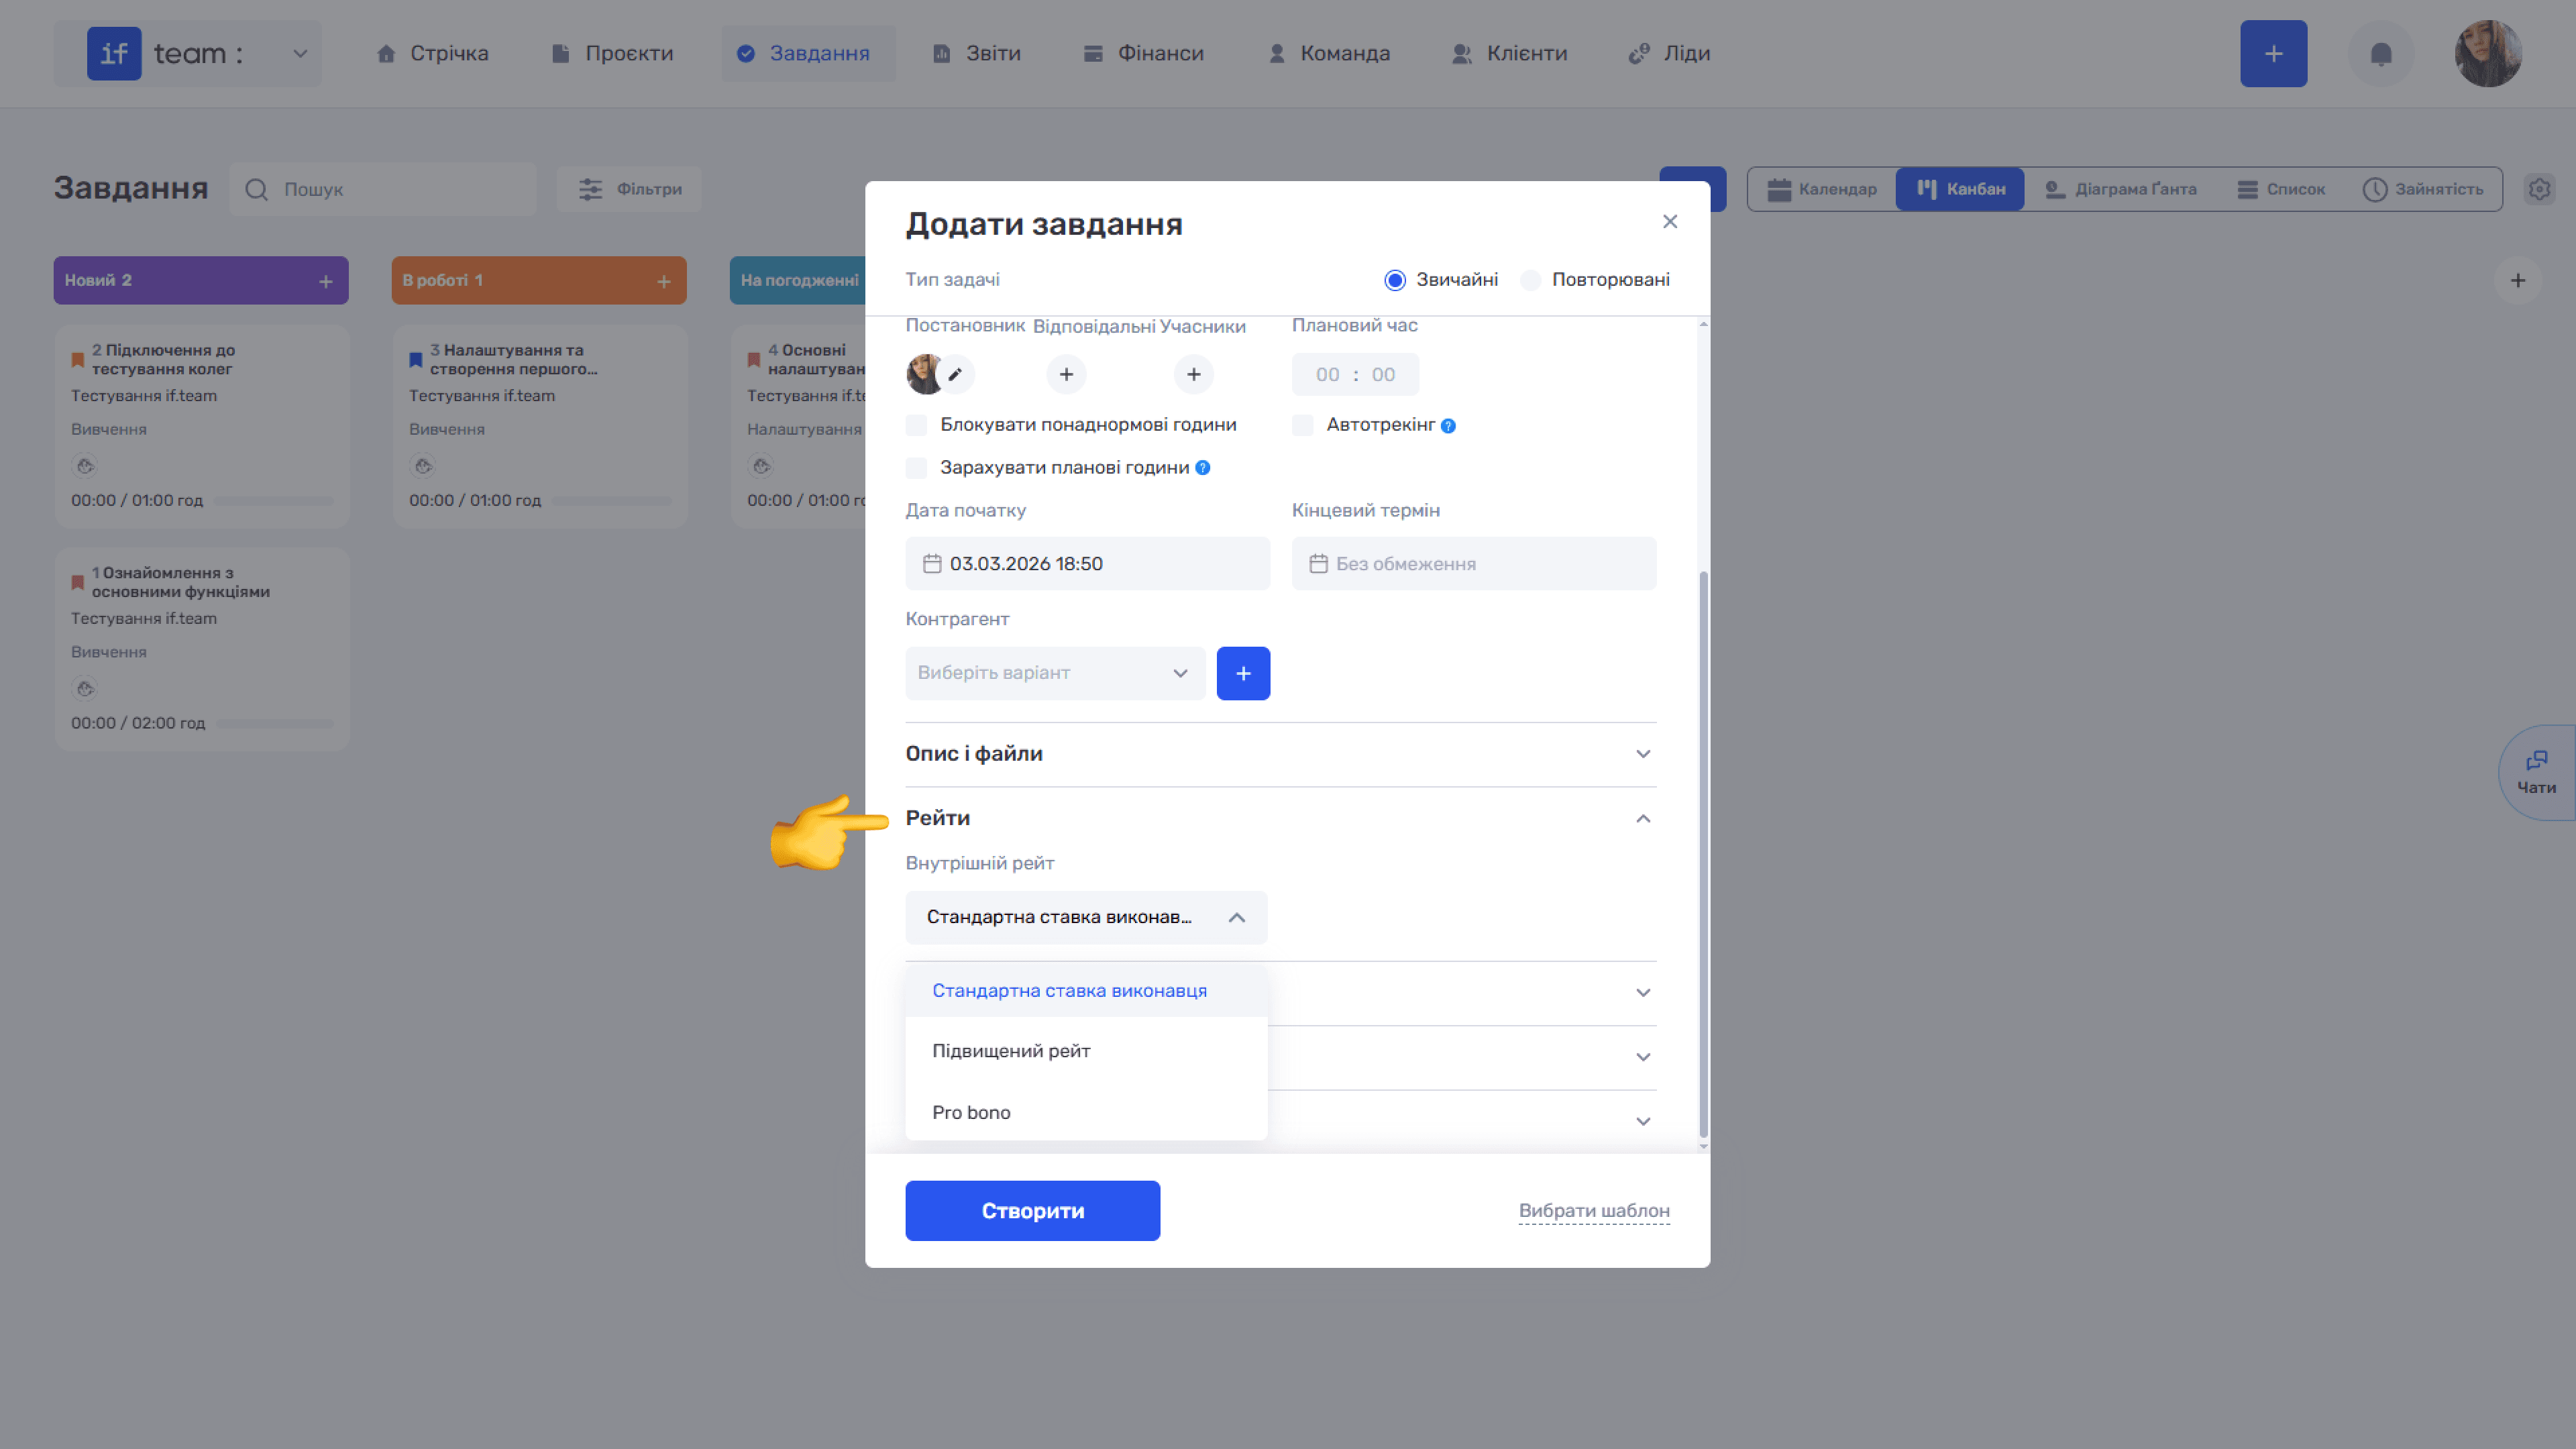
- Rates is a section for configuring the rate used to calculate the cost of work on the task. The Internal Rate field lets you select a rate type from a list based on the rates specified in the corresponding project section. The selected rate affects the automatic calculation of project expenses based on tracked time.
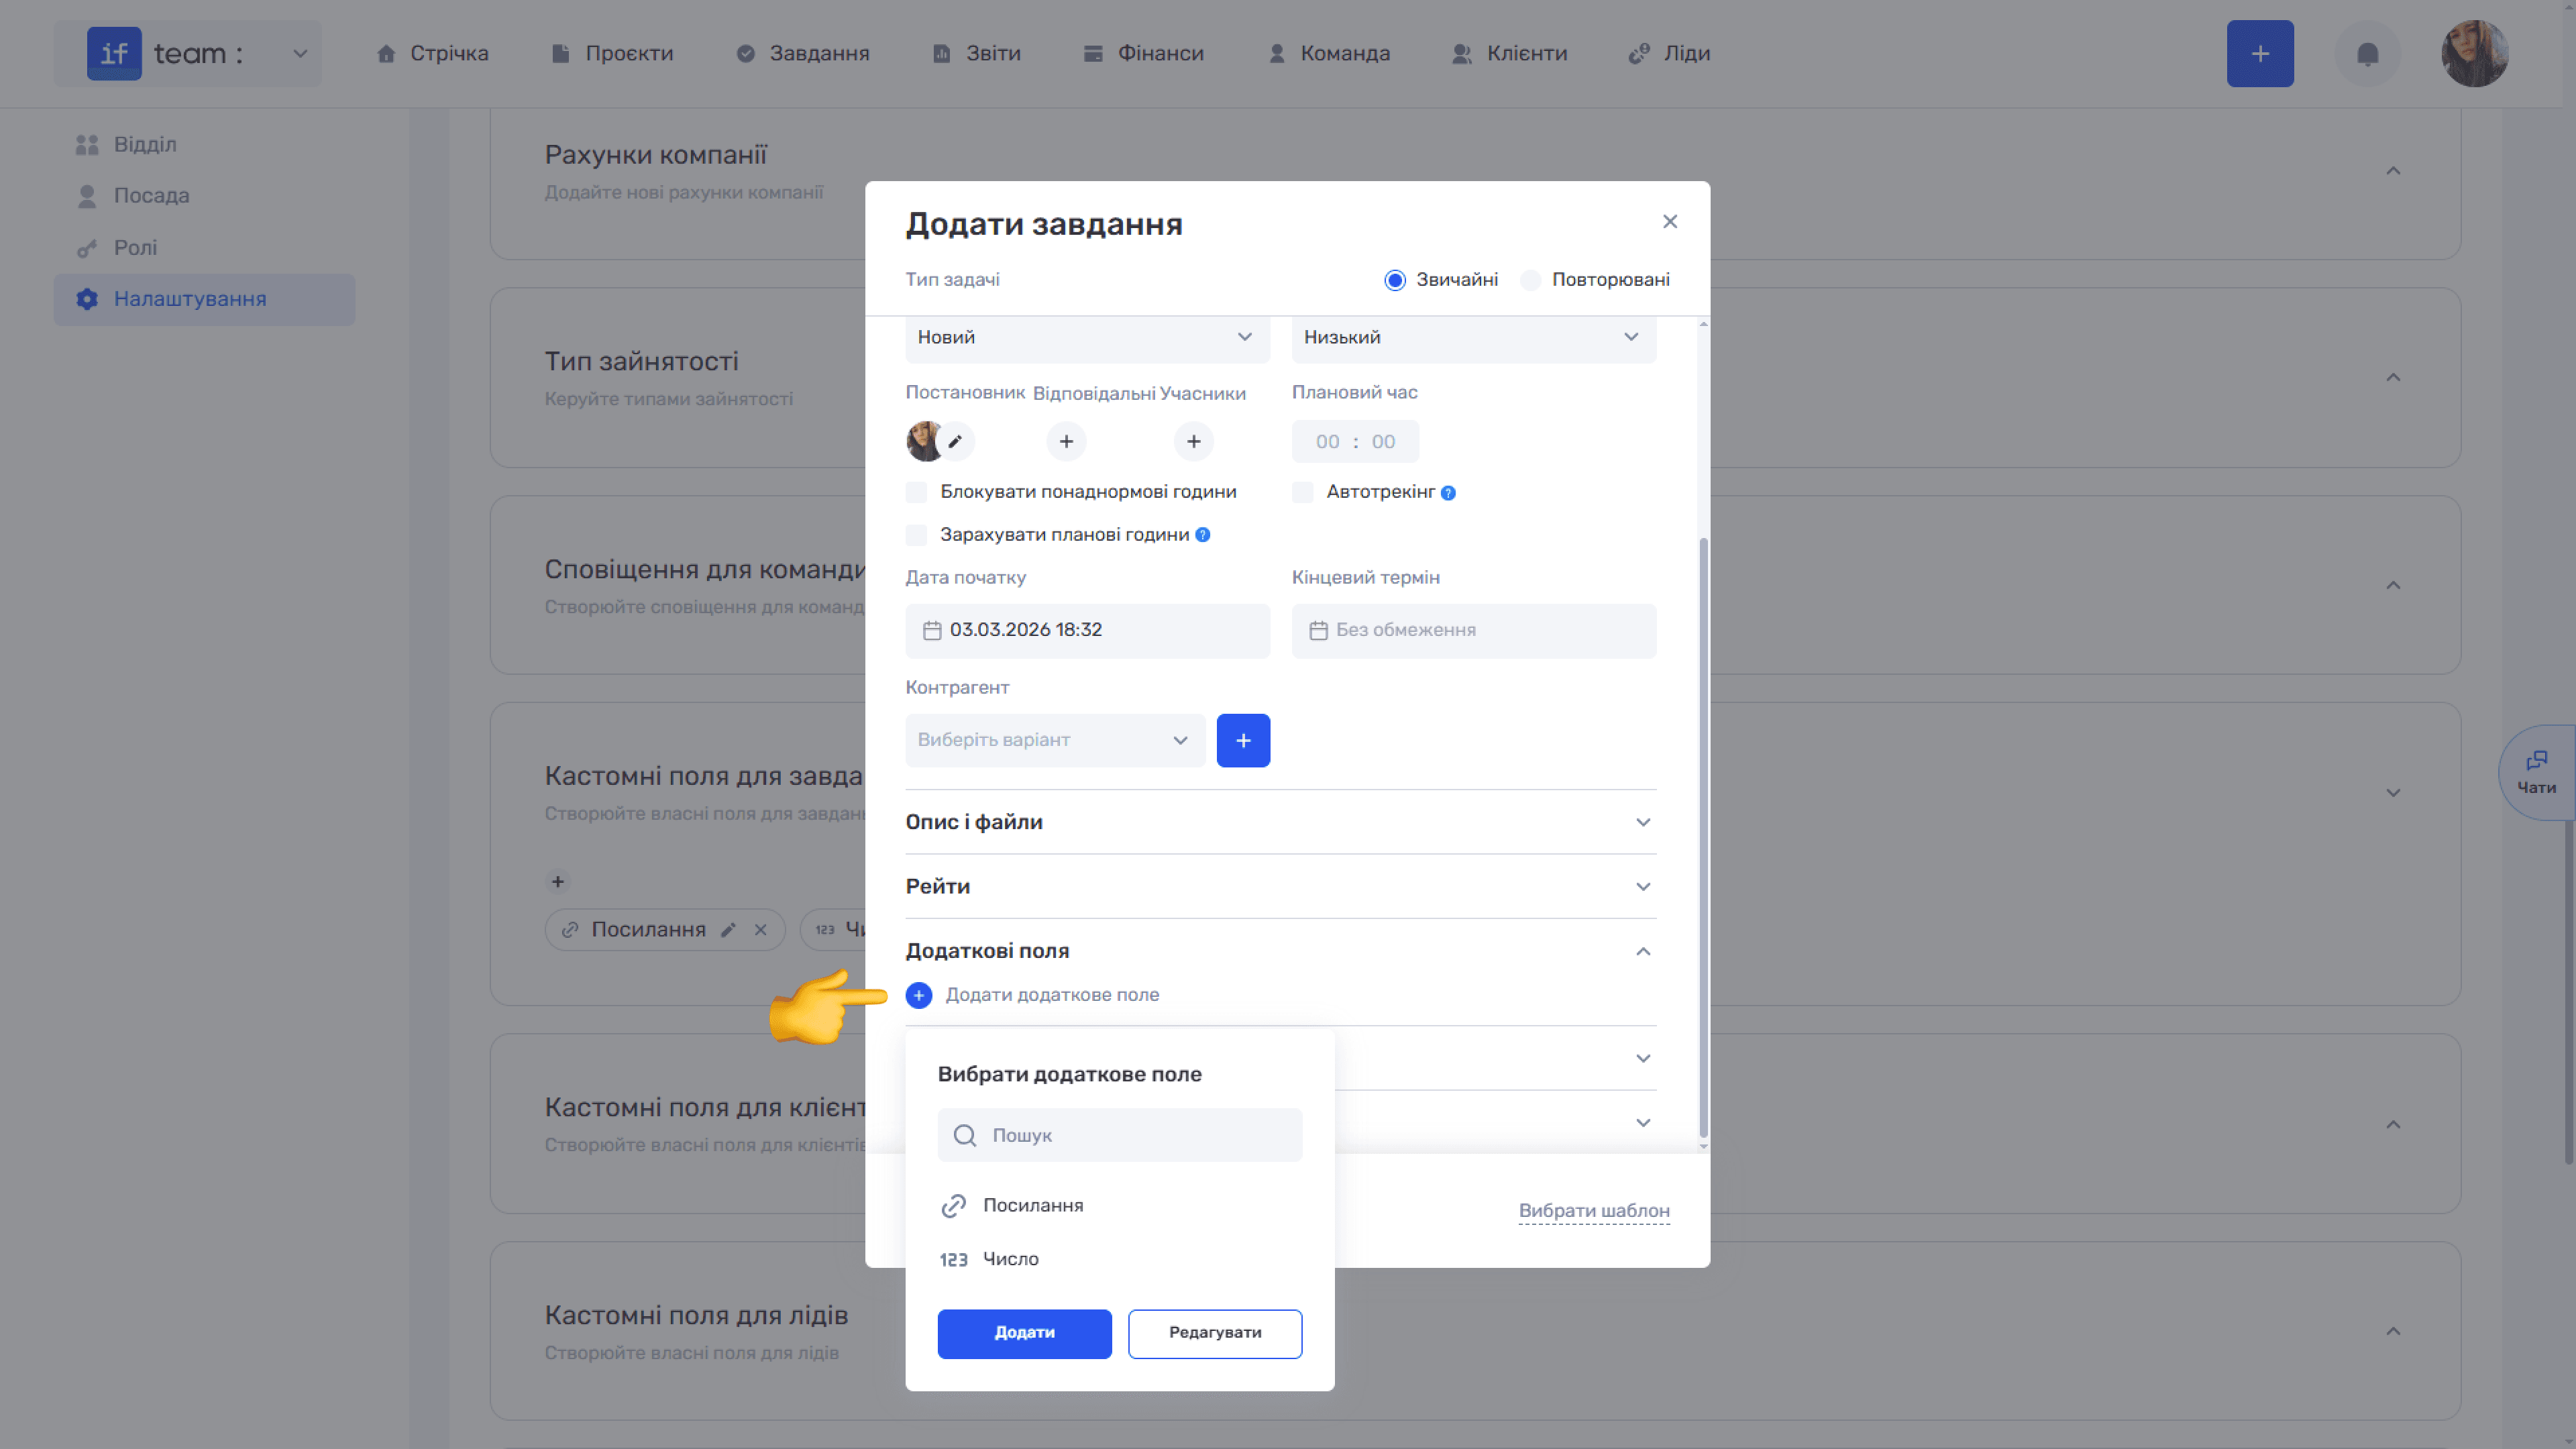
- Additional Fields lets you add custom fields created in the Admin Panel under Settings → Custom Fields for Tasks; see Custom Fields for Tasks. Click + Add Additional Field, find the required field using search, and click Add. The Edit button opens the settings for creating new custom fields.
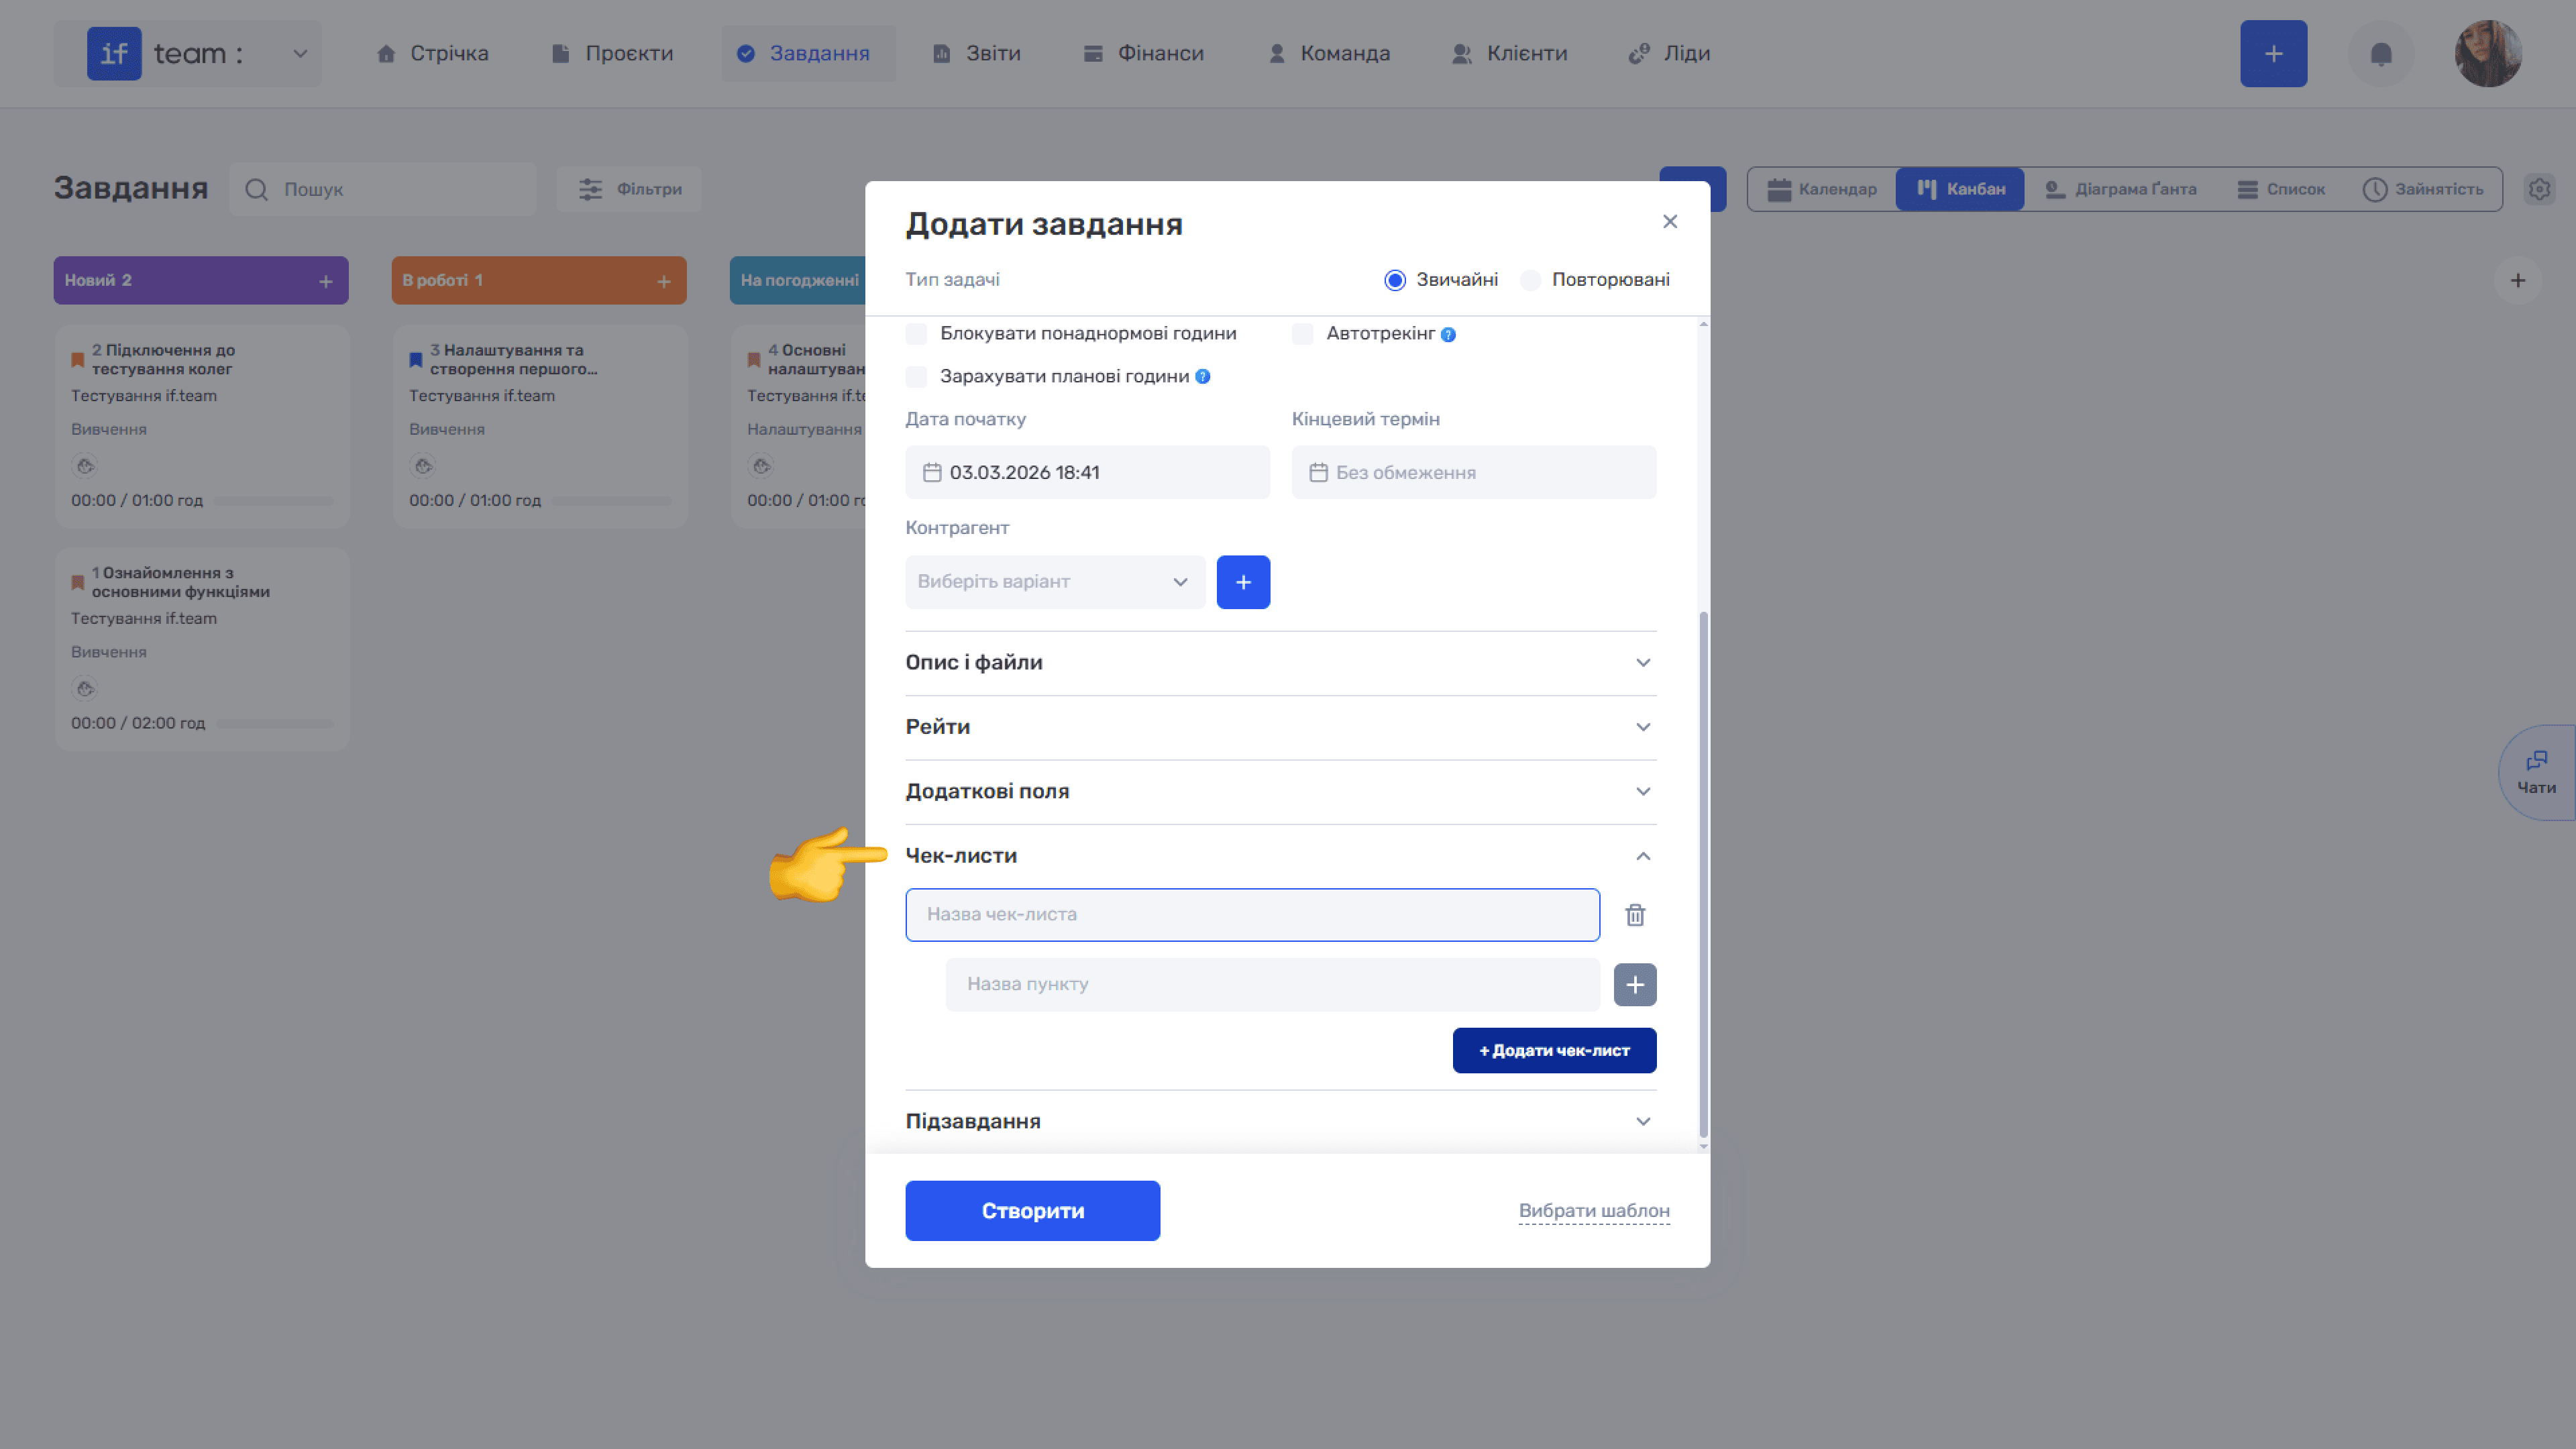
- Checklists lets you add one or more checklists to the task. Click + Add Checklist, enter the checklist name, and add items by clicking + next to the Item Name field.
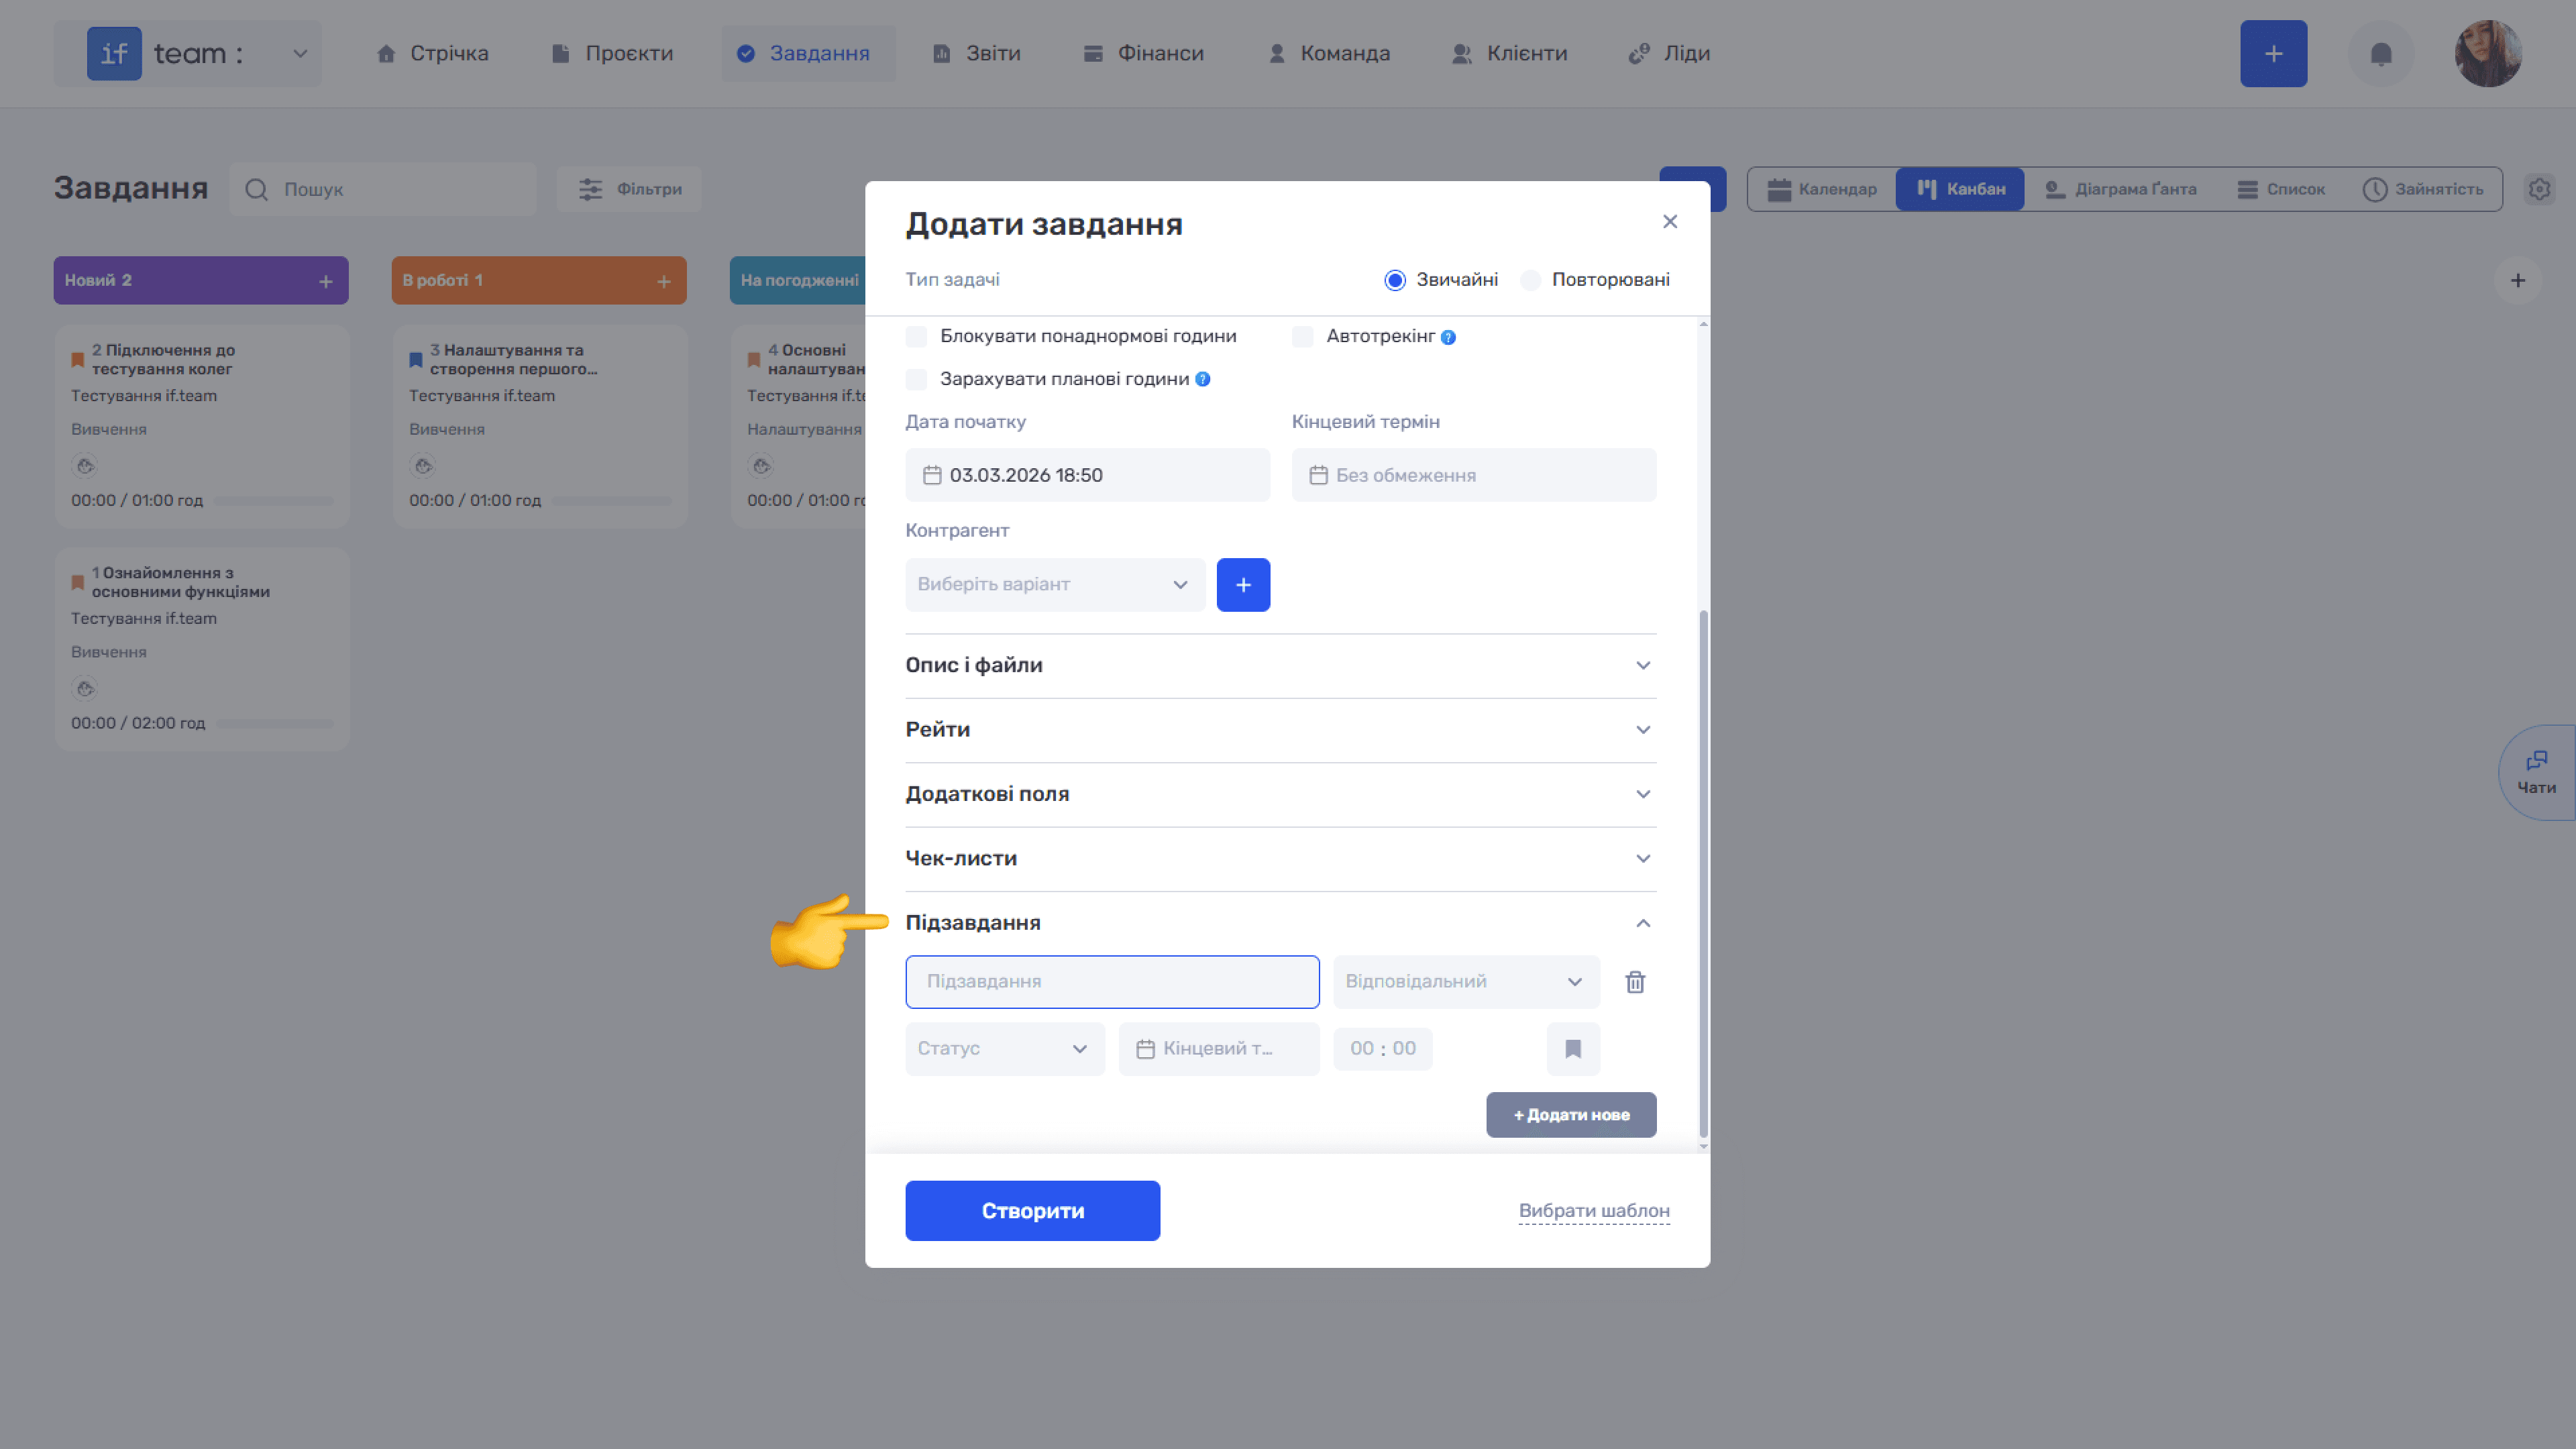
- Subtasks lets you create subtasks directly in the form. Click to expand the section, then specify a name, responsible employee, status, due date, planned time, and priority for each subtask.
After completing all required fields, click Create. To create a task from a previously saved template, click Select Template in the lower-right corner of the form. For more information about saving and using templates, see Task Templates.
Still have questions?
Maybe we haven't added this information yet. But you can always reach out:
Request a demo
Submit a request and we'll show you how the service works and its capabilities.
Book a demo