Creating a Project
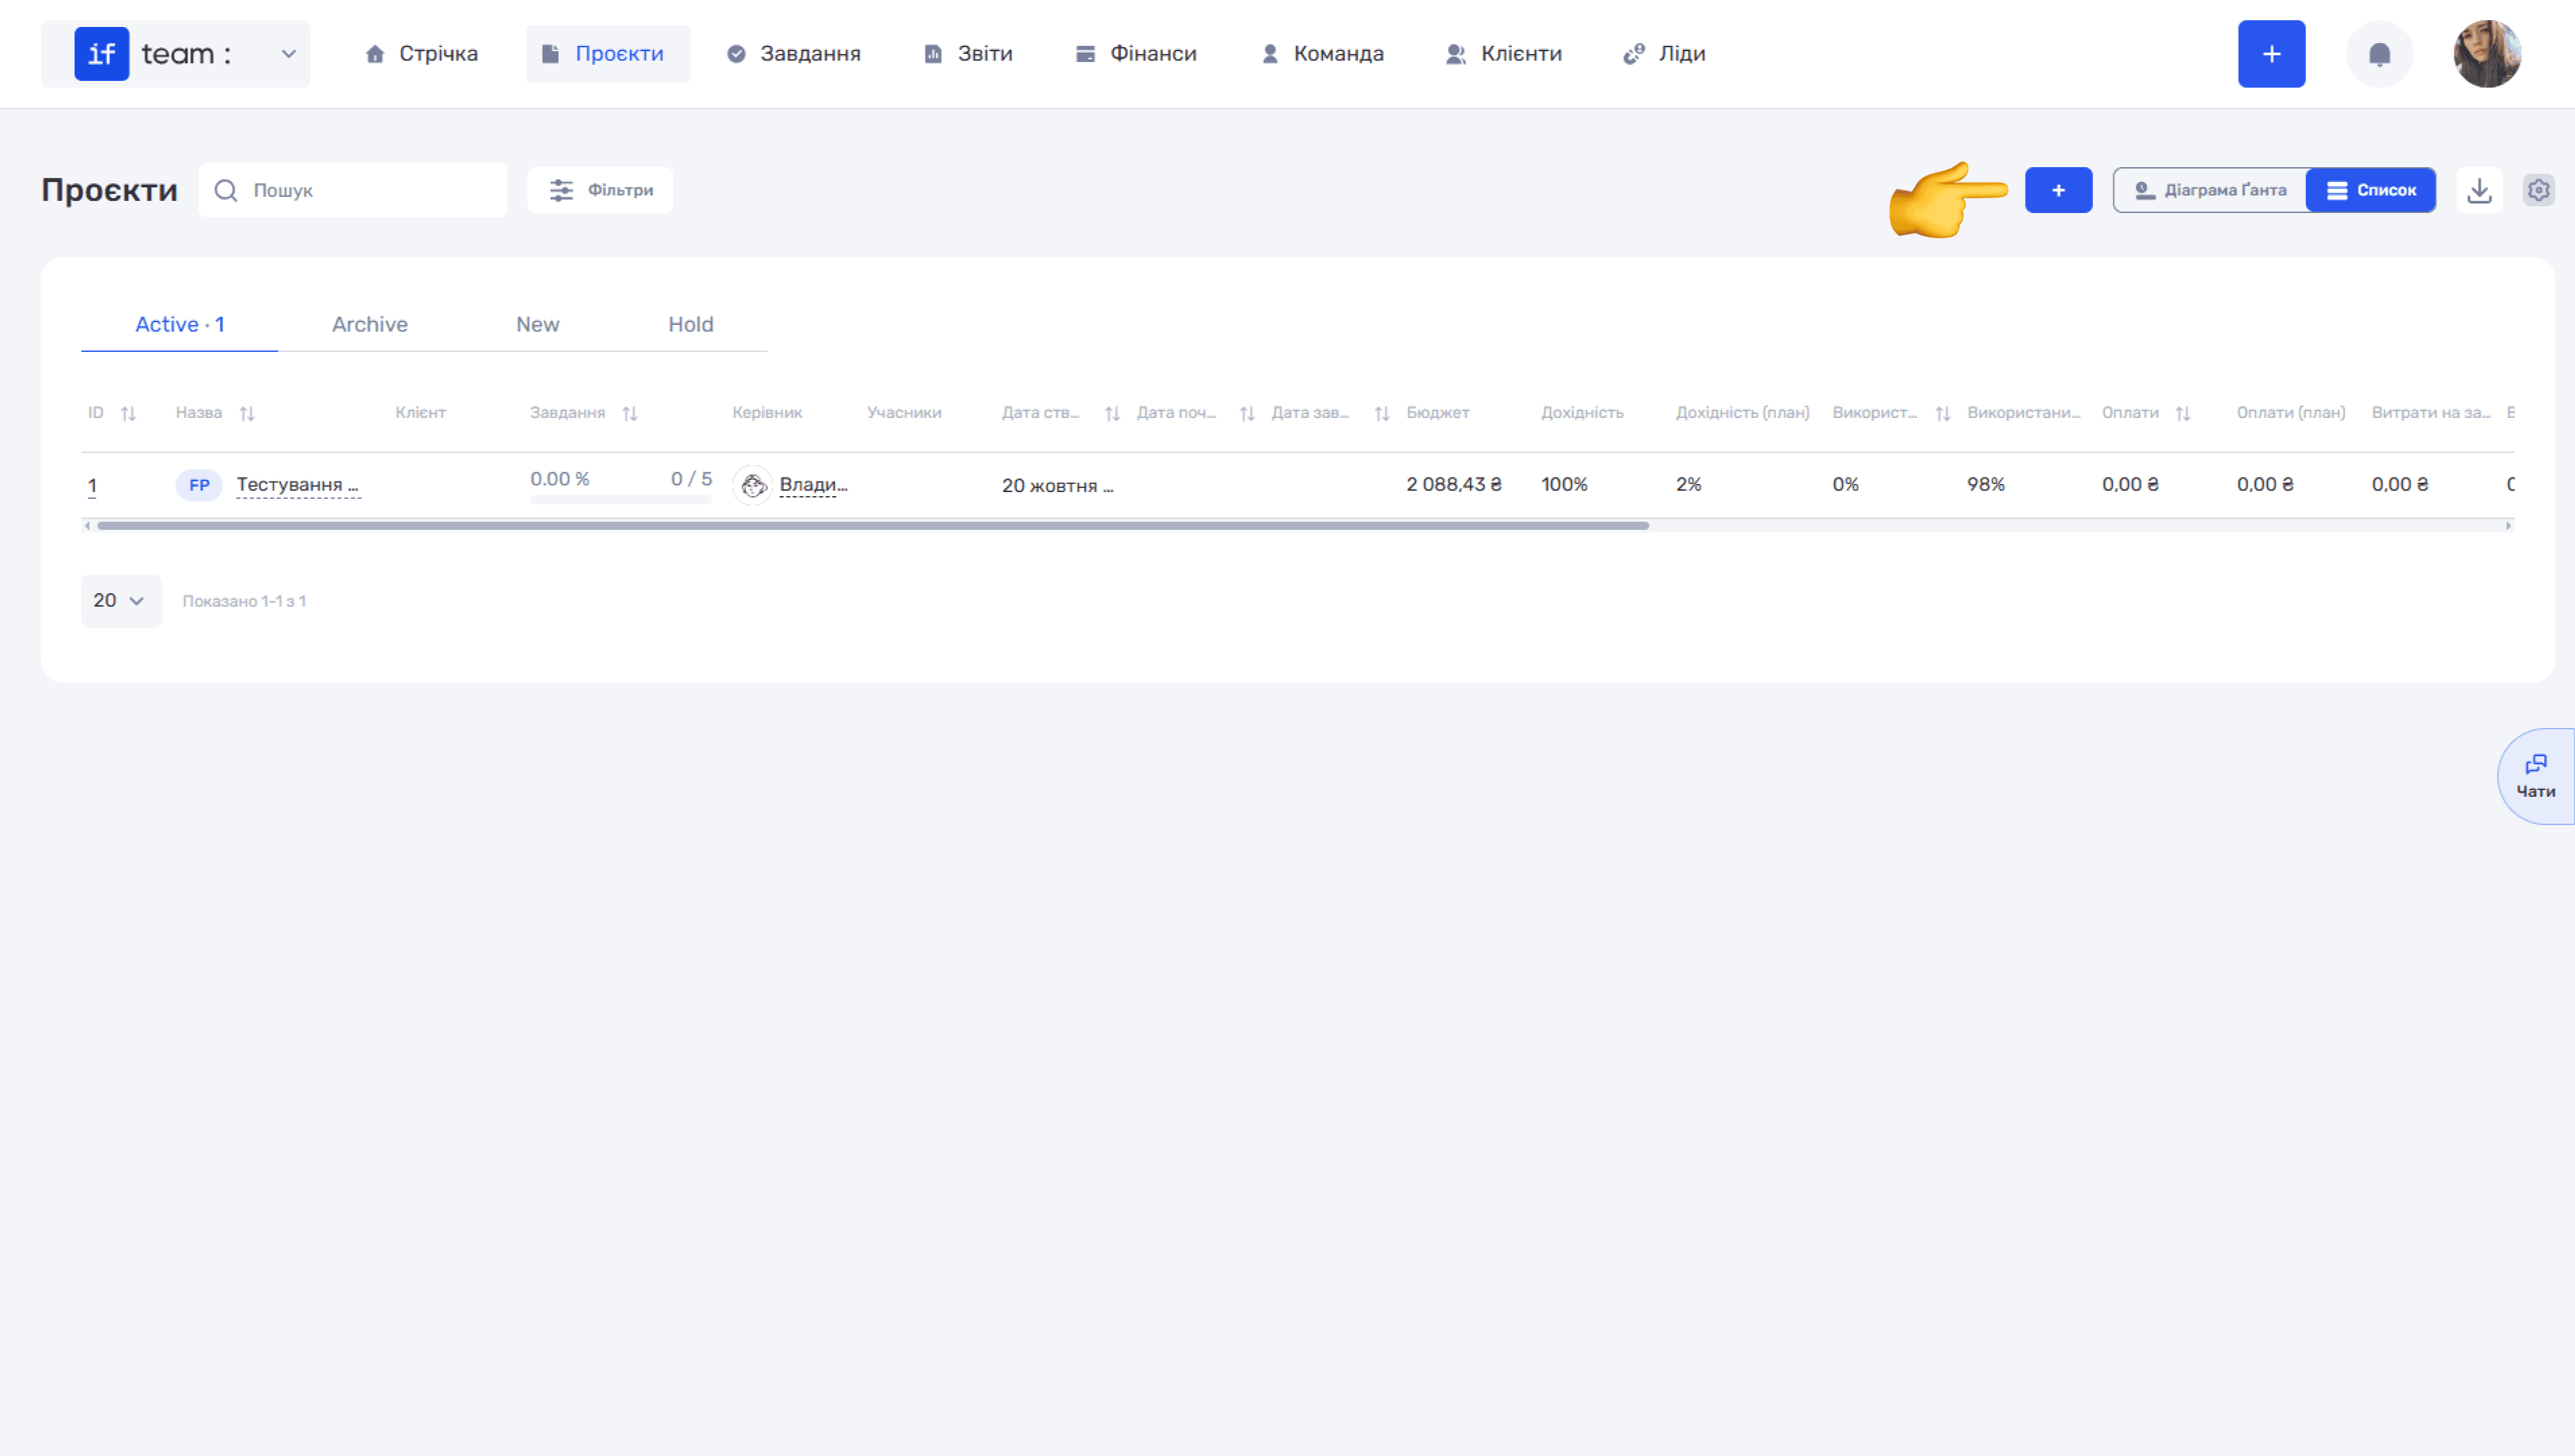
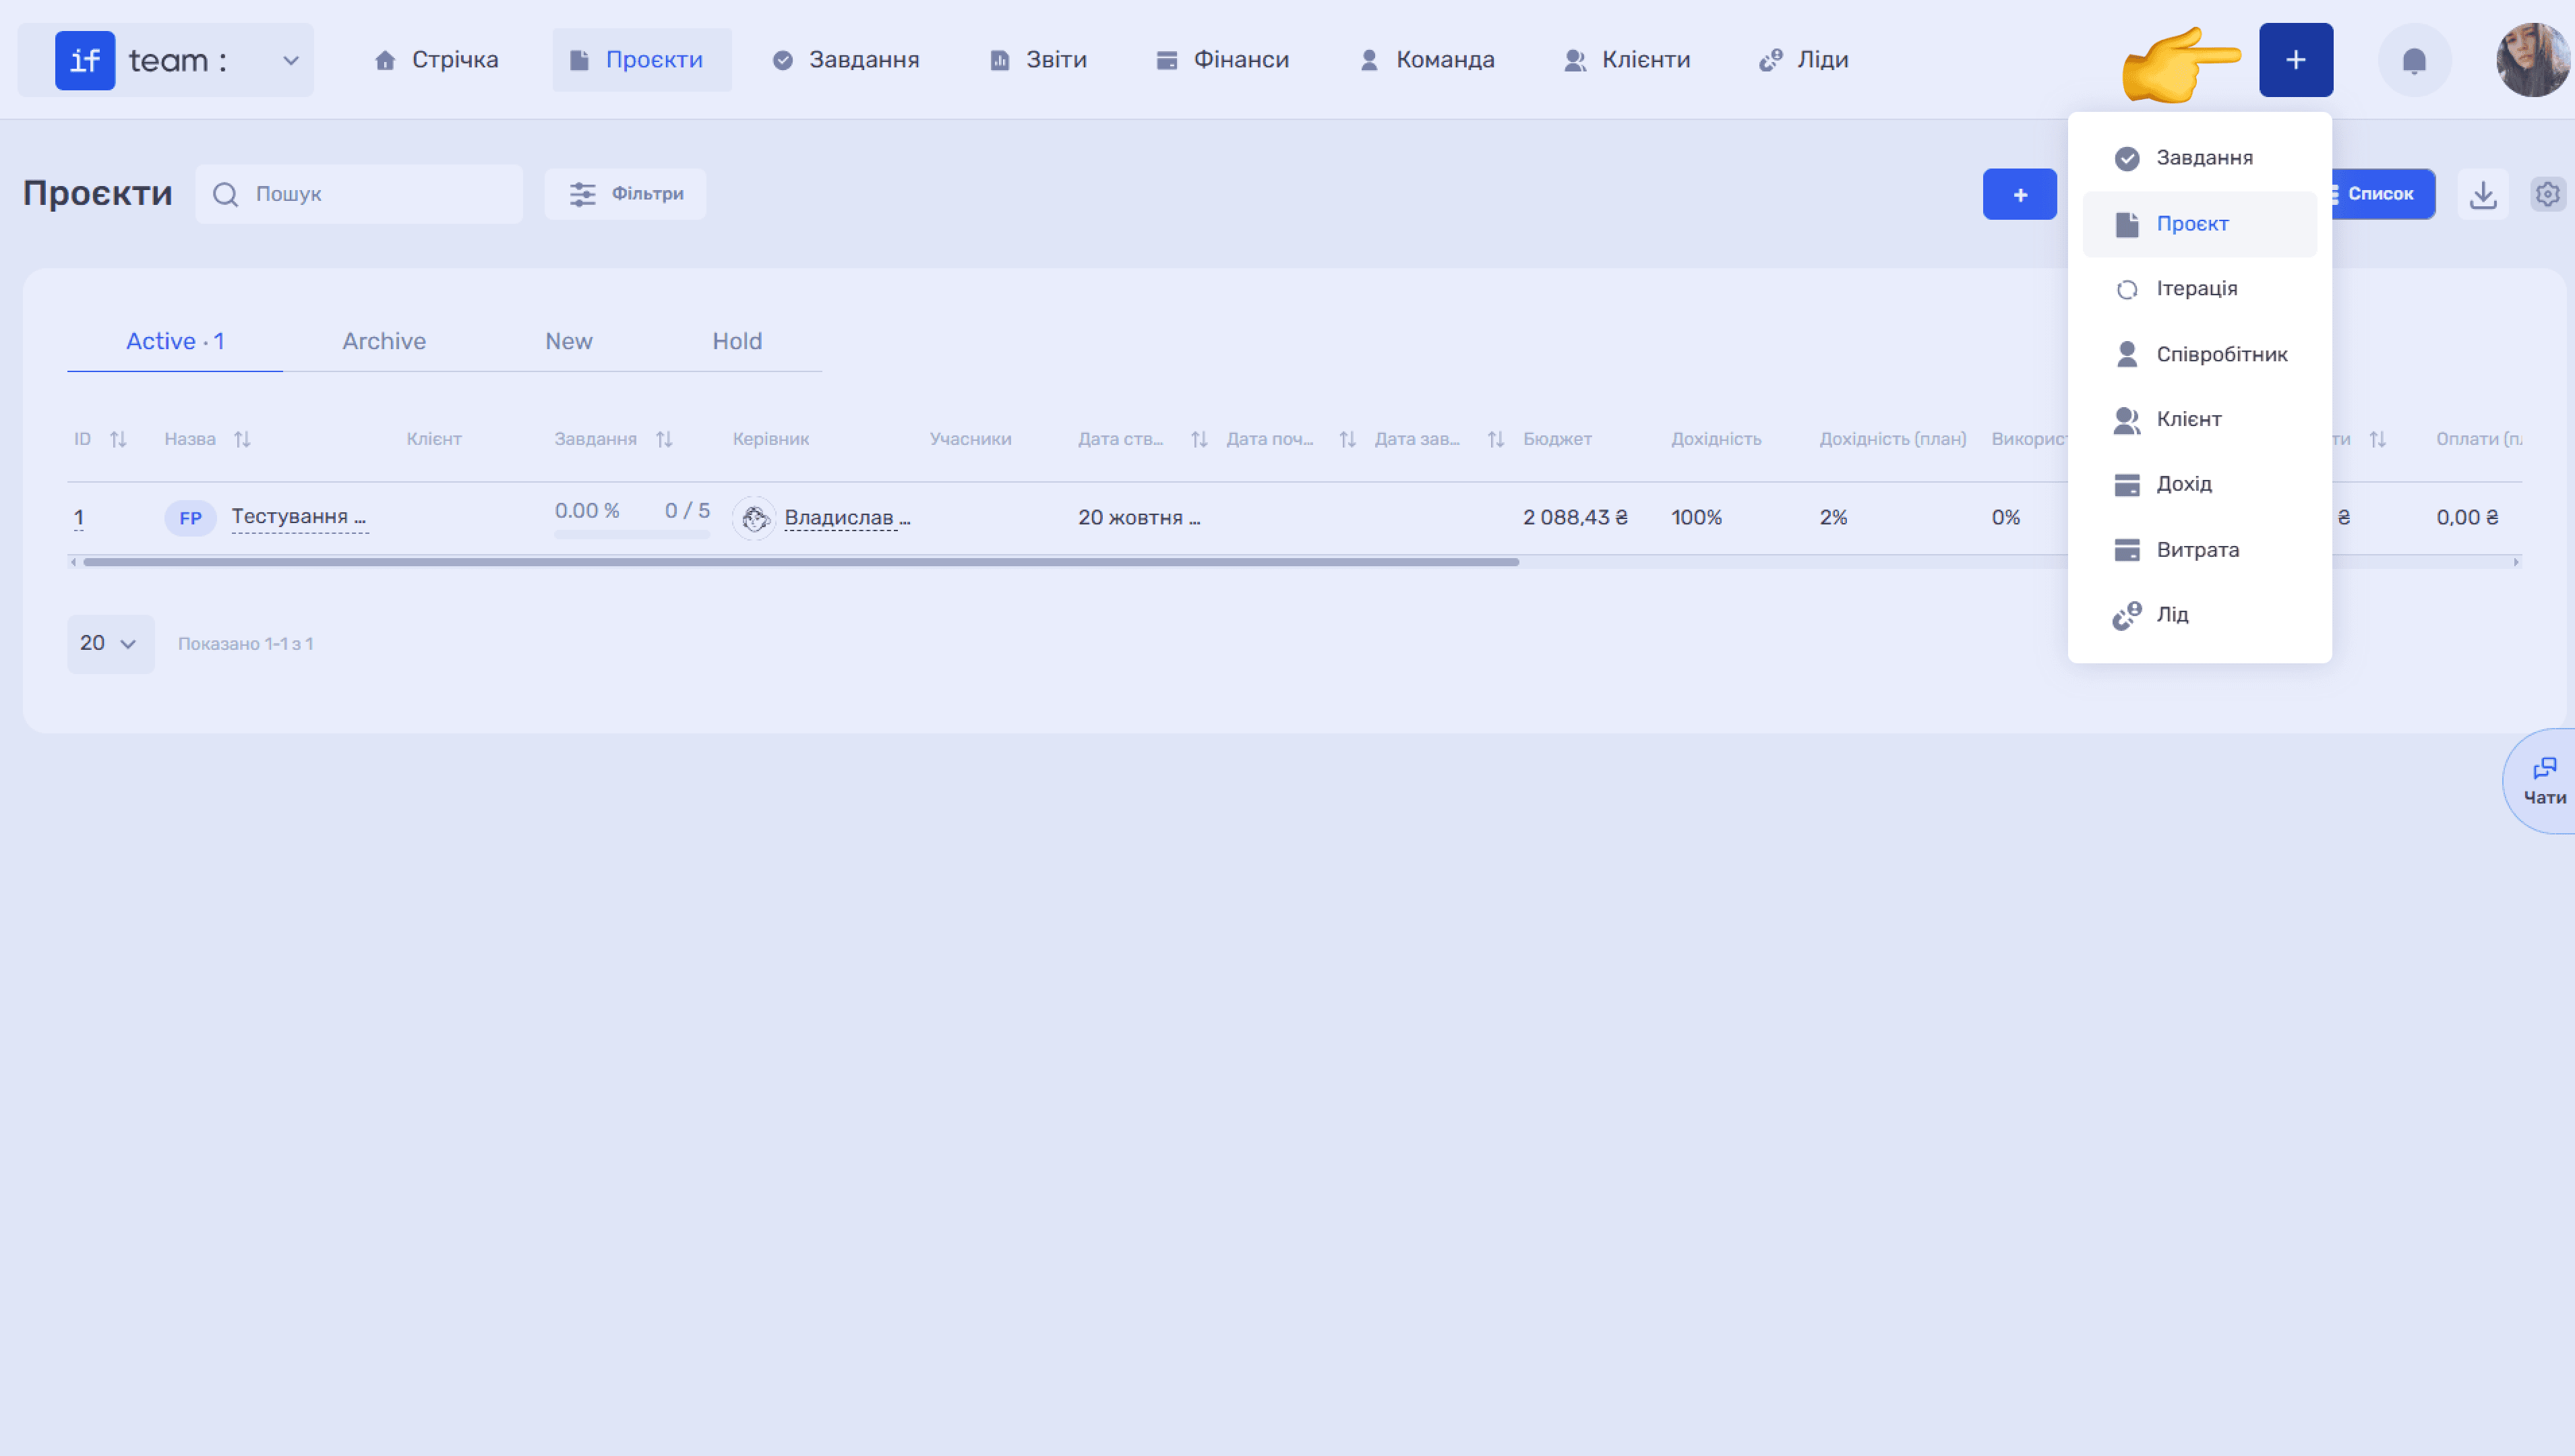
You can create a new project in two ways: click + on the Projects page, or use the global + button in the upper-right corner and select Project.
The first way is the + button above the project list:
The second is the global + button in the upper-right corner. In the menu that opens, select Project:
The Add Project modal opens with the following fields:
- Project Name is required. Enter the project name.
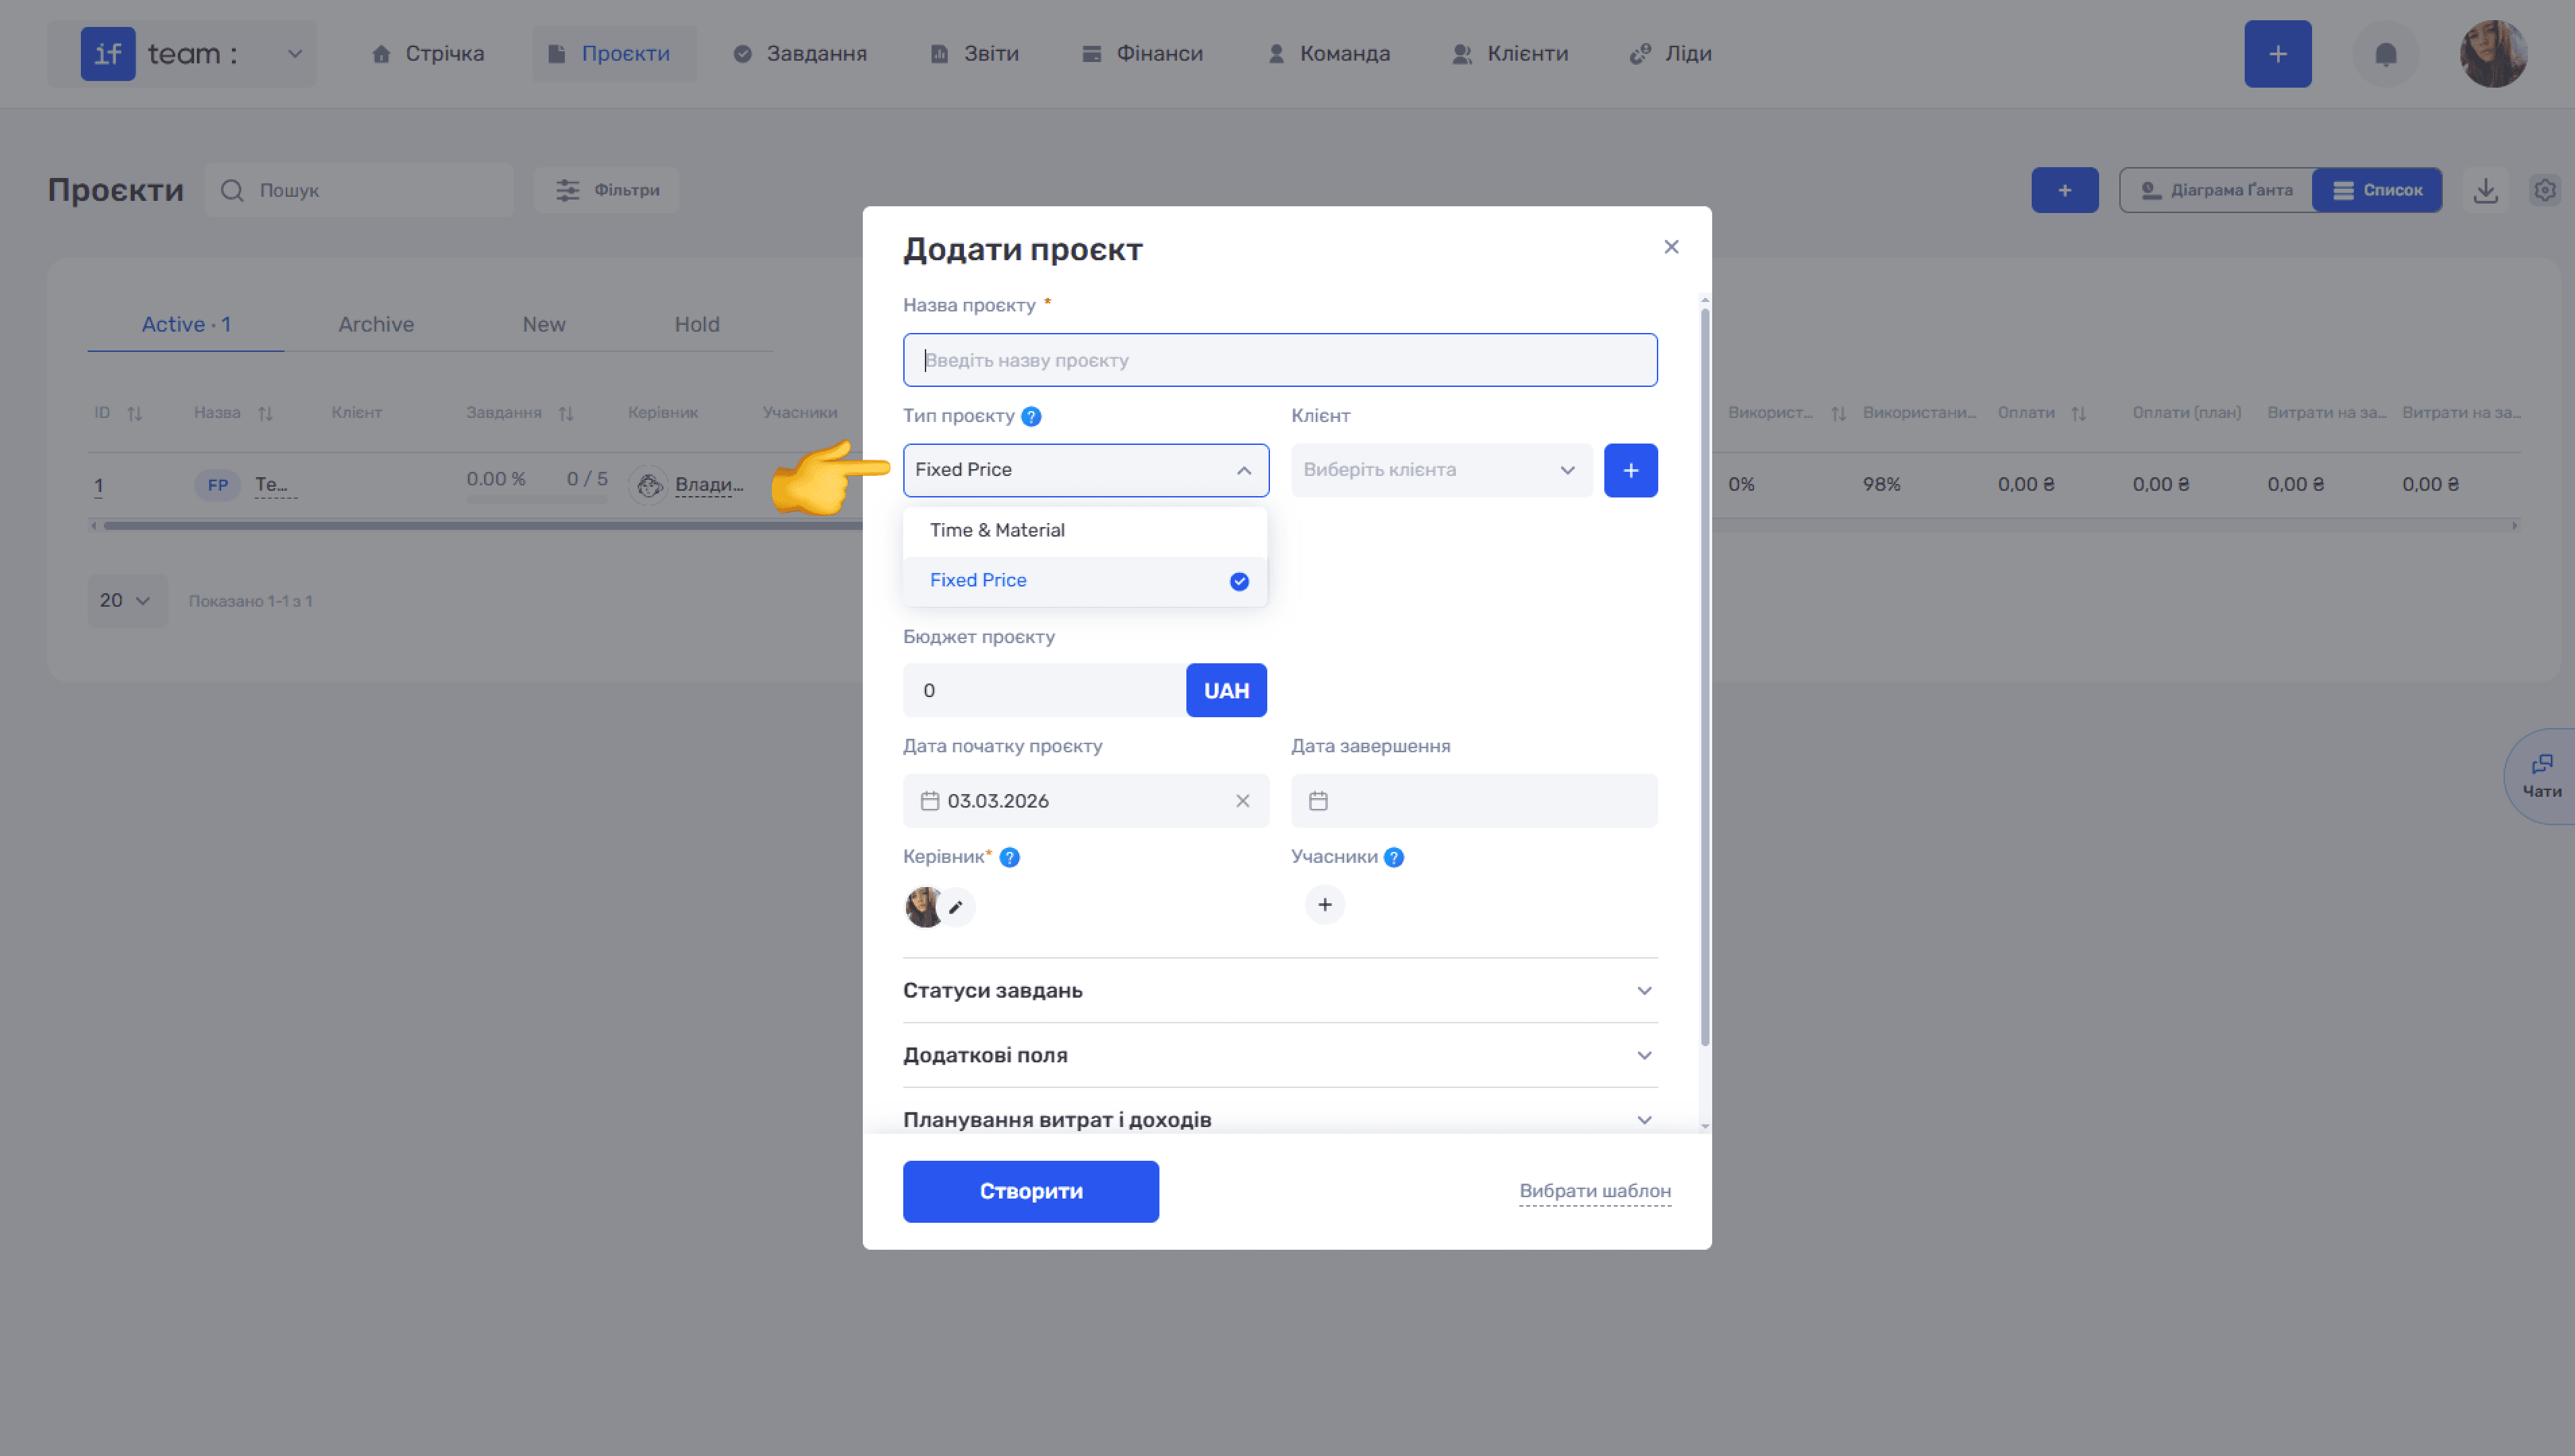
- Project Type: select the billing model from the list. Fixed Price is a fixed budget where the project cost is known in advance but may change during the work, for example if additional services are required or you provide a discount. Expenses do not affect the project budget. Time & Material is hourly billing to the client, where the cost is based on the actual time spent and employee rates. The project type affects how the budget and expenses are calculated.
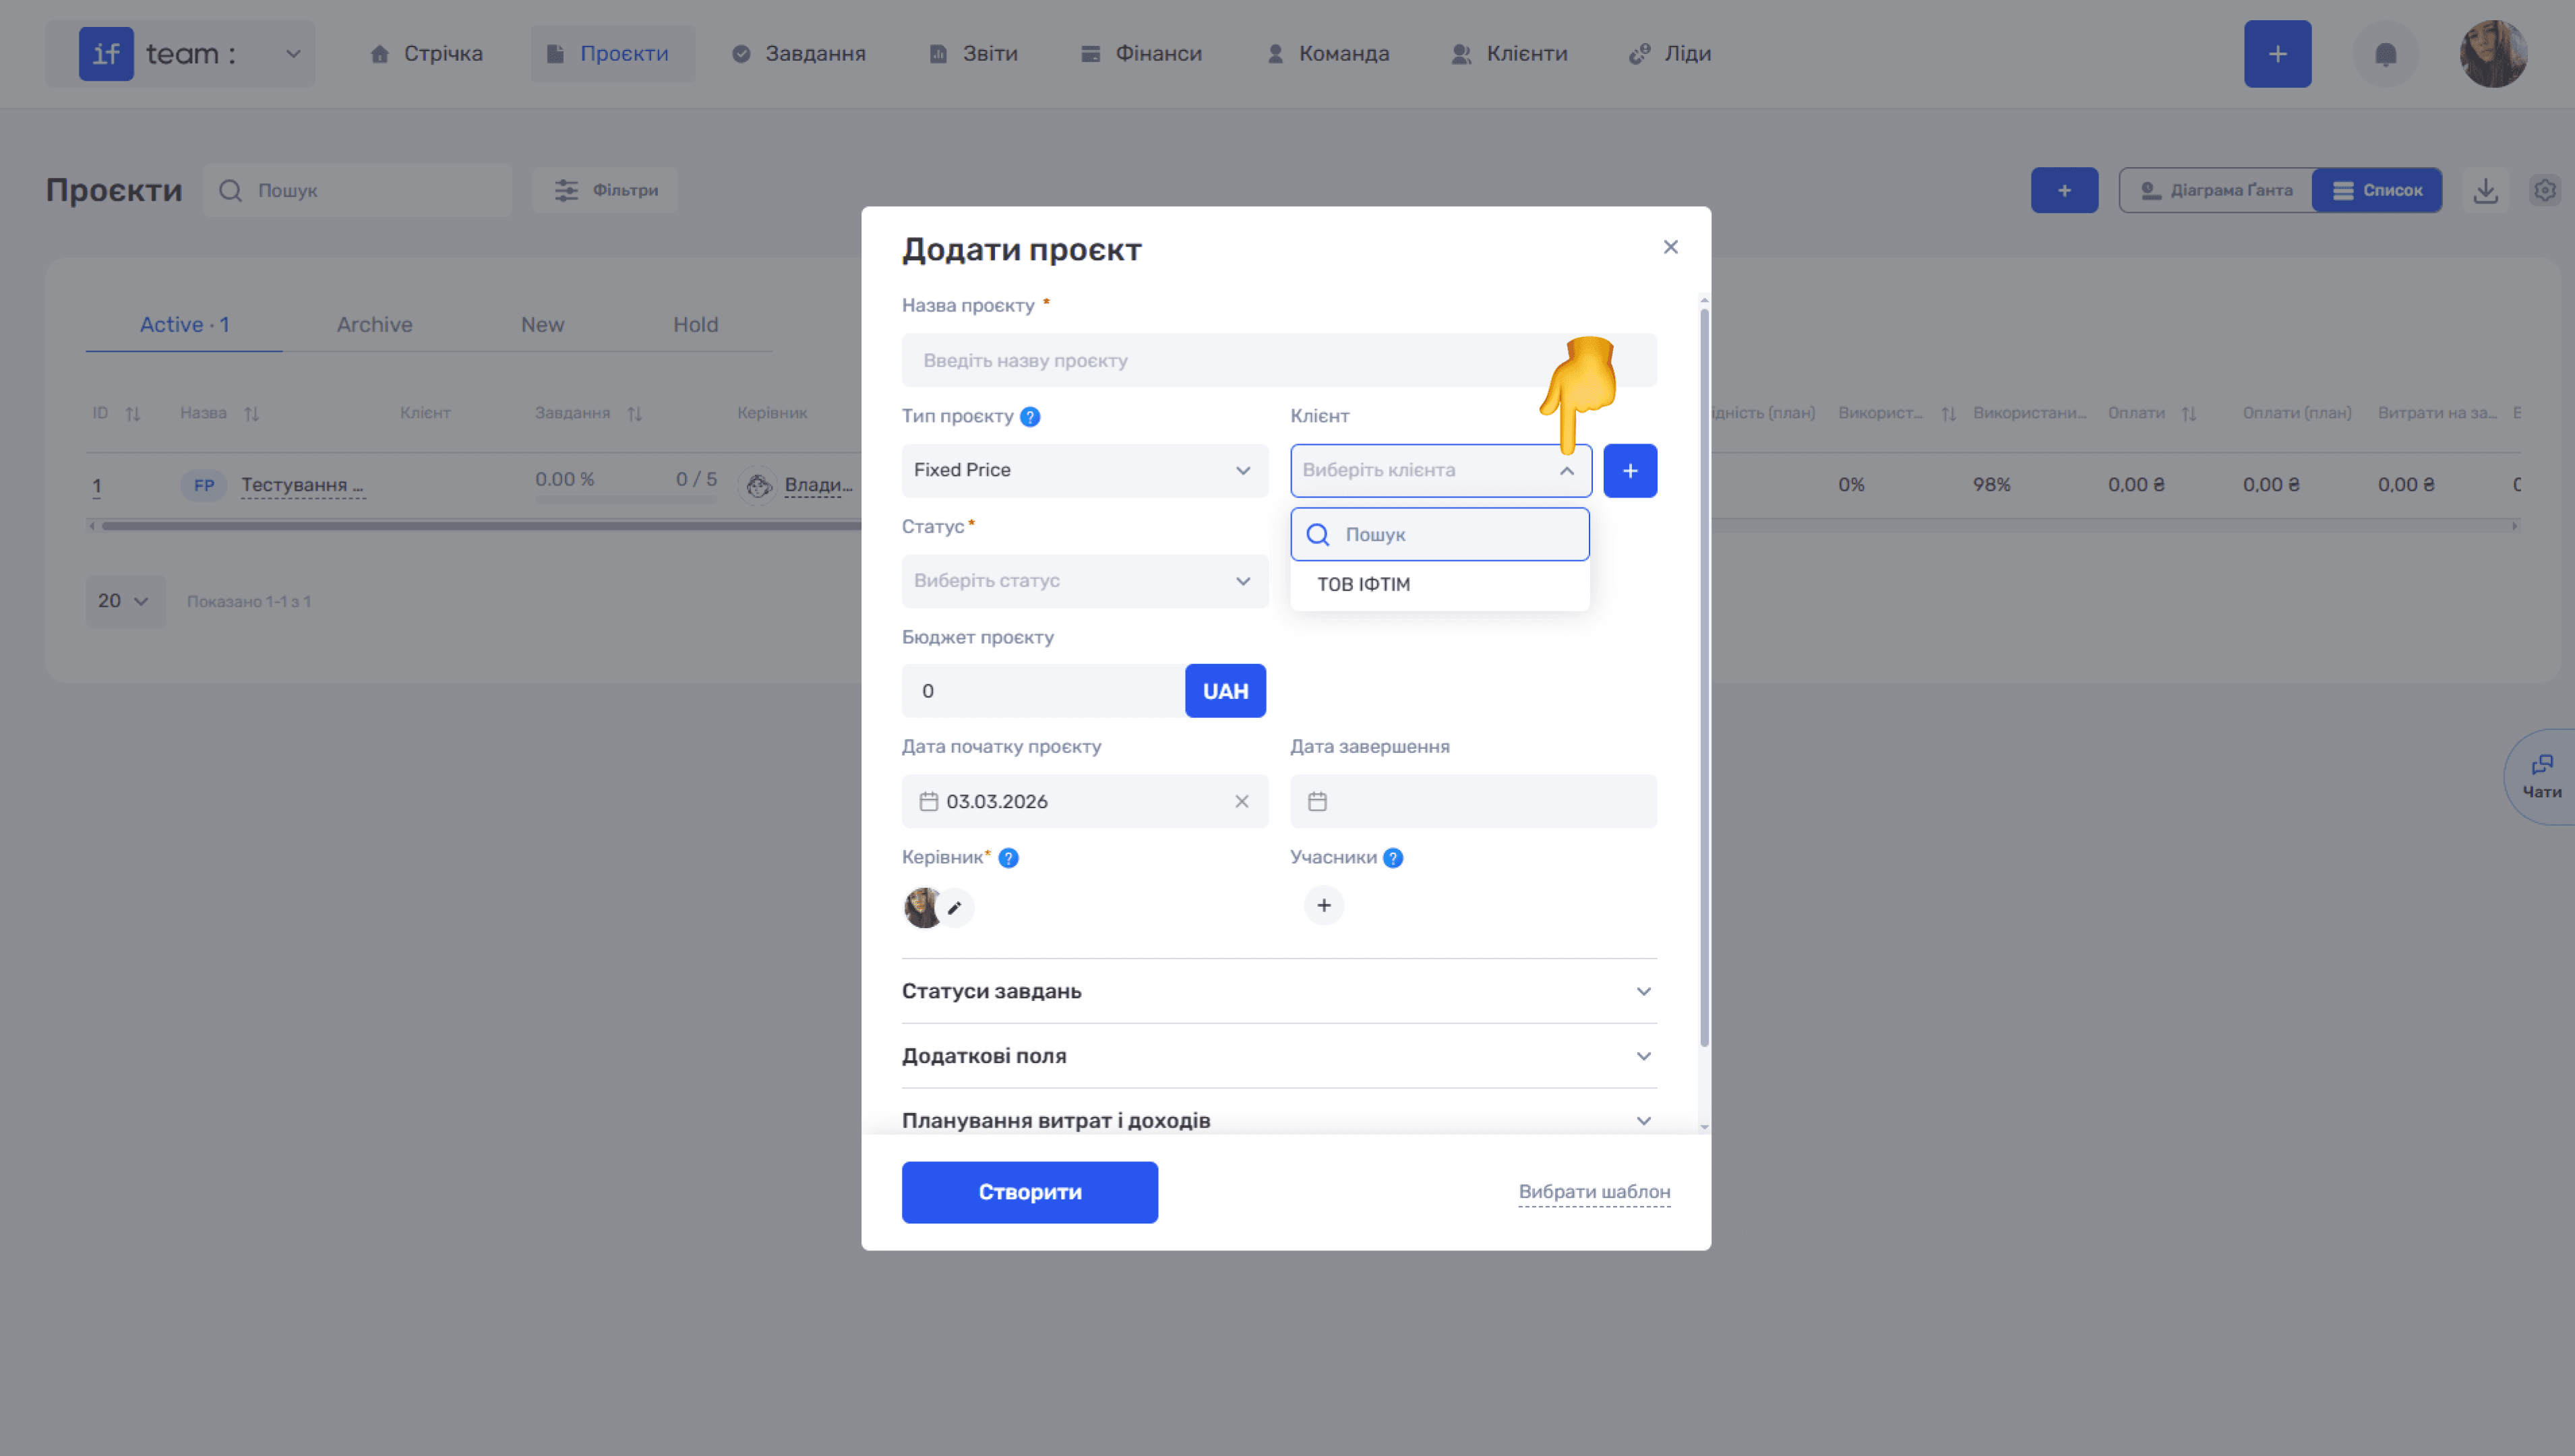
- Client: select a client from the existing list, or add a new one by clicking + next to the field.
- Status: select the project’s current status. This field is required. Configure the set of statuses in the Admin Panel under Settings → Project Statuses; see Tasks and Projects Settings.
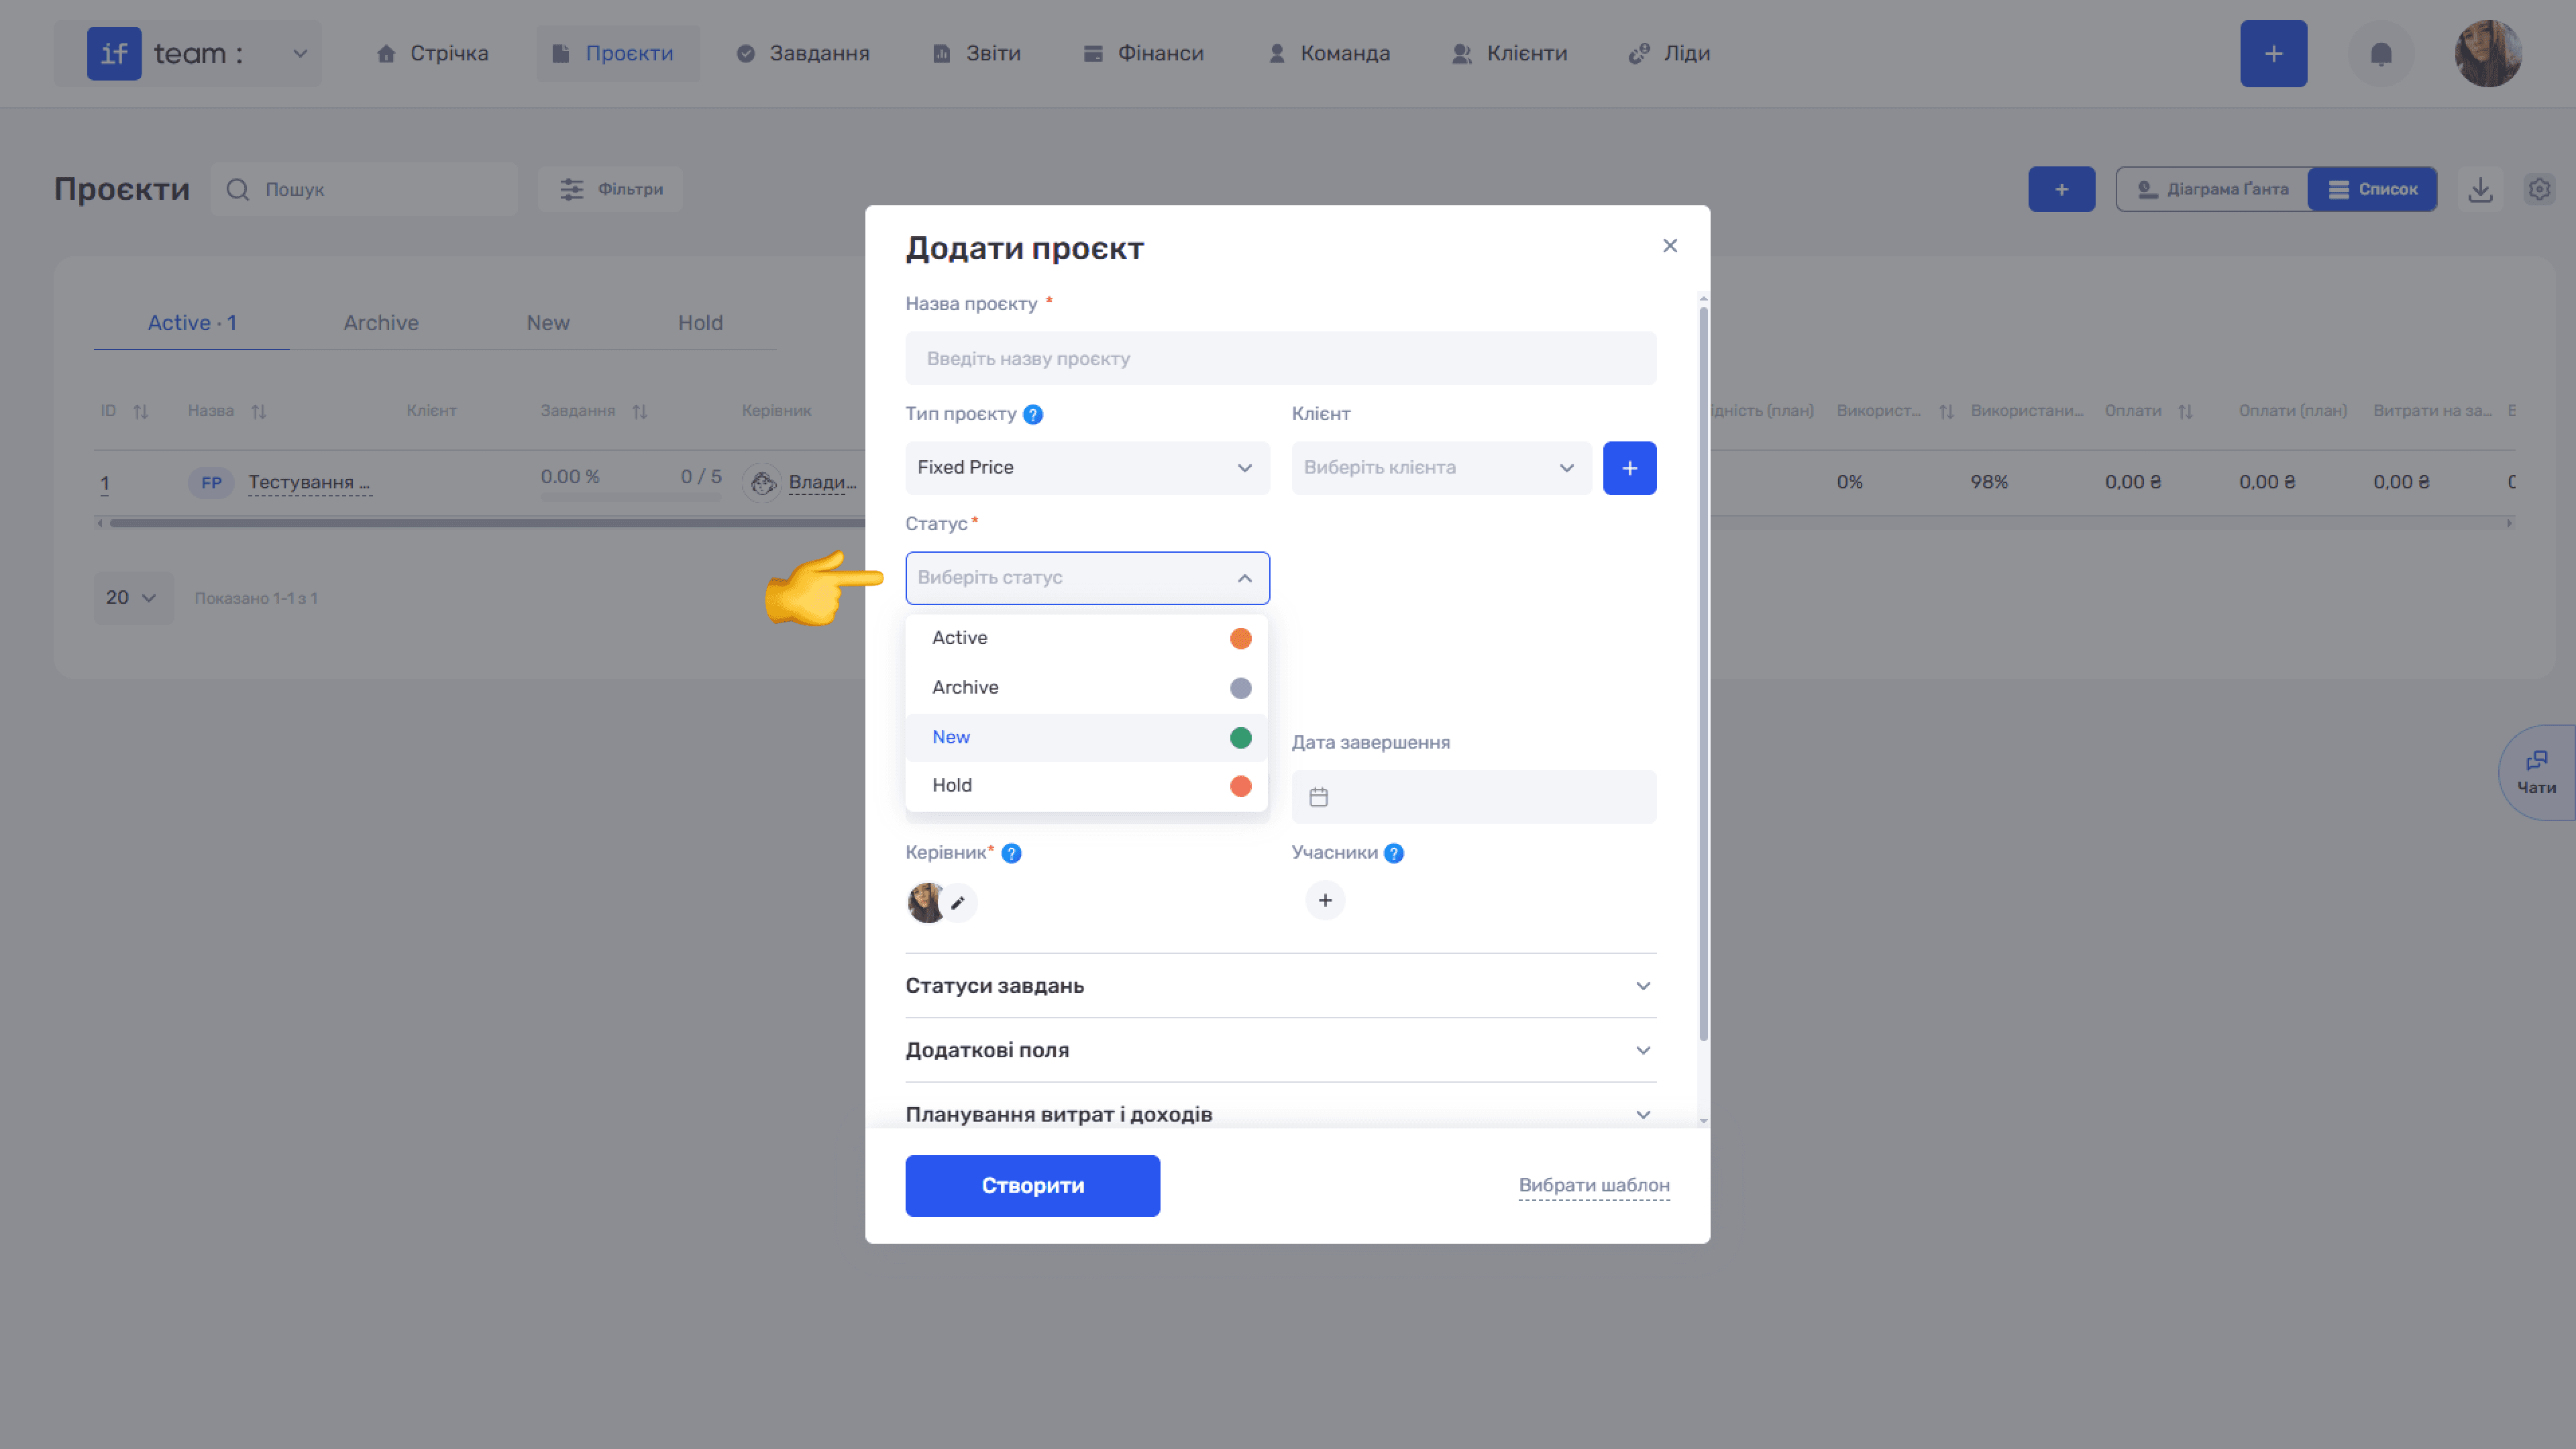
- Project Budget: enter the budget amount. By default, the currency matches the company’s primary currency. To change it, click the currency button next to the amount field.
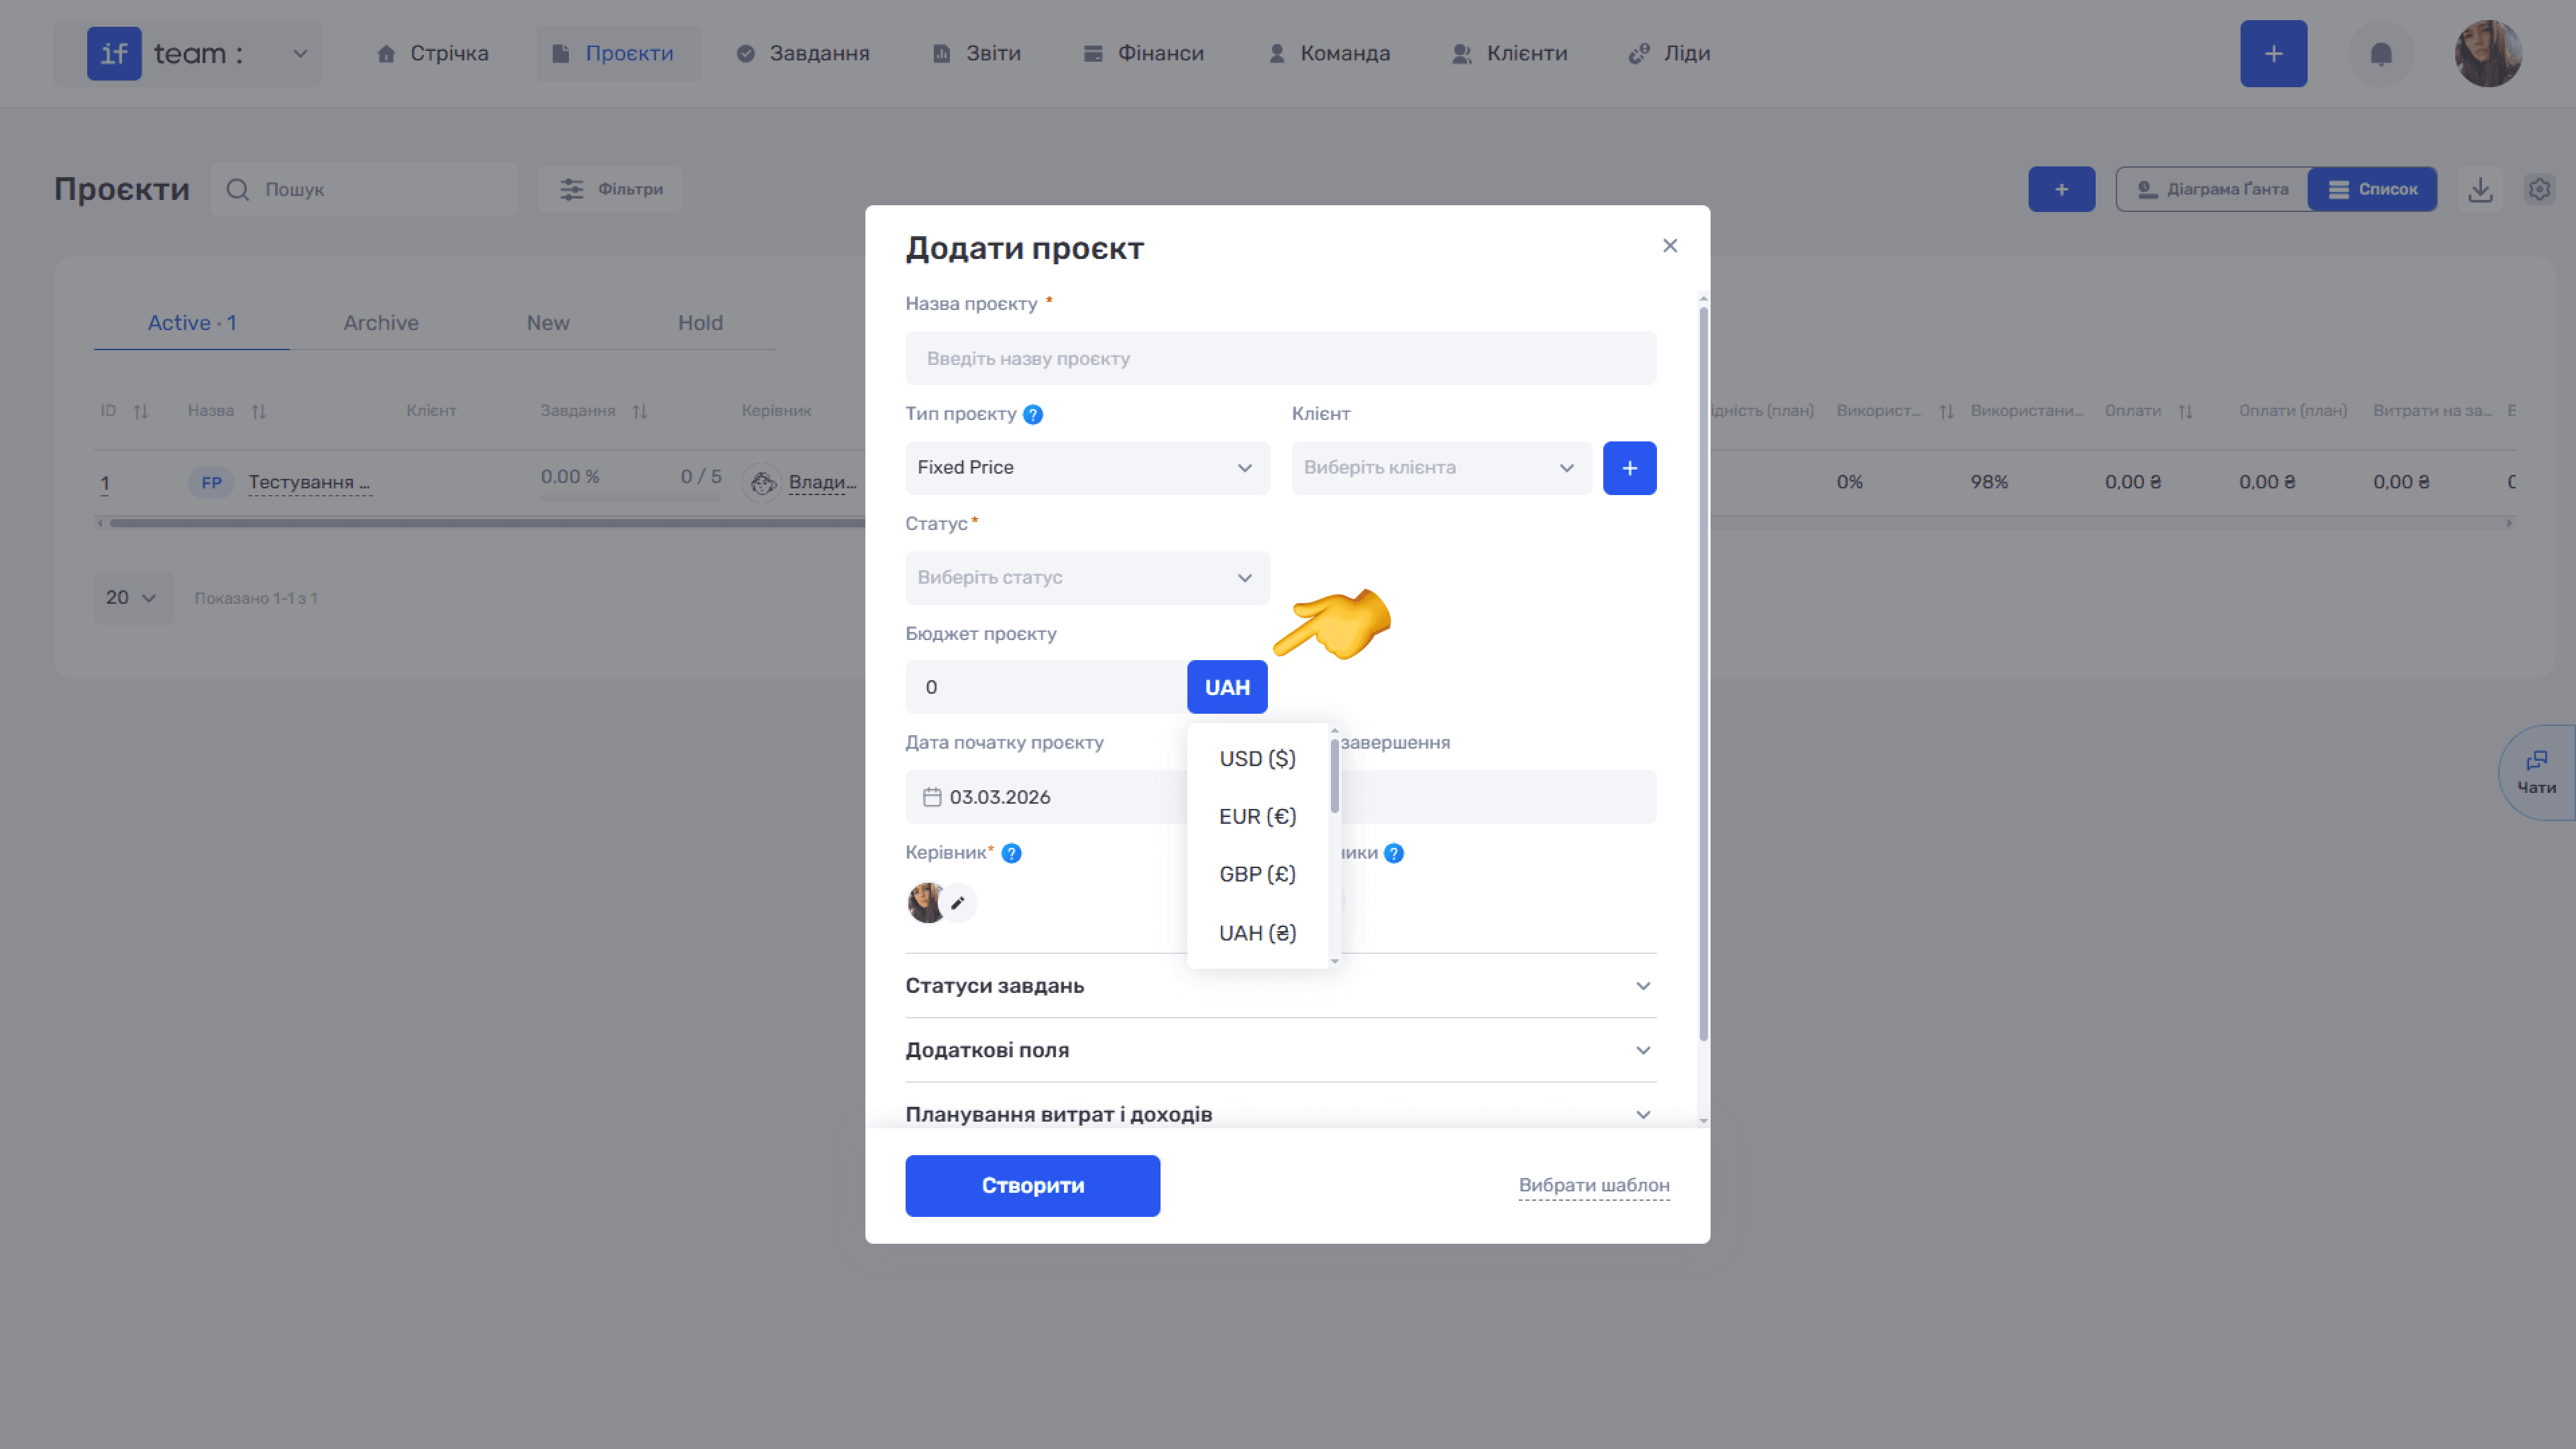
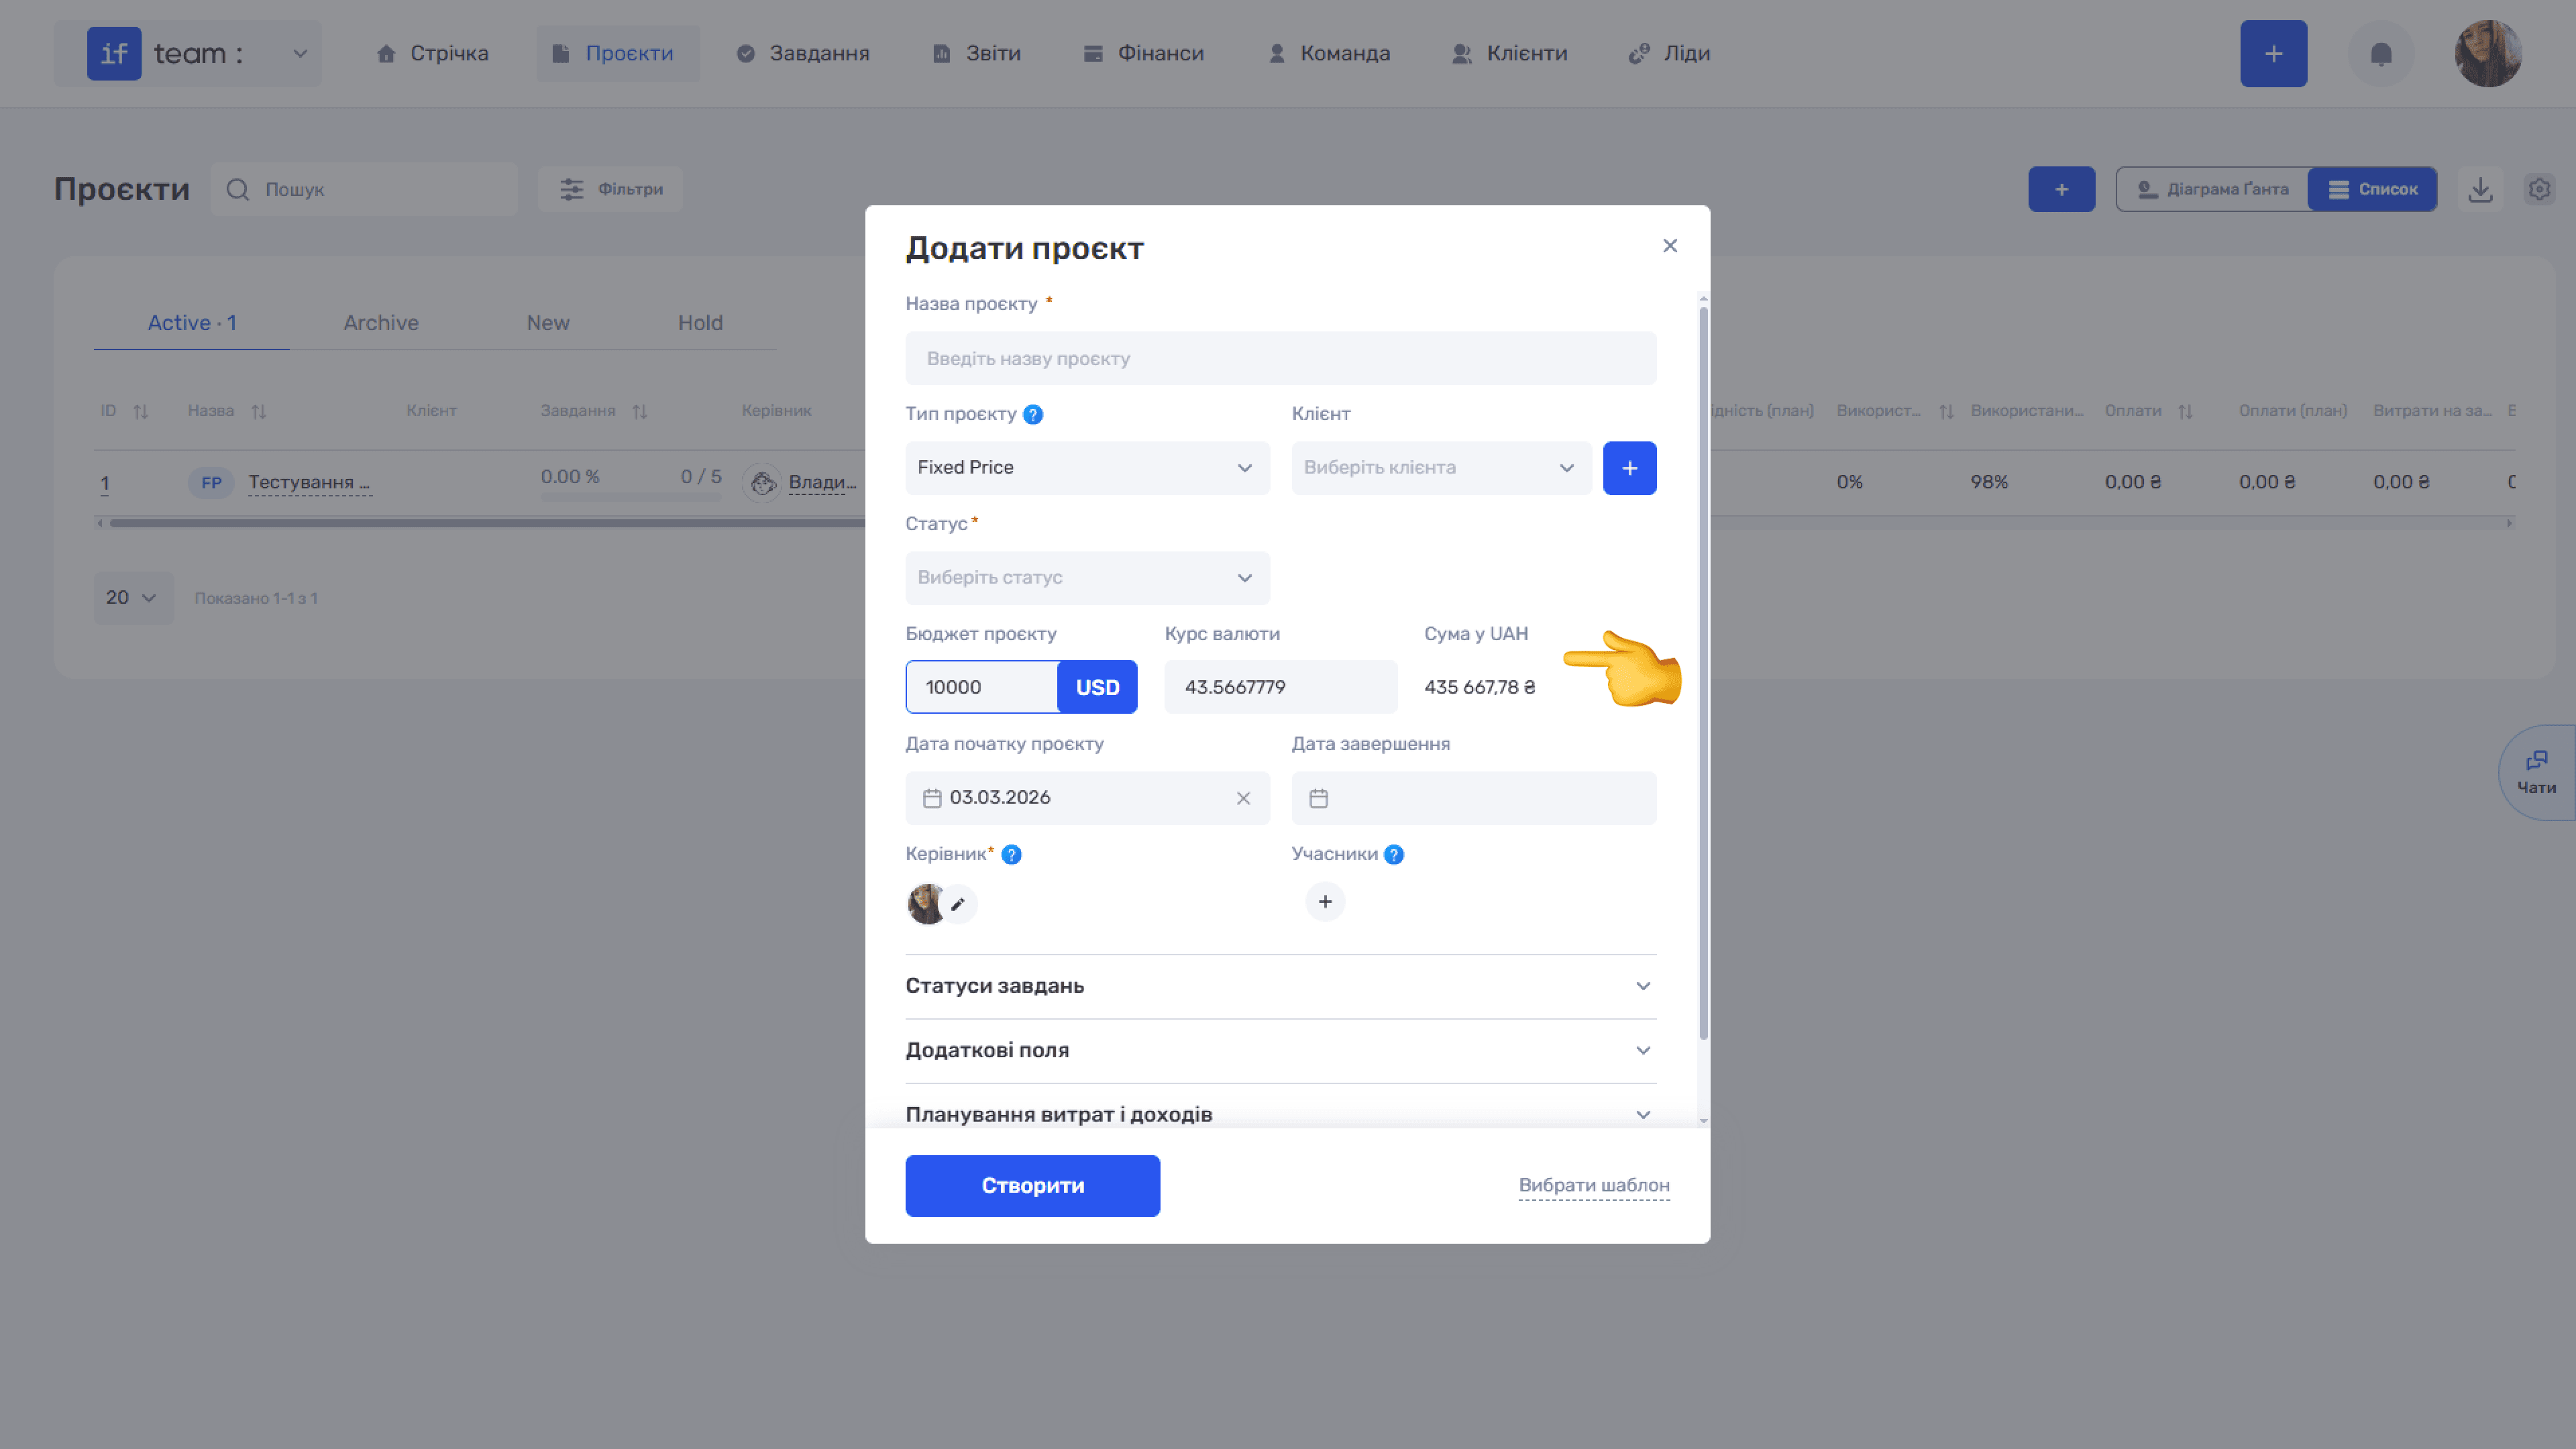
When you select a currency other than the primary currency, the system automatically inserts the current exchange rate and converts the amount into the company’s primary currency.
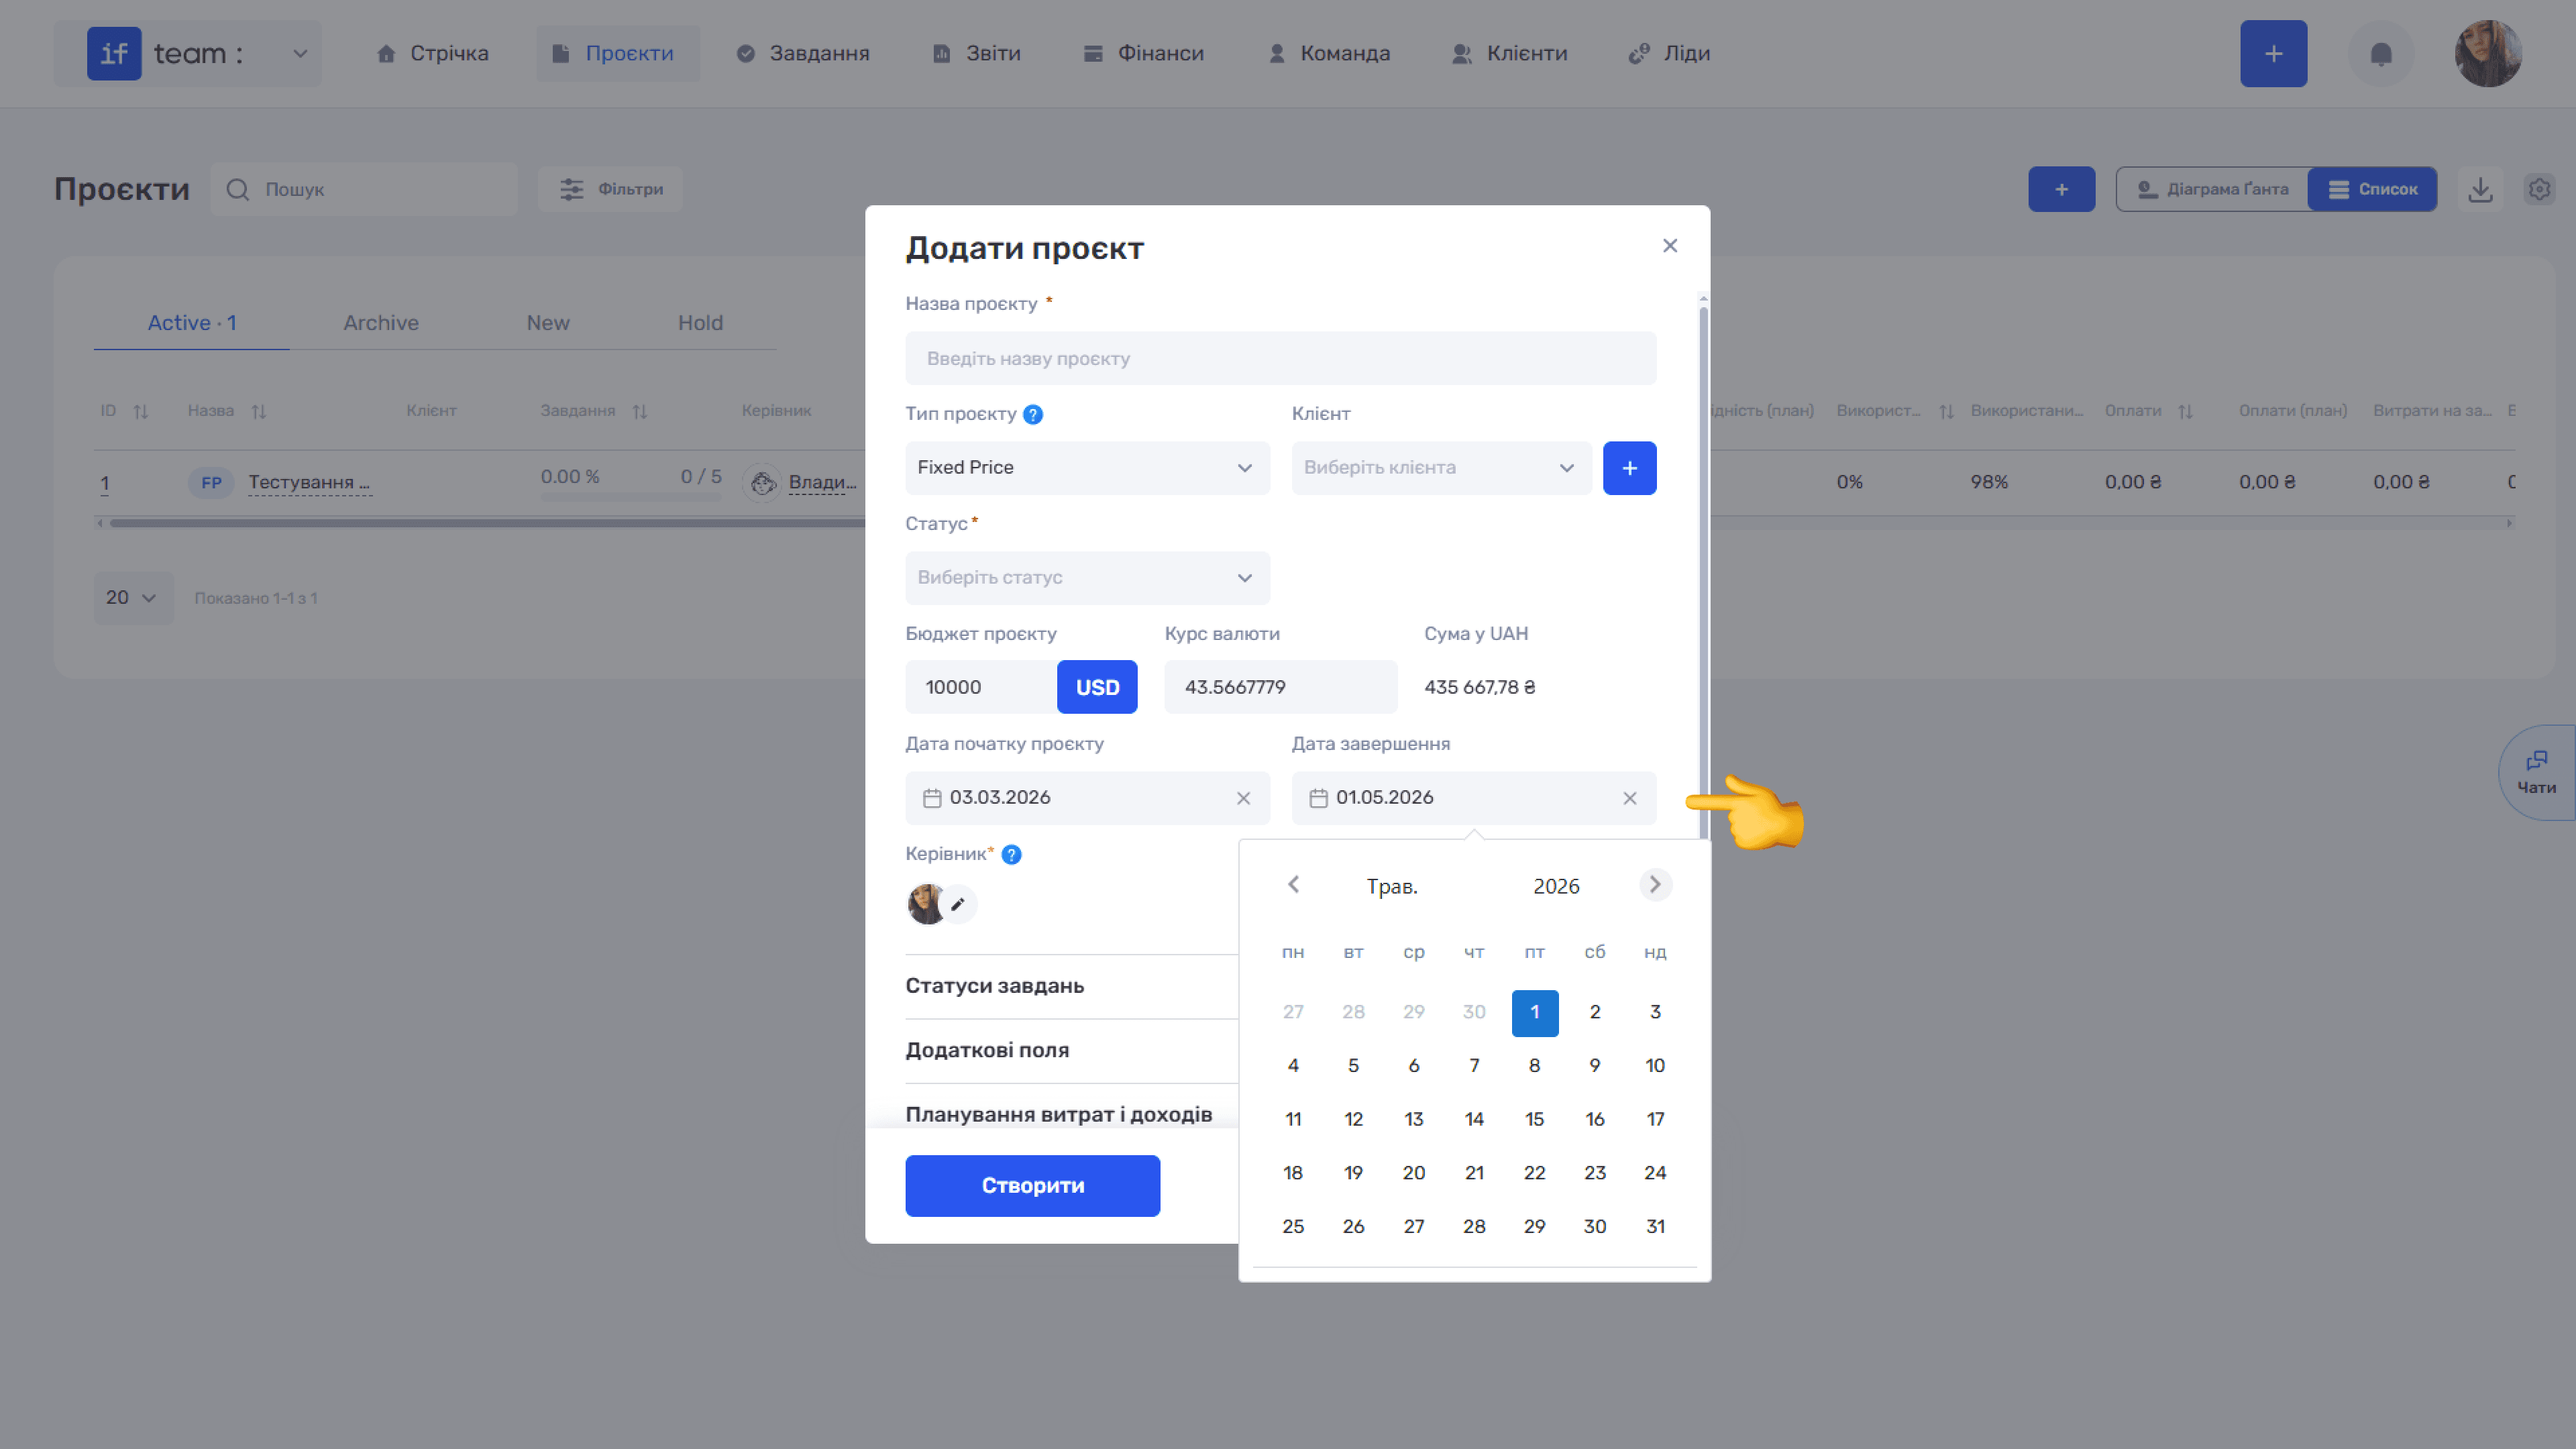
- Project Start Date and End Date: set the project timeline using the calendar. Click a date field to open the calendar widget, where you can select the required day and use the arrows to switch between months.
- Project Manager: assign the person responsible for the project. This field is required. By default, the project creator is assigned as the project manager.
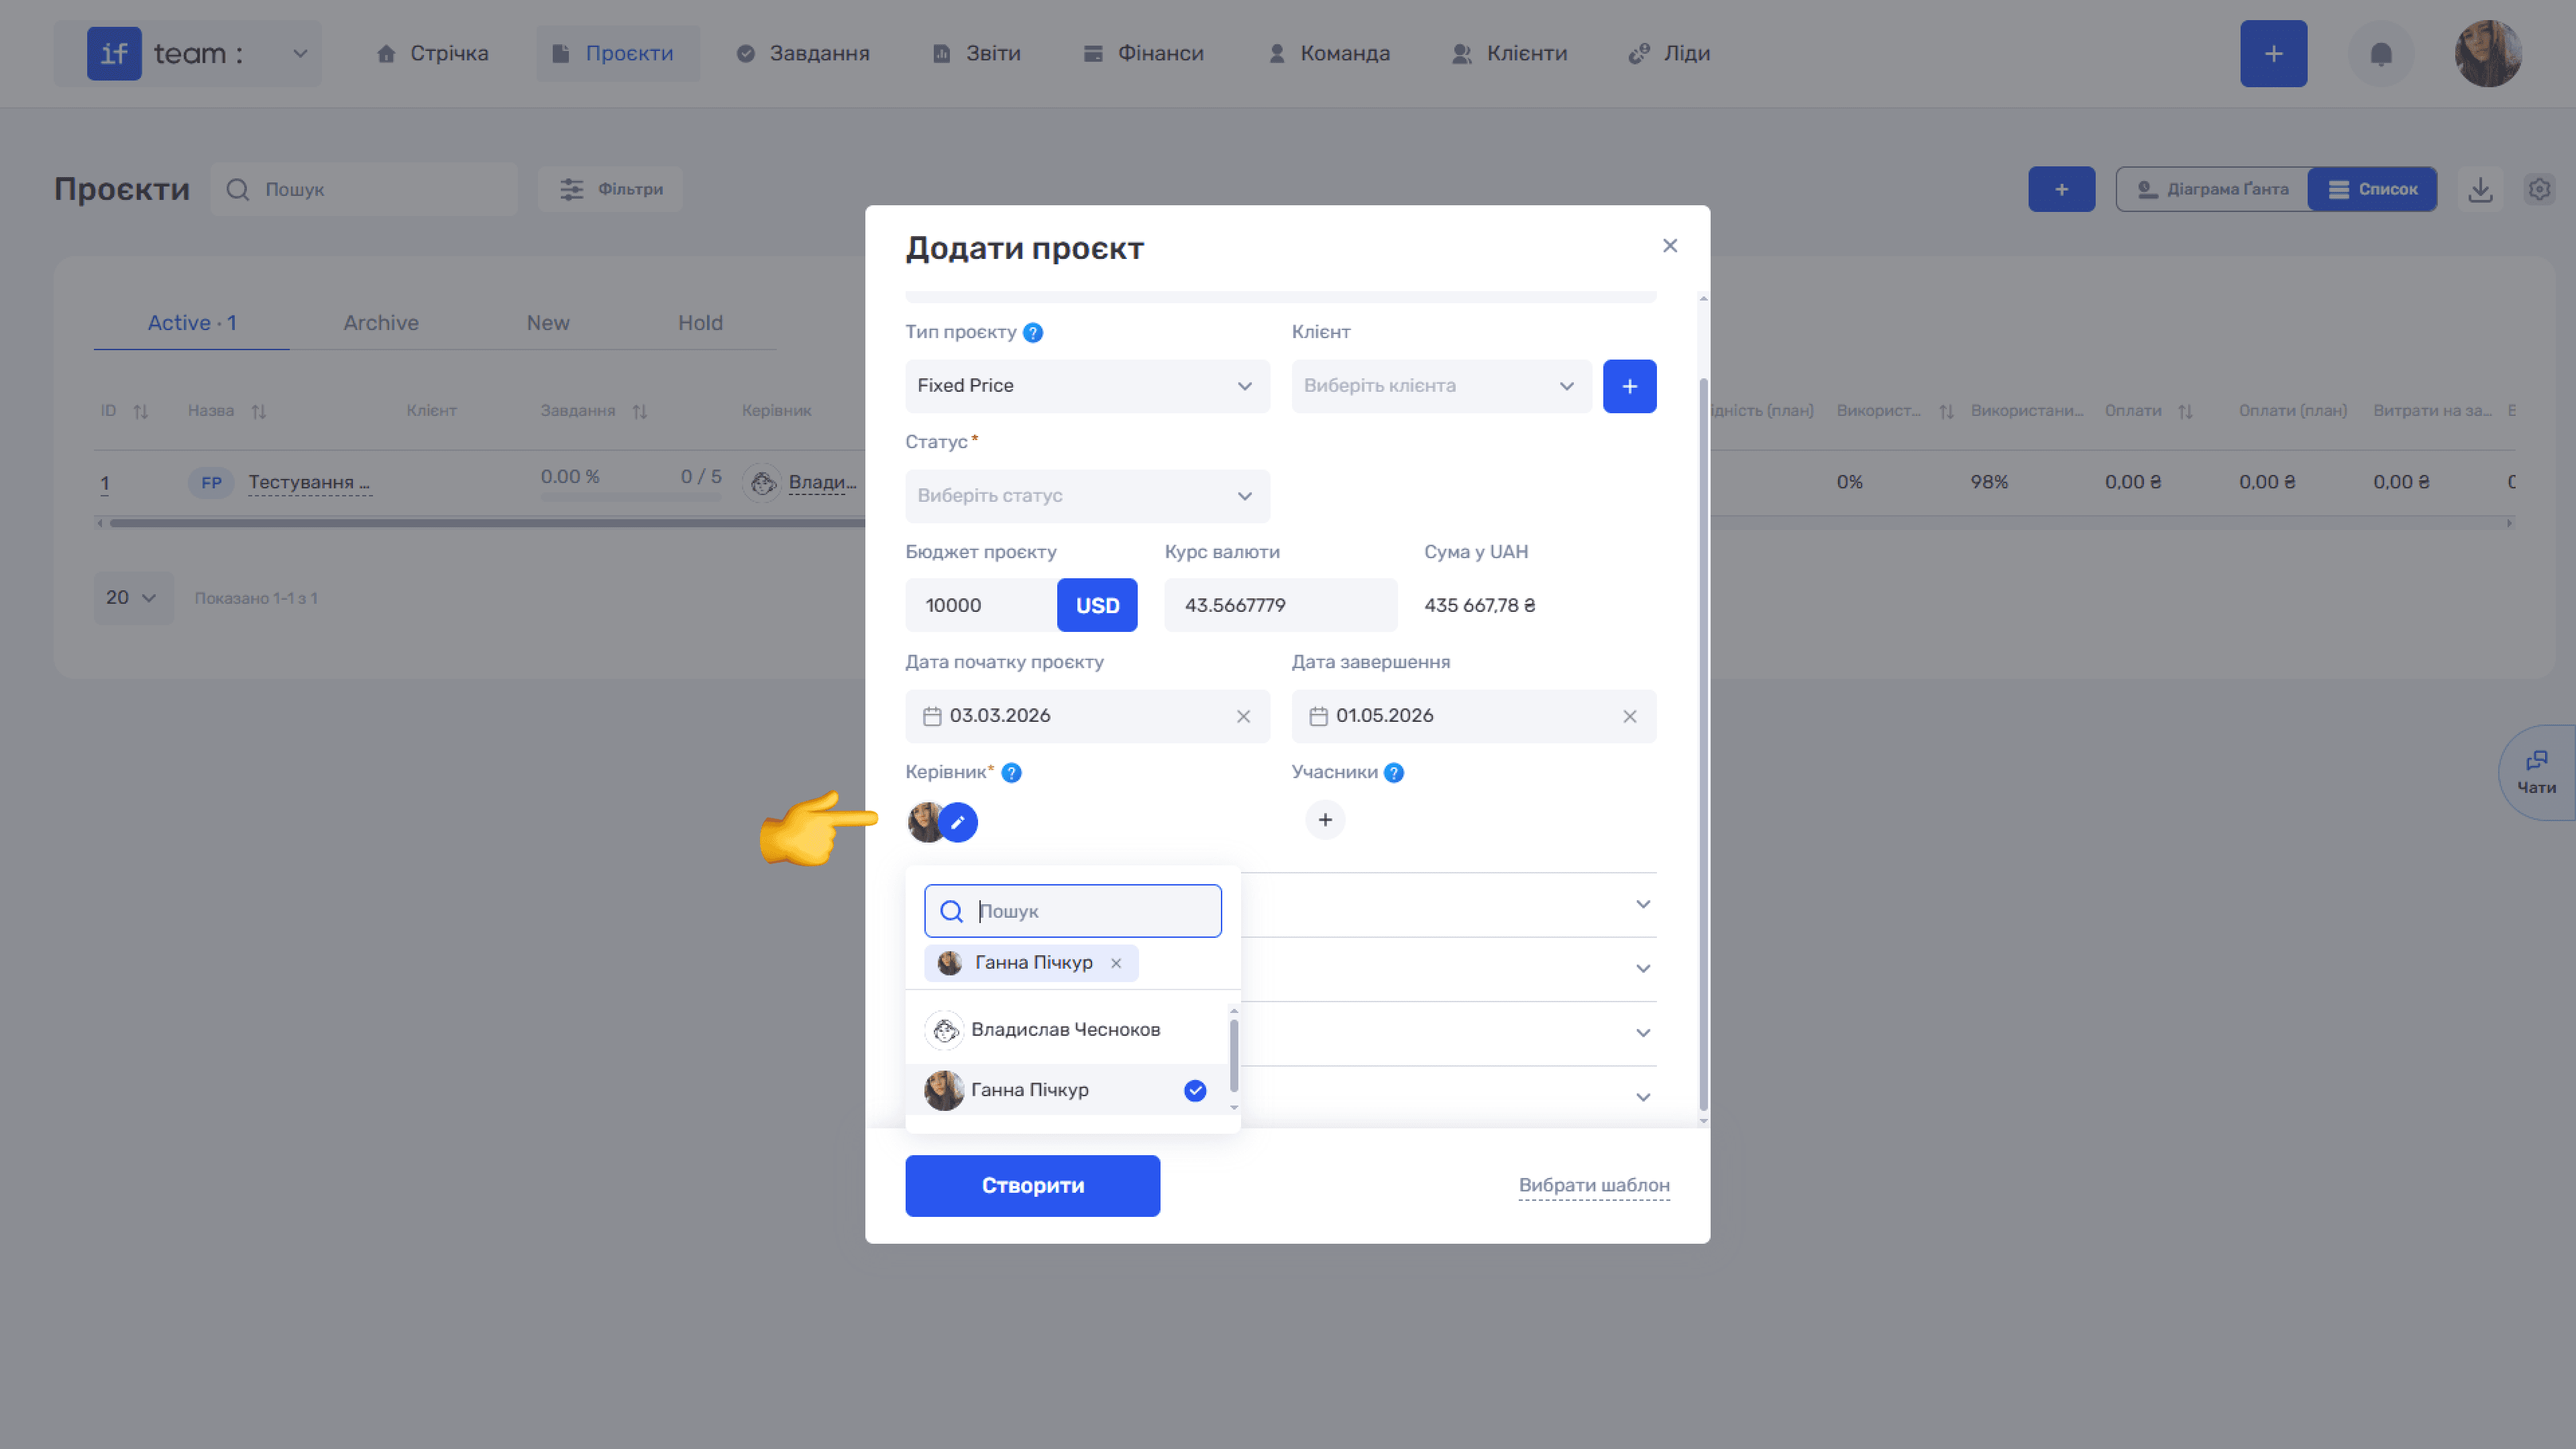
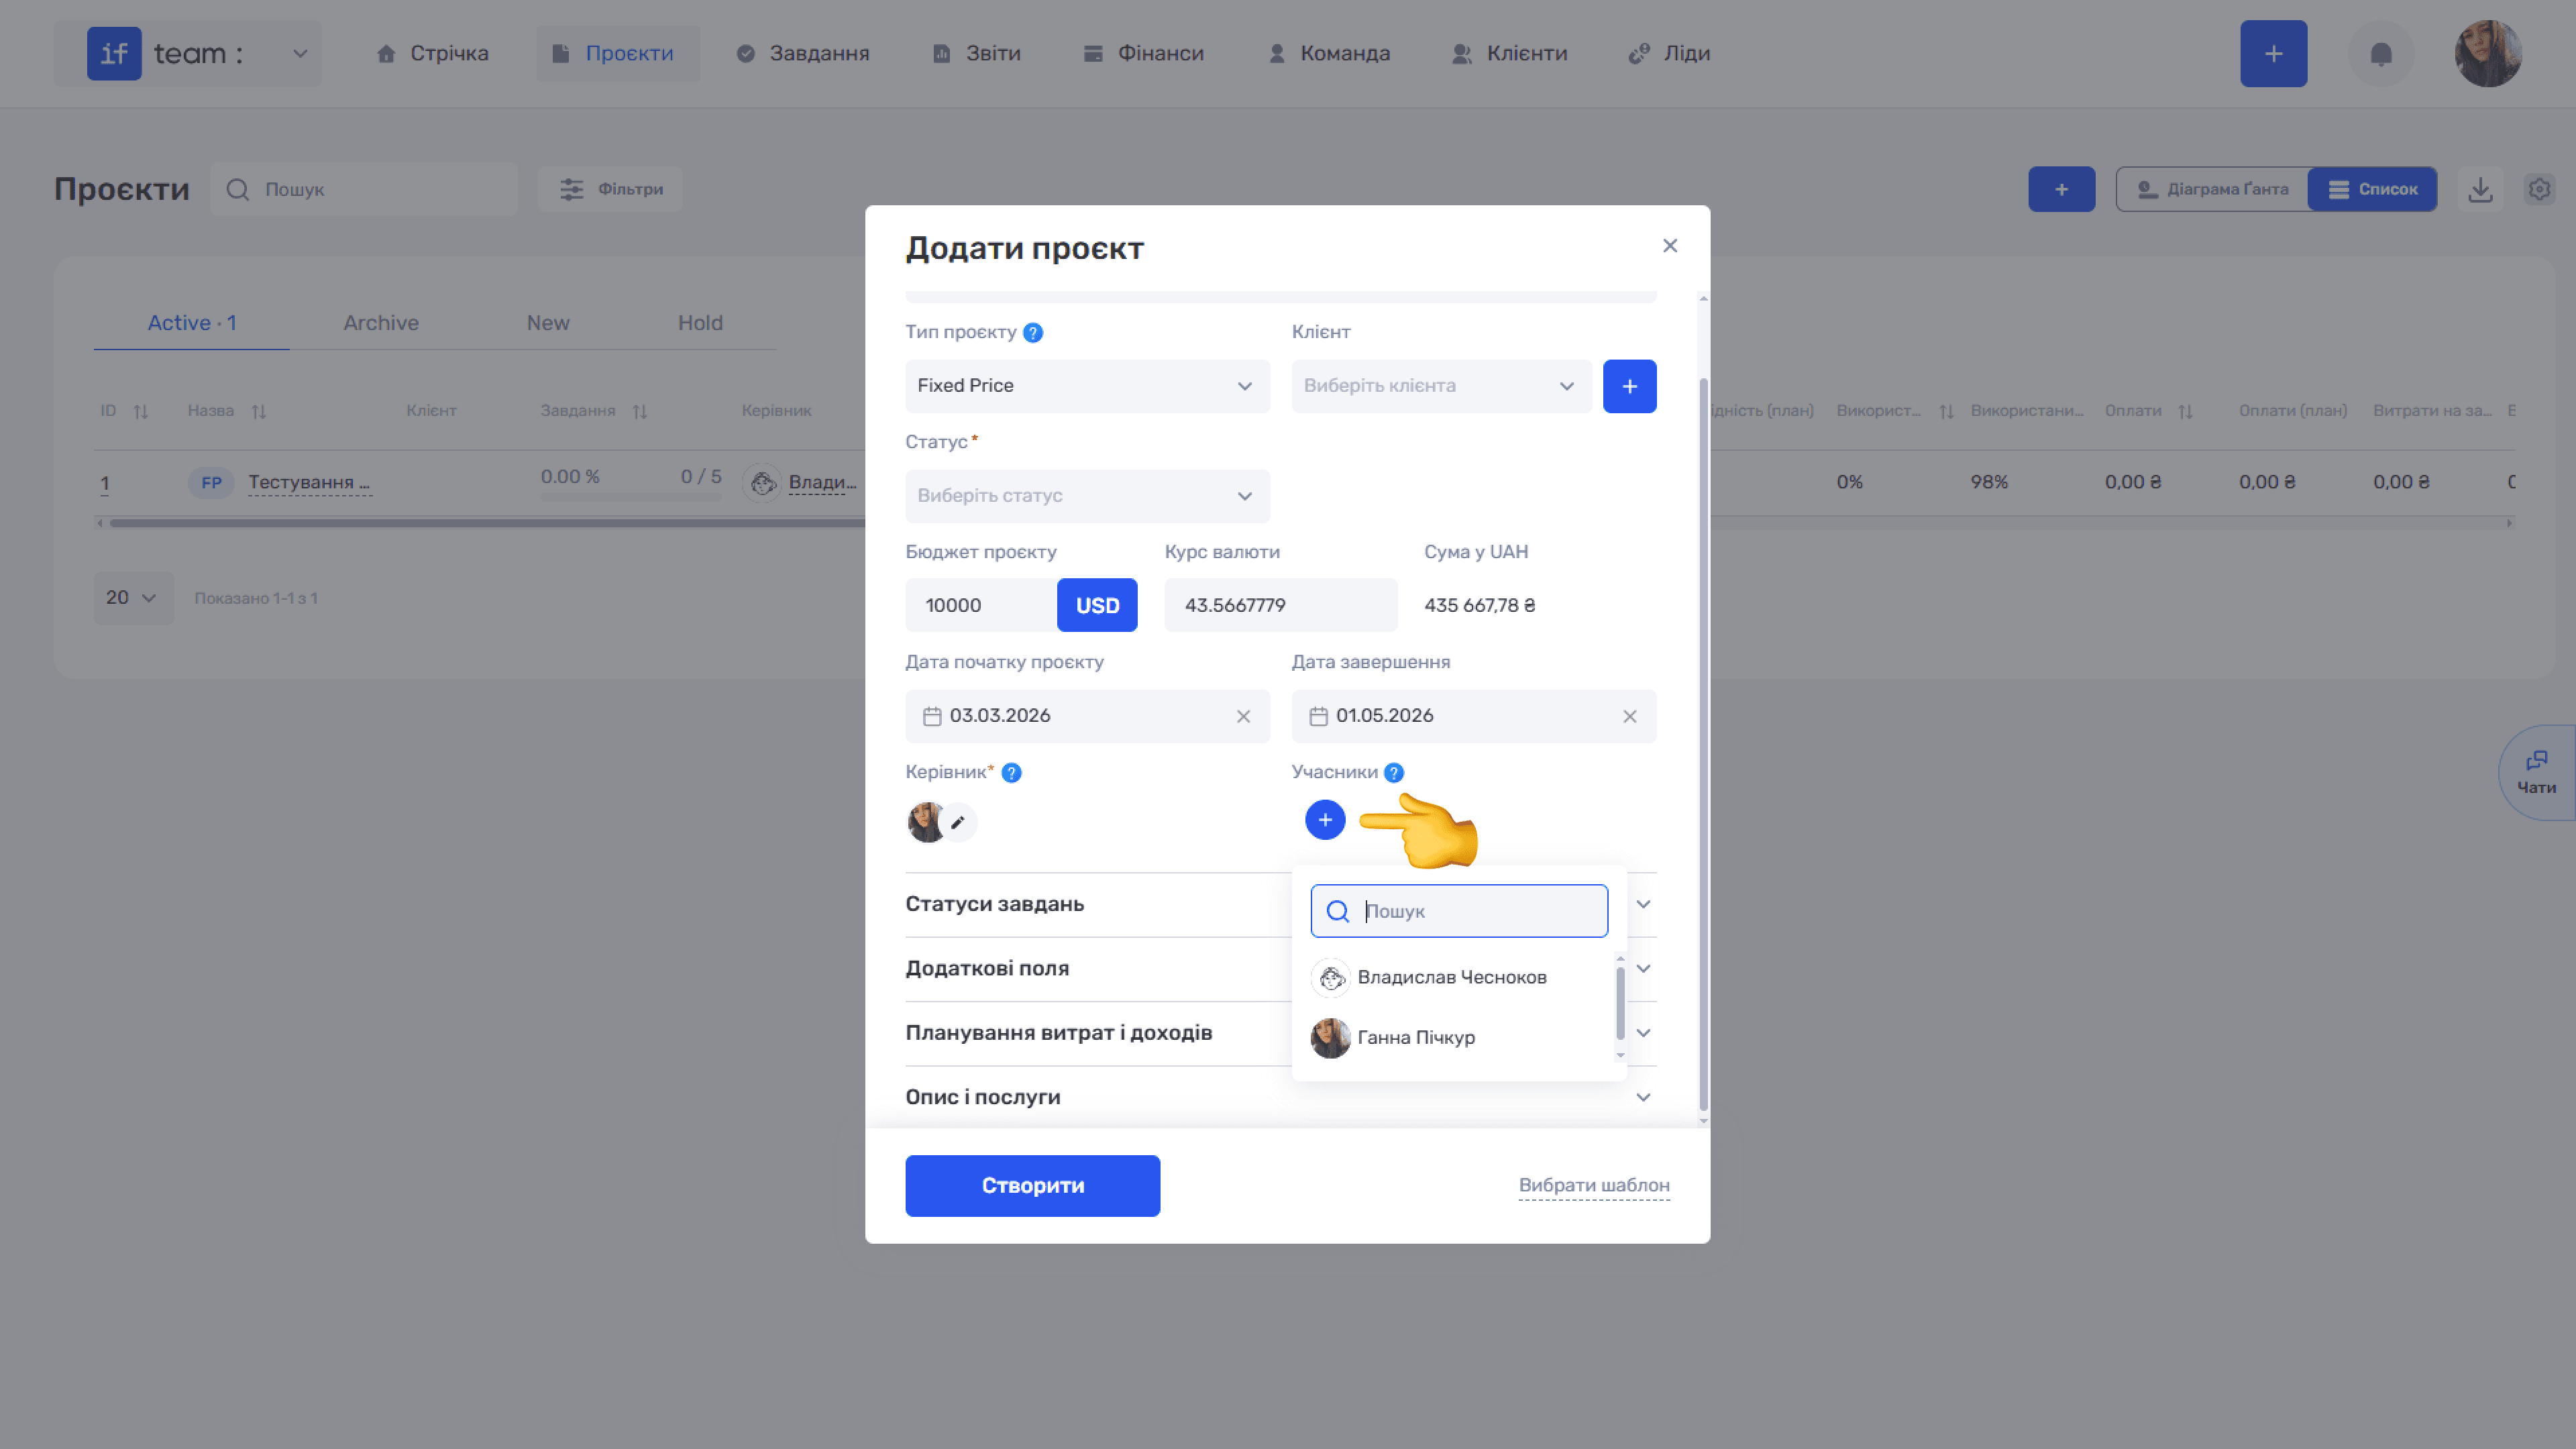
- Participants: add the team members who will work on the project by clicking +. Find and select the required employees using the searchable drop-down list.
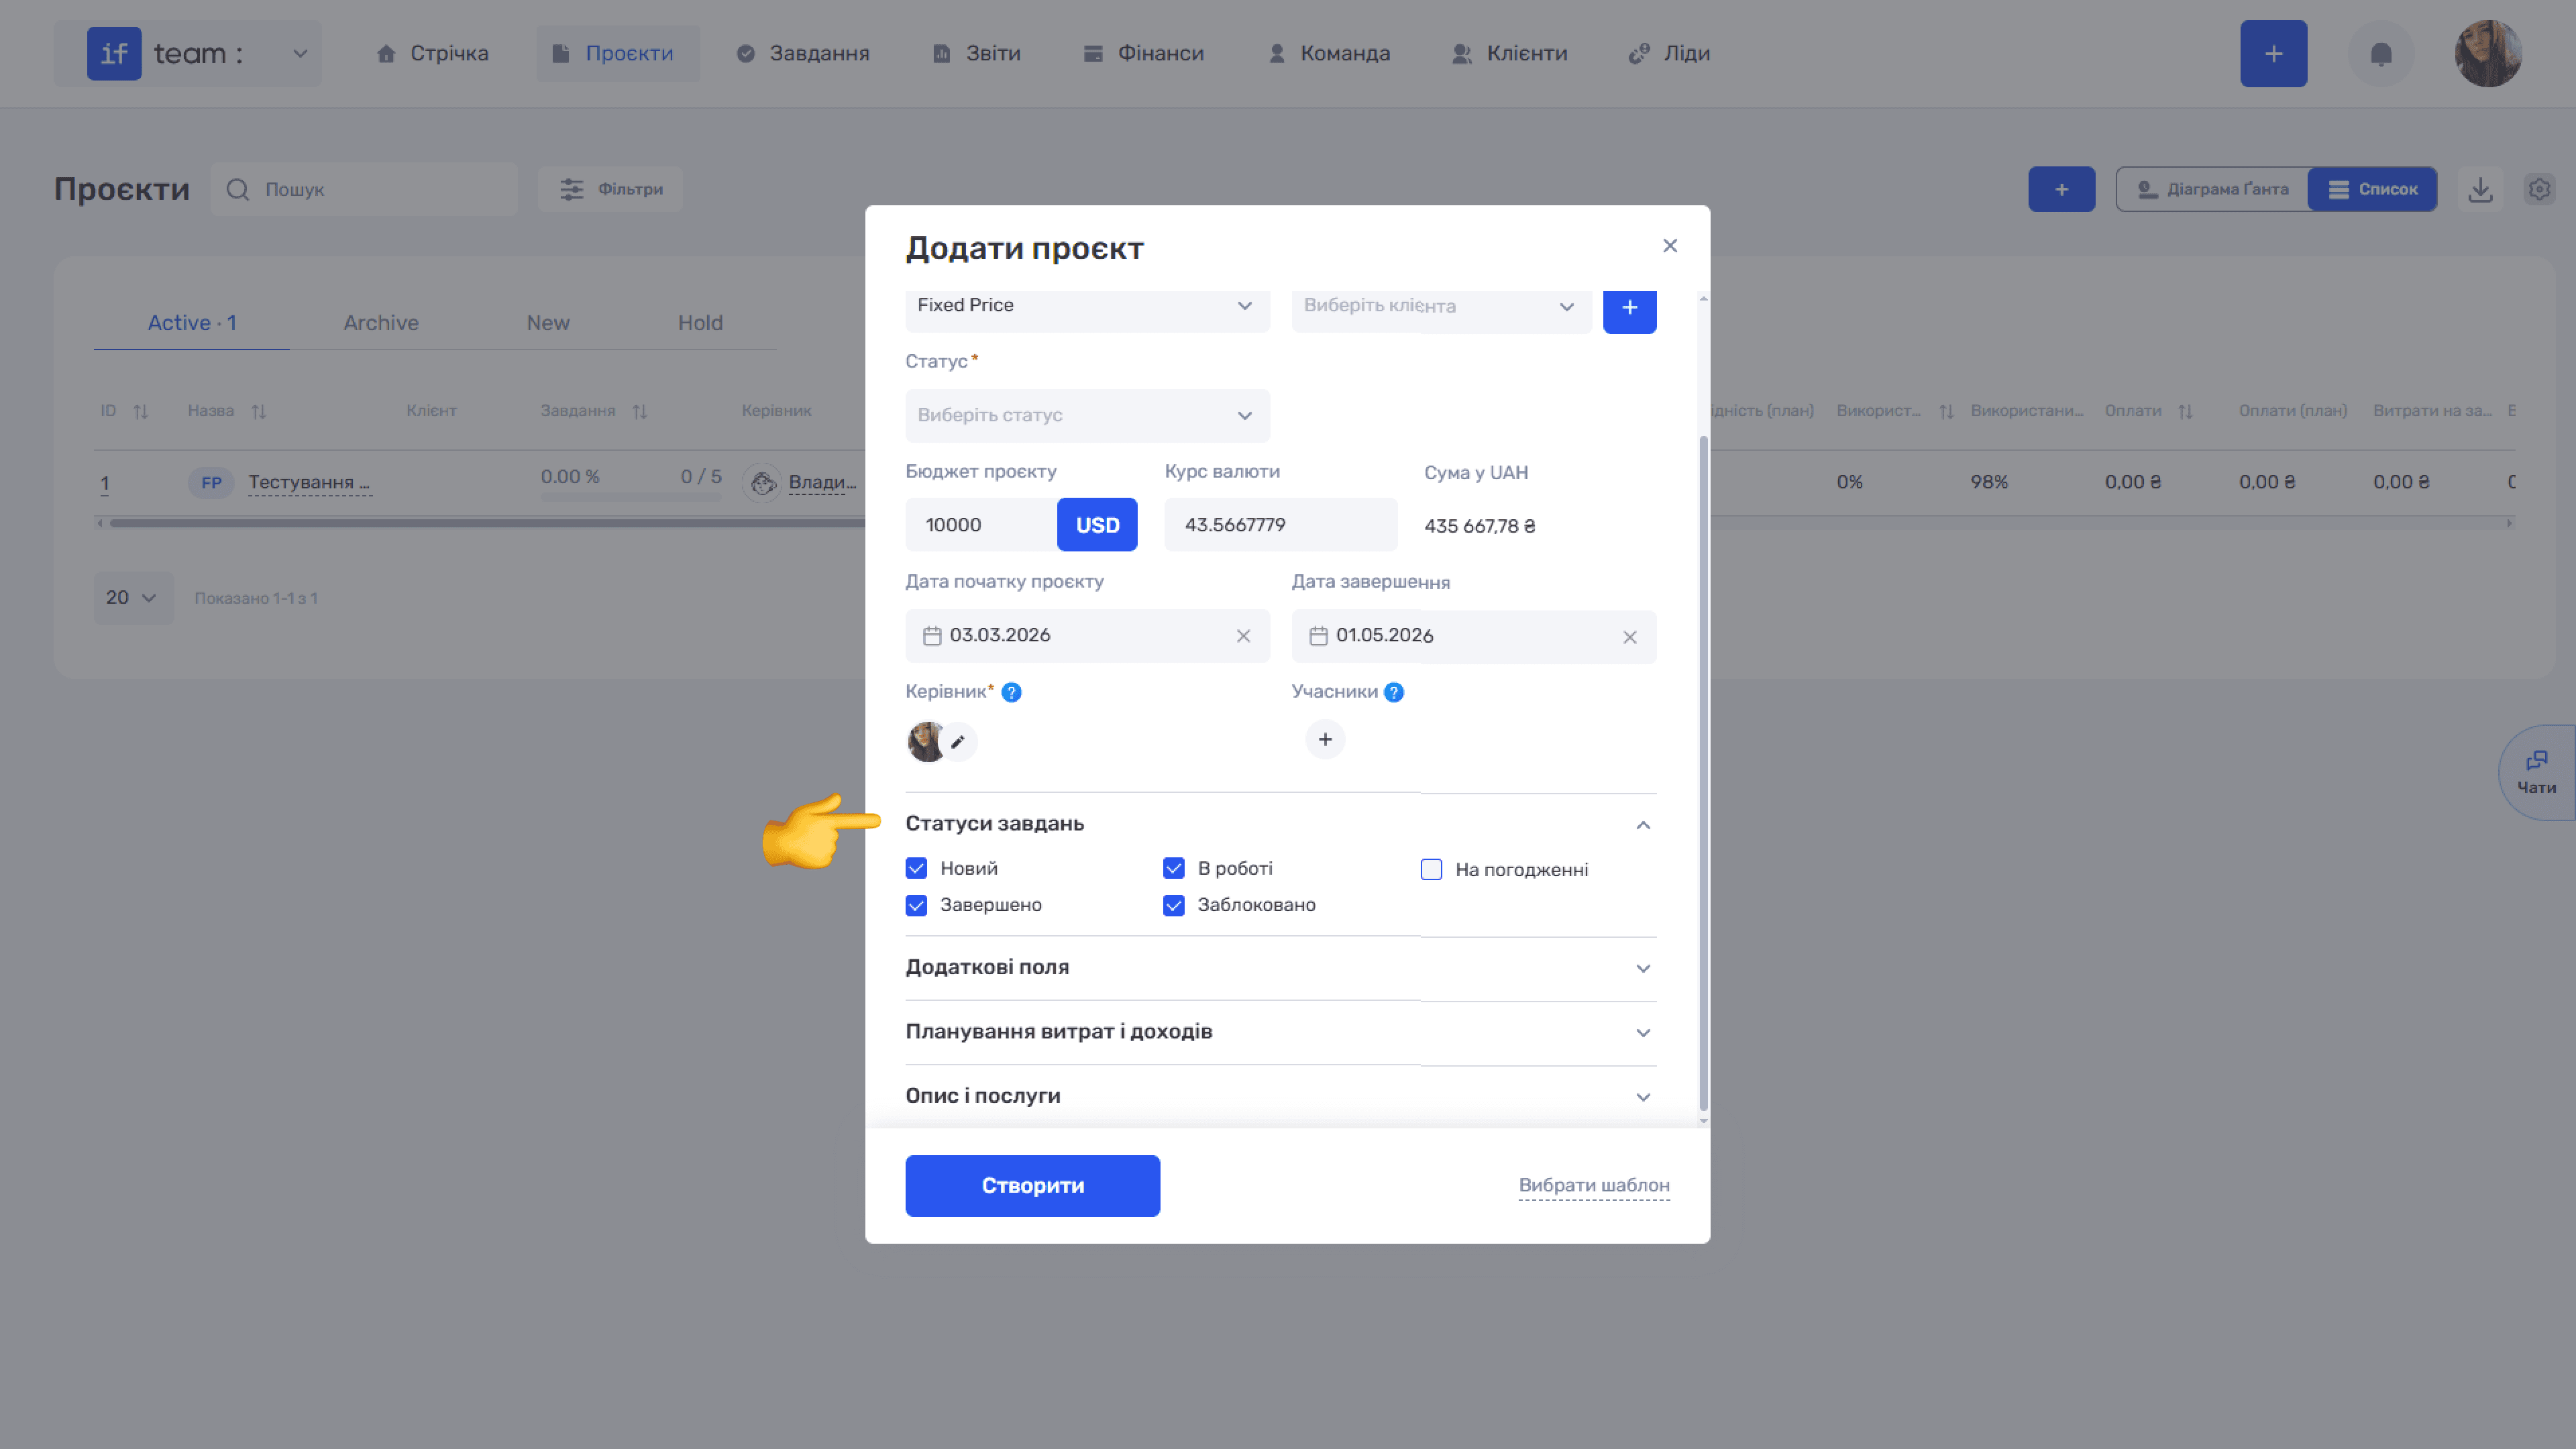
- Task Statuses are the statuses created in the Admin Panel under Settings → Task Statuses that will be available for tasks in this project. Clear the checkbox for any statuses you do not need.
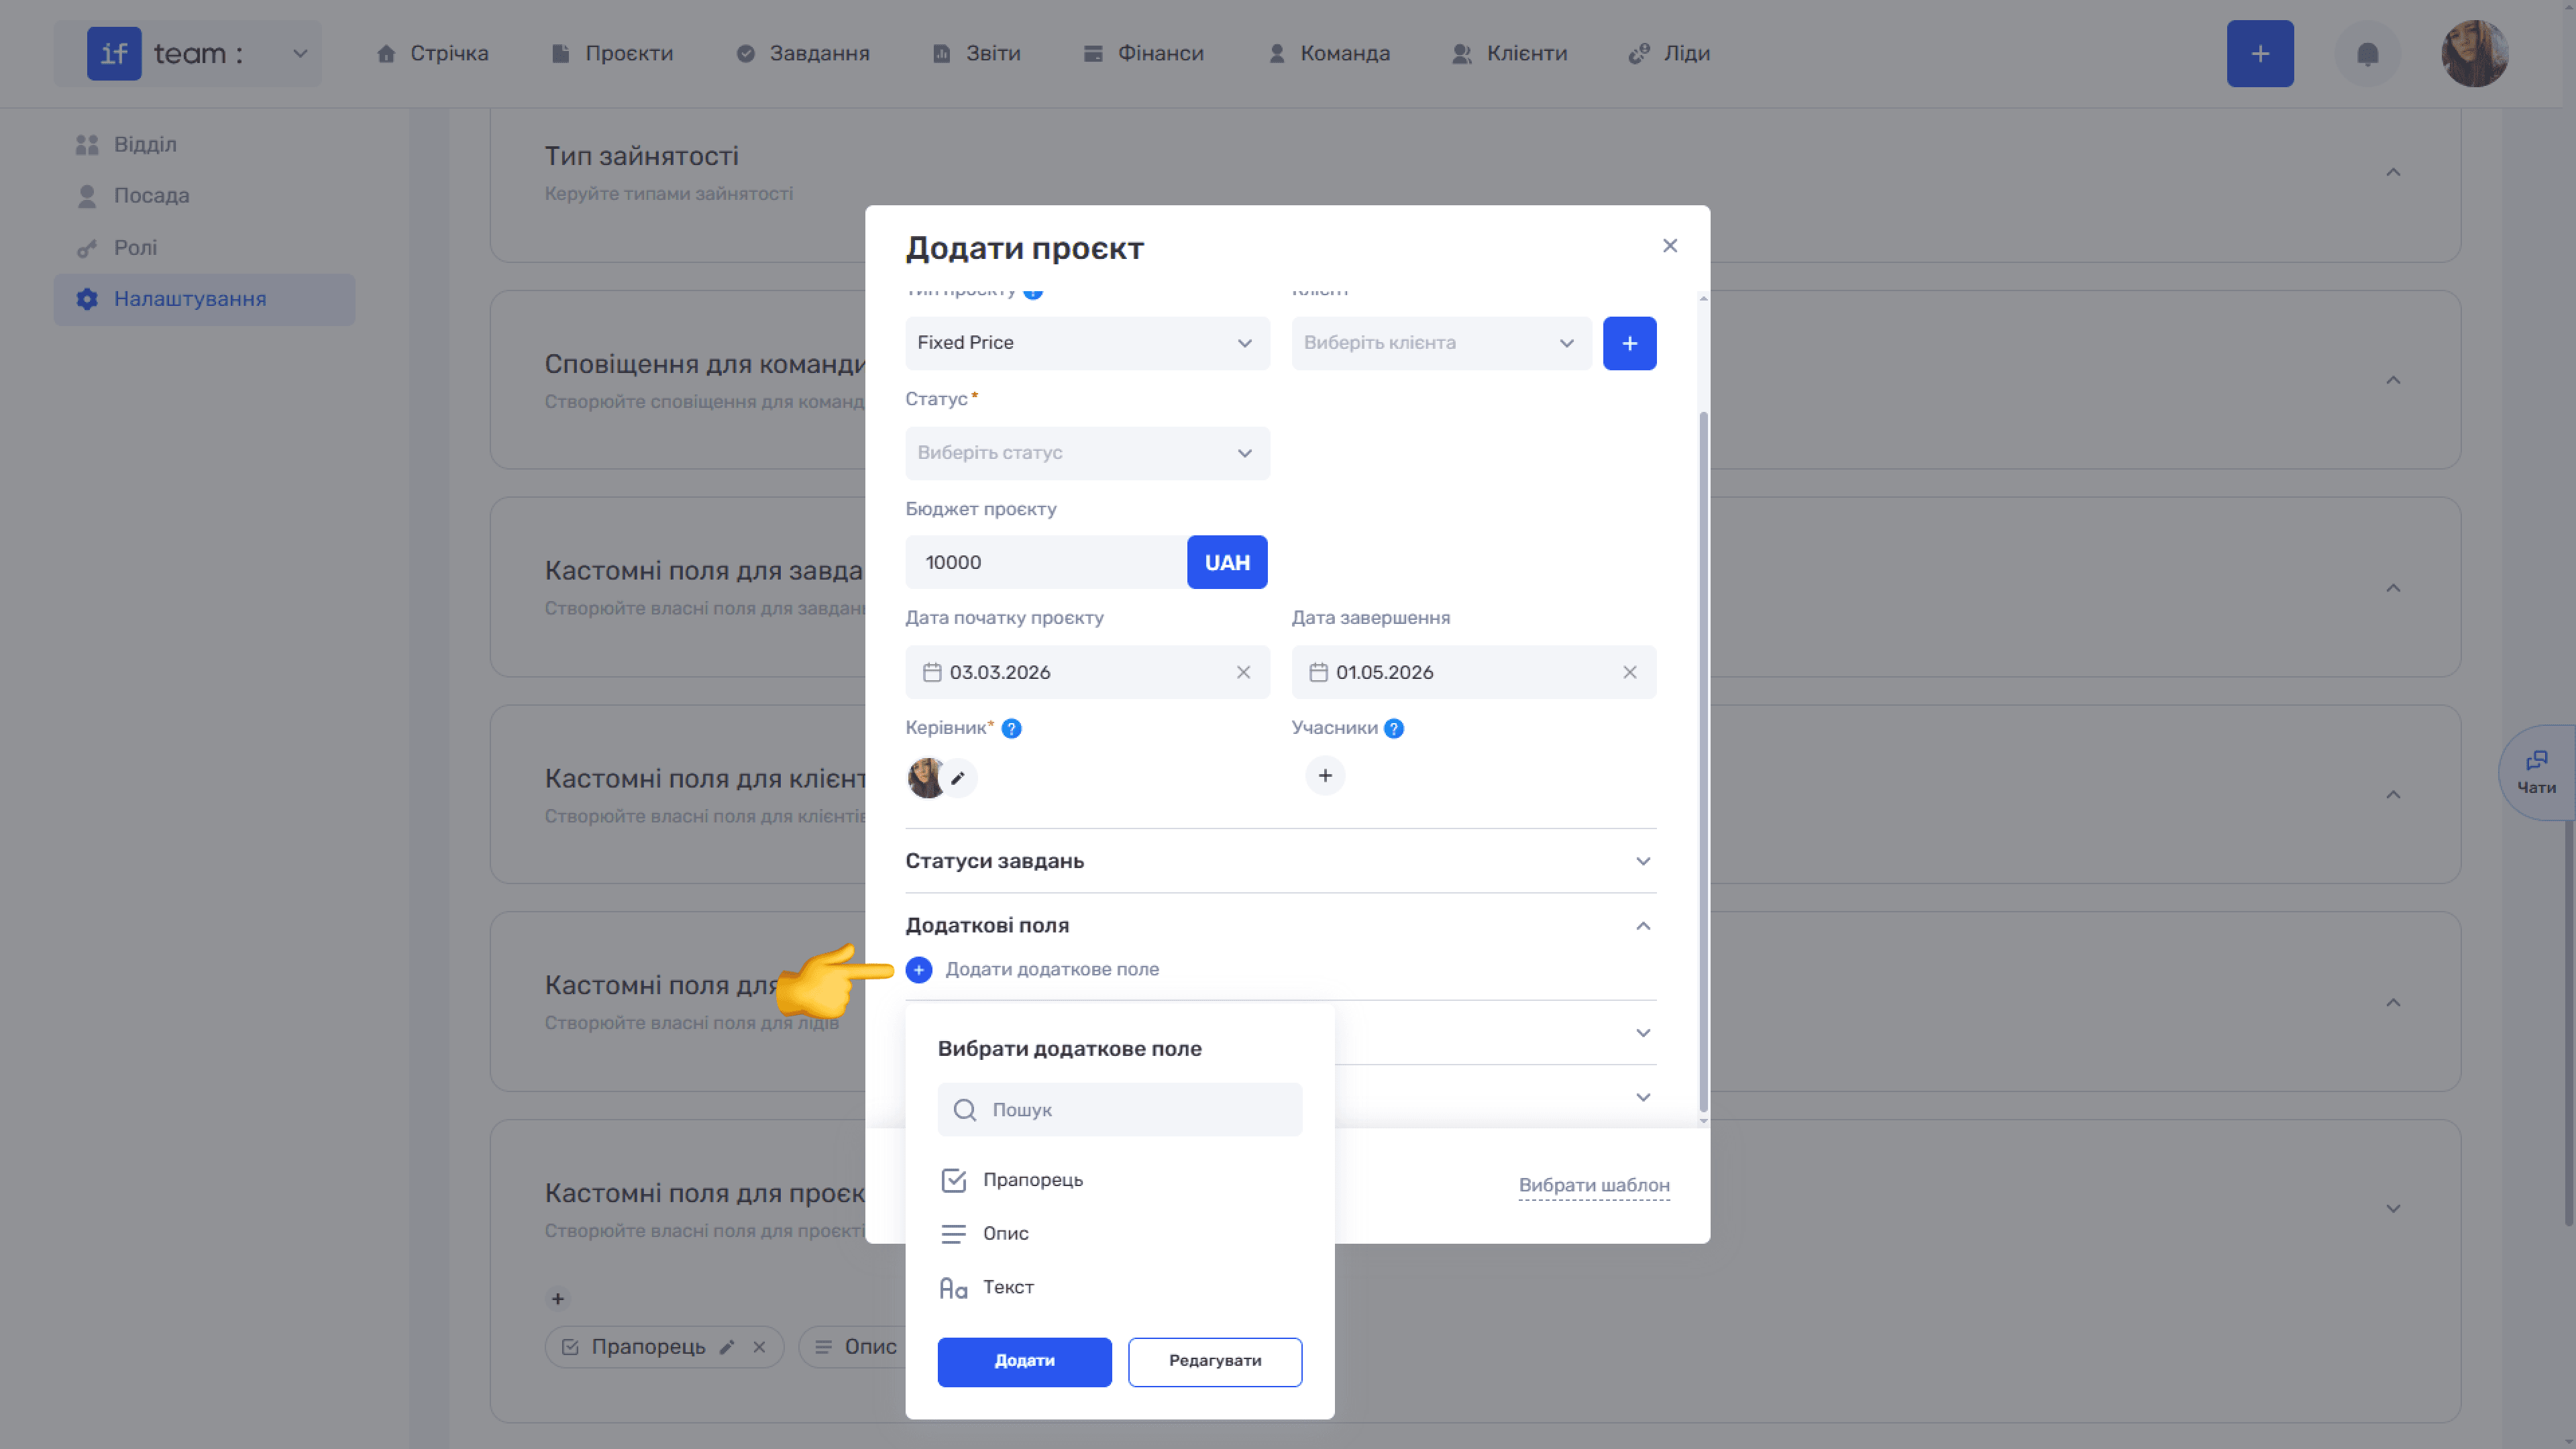
- Additional Fields lets you add custom fields to the project that were created in Settings in the Admin Panel; see Custom Fields for Projects.
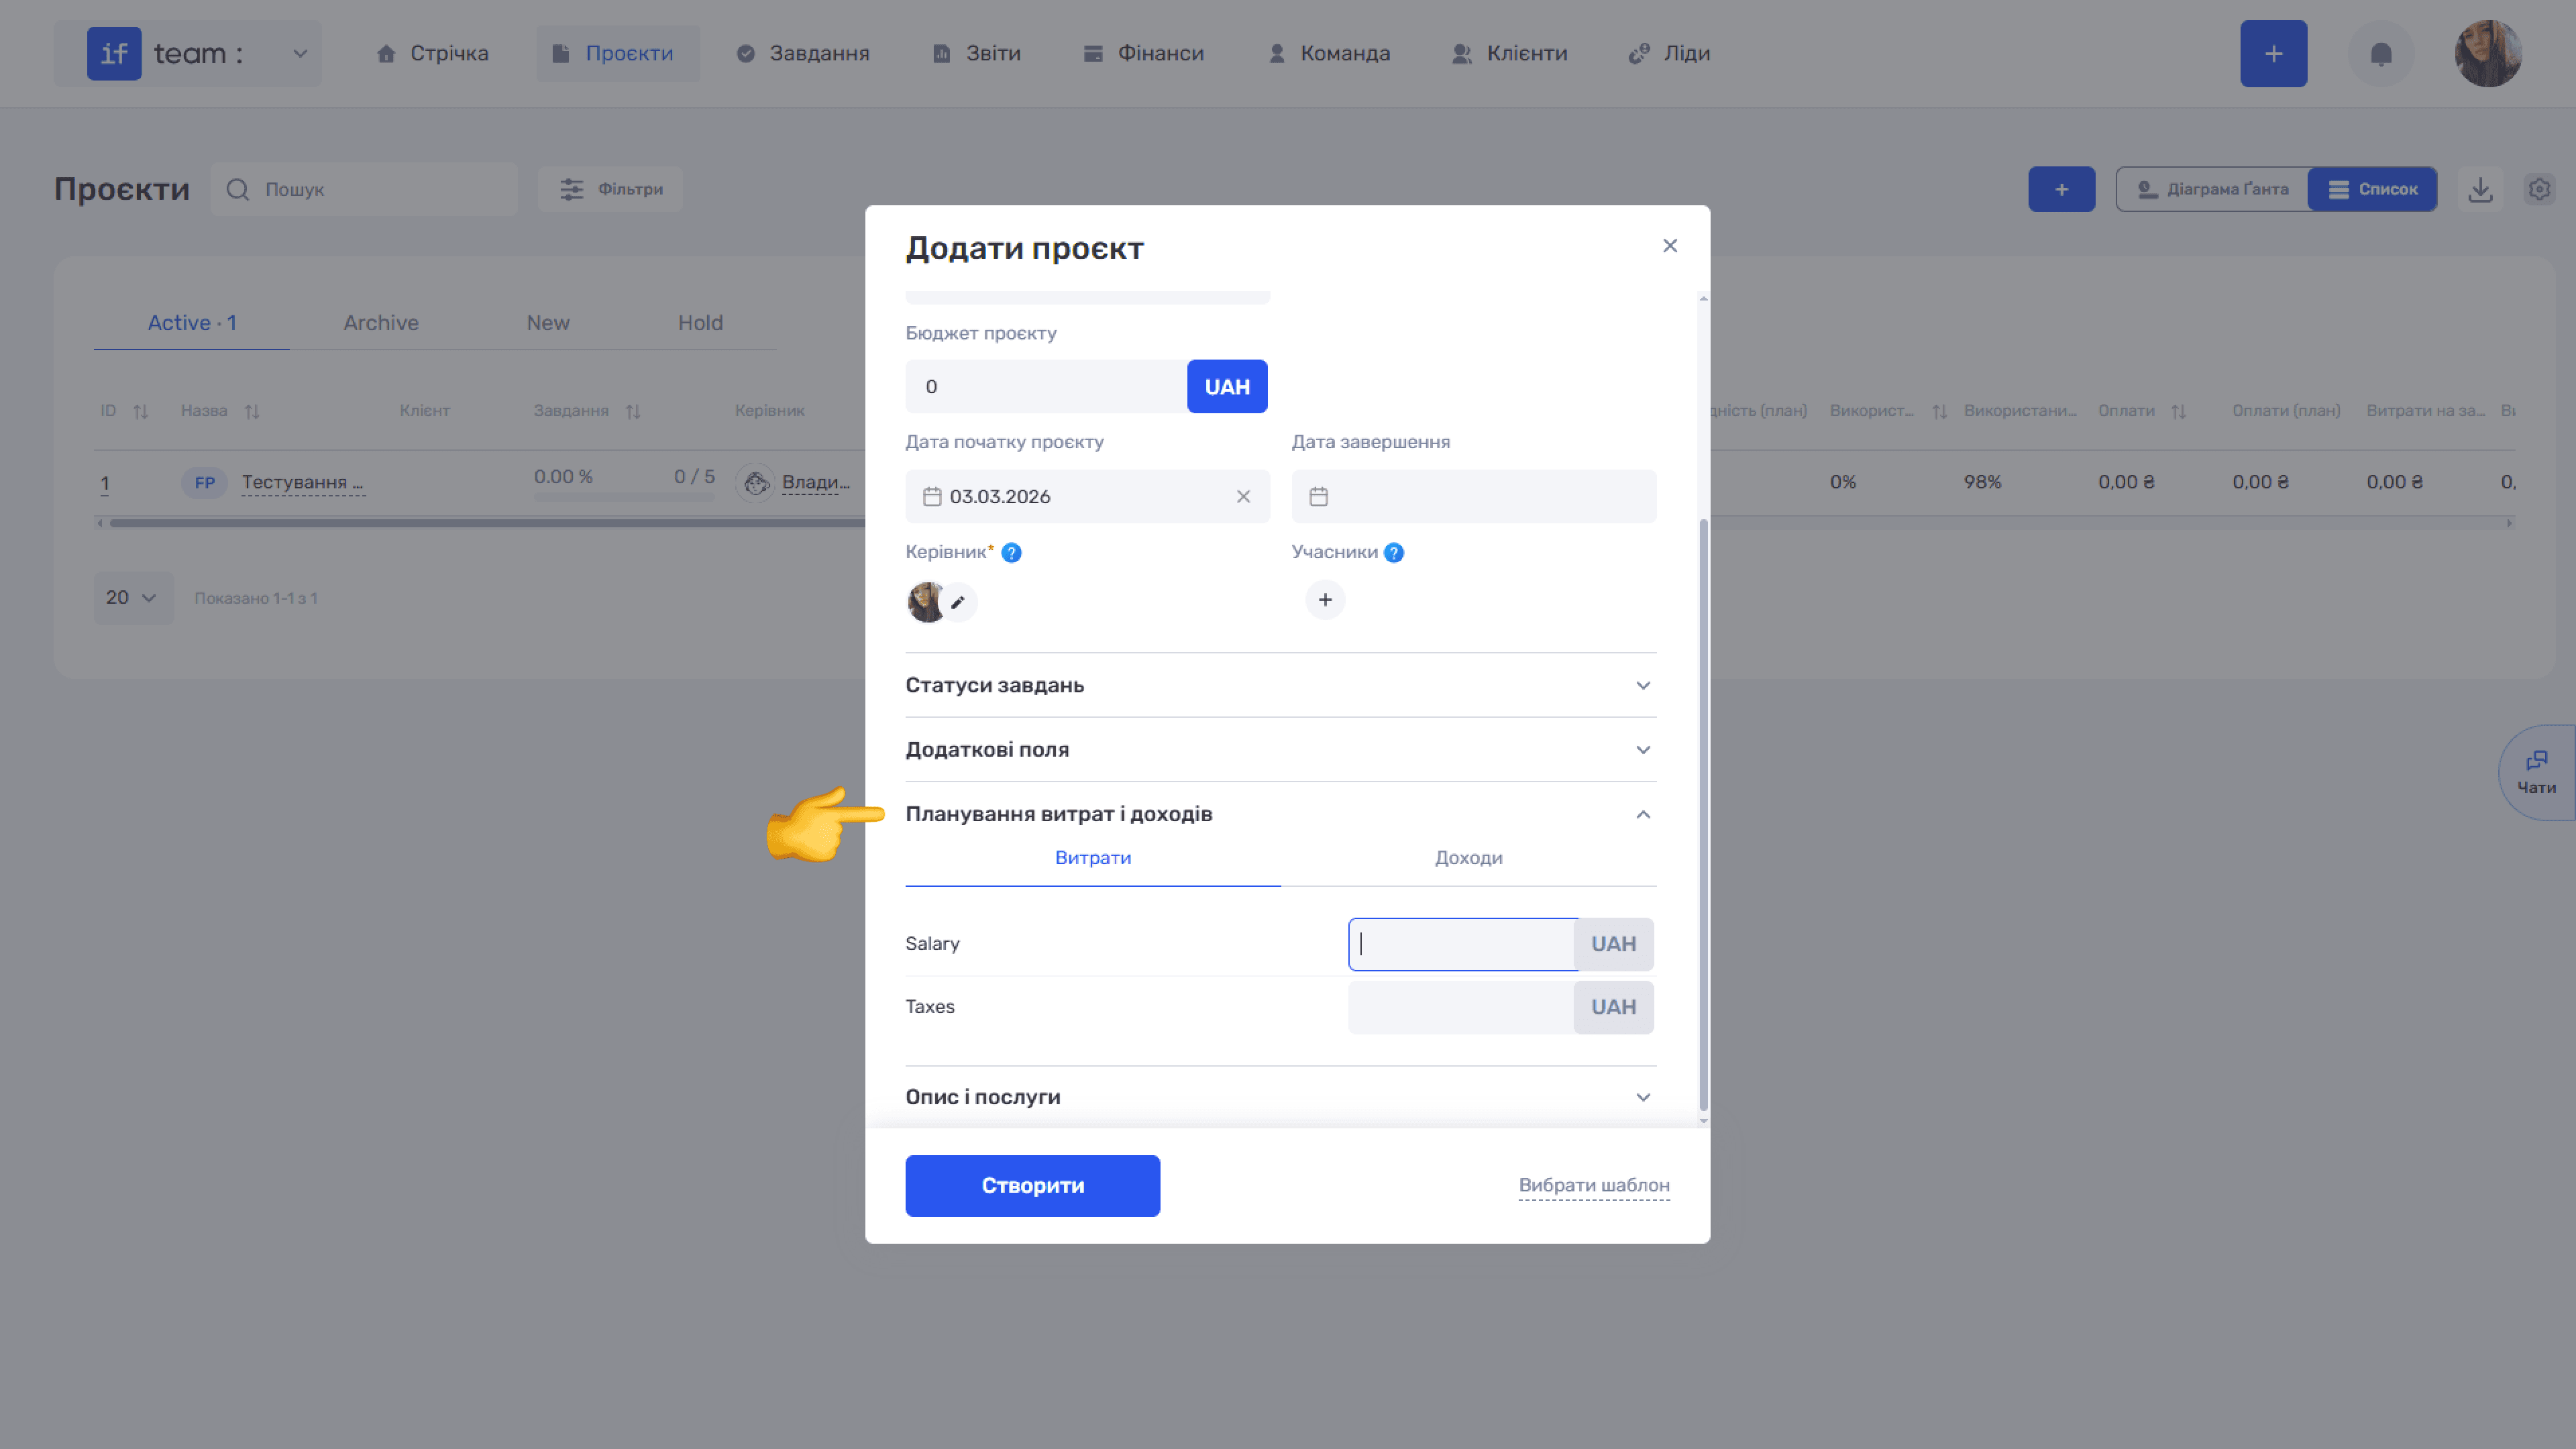
- Expense and Income Planning is a section for preliminary project financial planning. It contains two tabs—Expenses and Income—organized by category. You can set a planned amount in the company currency for each category.
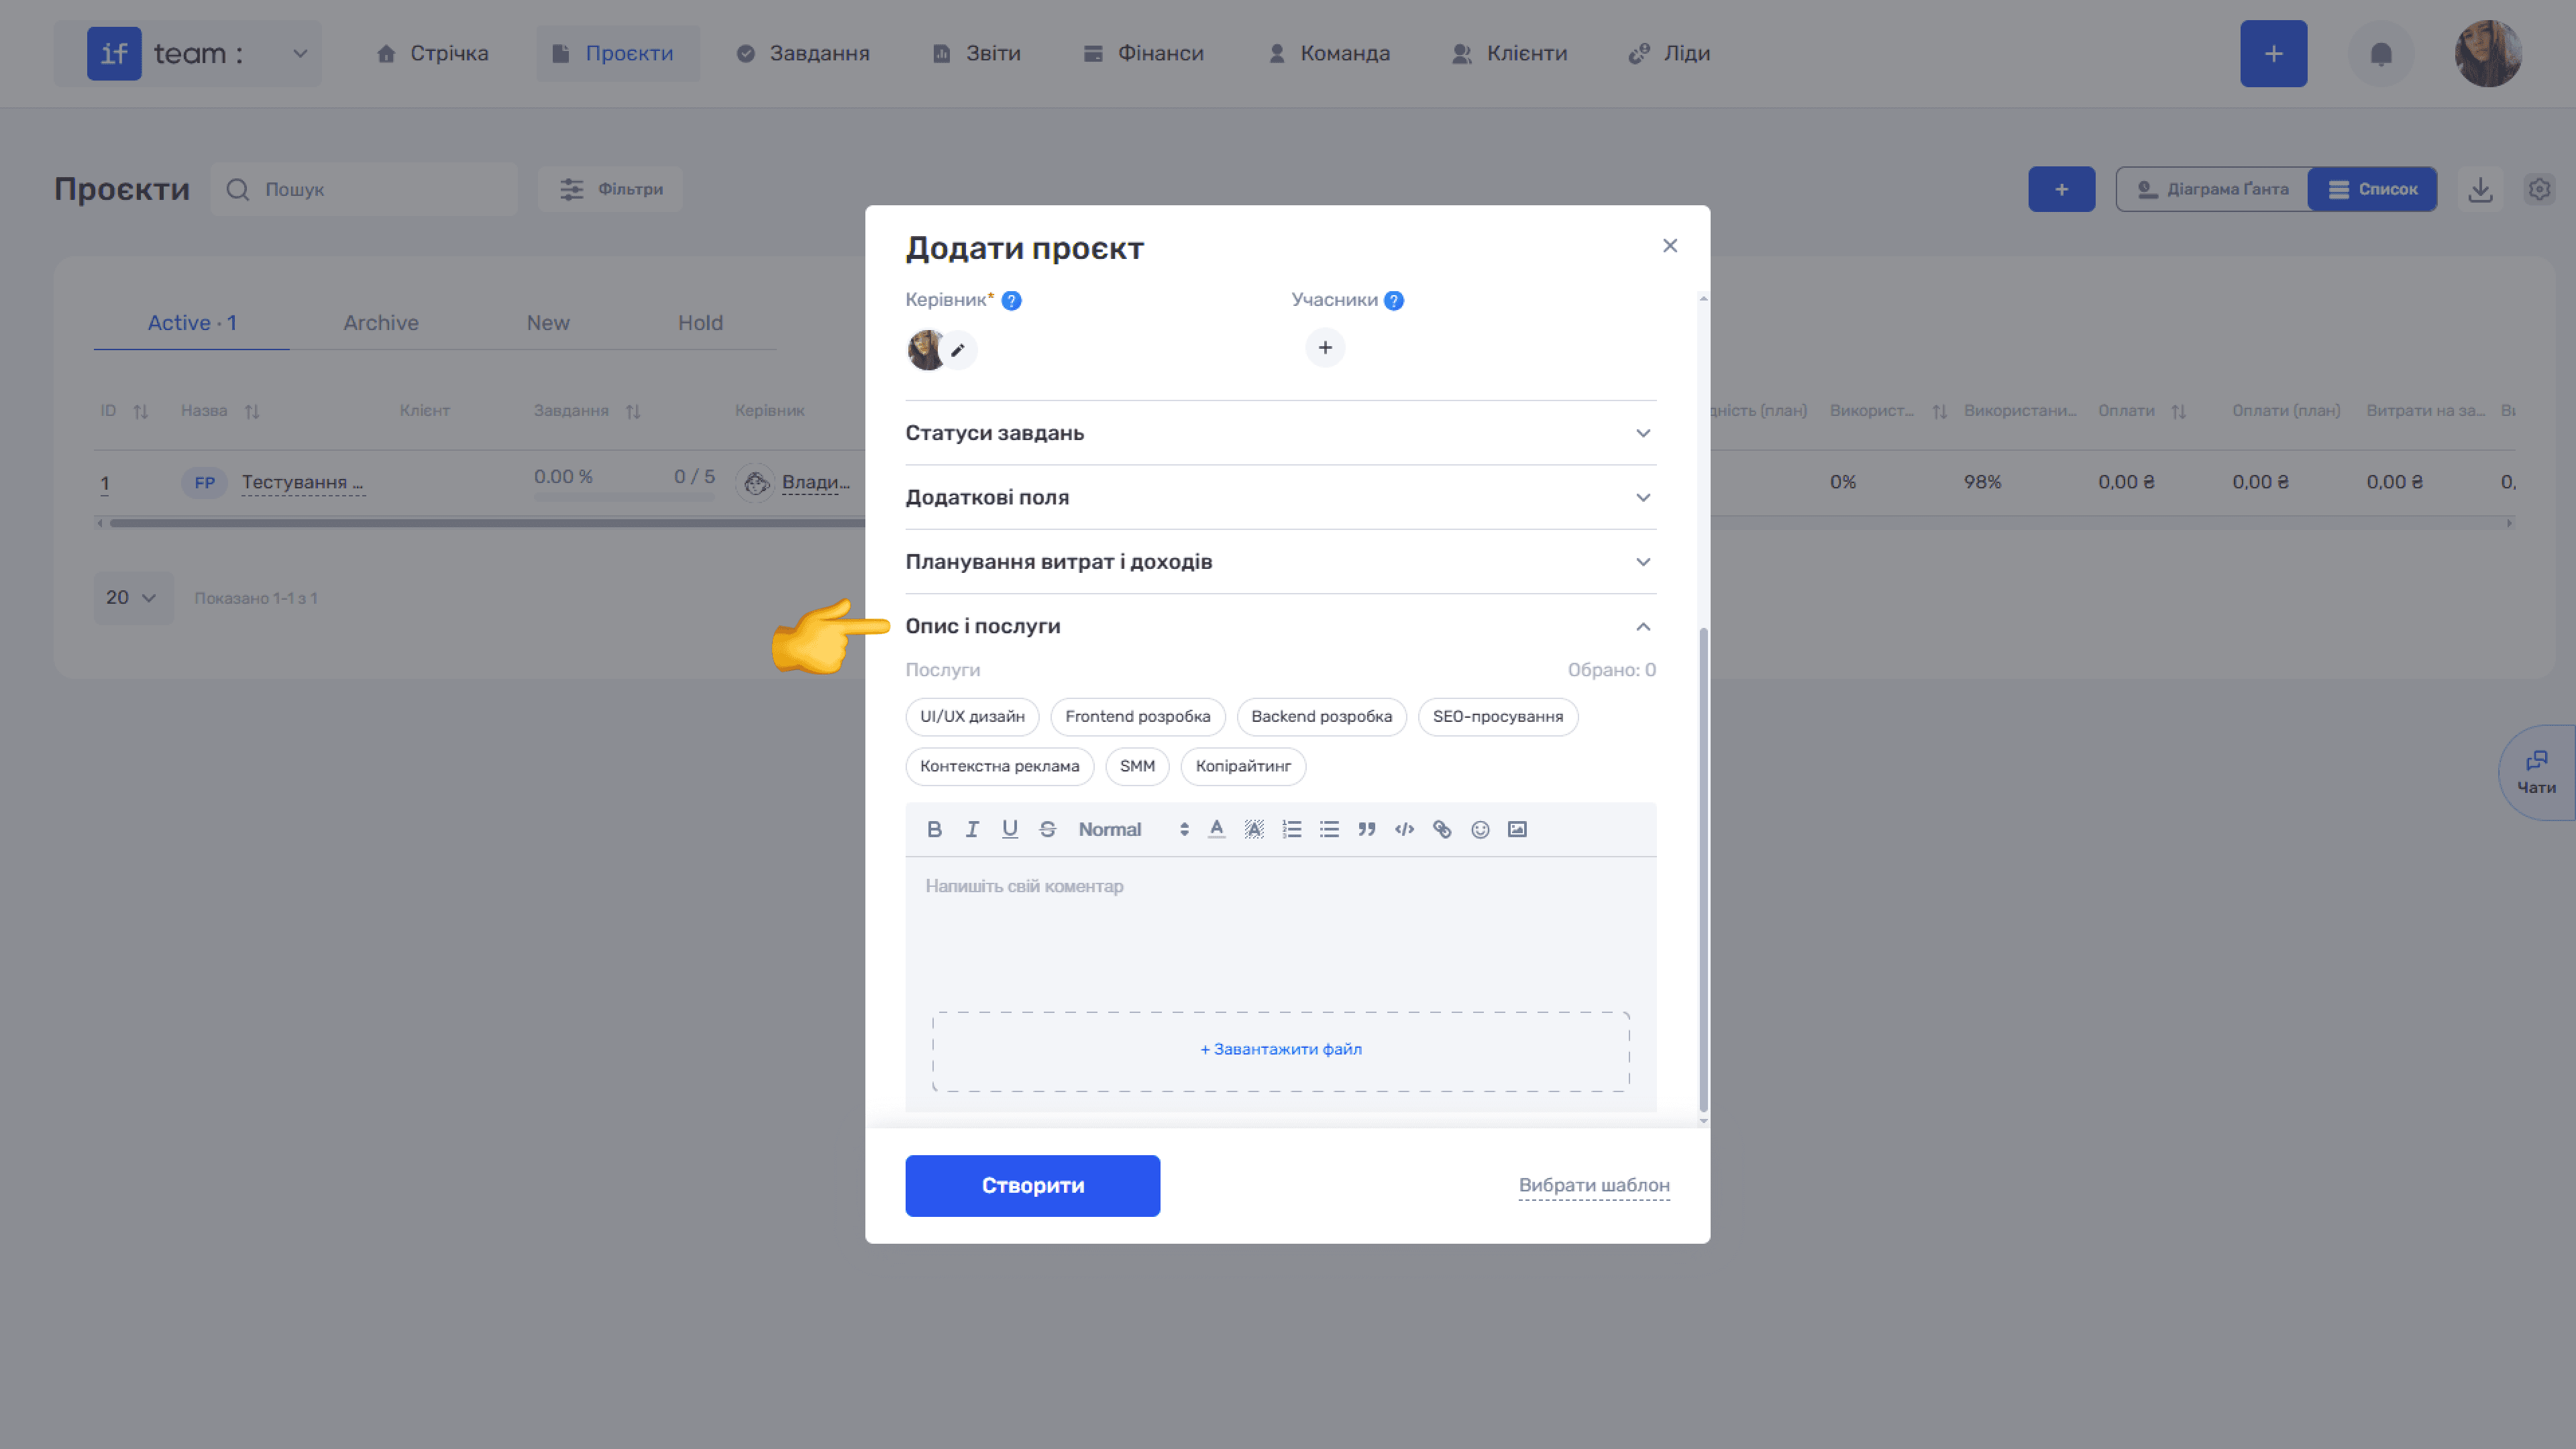
- Description and Services: select the services provided as part of the project from the available tags. The list of services is also configured in the Admin Panel; see Admin Panel Overview. Below is a text editor with formatting options for the project description and a + Upload File area for attaching documents.
After completing all required fields, click Create. To quickly create a project from a previously saved template, click Select Template in the lower-right corner of the form. The system inserts the saved parameters, and you only need to adjust the details. For more information about saving and using templates, see Project Templates.
Still have questions?
Maybe we haven't added this information yet. But you can always reach out:
Request a demo
Submit a request and we'll show you how the service works and its capabilities.
Book a demo