Lead Integrations
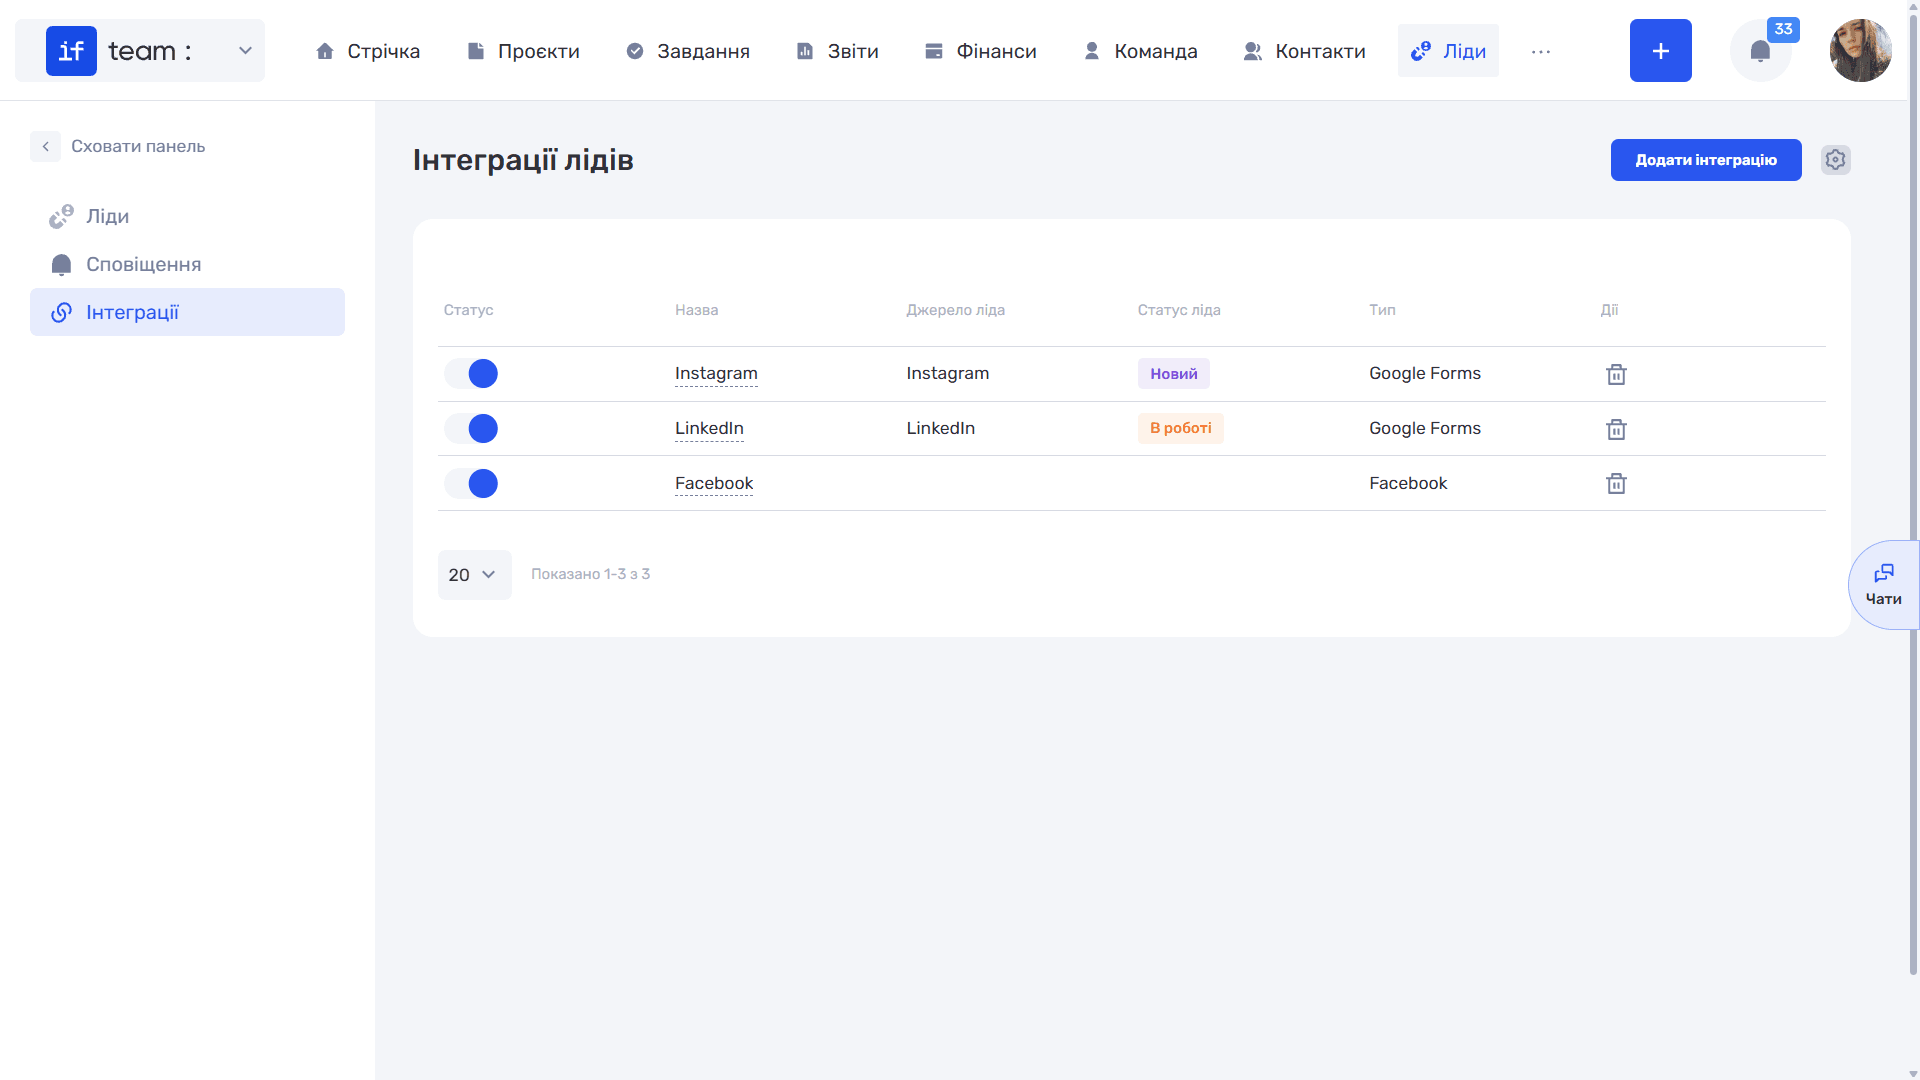
Integrations lets you receive requests from external sources automatically: a lead is created in the system as soon as a client calls or submits a form.
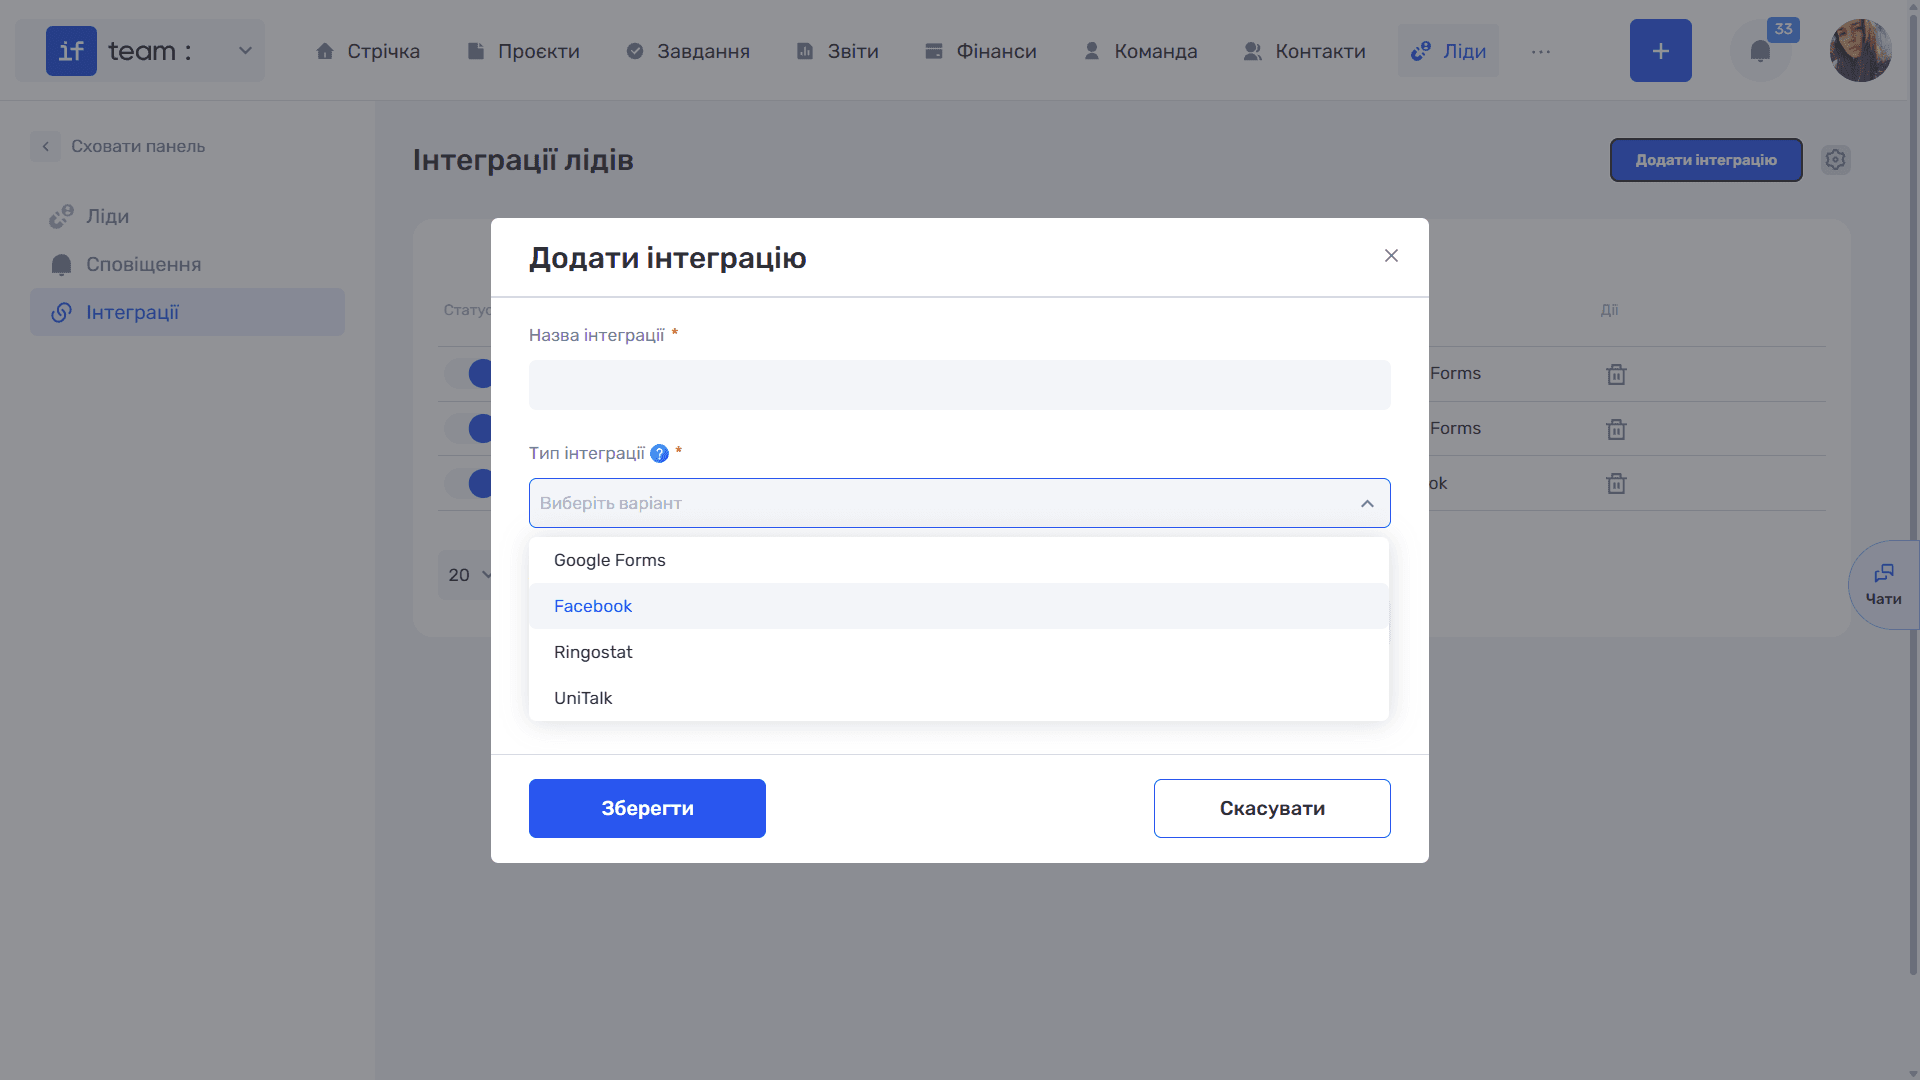
Available integration types are Google Forms, Facebook, Ringostat, and UniTalk. If the required channel is not listed, such as a website form or Discord, if.team support can configure the connection.
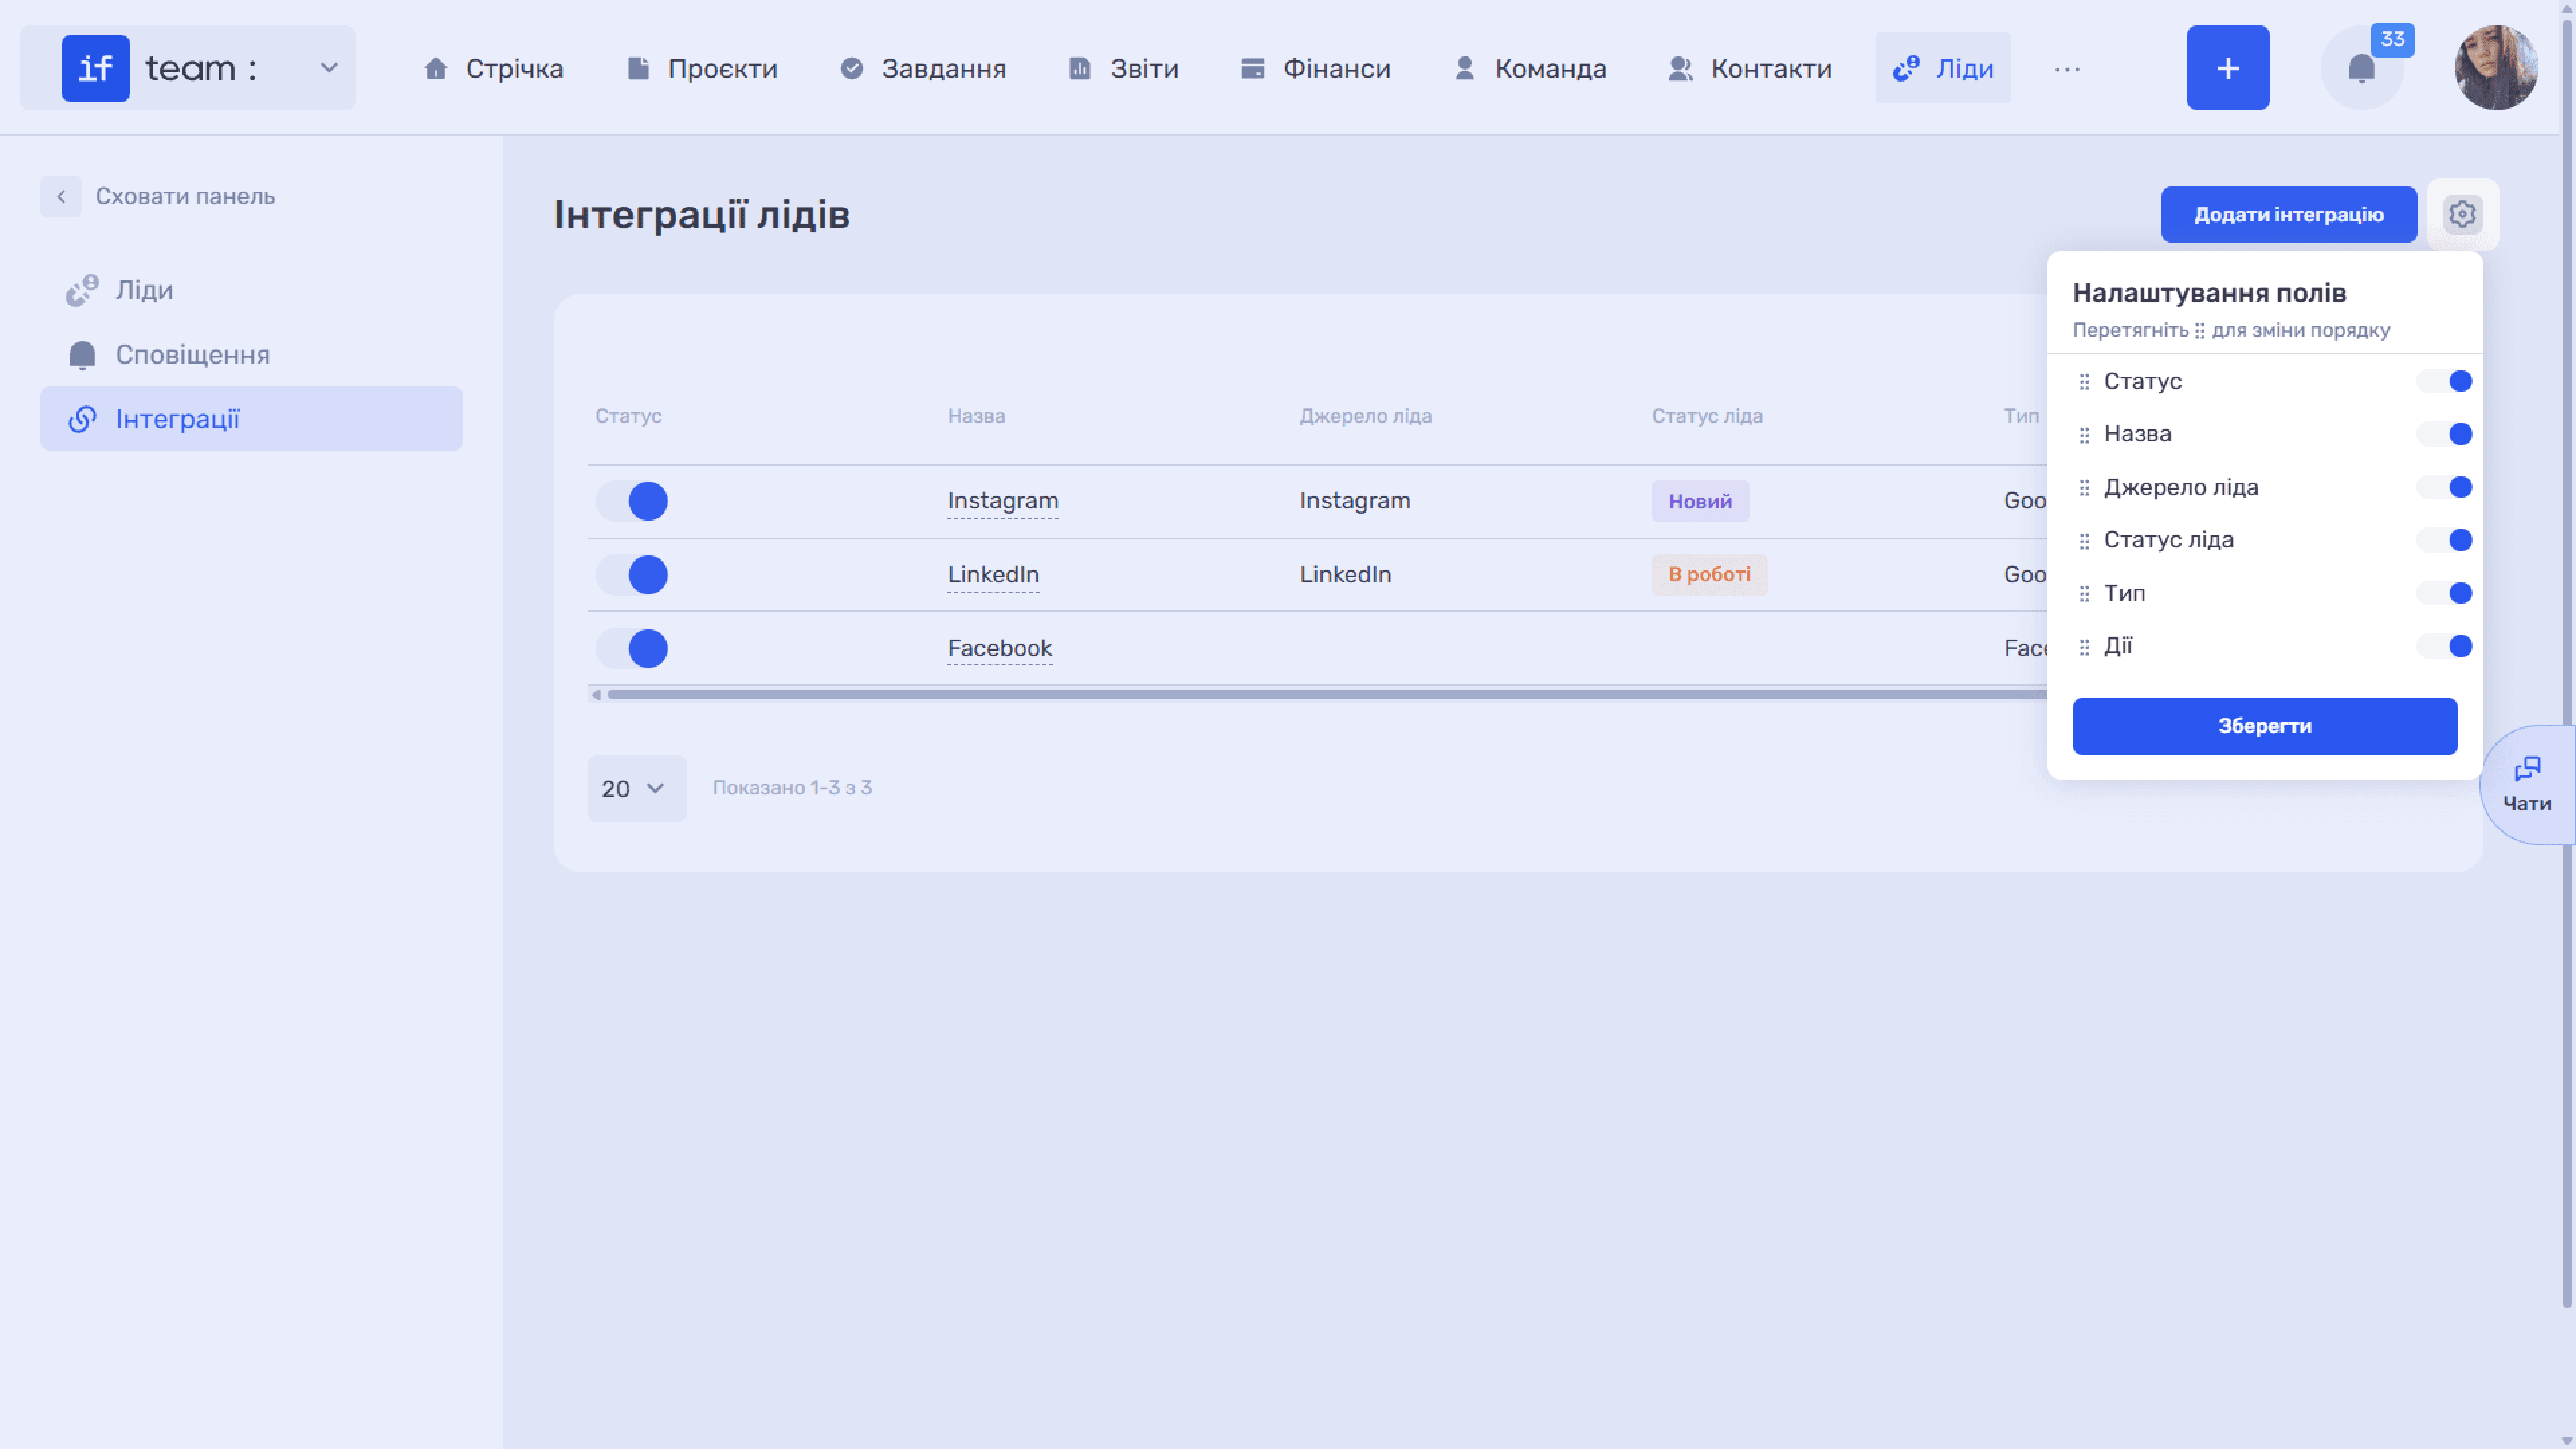
The gear icon to the right of Add Integration opens Field Settings. Use switches to enable or disable table columns—Status, Name, Lead Source, Lead Status, Type, and Actions—and drag them by the ⠿ icon to change their order. Click Save to apply the changes.
How to Create an Integration
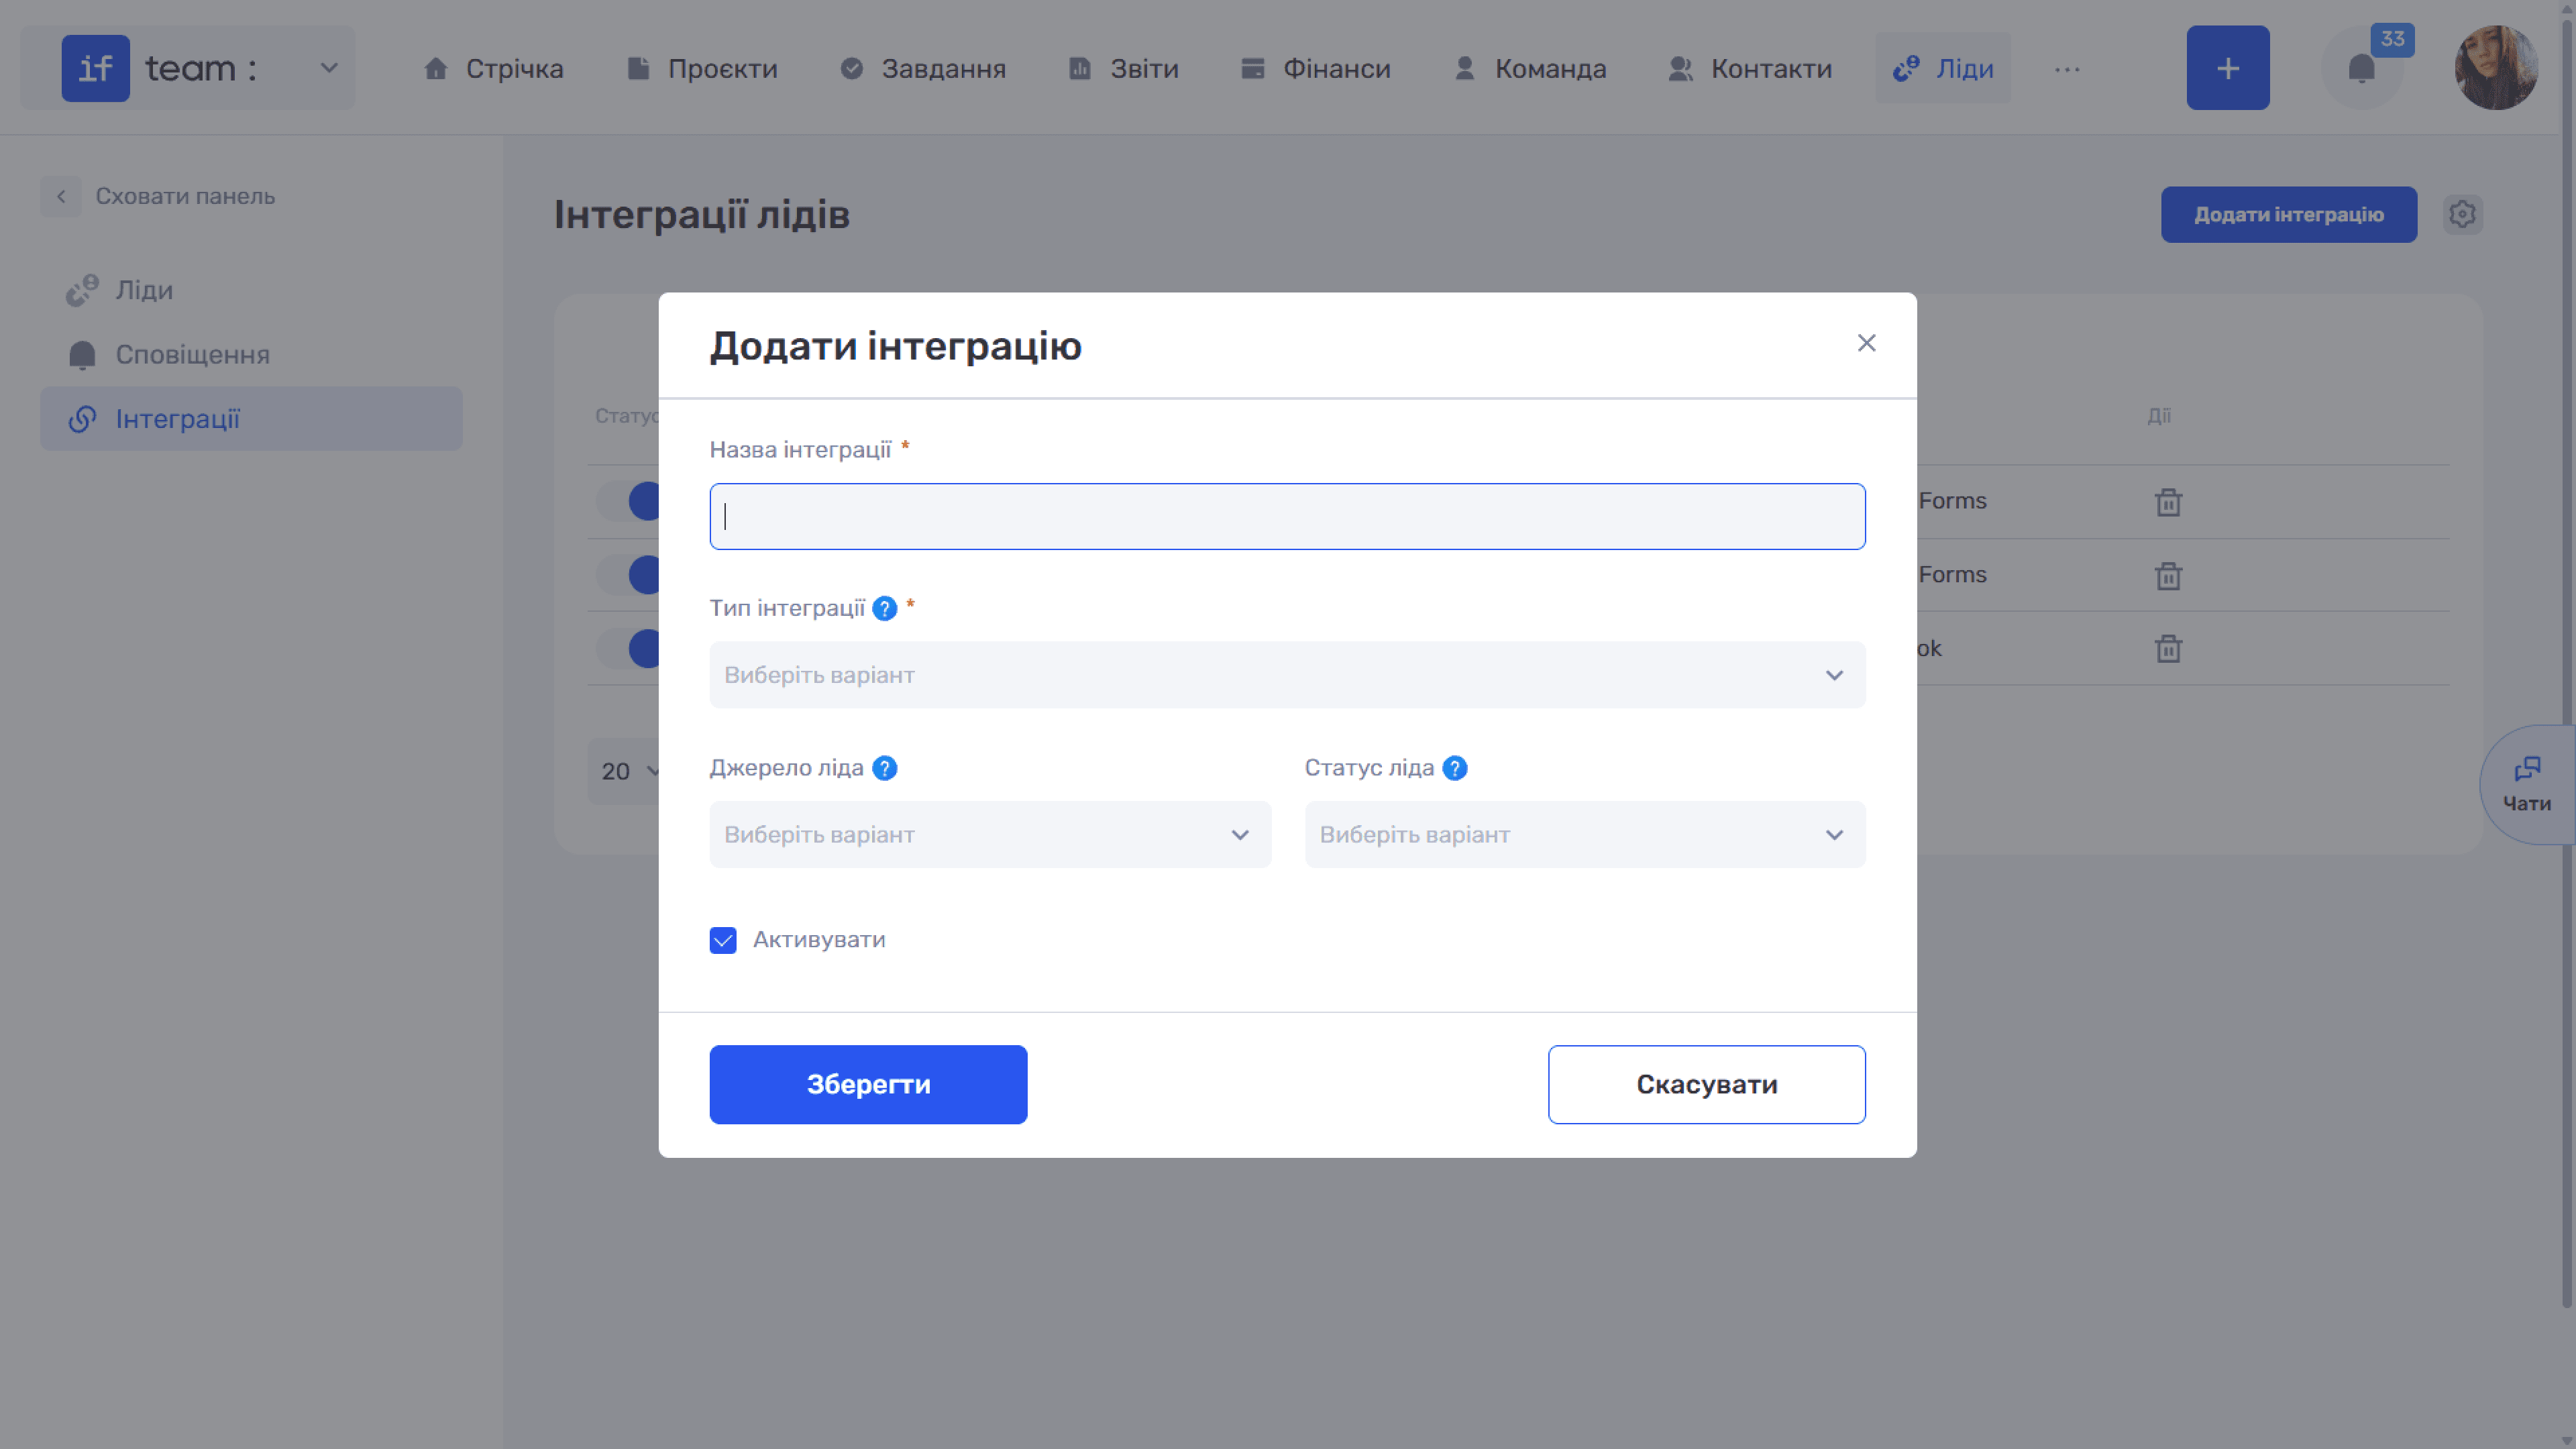
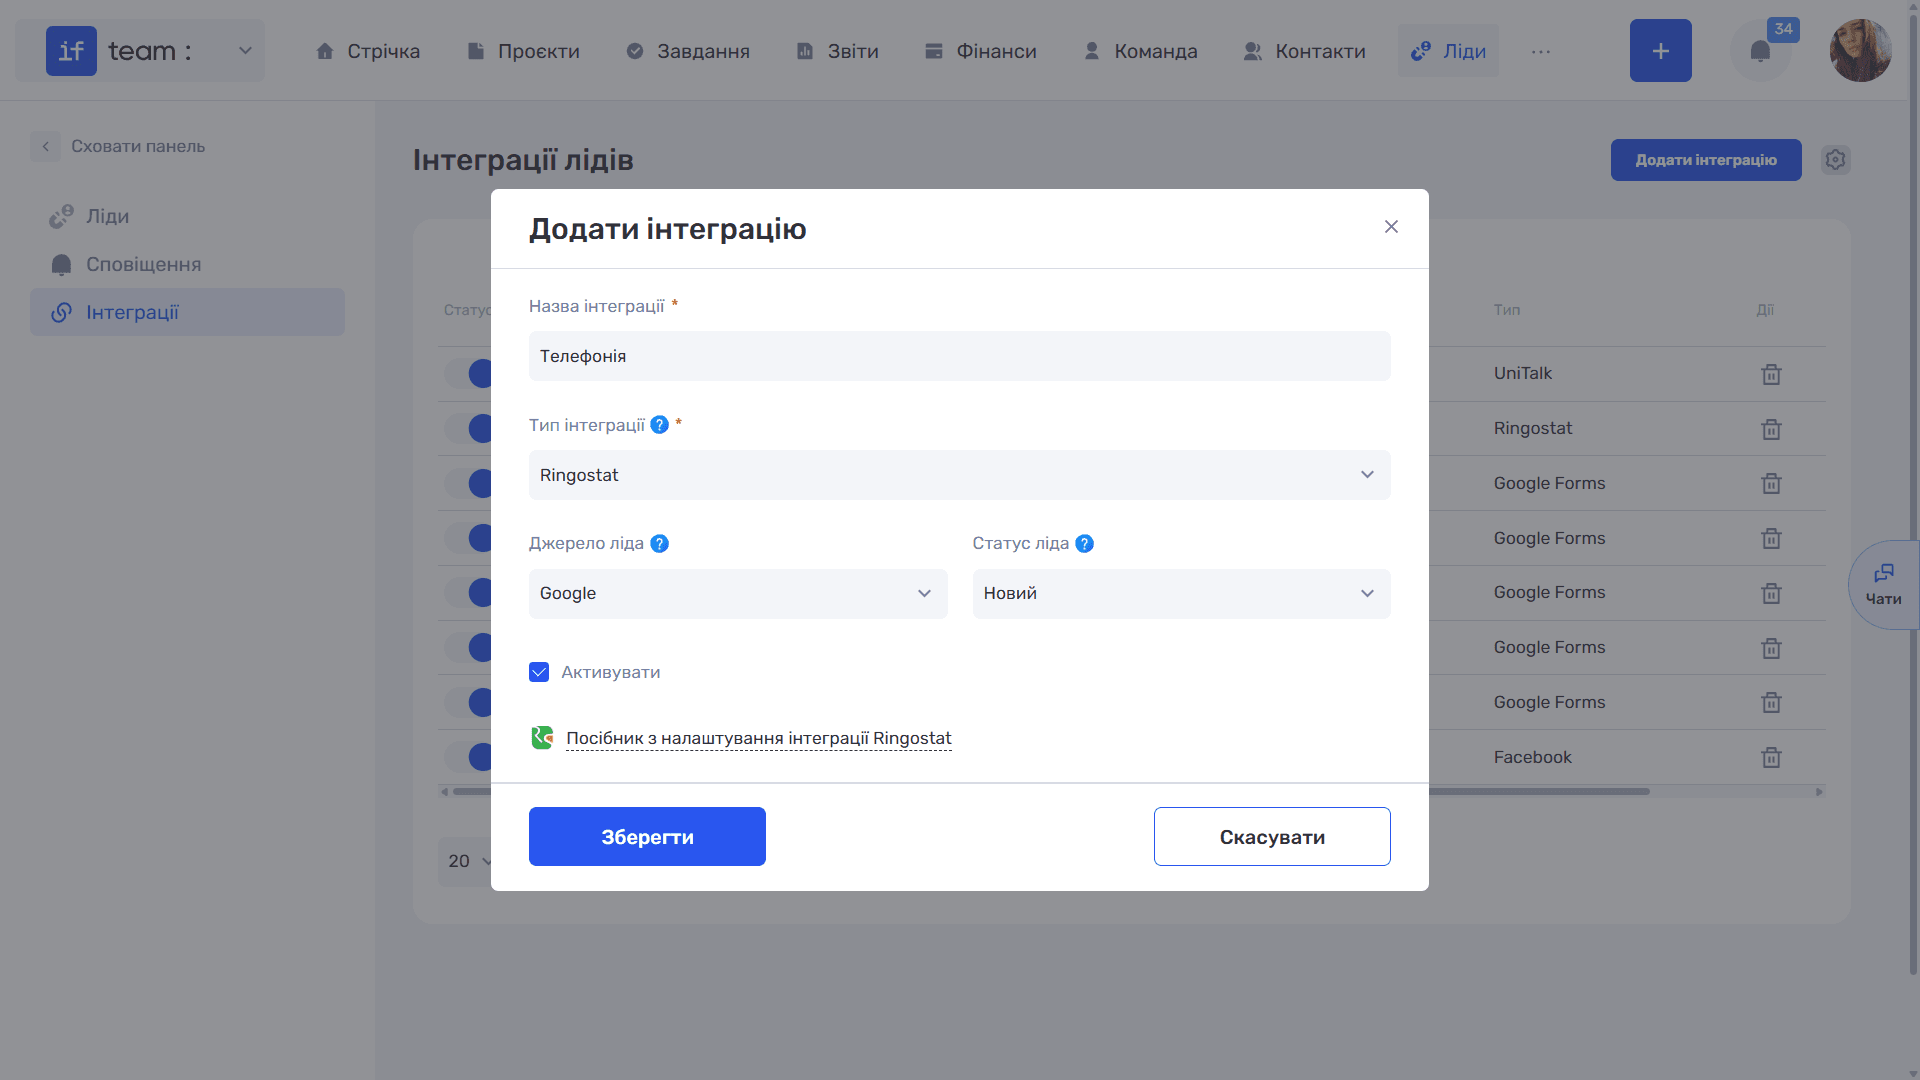
Click Add Integration and complete the window:
- Integration Name is a custom name used to distinguish between connections and is required.
- Integration Type is the service being integrated: Google Forms, Facebook, Ringostat, or UniTalk. This field is required. The type cannot be changed after saving, and the field becomes inactive. To switch to another service, create a new integration.
- Integration Start Date is the date from which the system begins retrieving requests and is required for Google Forms and Facebook. Set an earlier date to retrieve both new leads and those already accumulated. This field is not available for telephony.
- Lead Source is the source assigned to leads from this channel. The drop-down list is populated from CRM settings in the Admin Panel under Settings → CRM → Lead Sources.
- Lead Status is the status assigned to new leads. The status set and colors are also configured under CRM settings in Lead Statuses.
- Activate enables the integration immediately after it is saved.
Click Save.
Please note
Source and status are optional and can be left empty, in which case leads are created without them. However, it is worth completing them because these values show how many requests each channel generated.
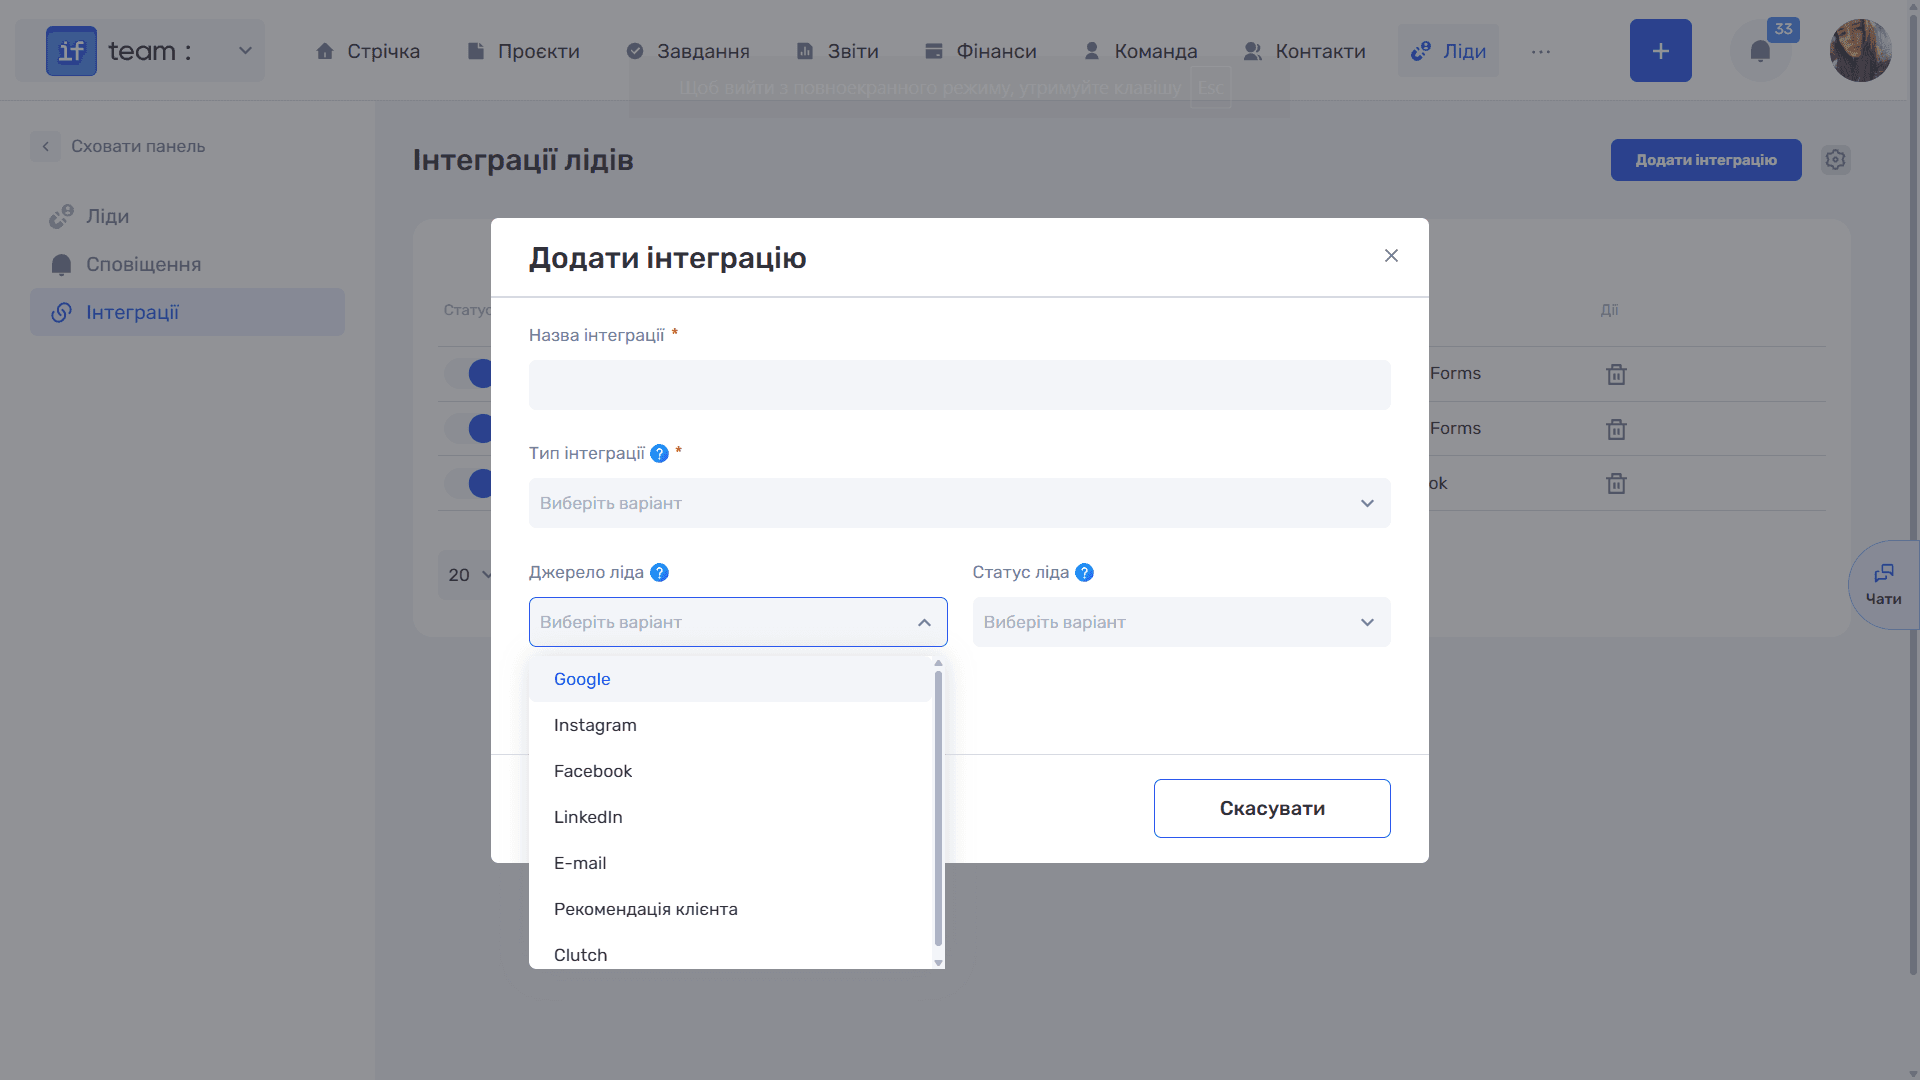
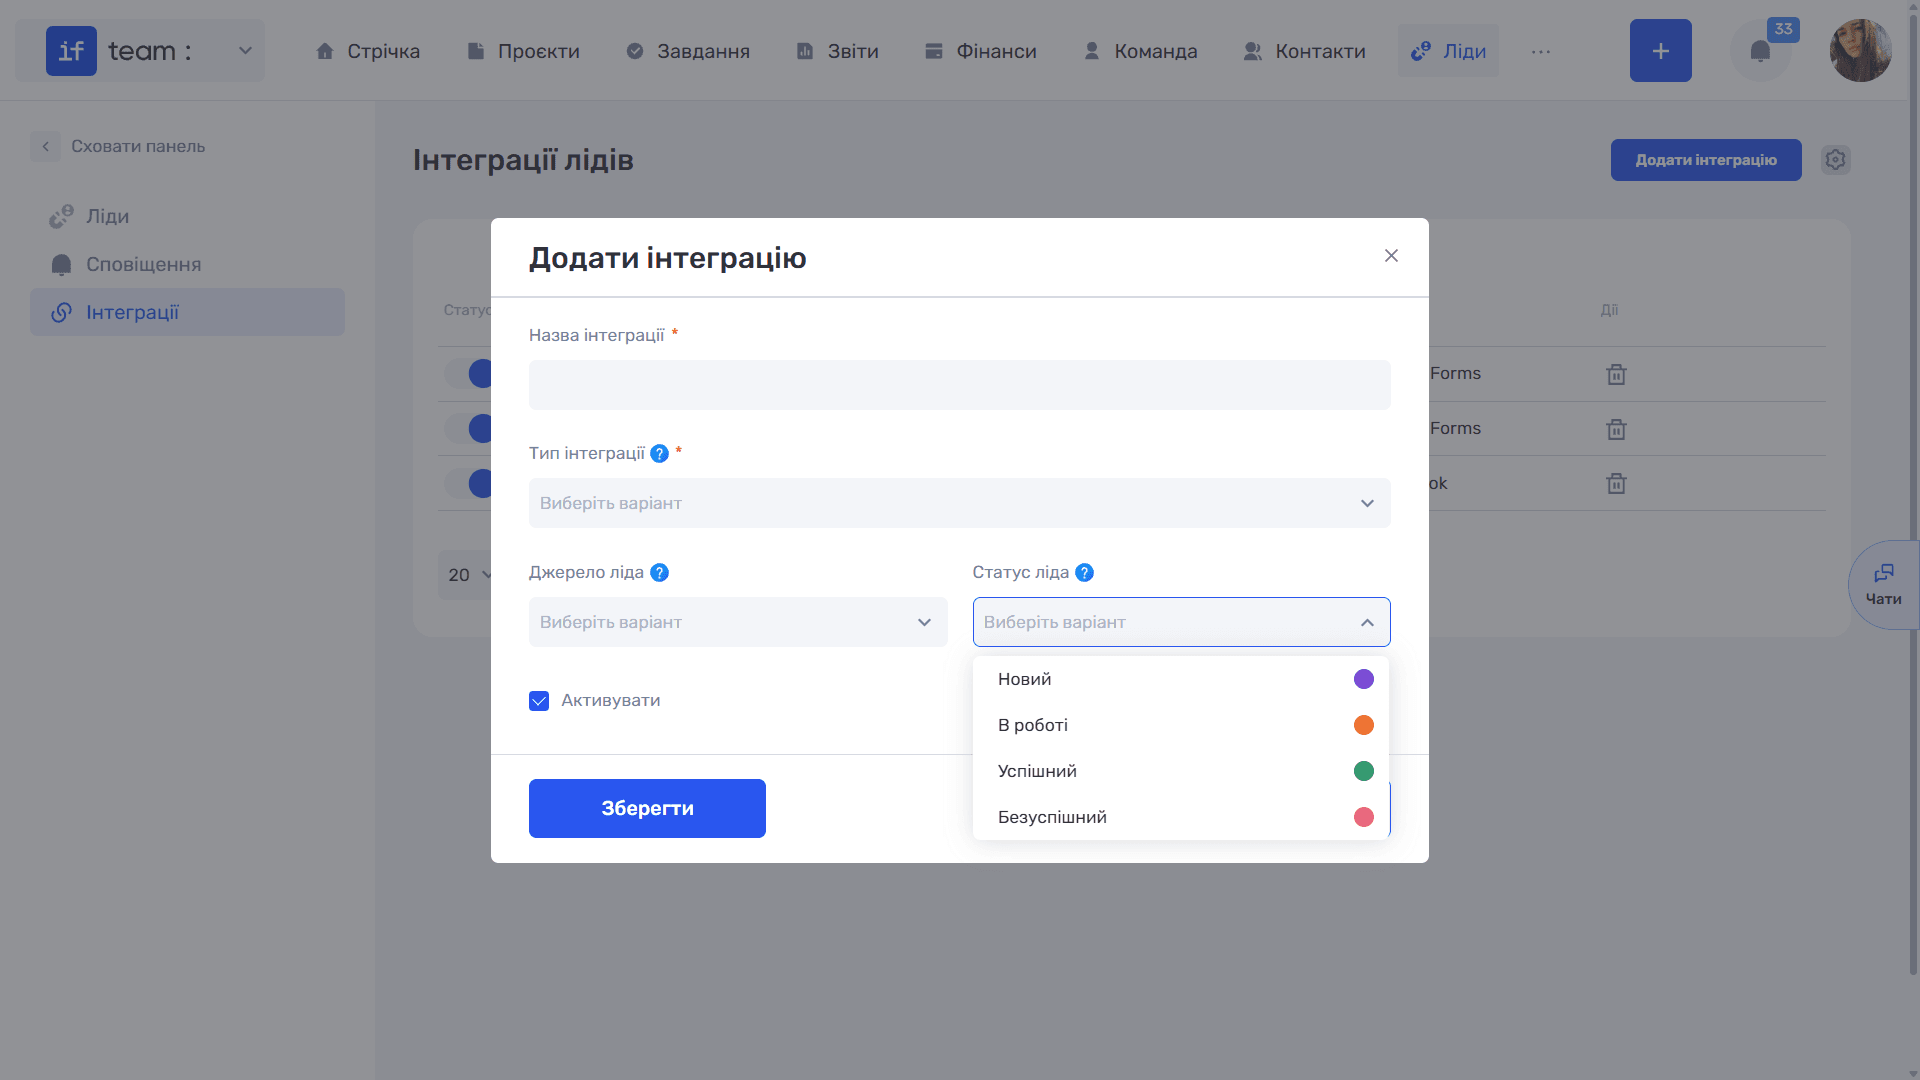
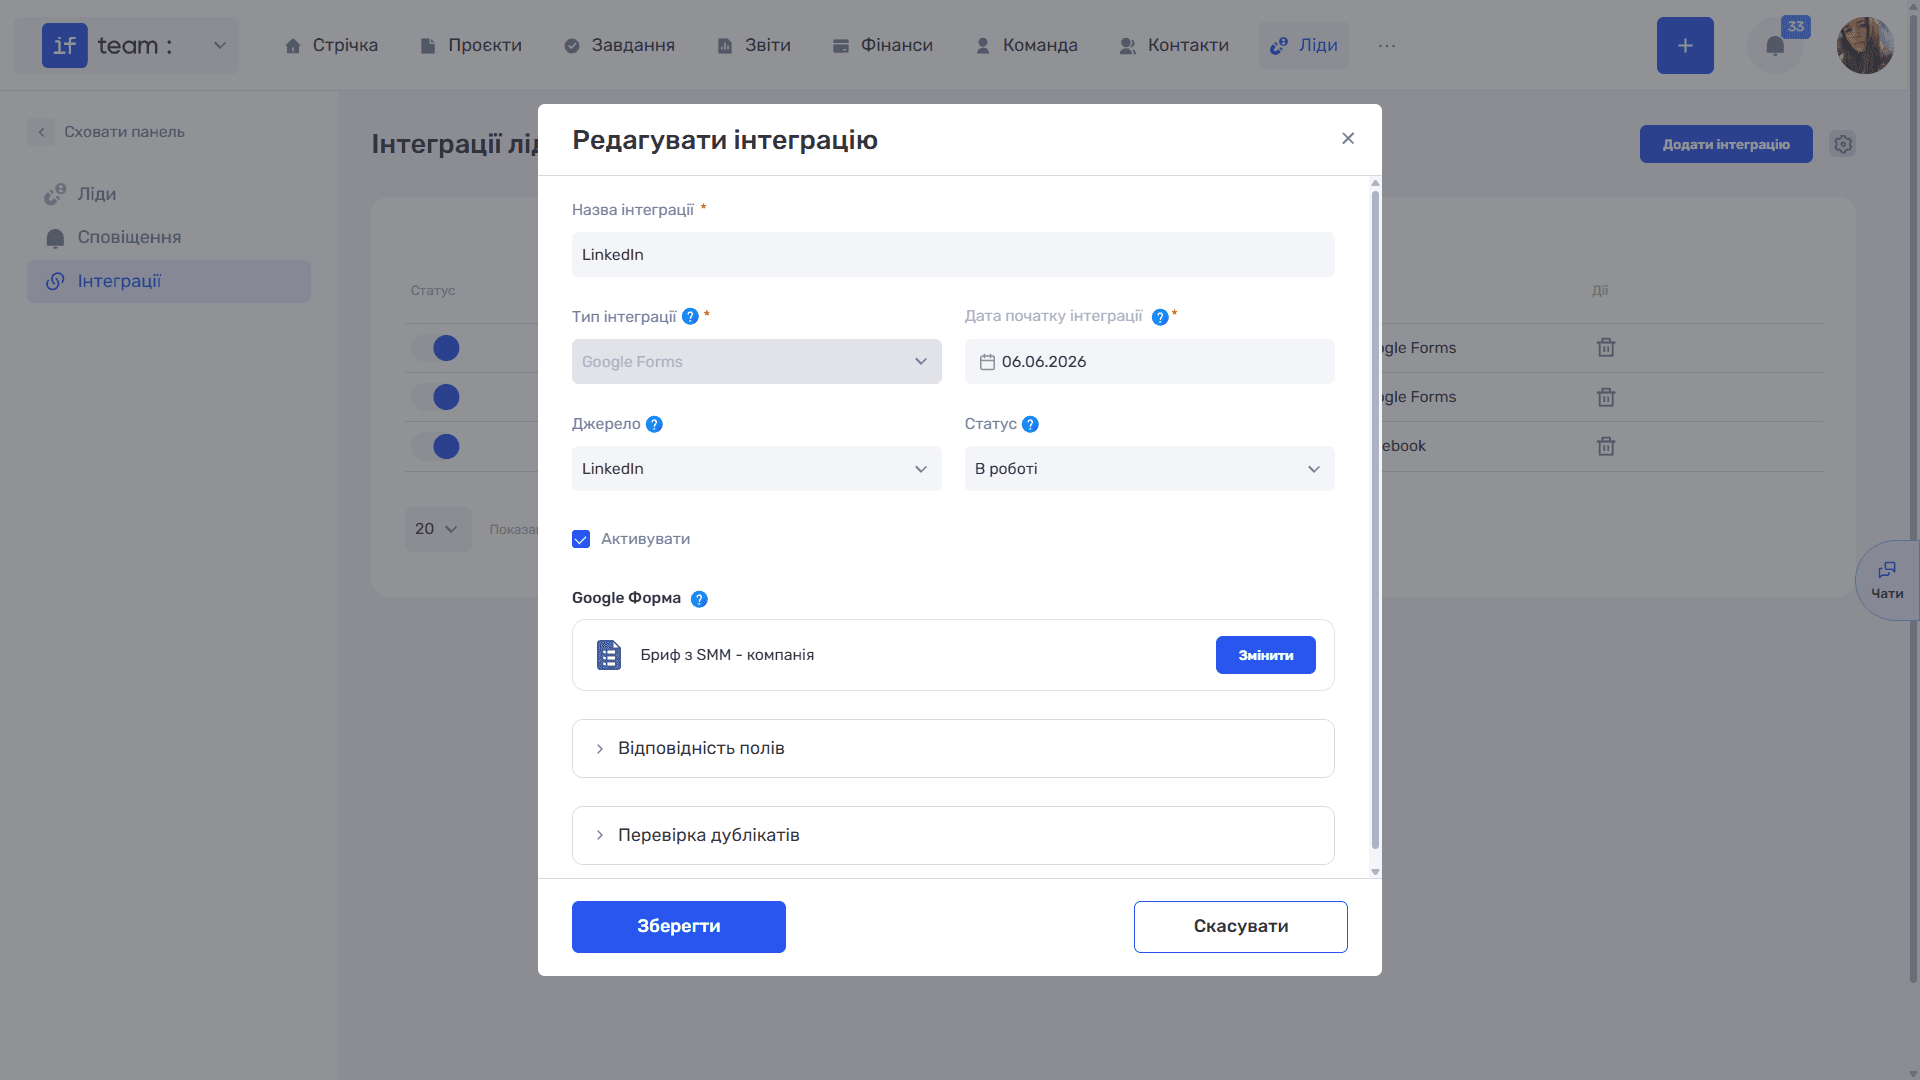
The remaining settings depend on the type and become available after creation. Open the integration from the list to go to Edit Integration.
Configuring a Google Forms Integration
Configuration has two stages: first, the creation window with shared settings, and after saving, sections specific to forms.
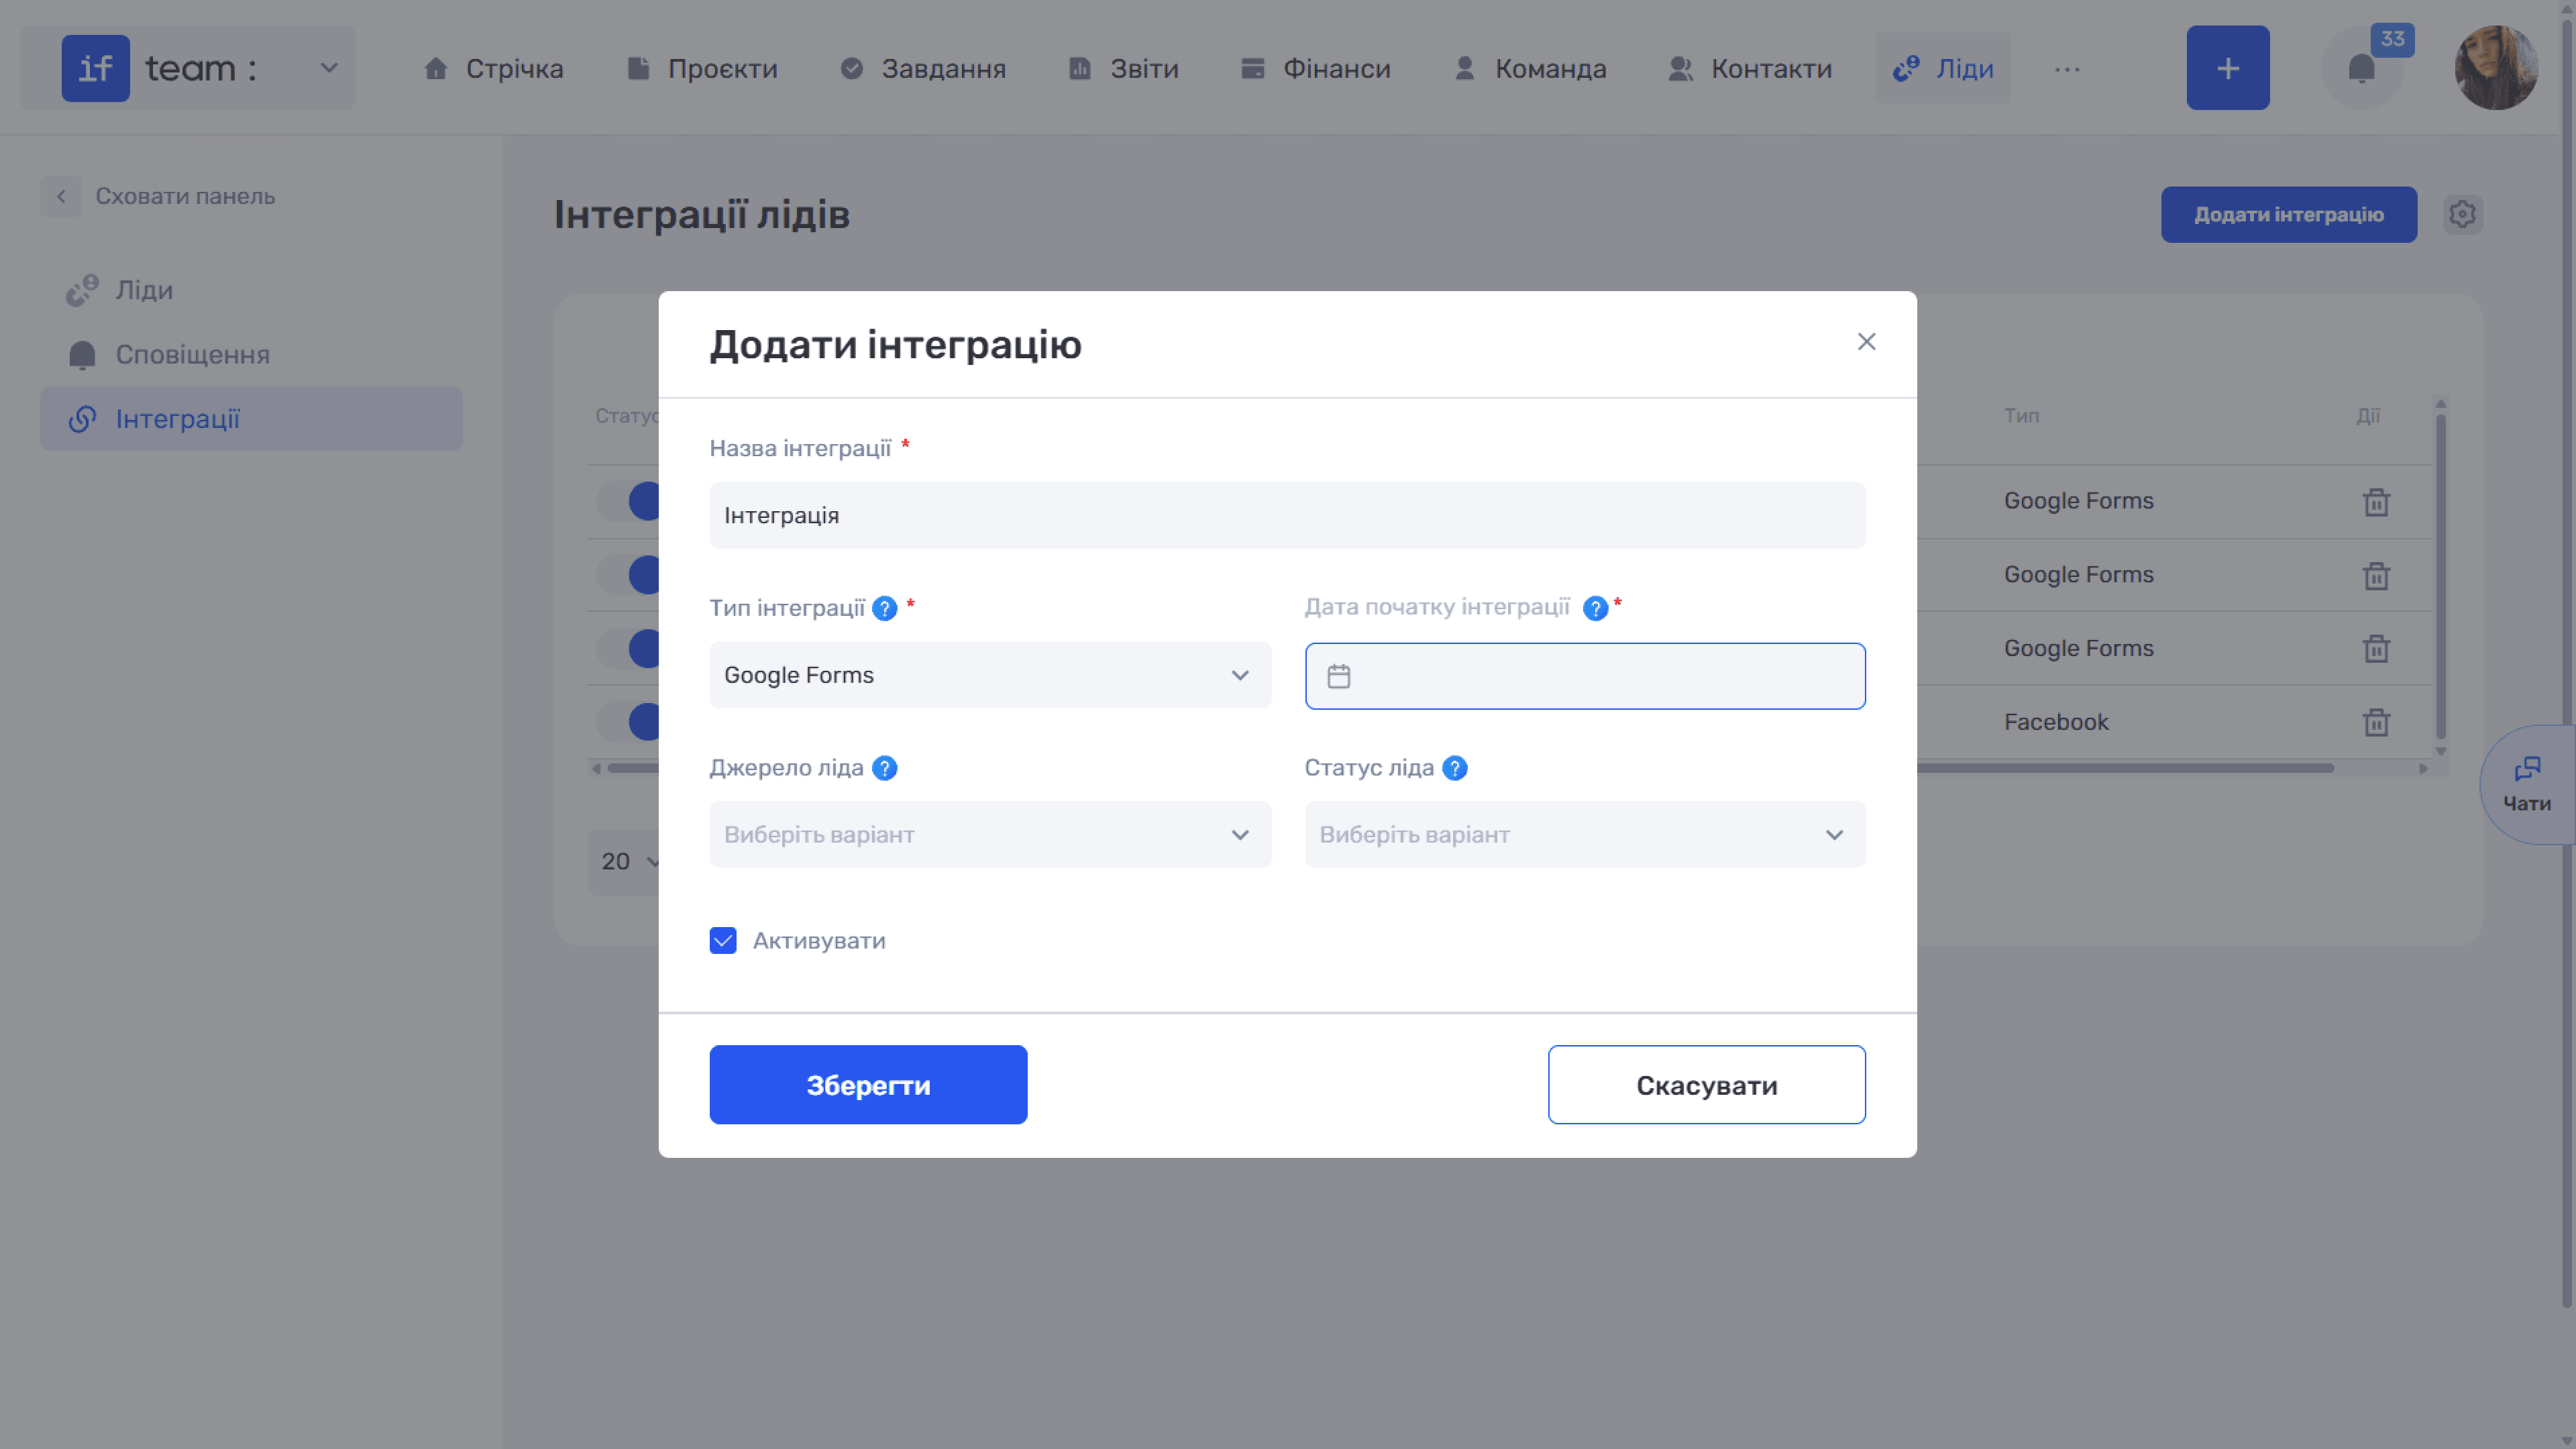
Step 1. Complete the Creation Window
Enter the name, type (Google Forms), integration start date, lead source, and lead status as described above under How to Create an Integration. Click Save.
Step 2. Authorize with Google
Immediately after saving, the system redirects you to Google:
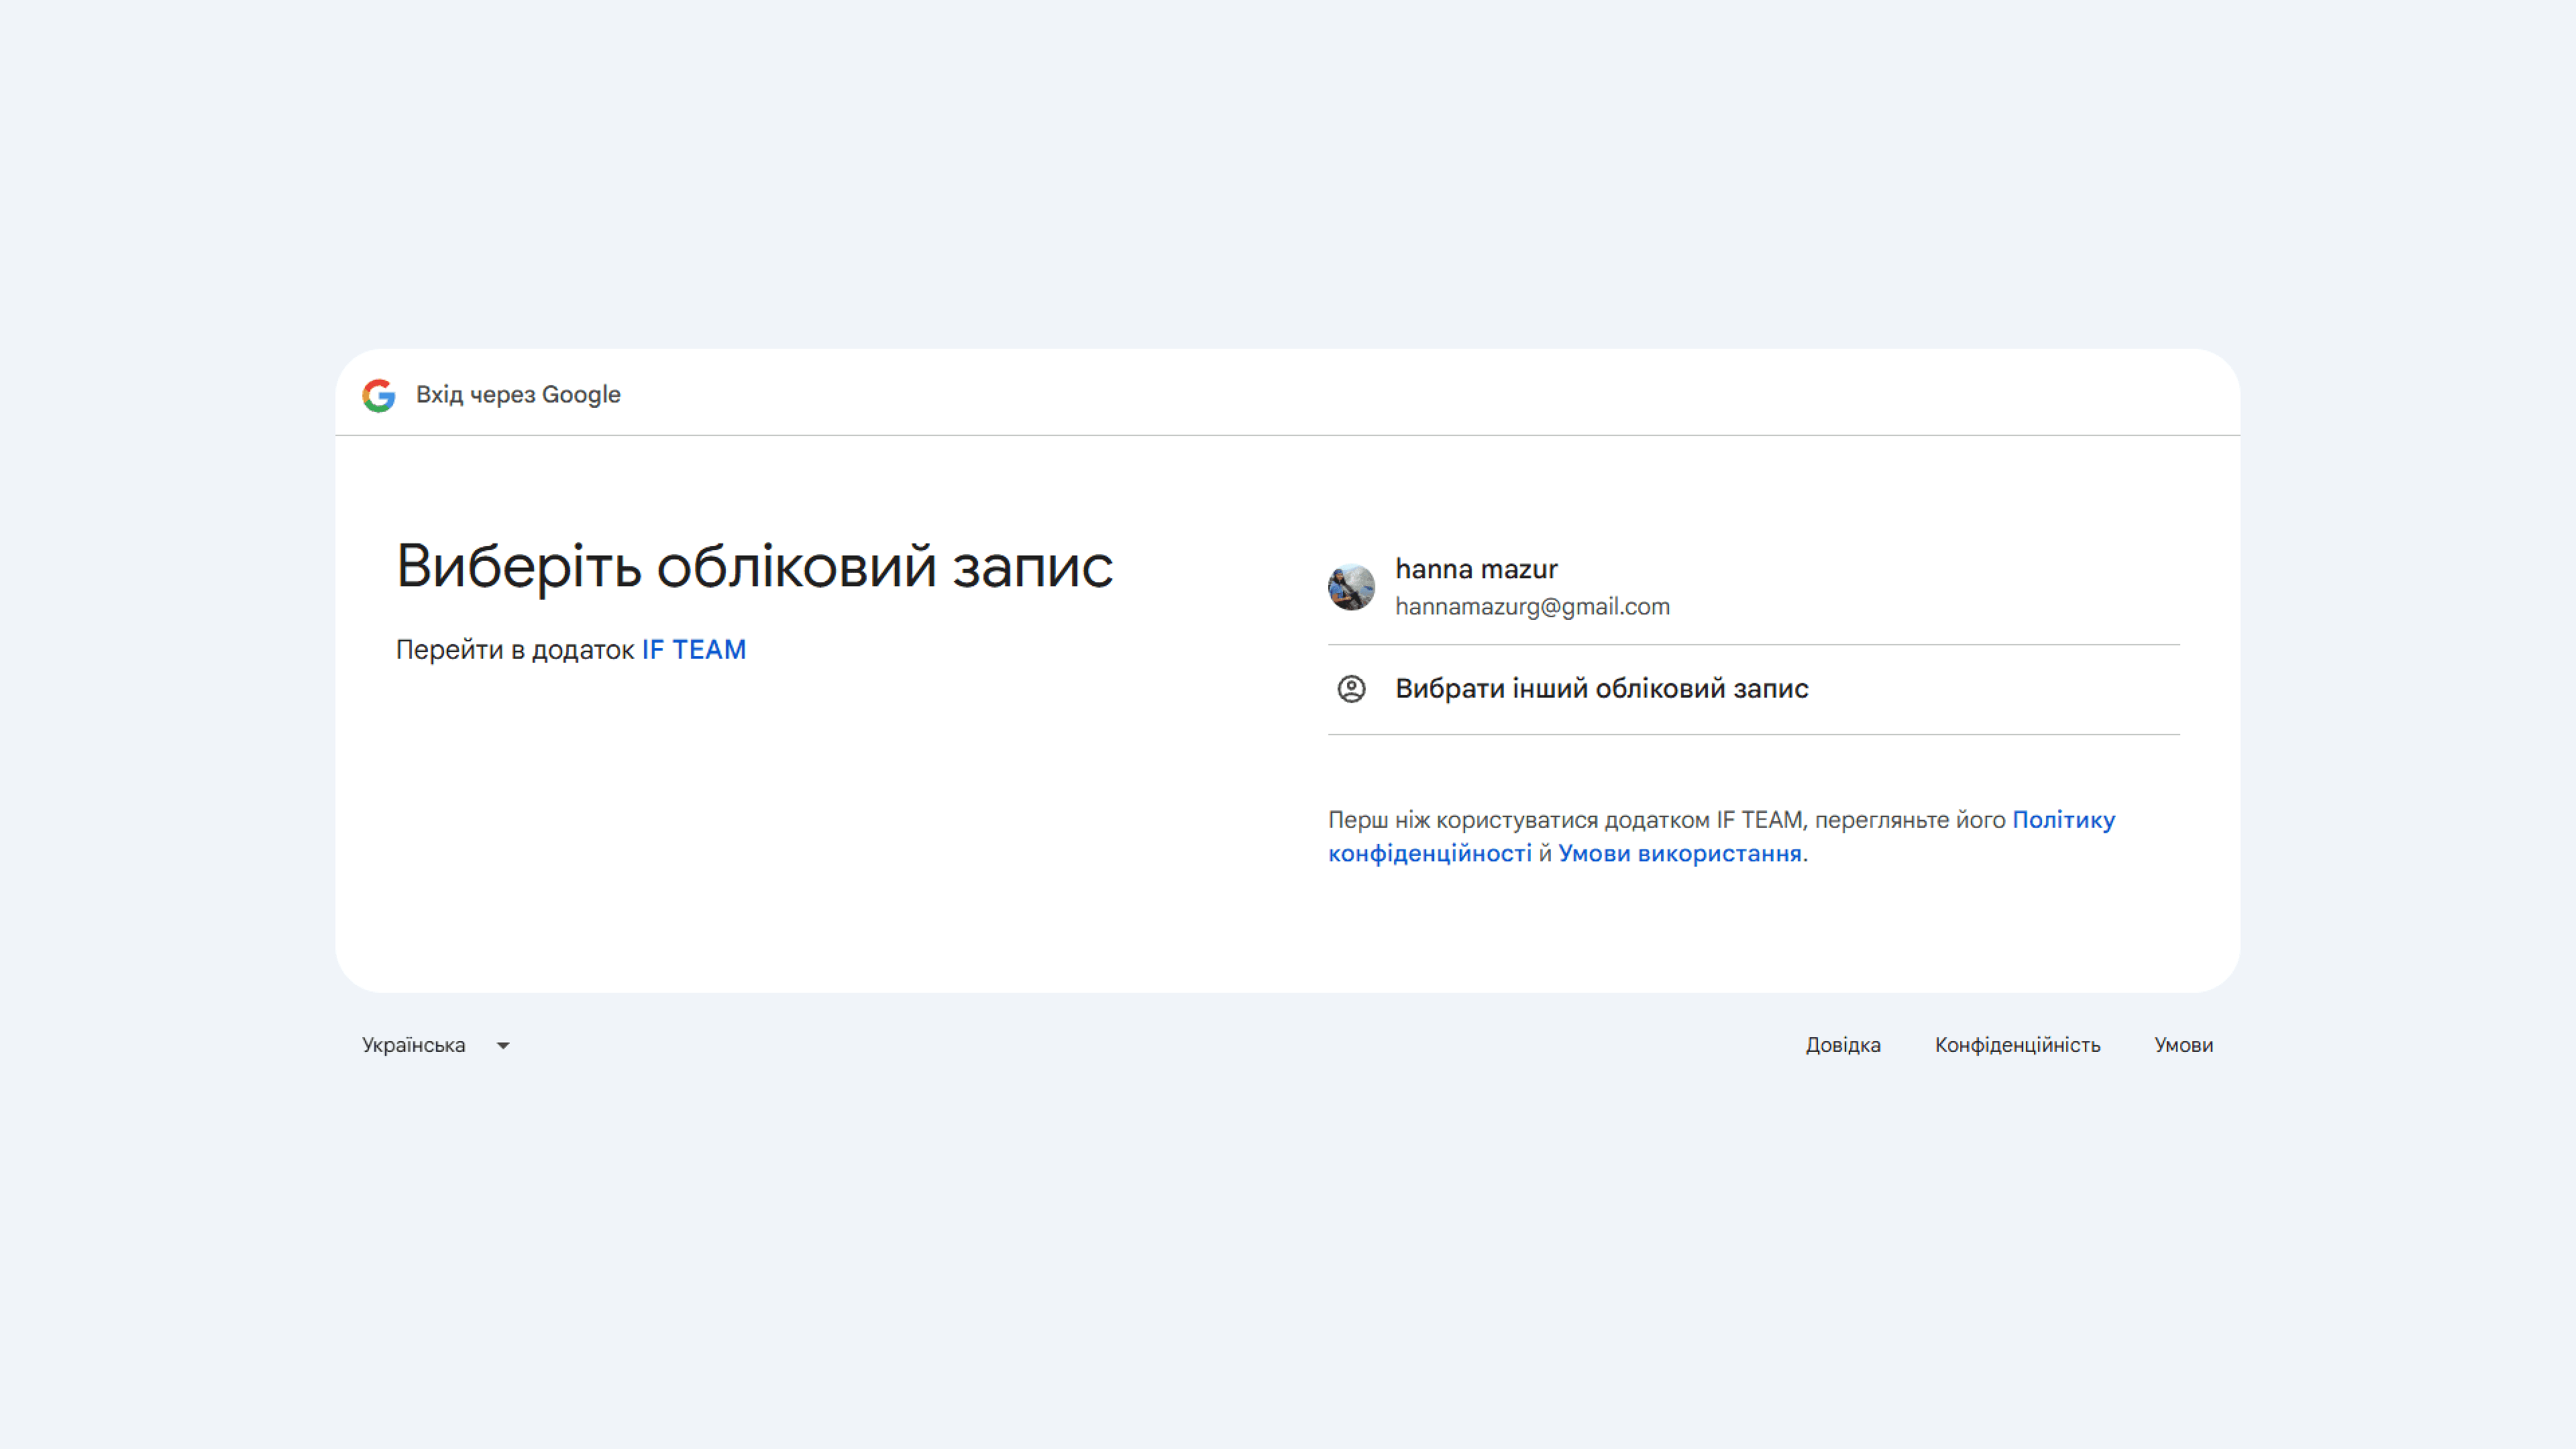
- On Choose an Account, select the account containing the required forms or click Use Another Account;
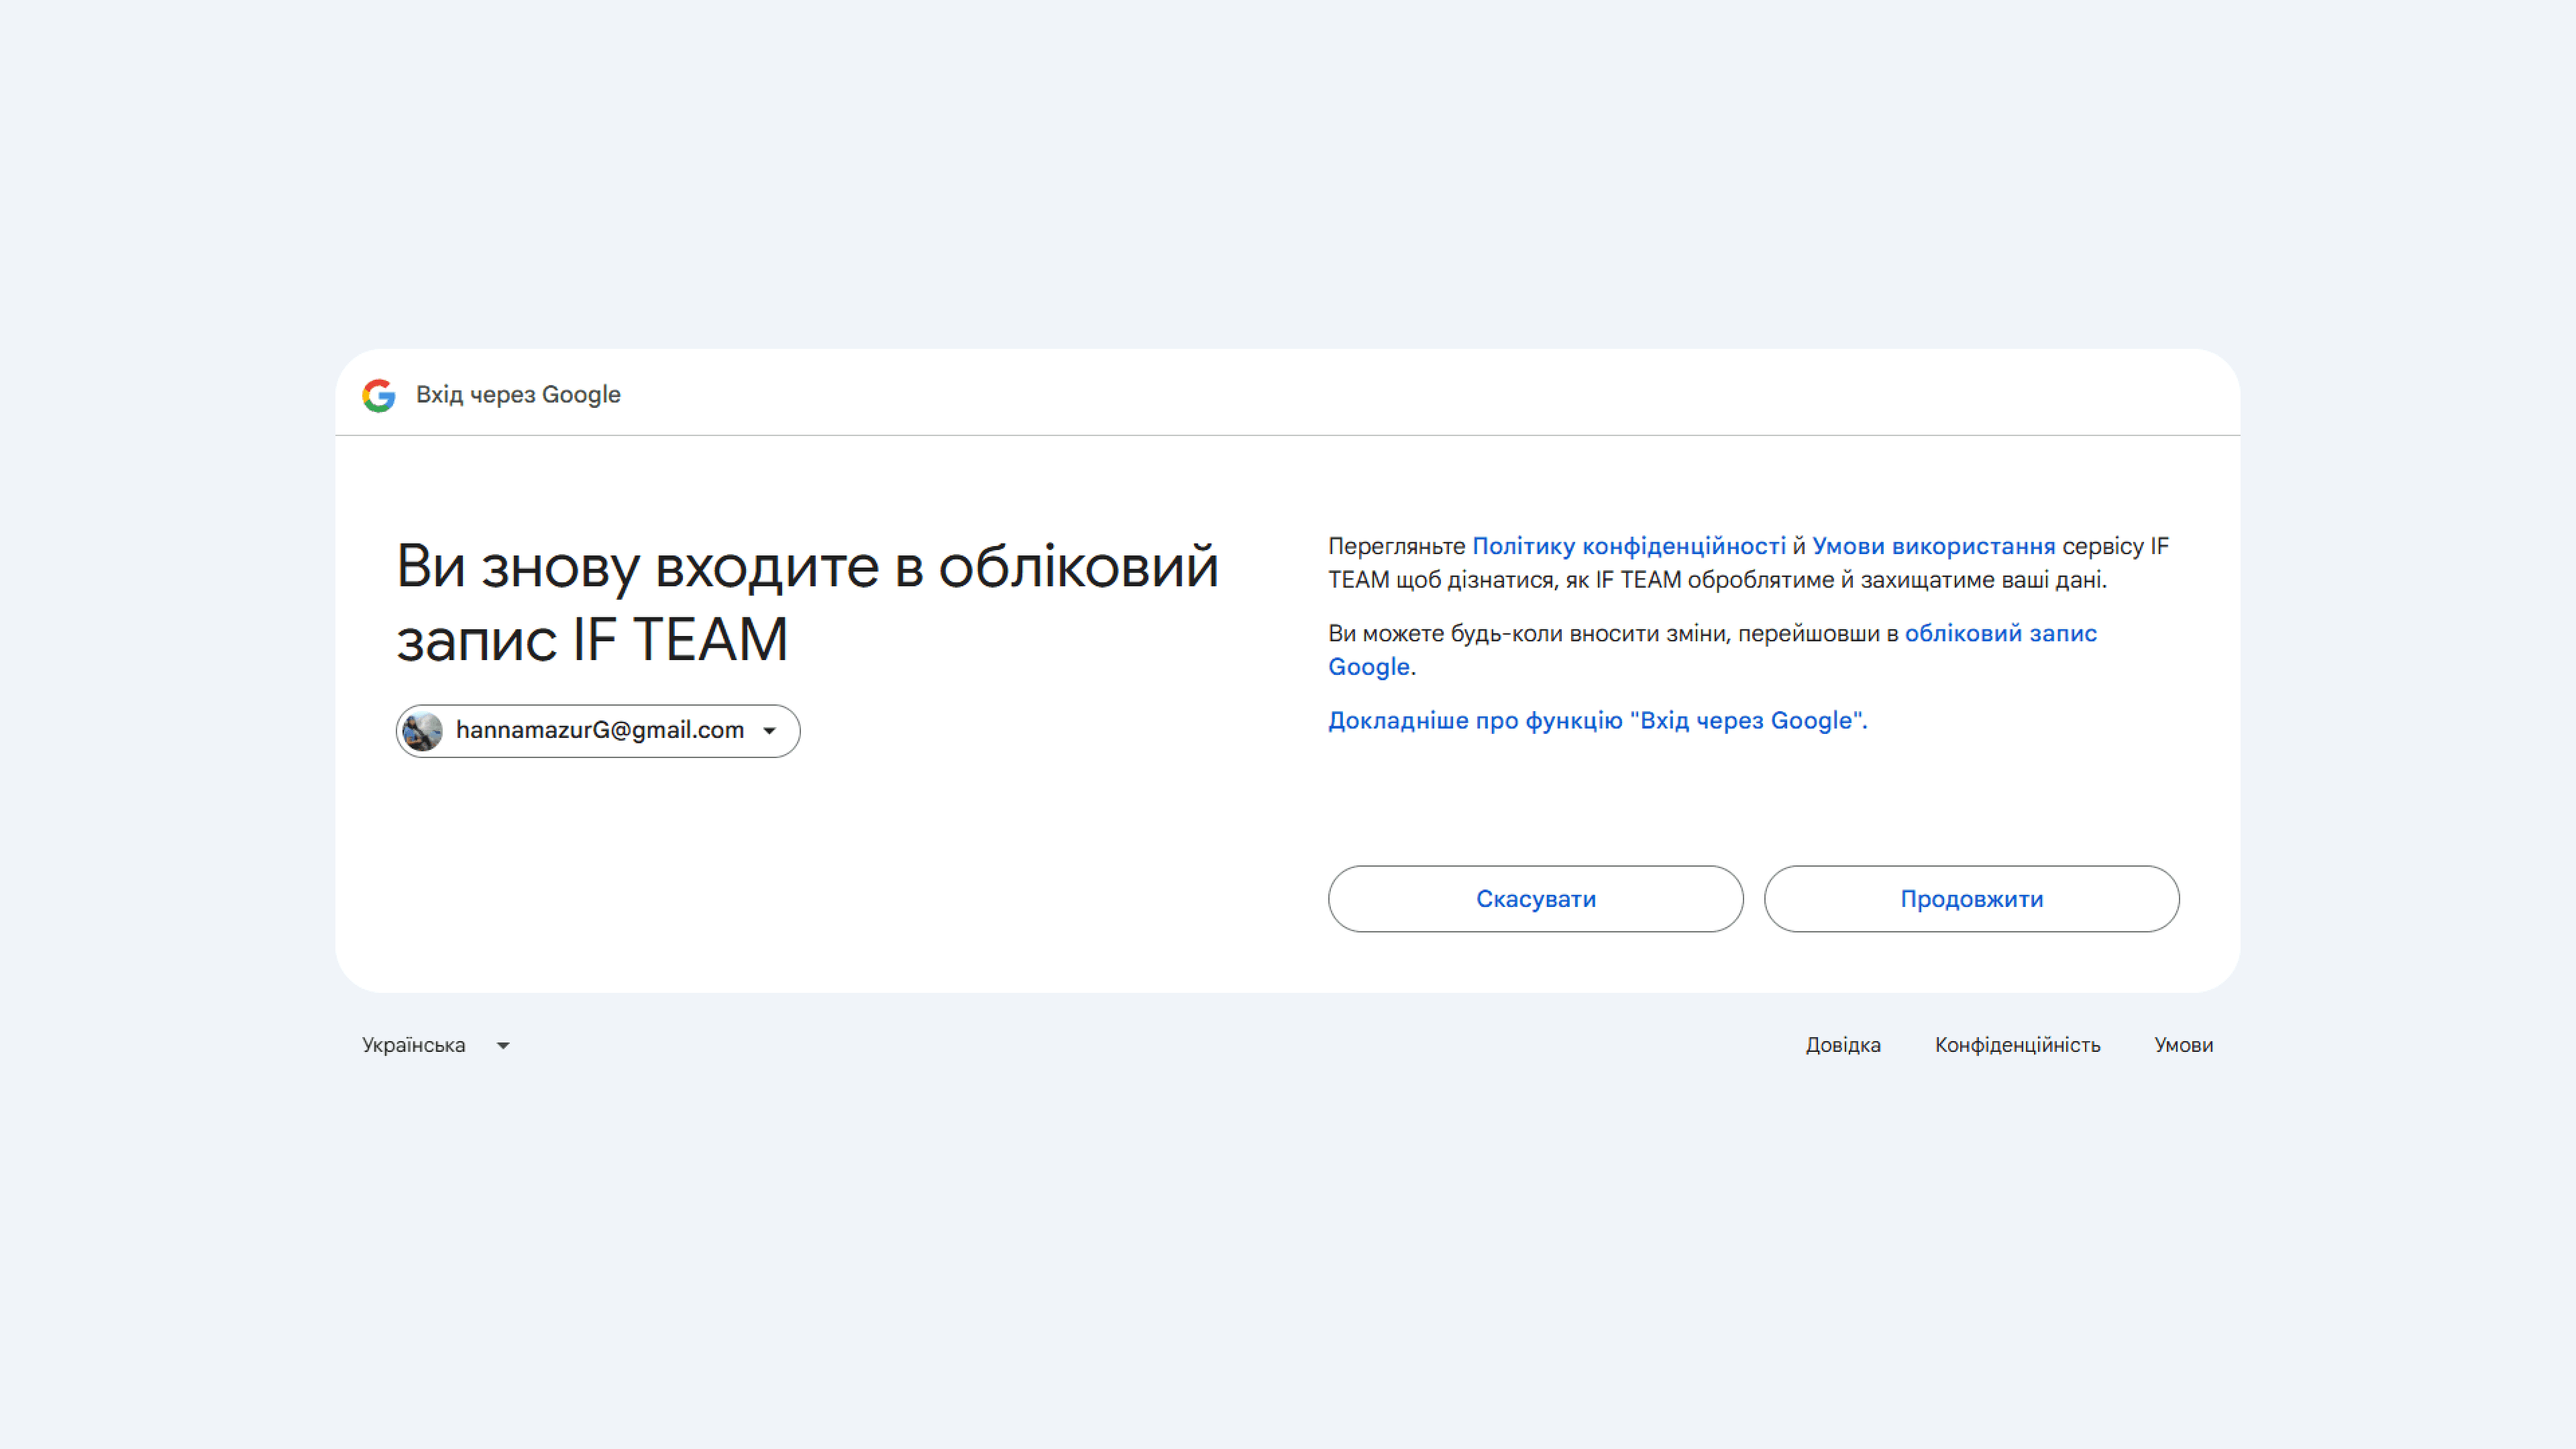
- On You’re Signing Back In to IF TEAM, click Continue;
- On IF TEAM Wants Access to Your Google Account, click Continue again to grant access.
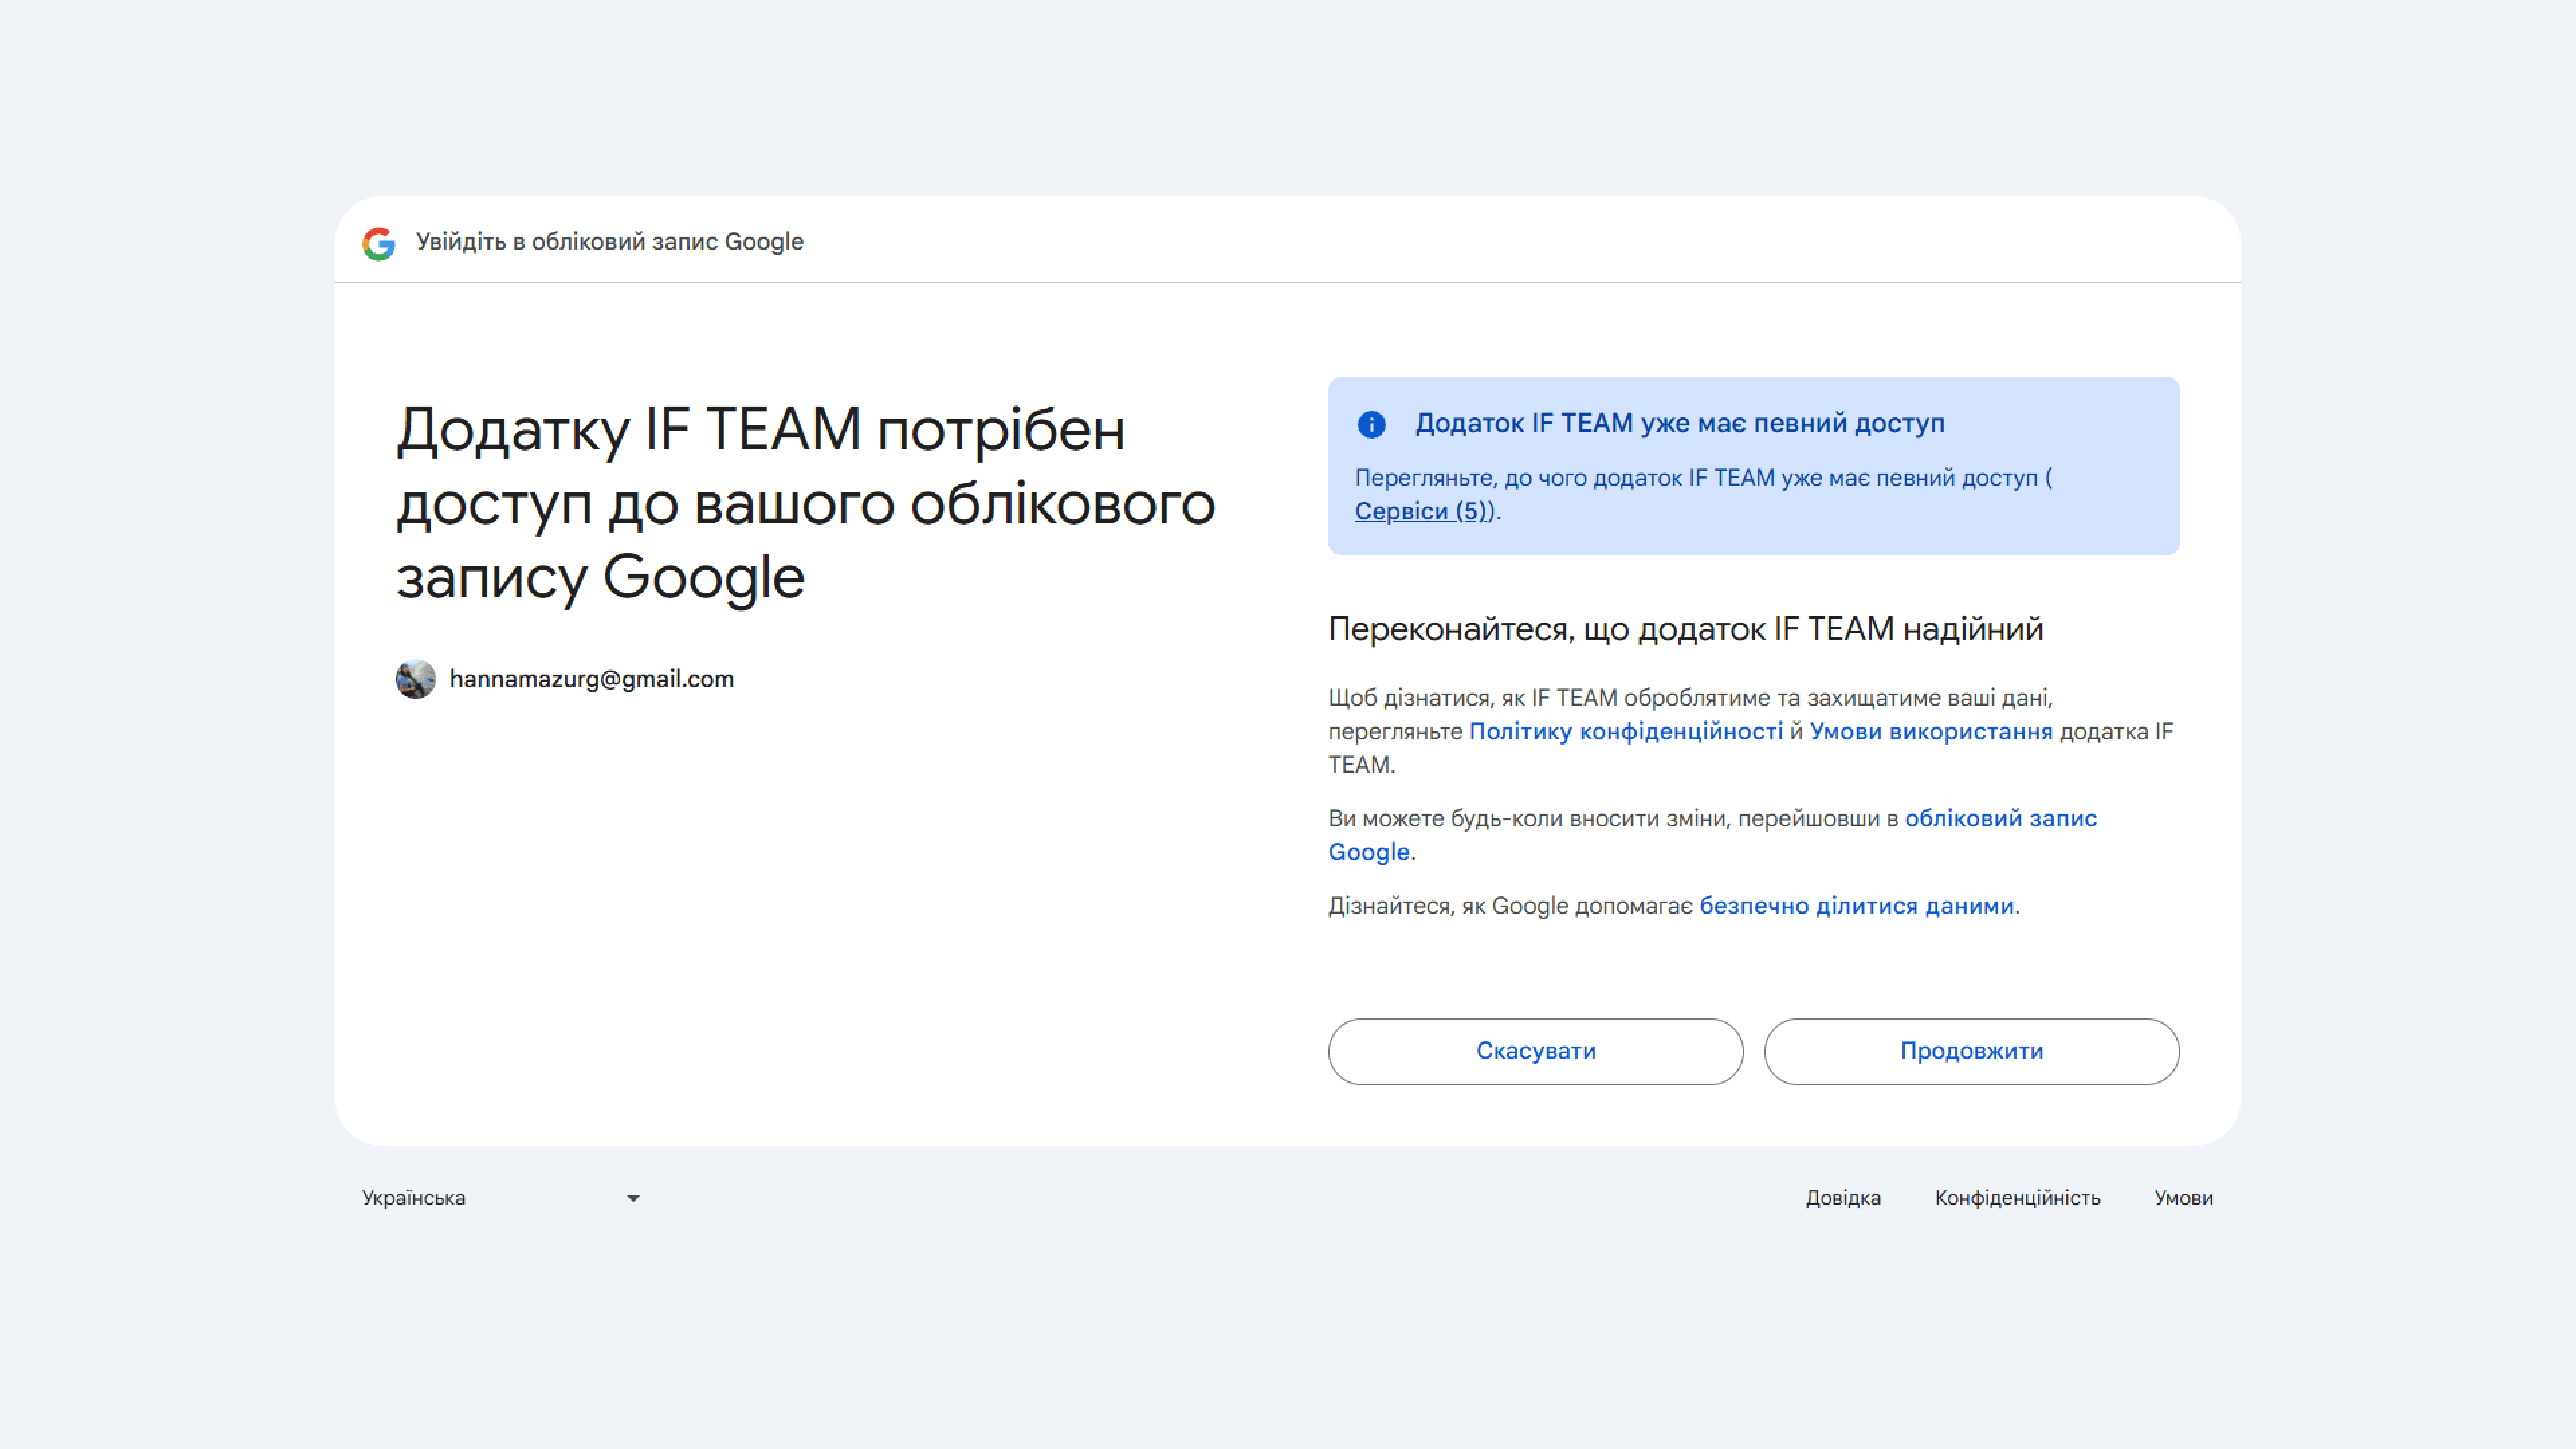
You then return to the integration, which now opens in Edit Integration. The Select button appears in the Google Form field. You can revoke access at any time in your Google Account settings.
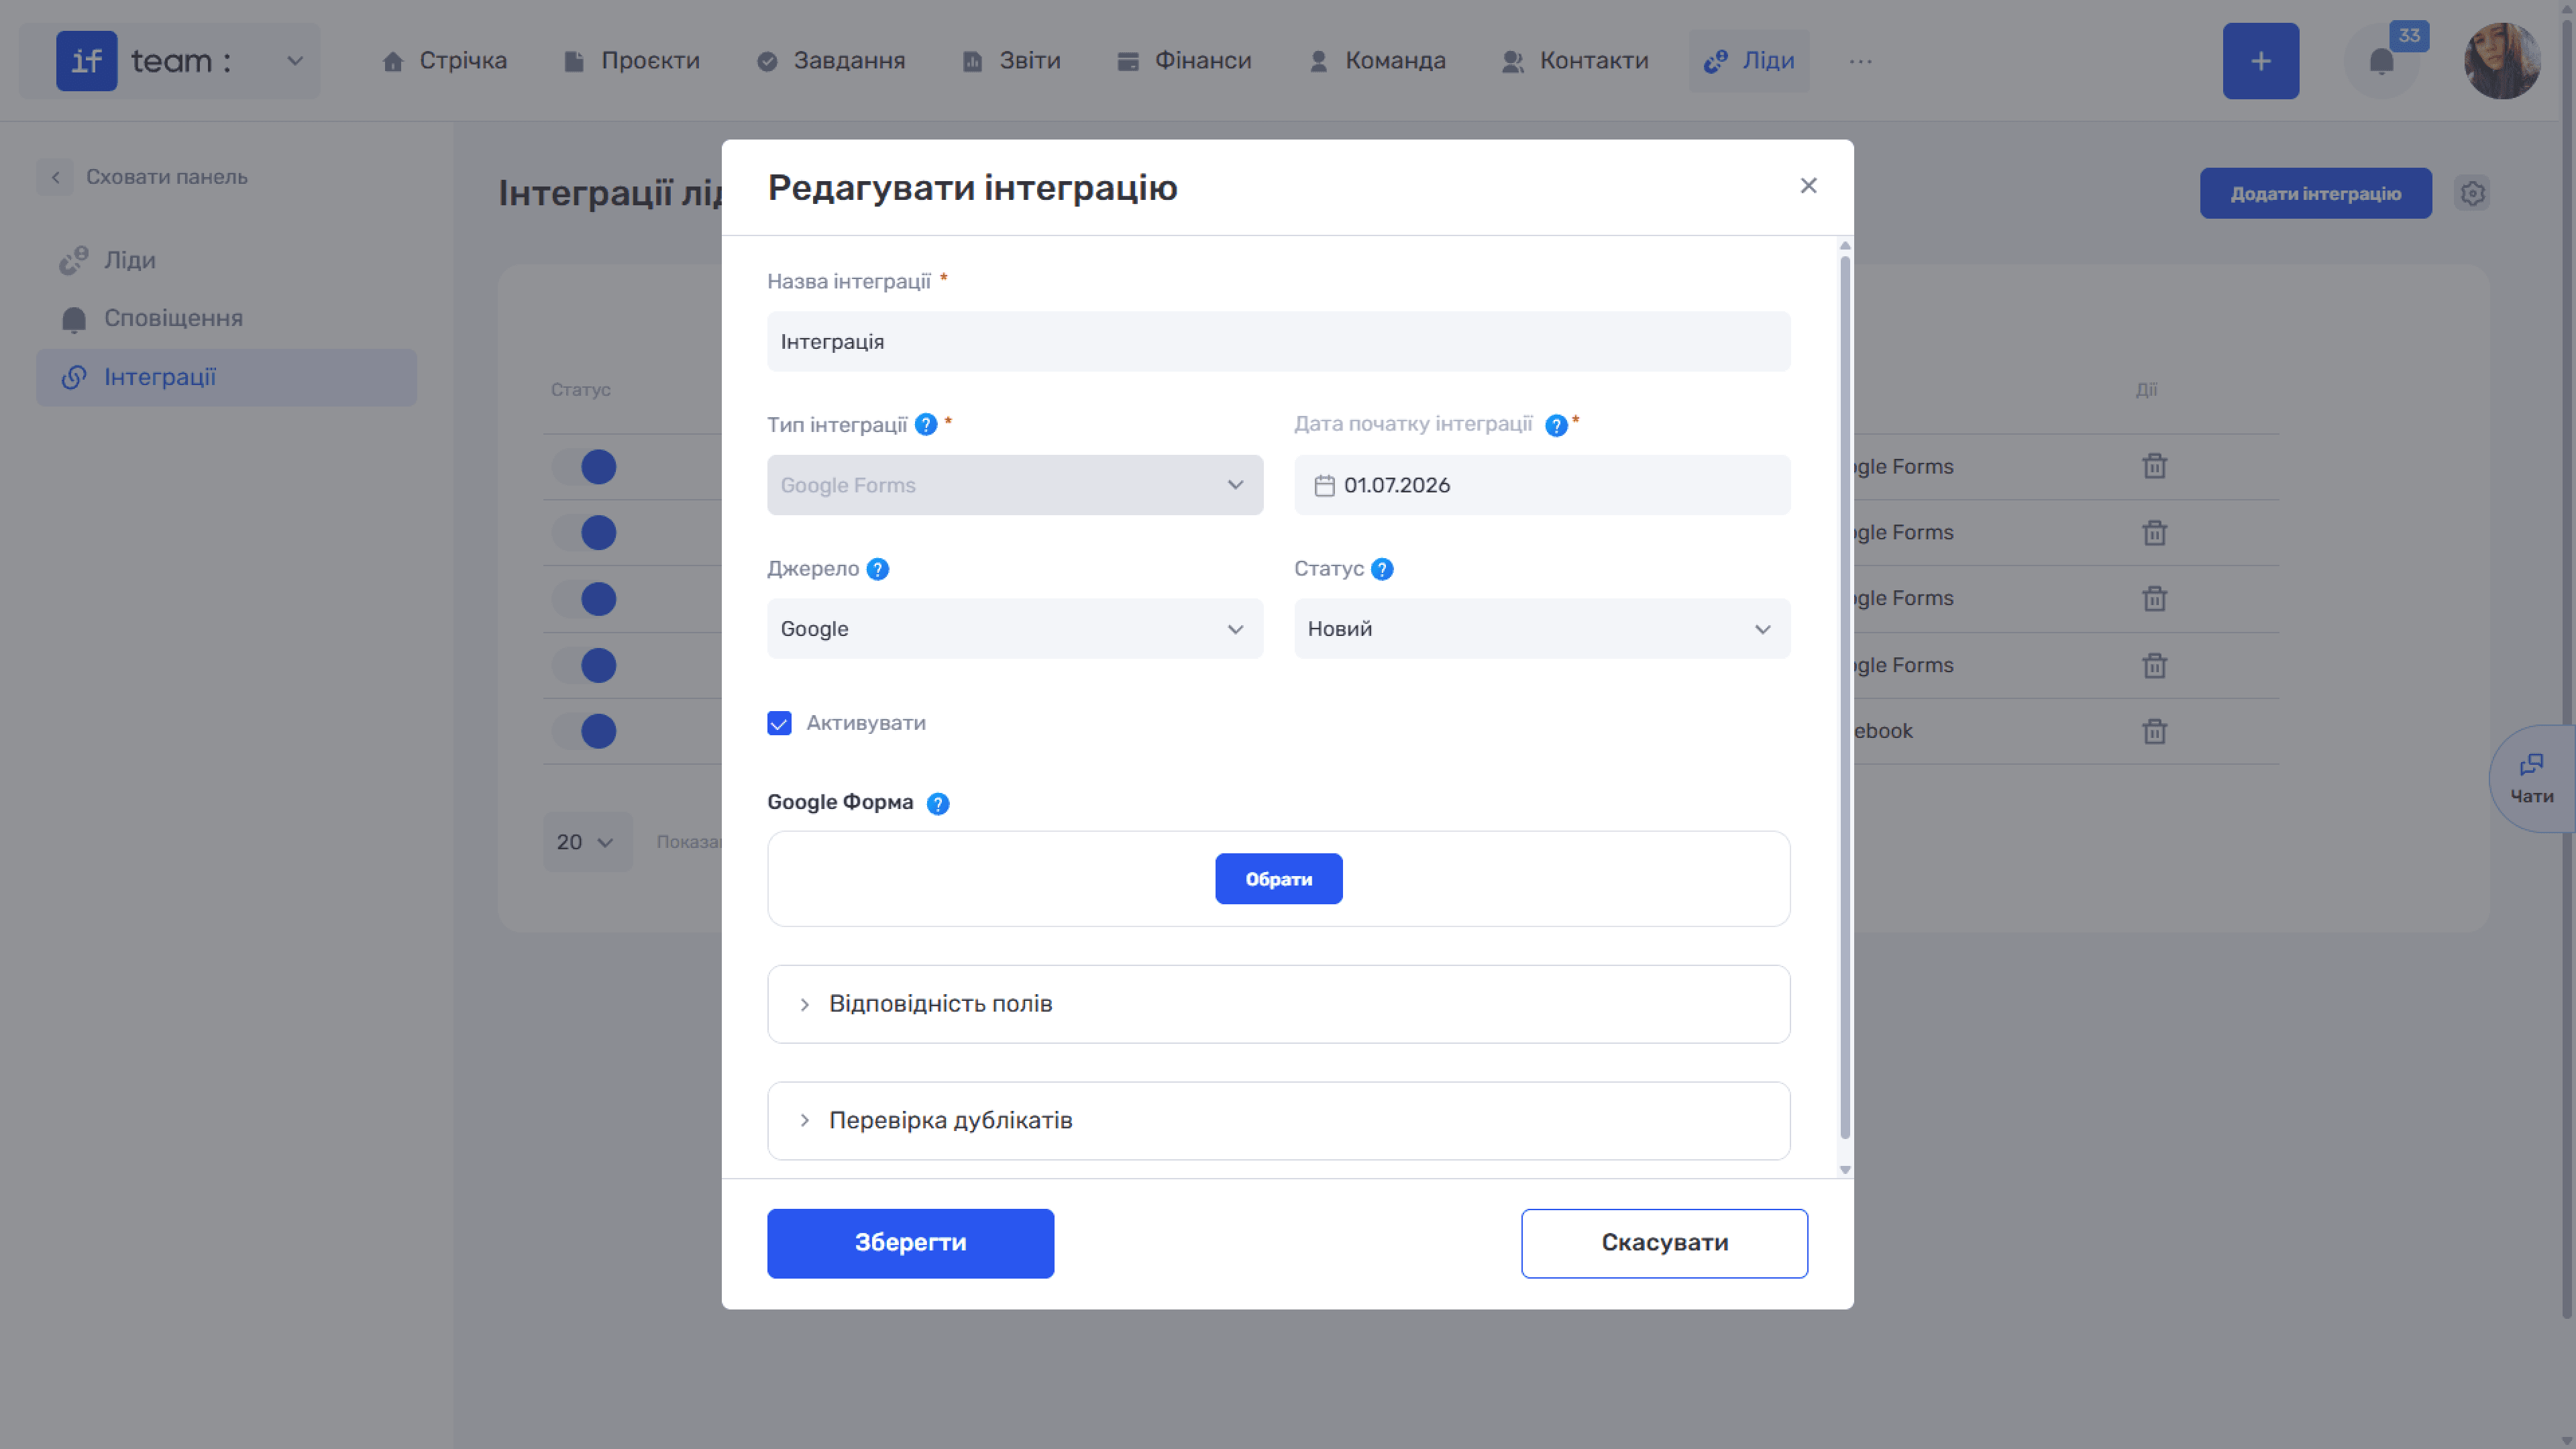
Step 3. Select a Form
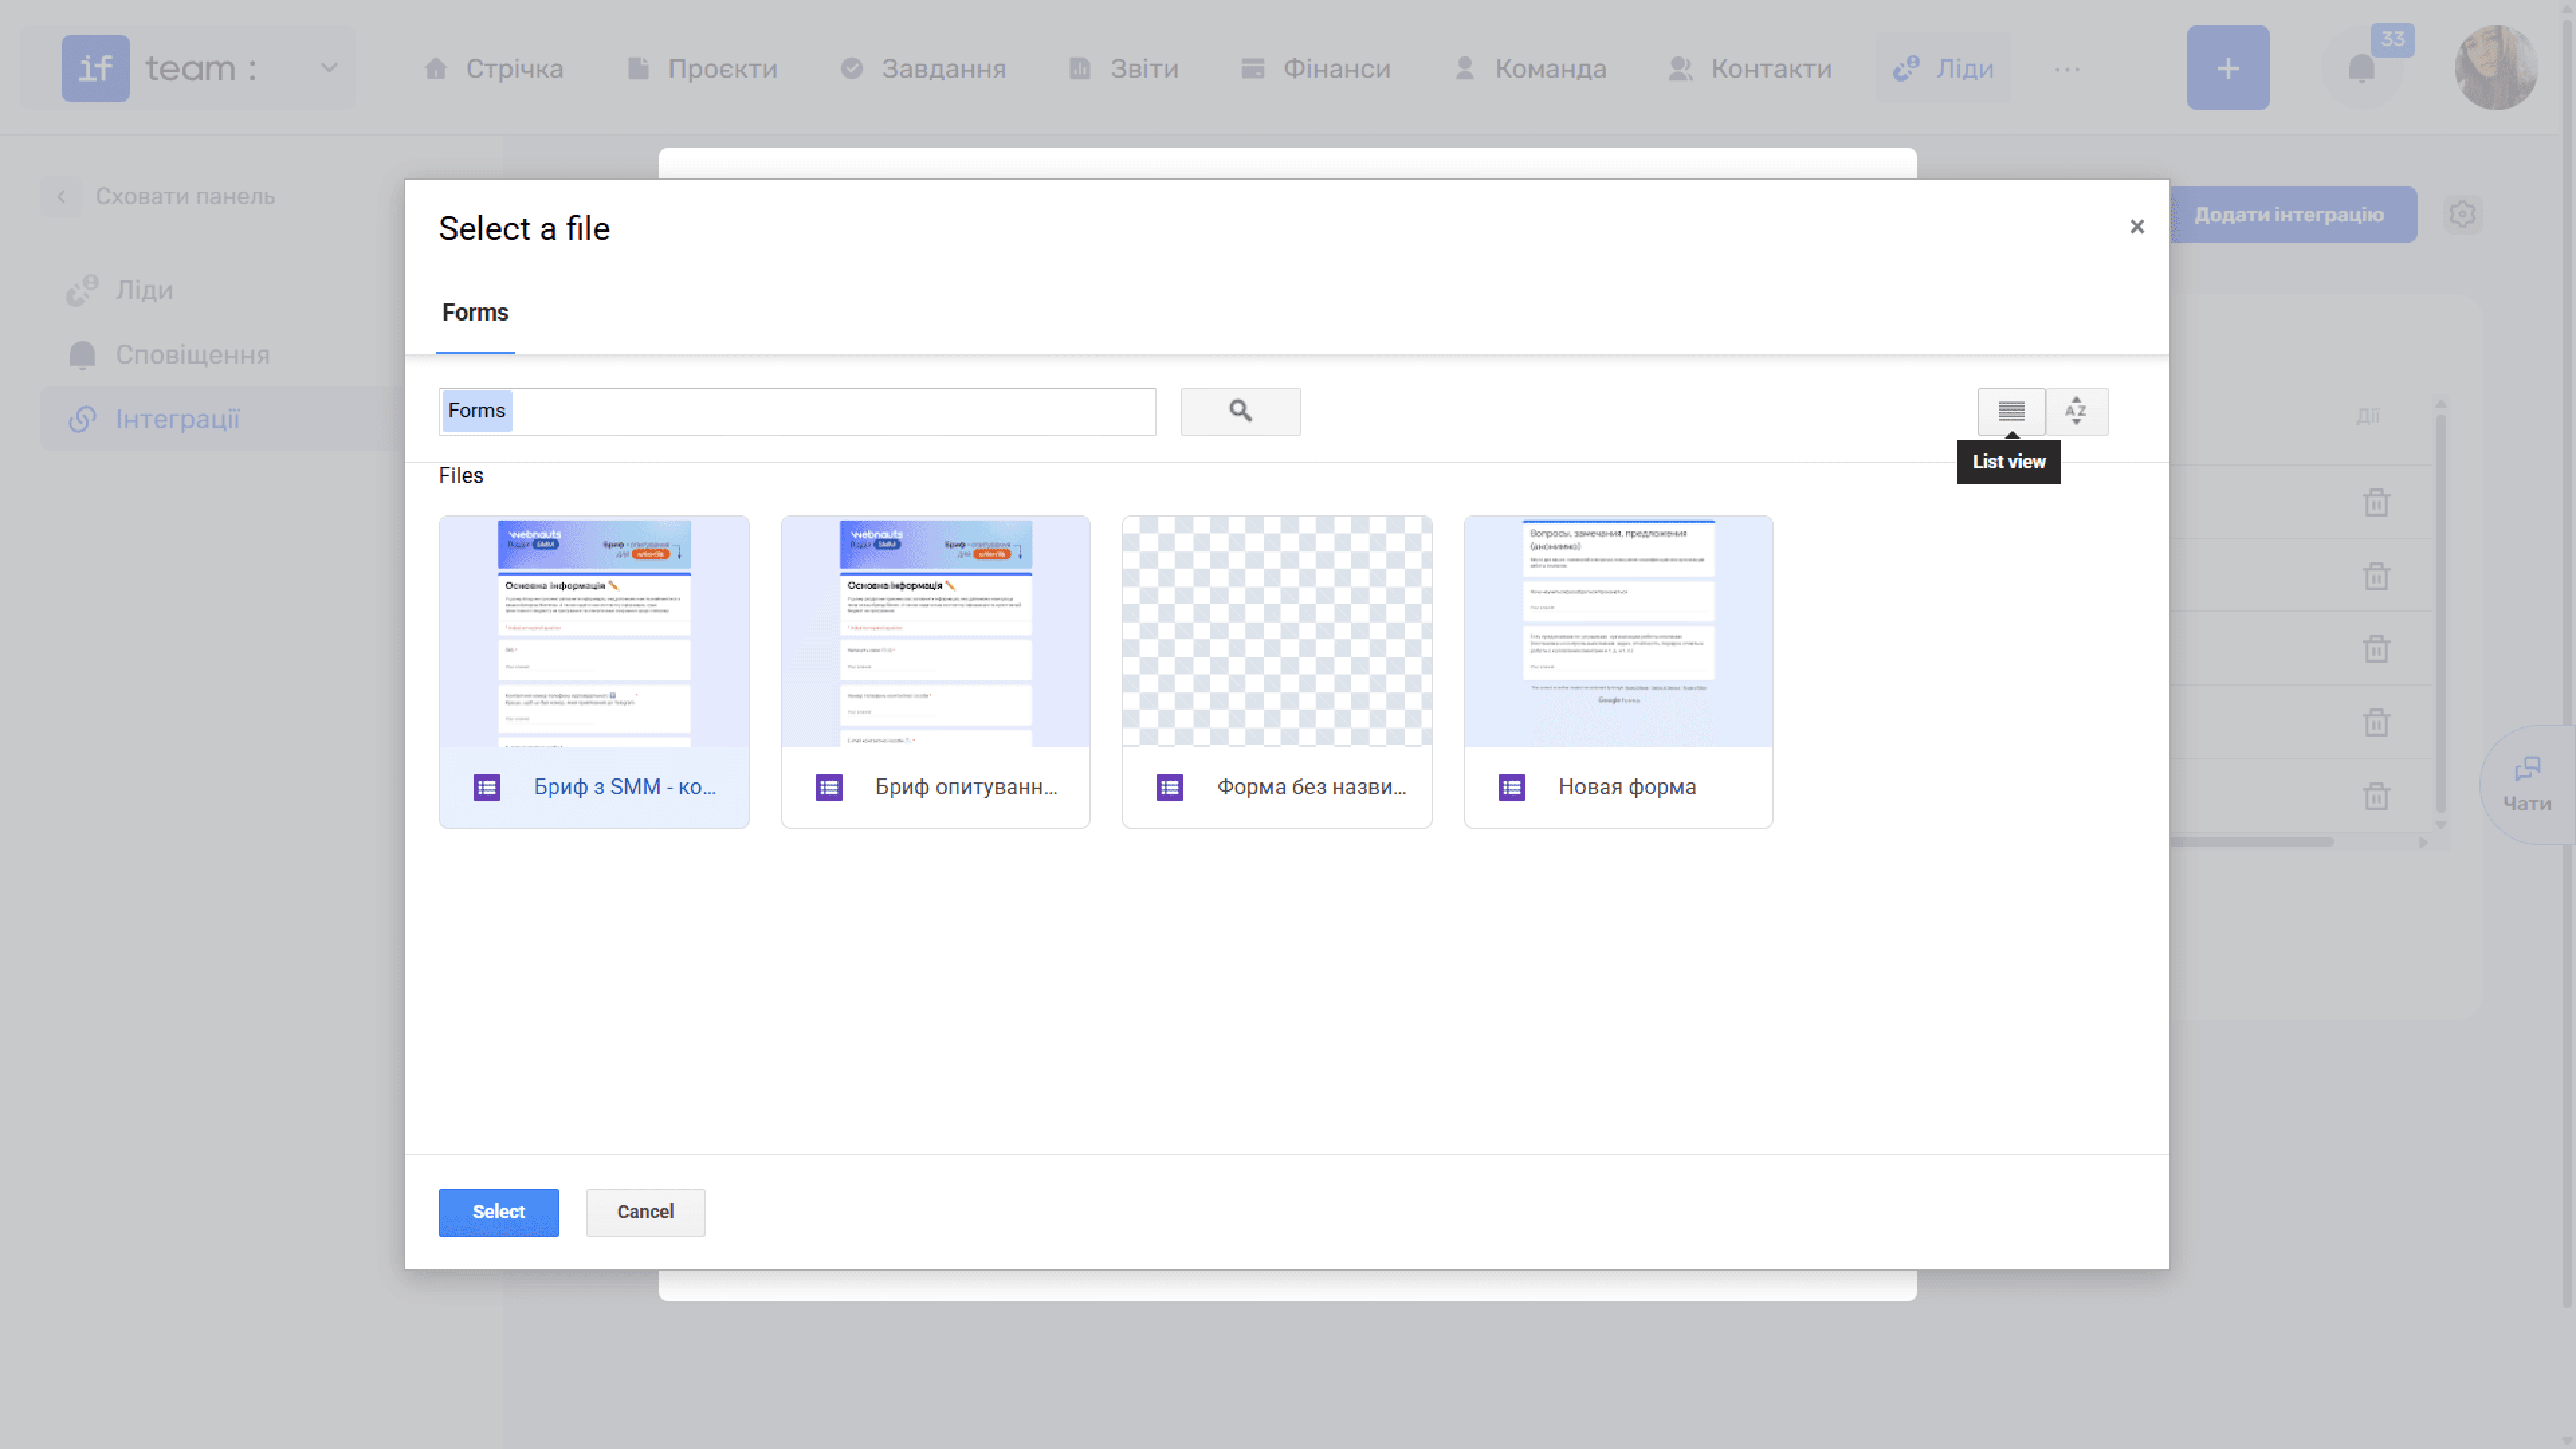
Click Select to open the Select a File window from Google Drive. The Forms tab displays all available forms with search, a view switcher, and sorting. Select the required form and click Select.
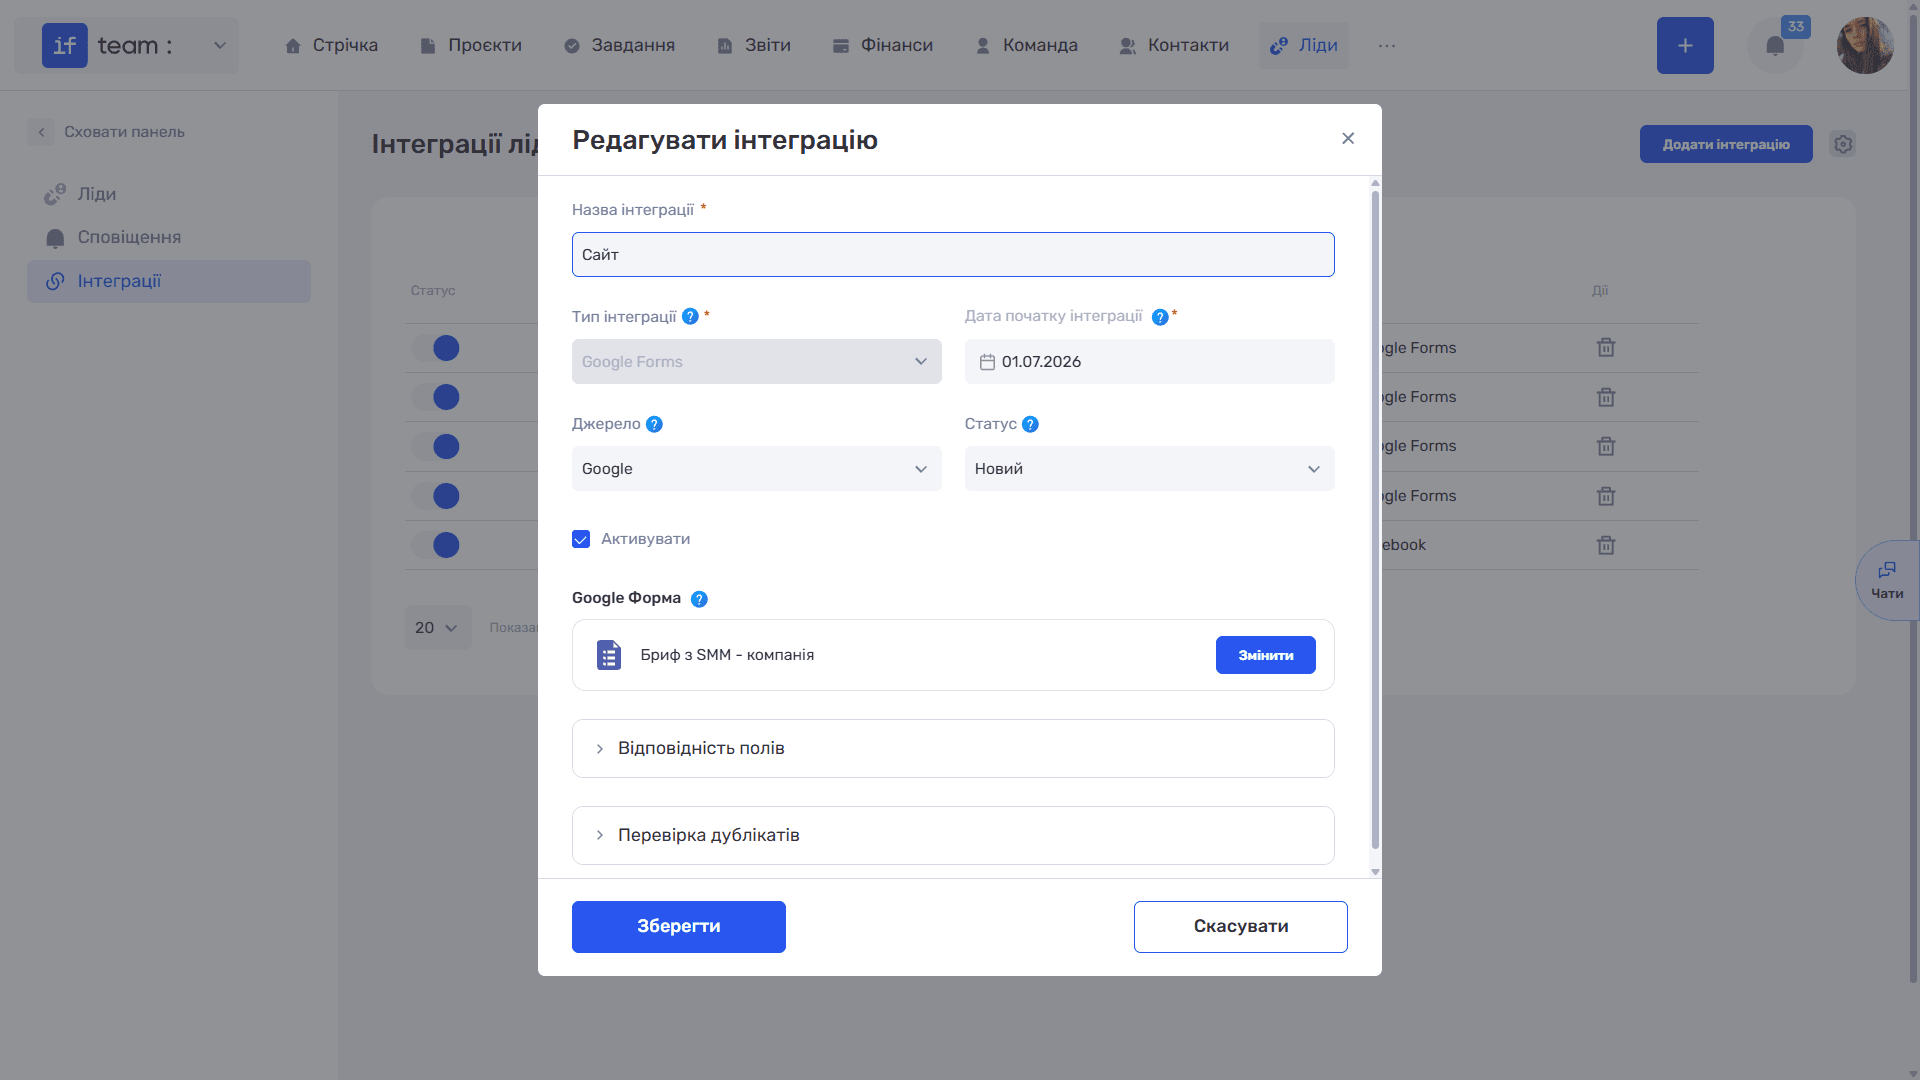
The selected form appears in the field with its icon, and the button changes to Change, allowing you to replace it with another form.
Please note
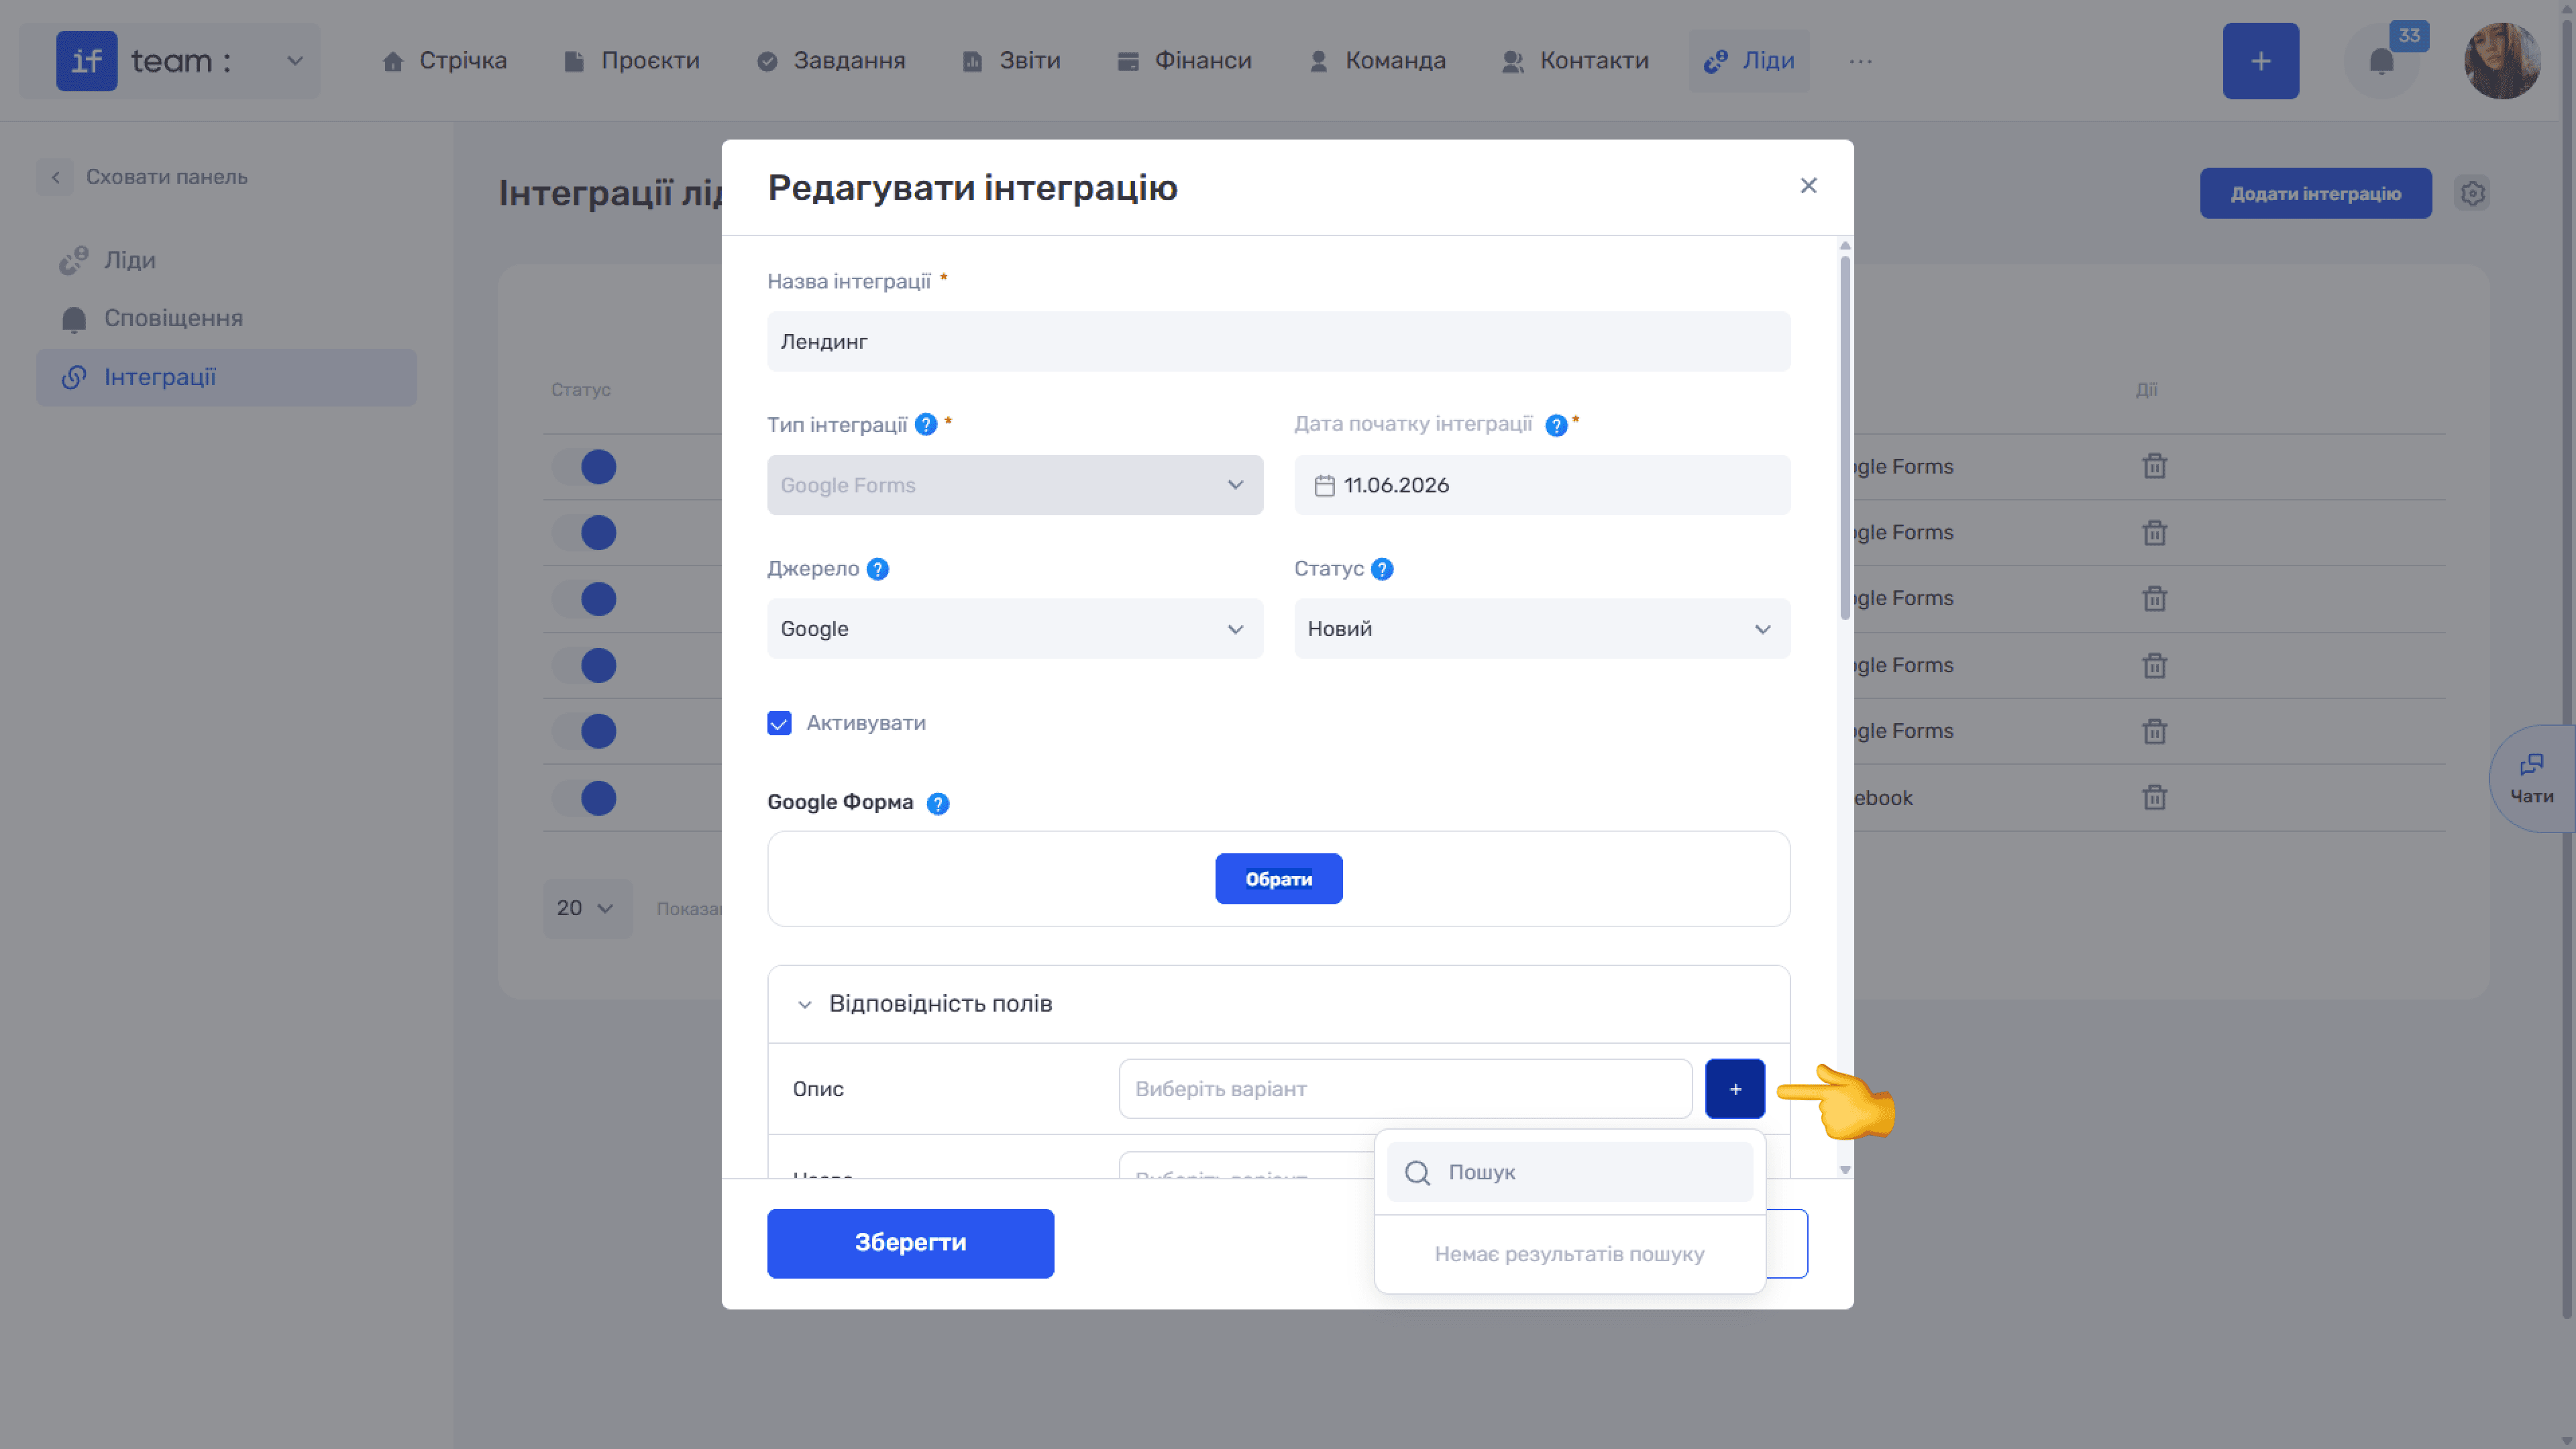
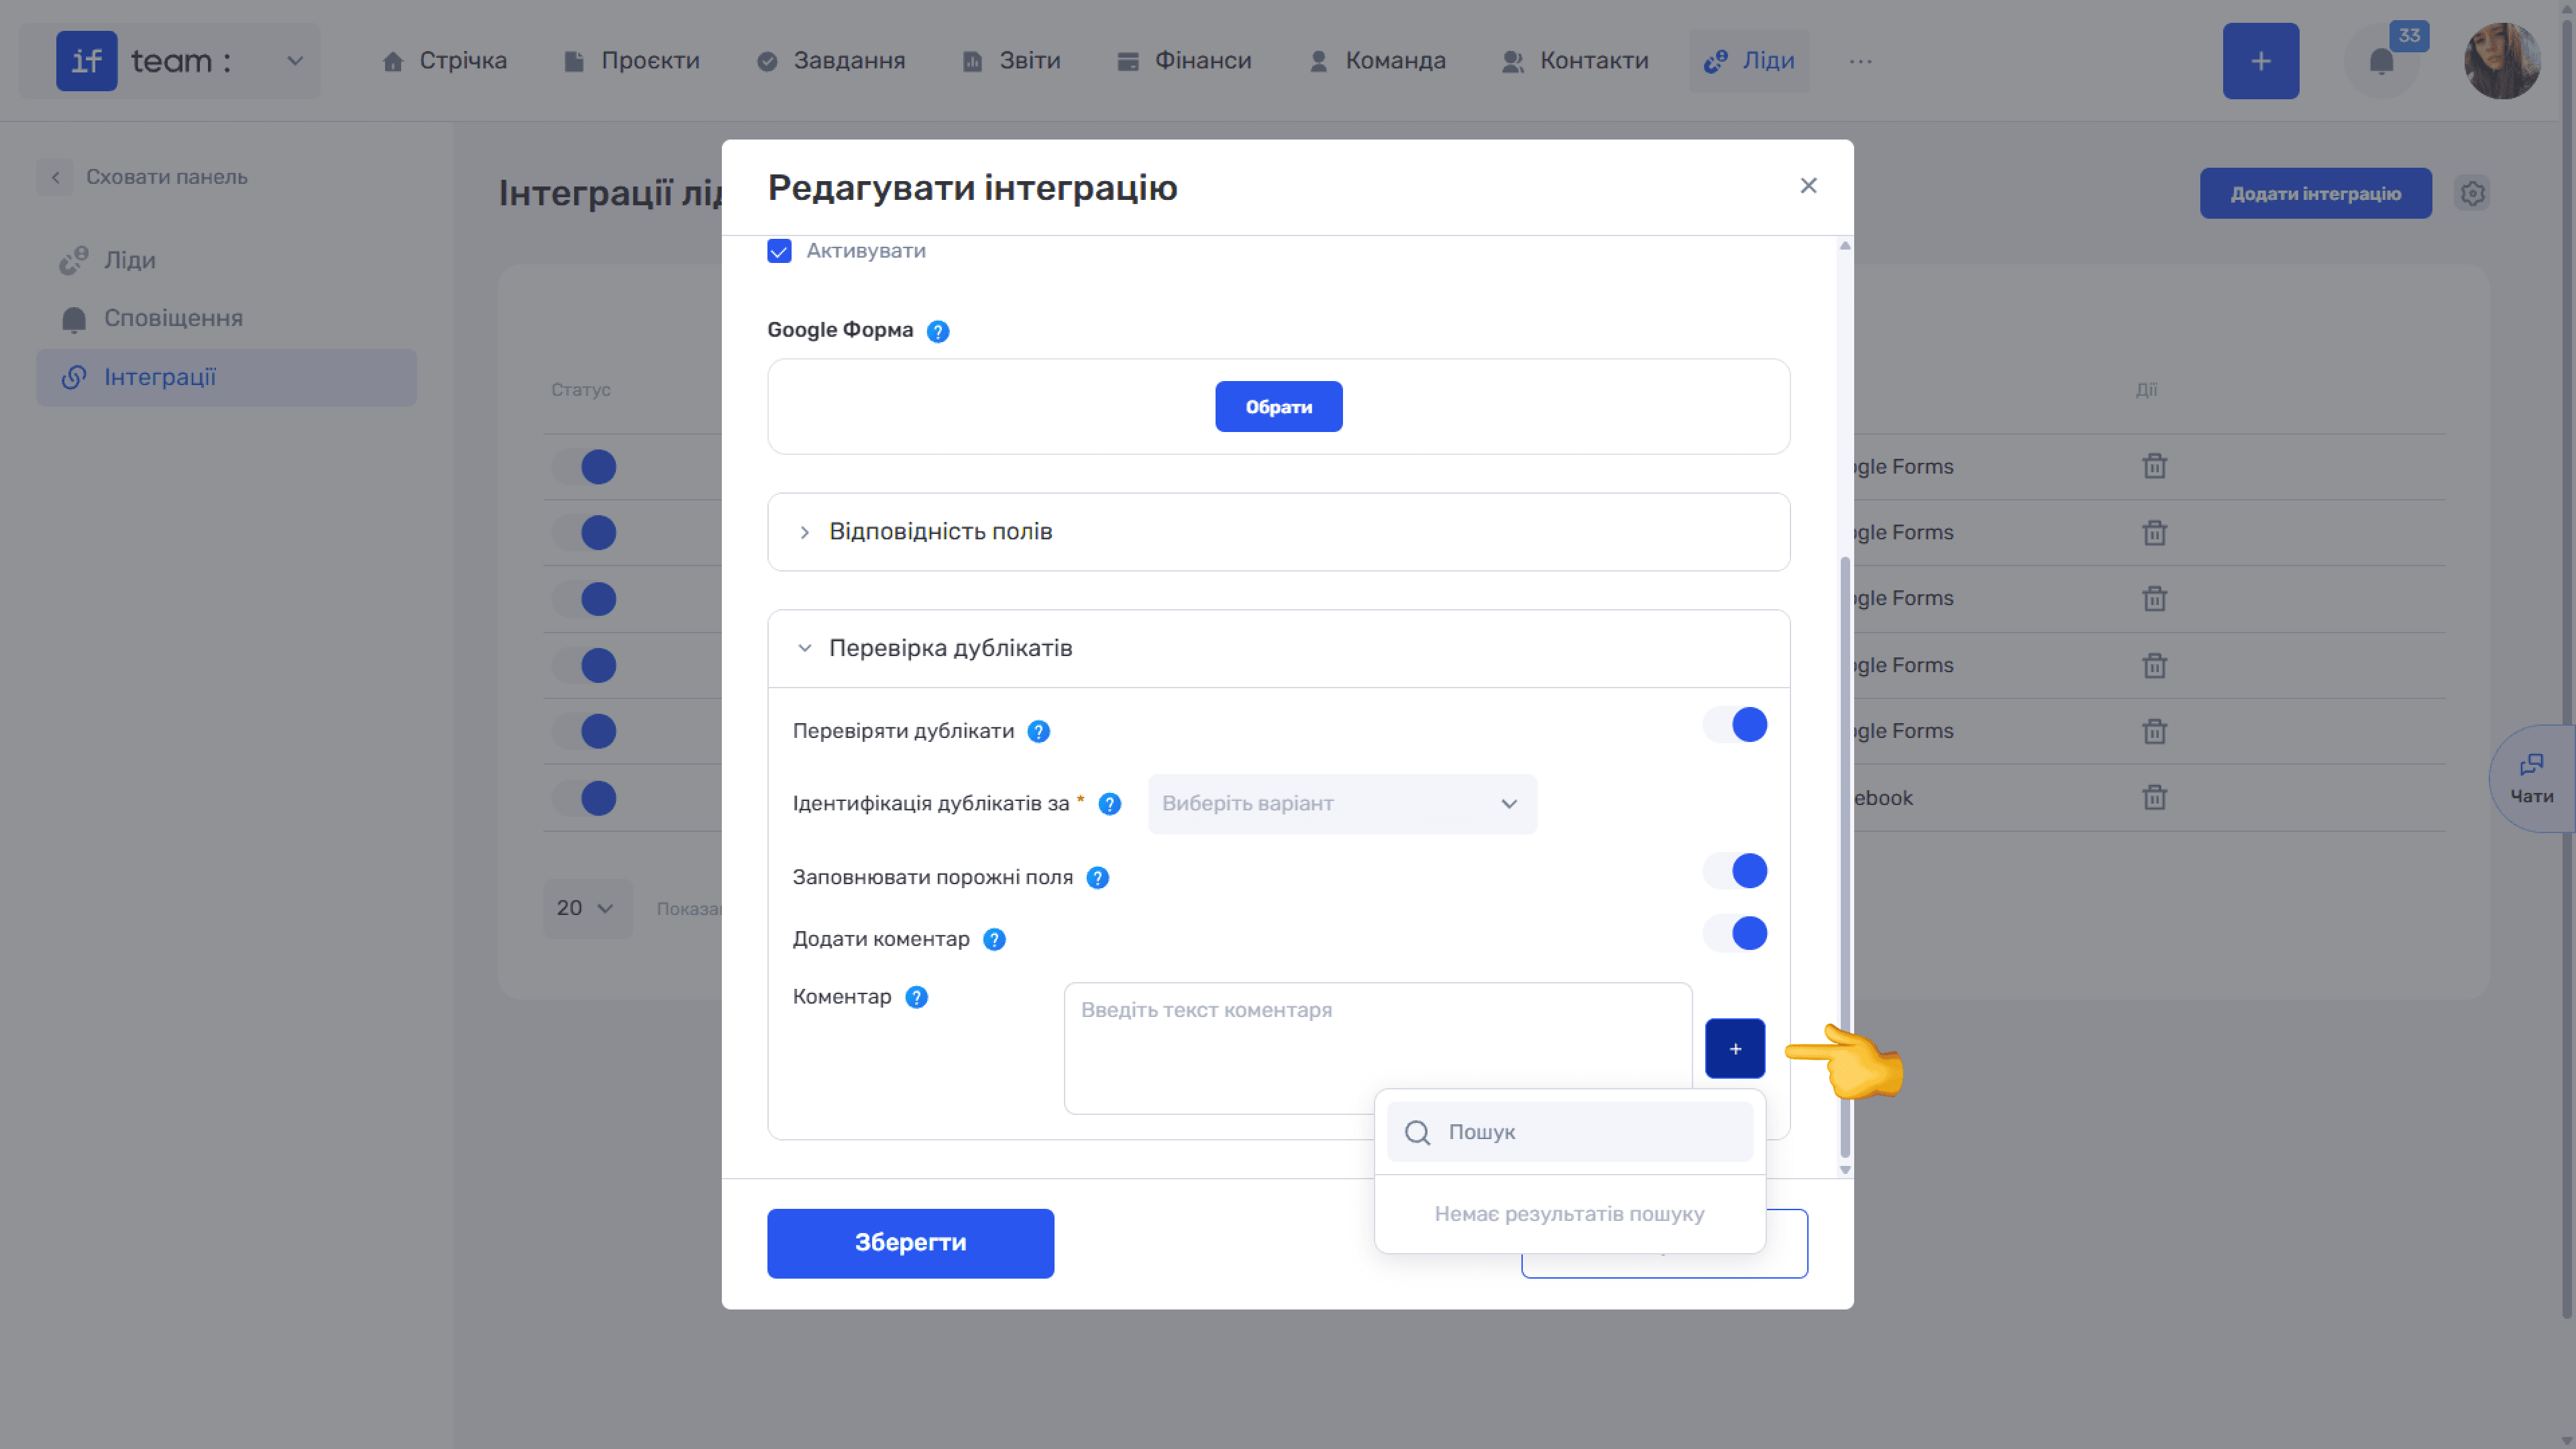
Until a form is selected, Field Mapping is visible, but its lists are empty and show No Search Results because the questions are retrieved from the selected form.
Step 4. Field Mapping
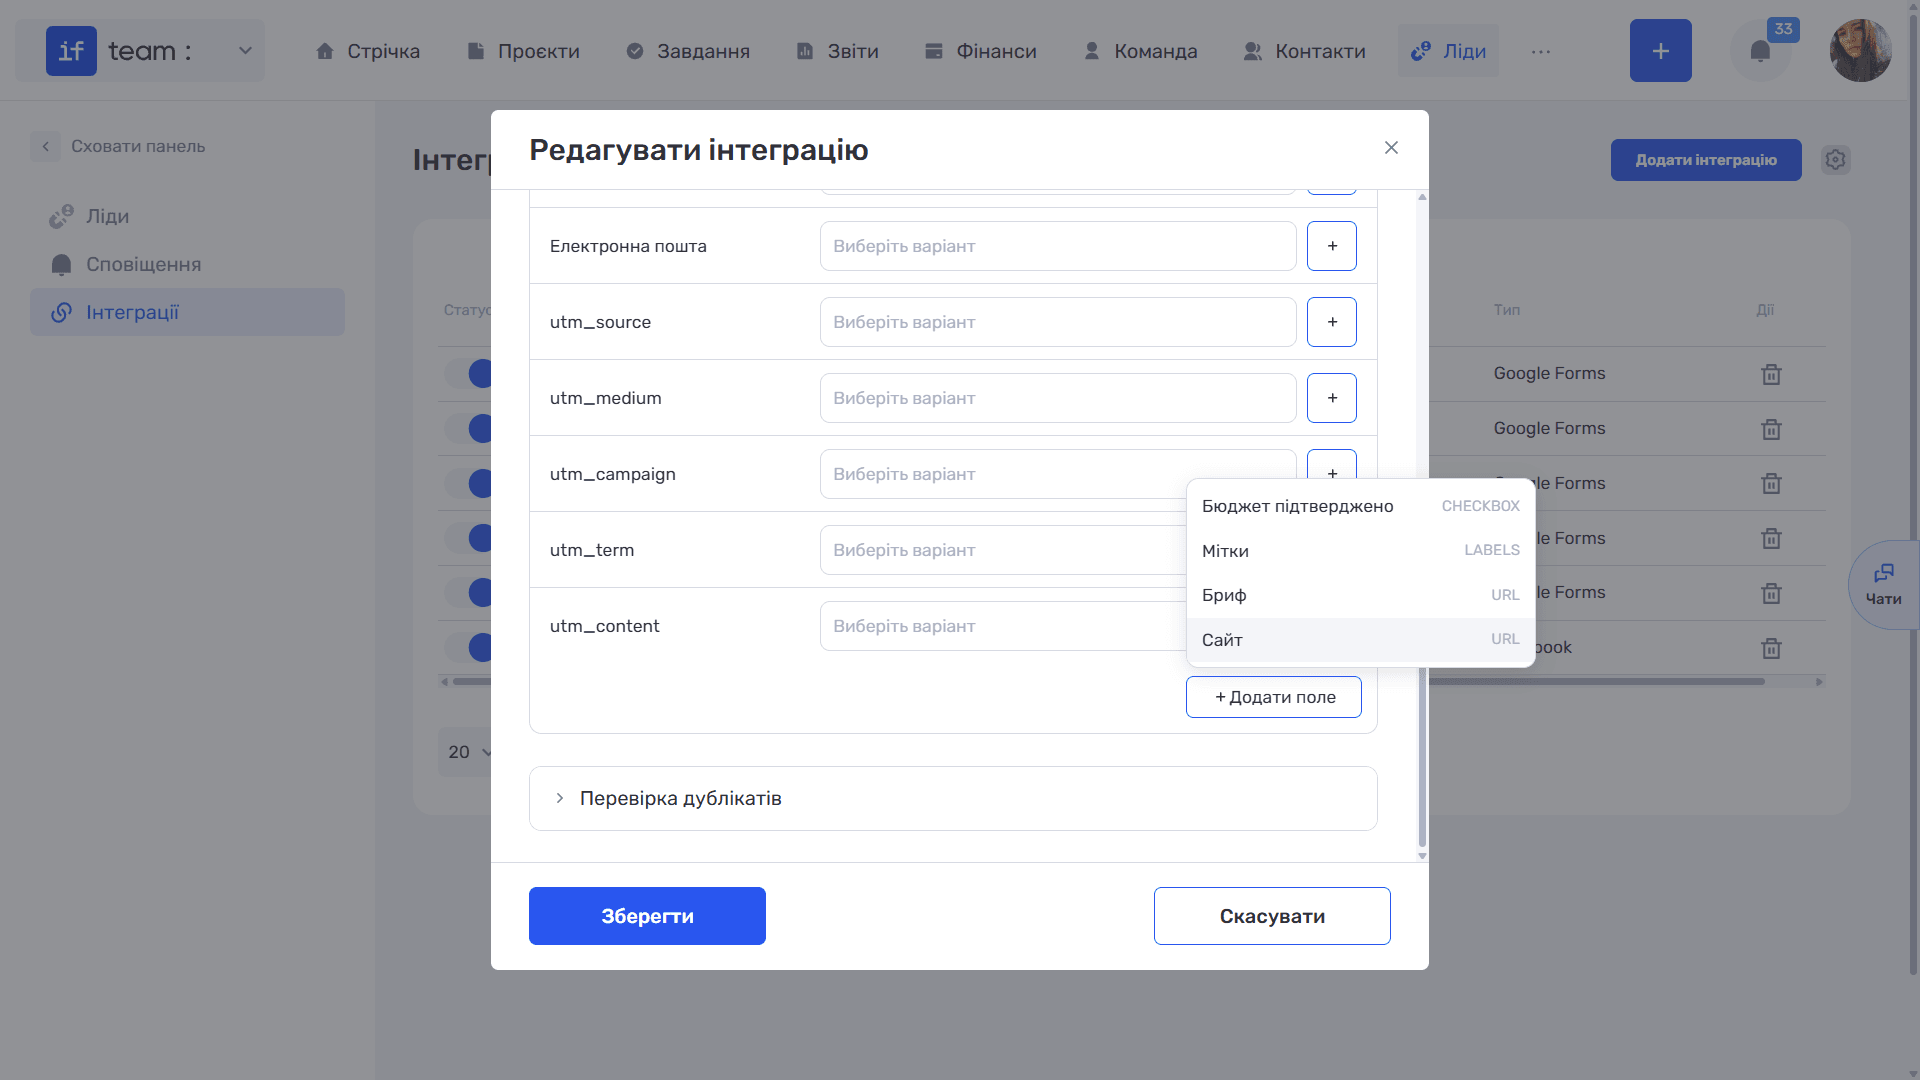
This is a collapsible section where you map questions from the selected form to lead-card fields. Available fields are Description, Name, Counterparty, Expected Budget, Assignees, Members, Contact Person, Phone, Email, as well as utm_source, utm_medium, utm_campaign, utm_term, and utm_content.
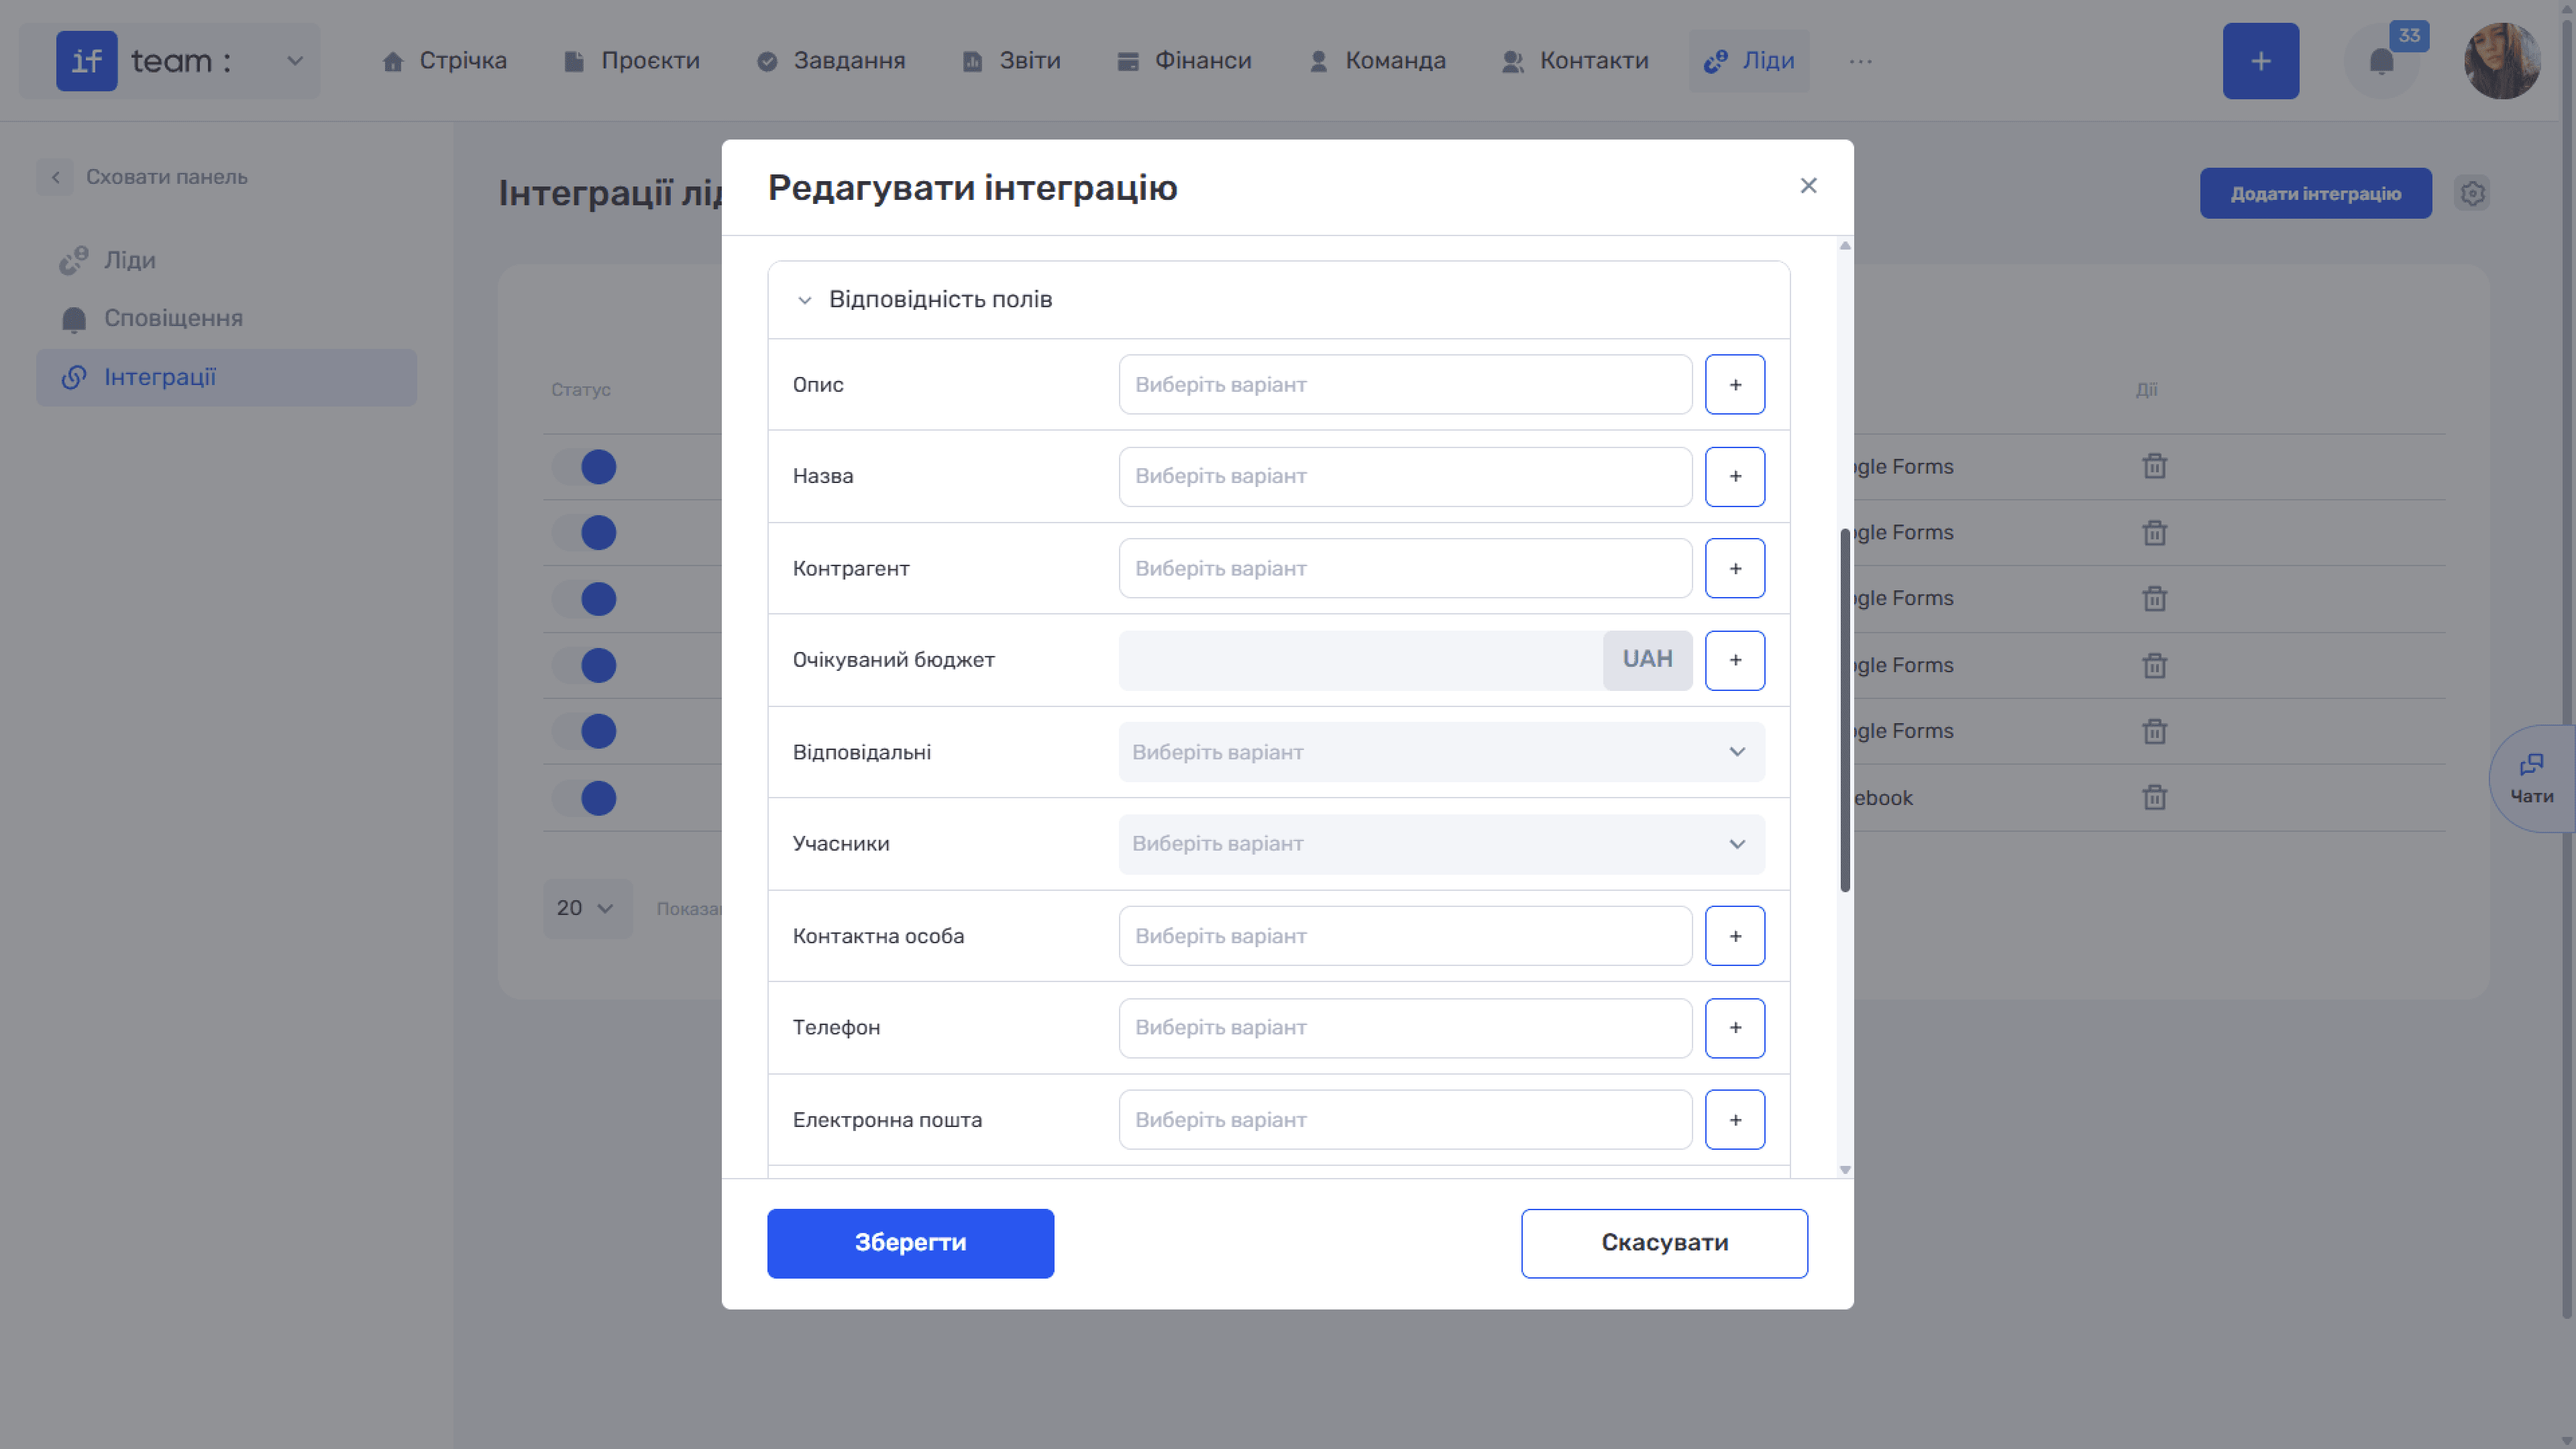
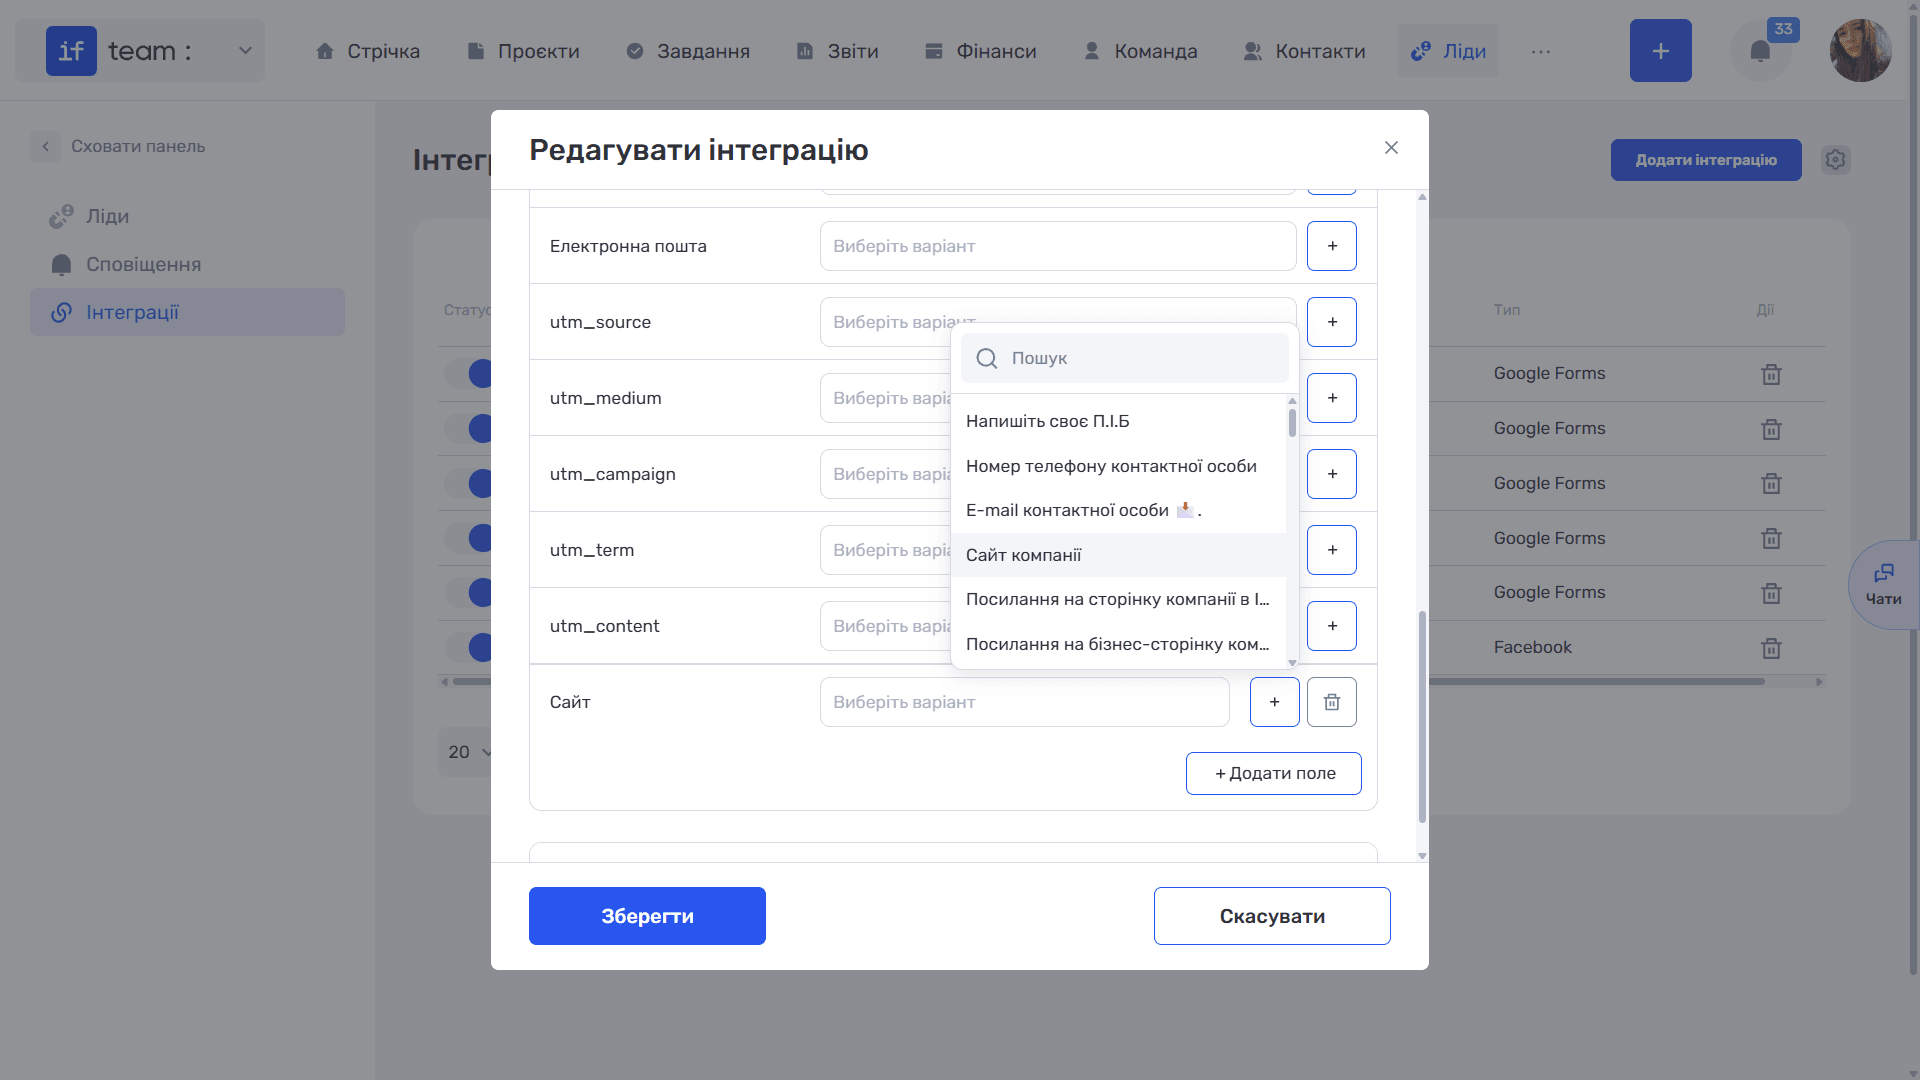
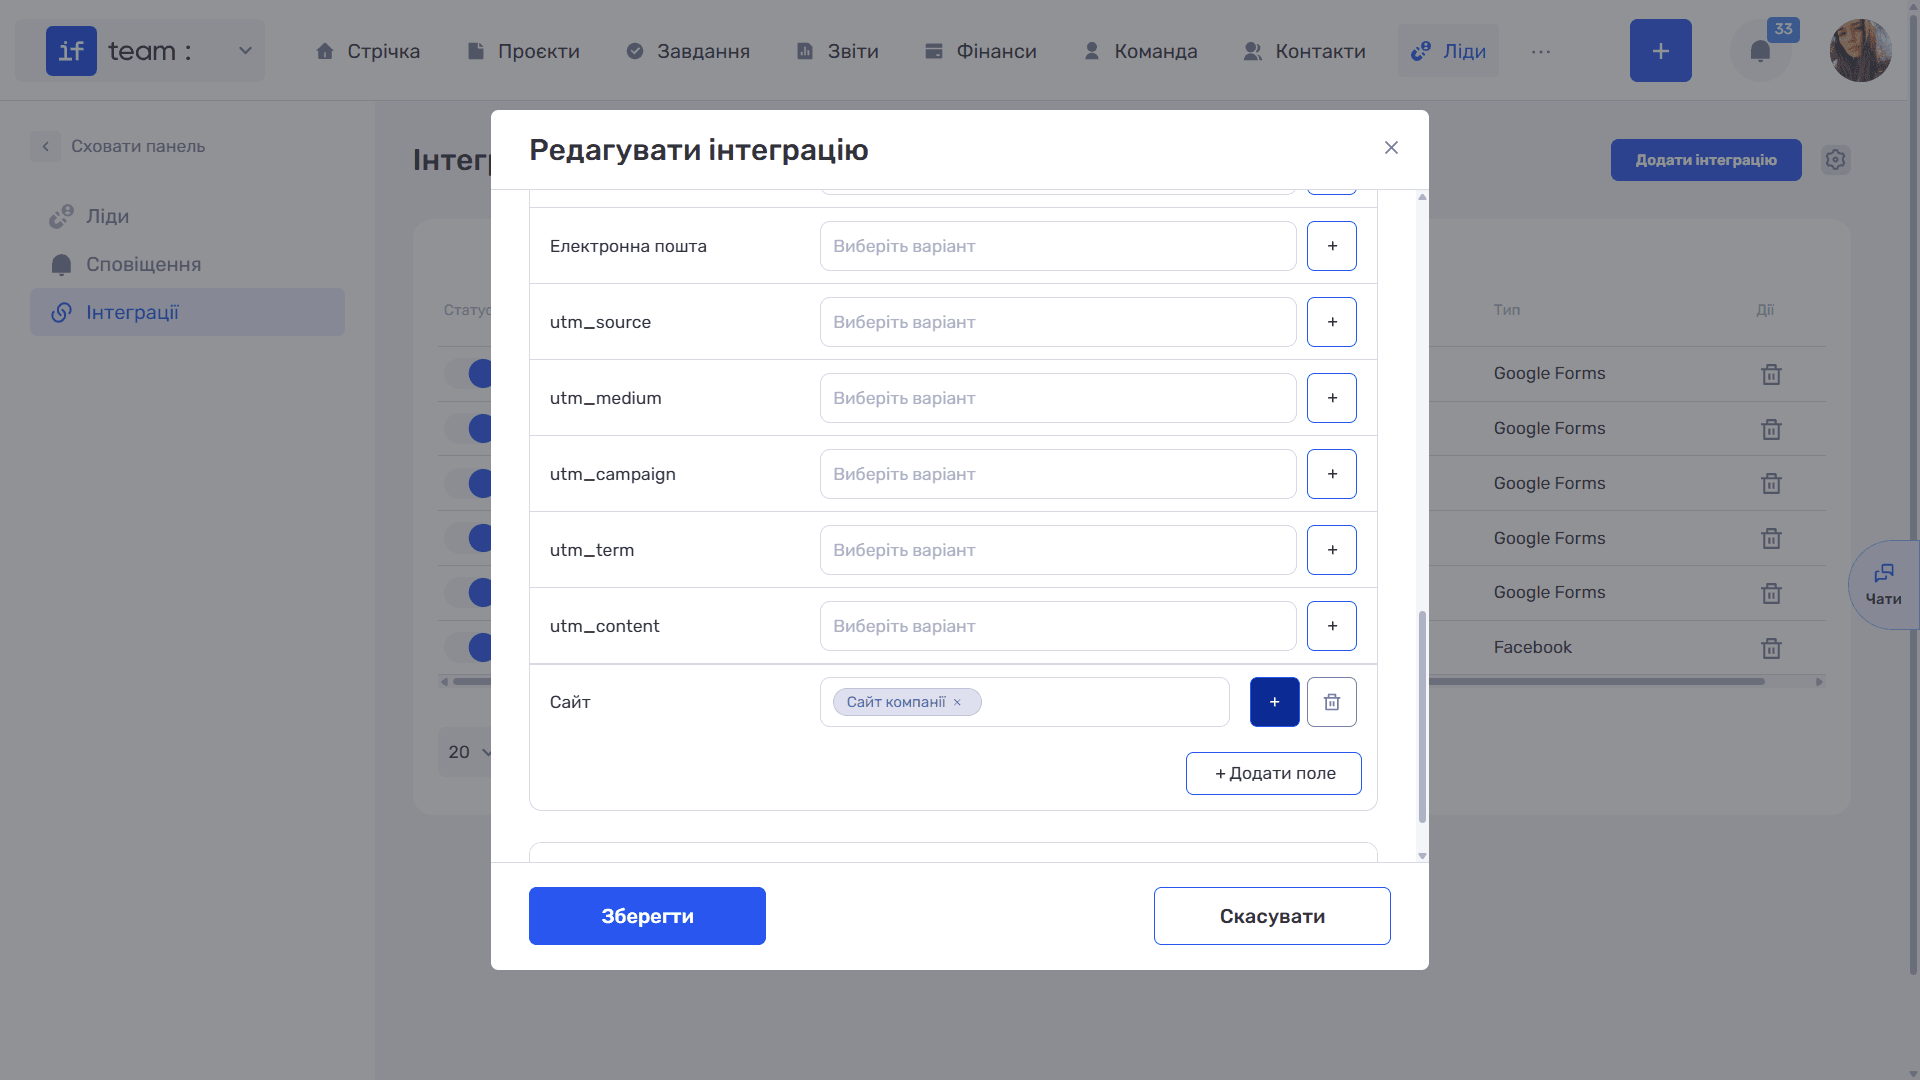
Click + to the right of the required row to open the list of form questions with a search field, which is useful for long forms. Select the question whose answer should be entered in that lead field. You can map several questions to one field—for example, build the Description from several answers.
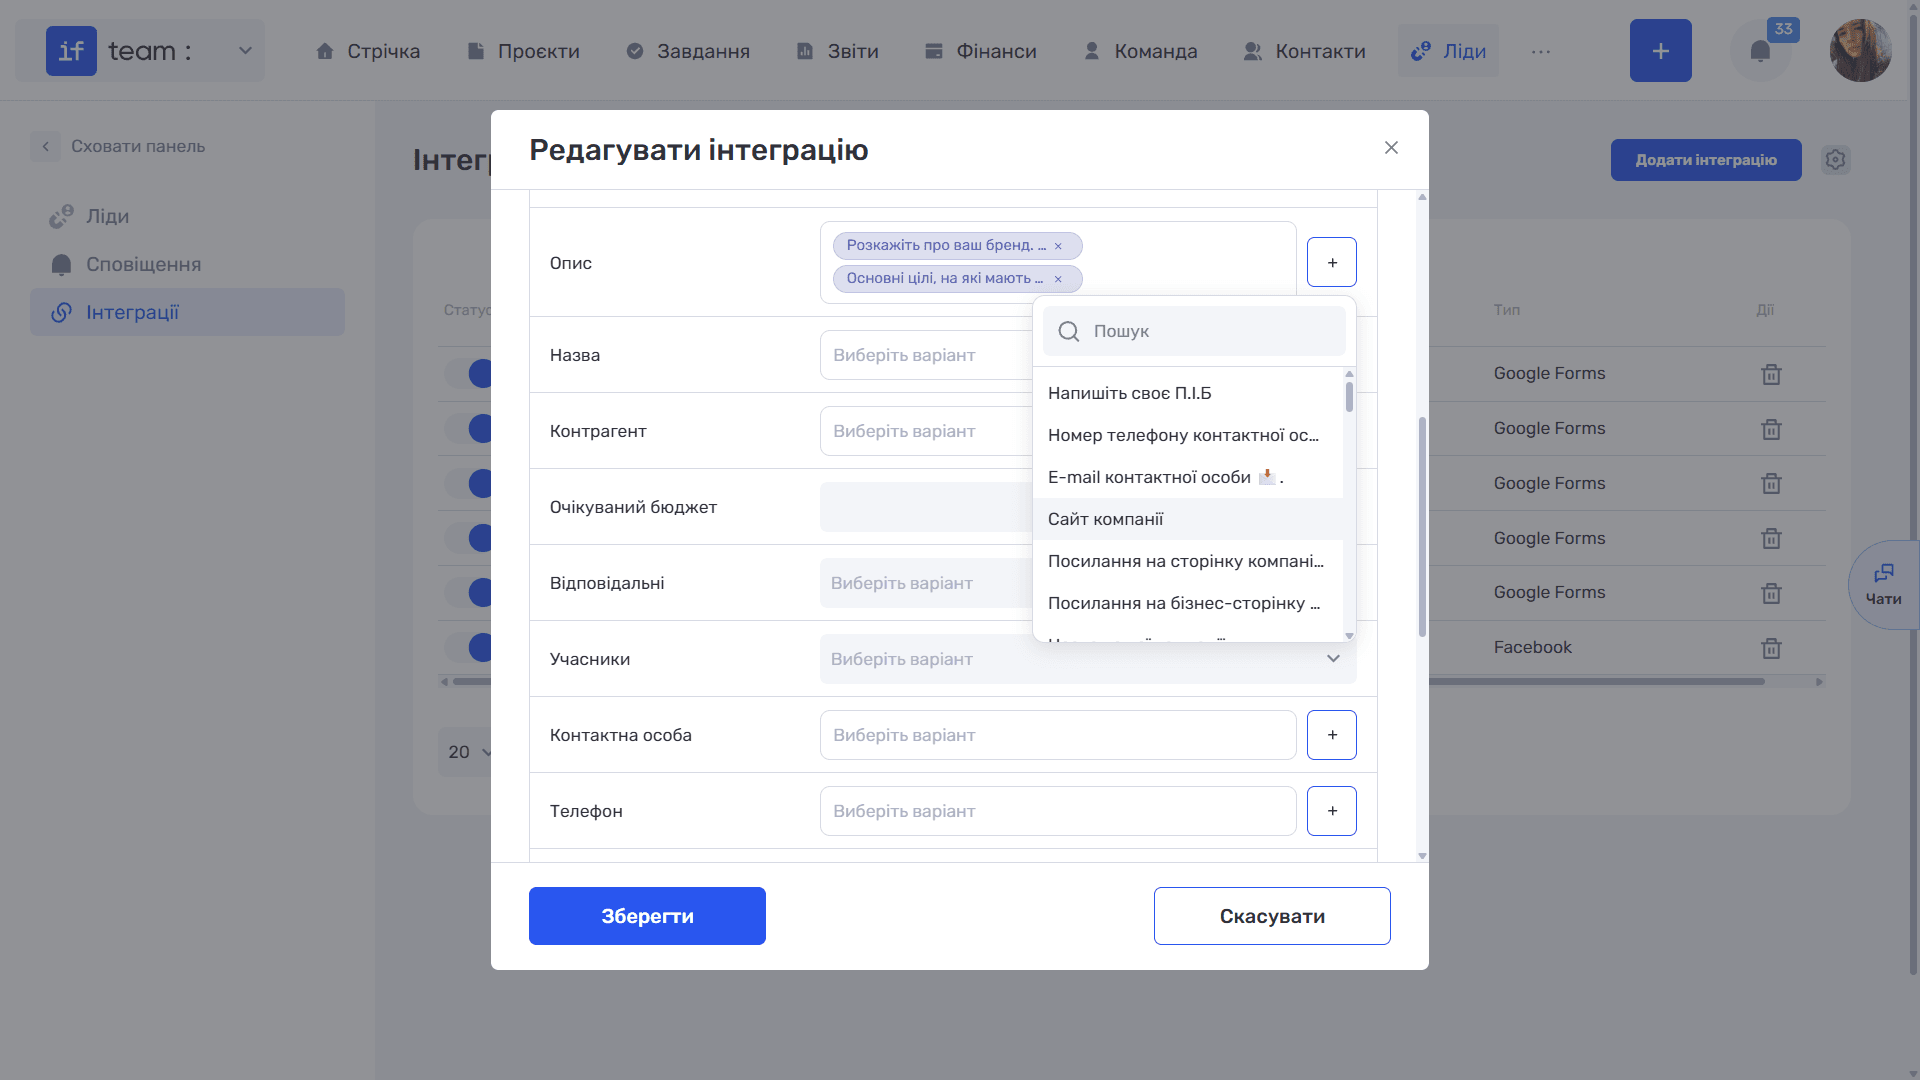
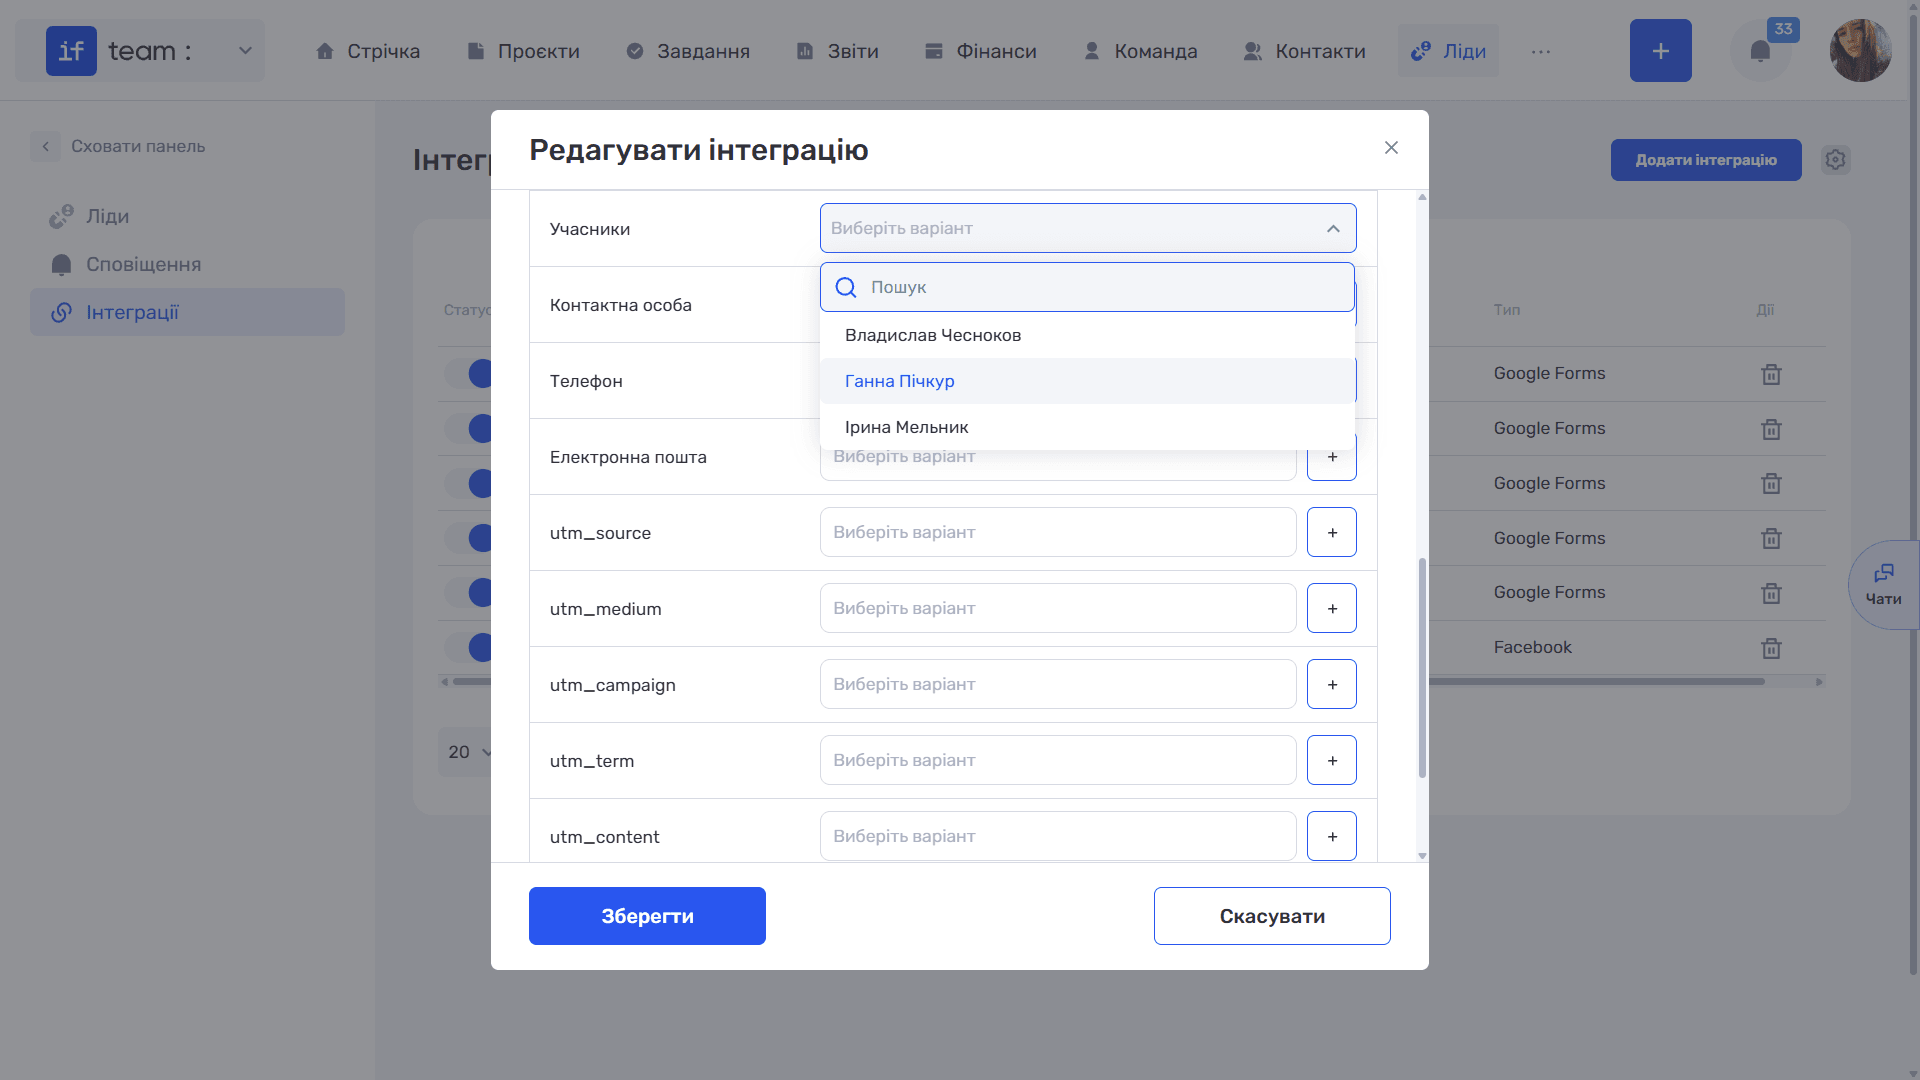
Only two fields are populated from your team list rather than from the form:
- Assignees are the employees the system automatically assigns responsibility for leads from this channel;
- Members are the employees added to the lead as members.
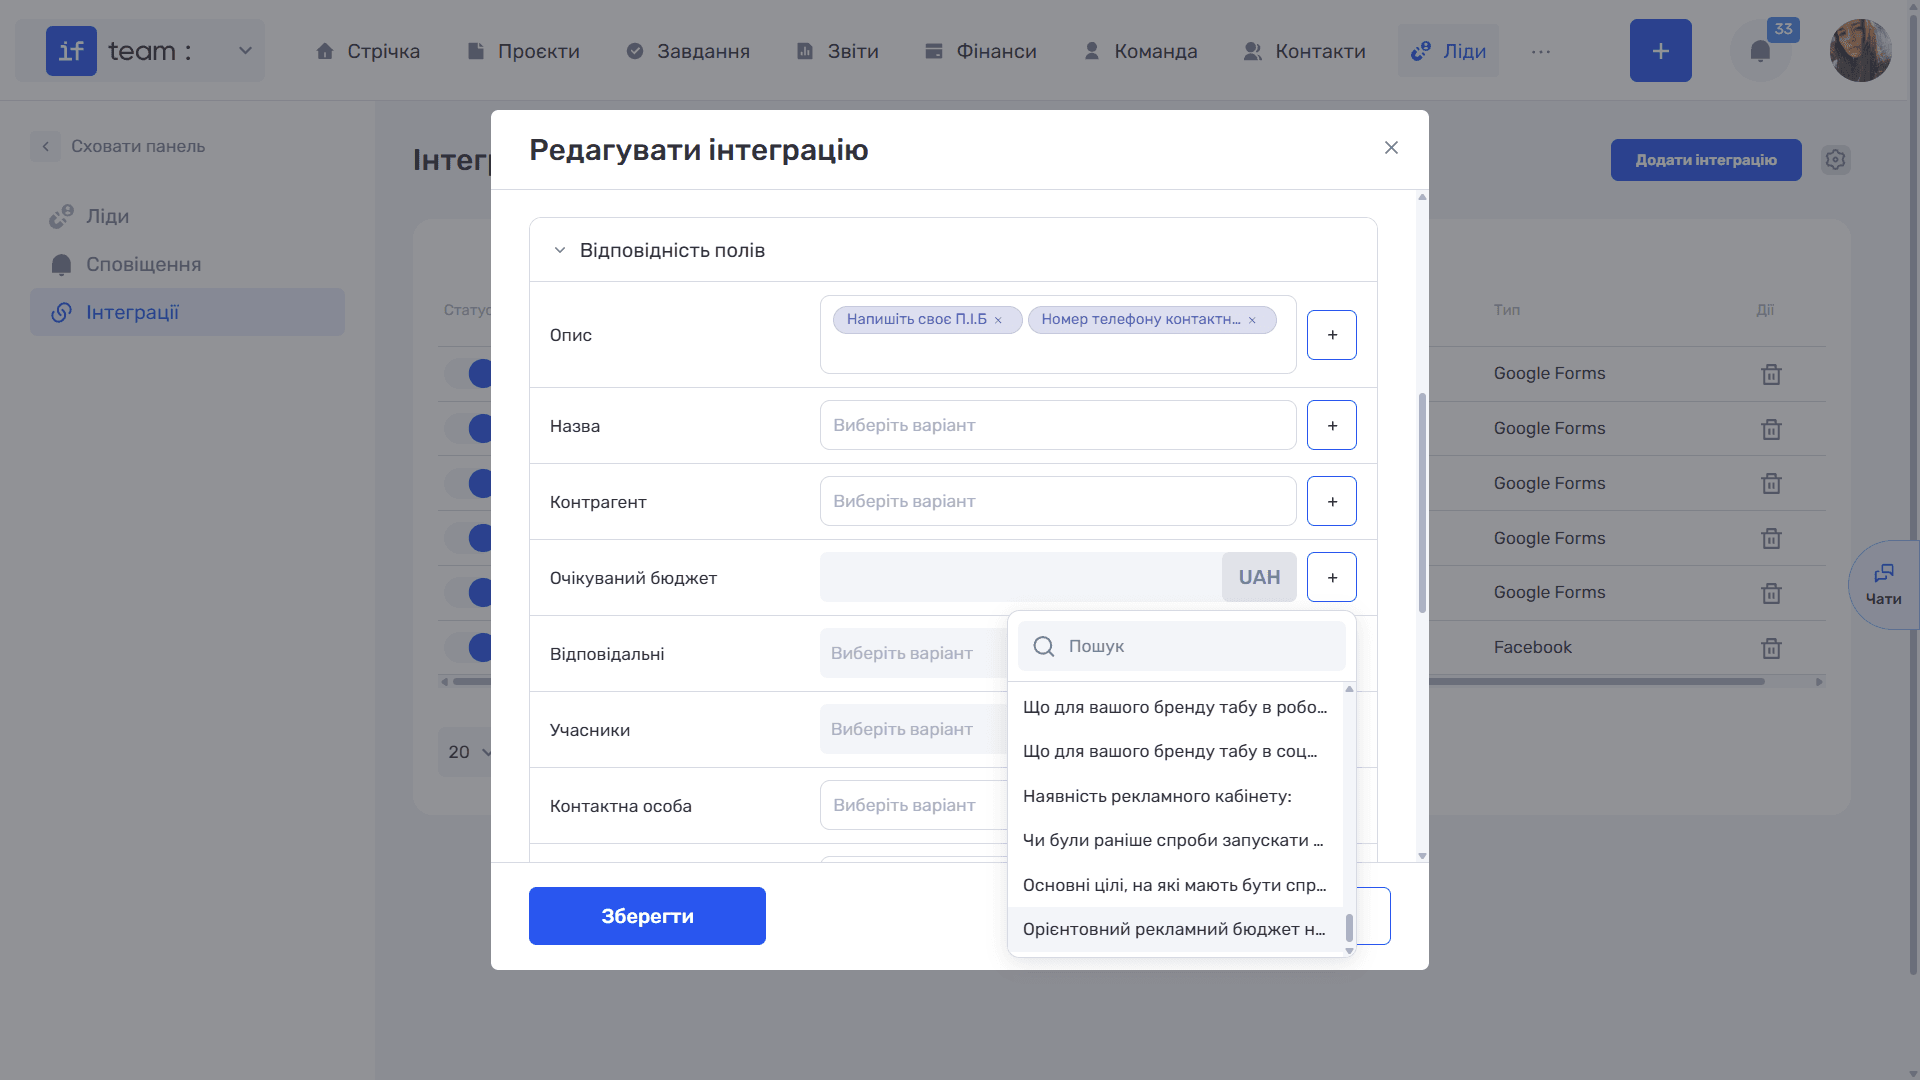
Expected Budget is populated in the company’s primary currency. This currency is set when the company is created and cannot be changed in the integration settings.
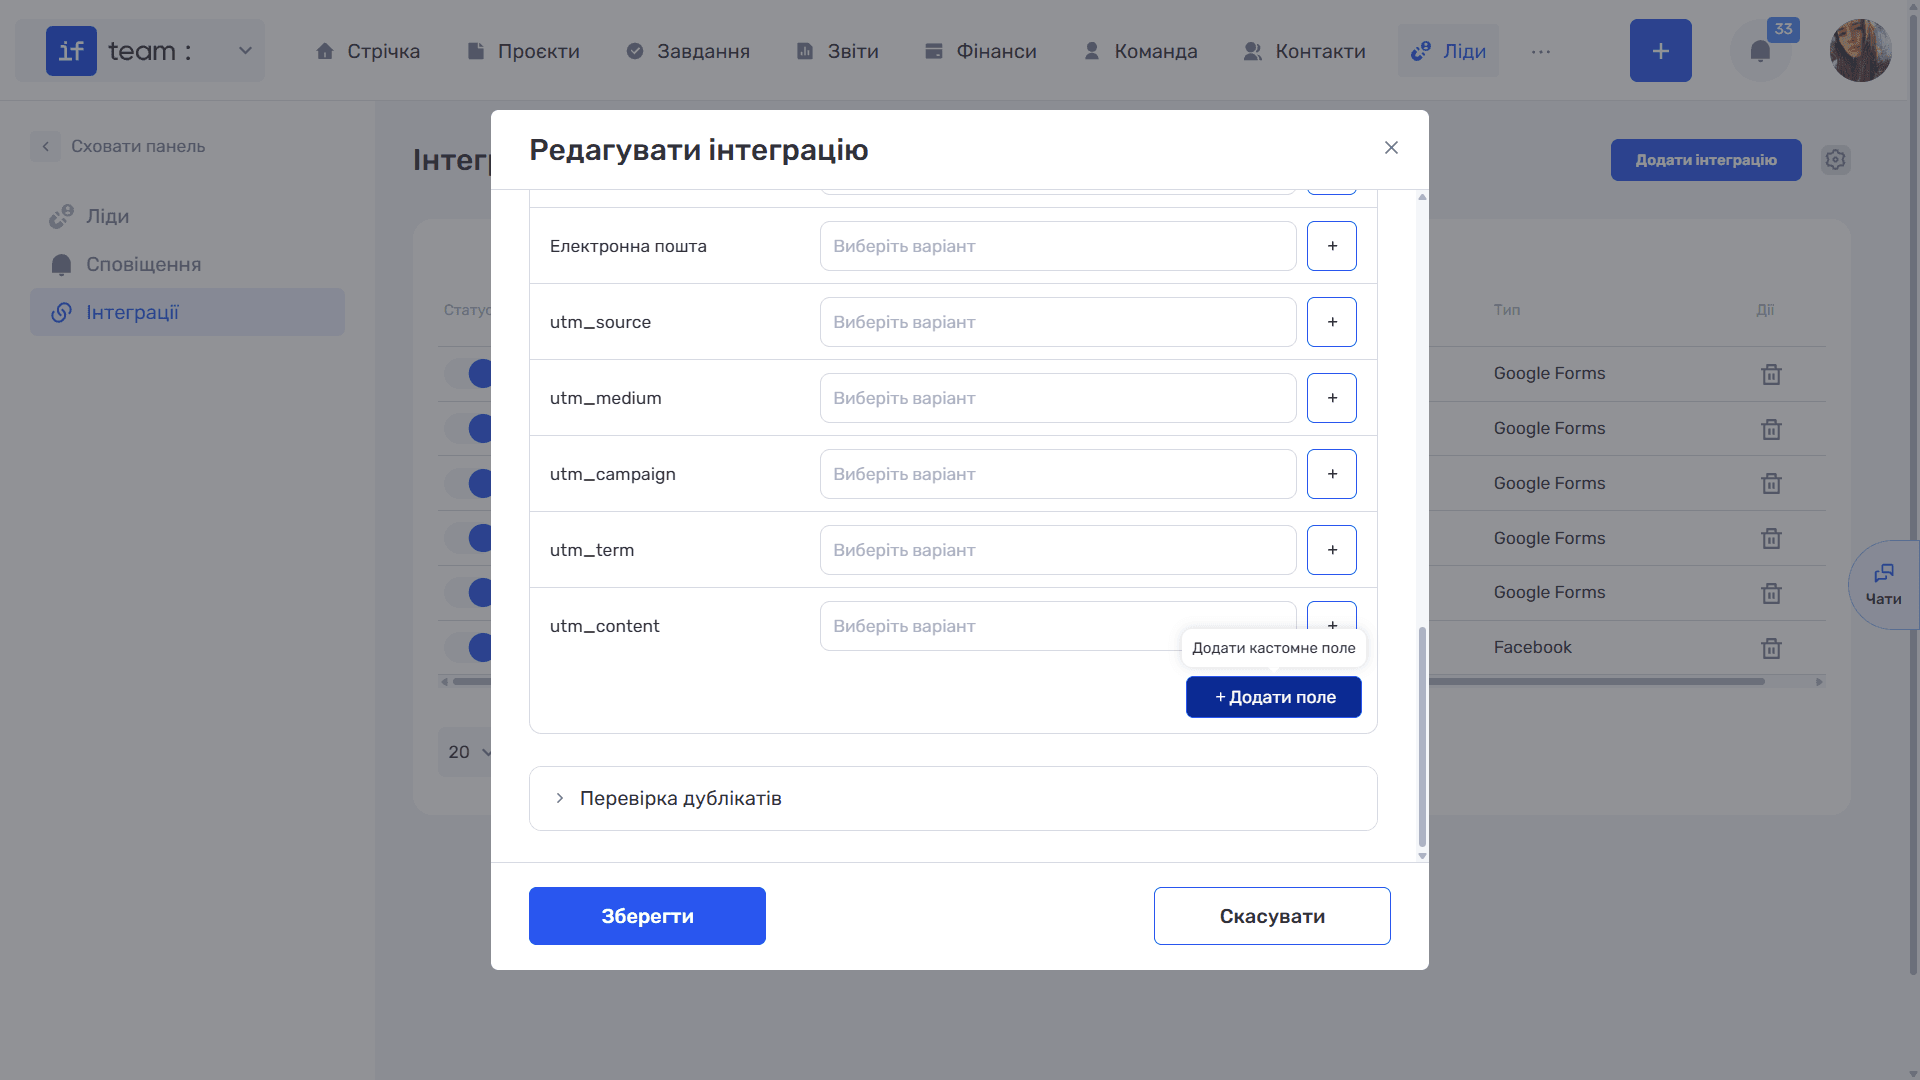
The + Add Field button at the bottom of the section adds another mapping row for lead custom fields.
Please note
If a new required custom field appears in leads, map it here. Otherwise, new requests will not be created correctly. Custom fields are configured in the Admin Panel under Settings → CRM → Custom Fields for Leads. See Custom Fields for Leads.
Step 5. Duplicate Checking
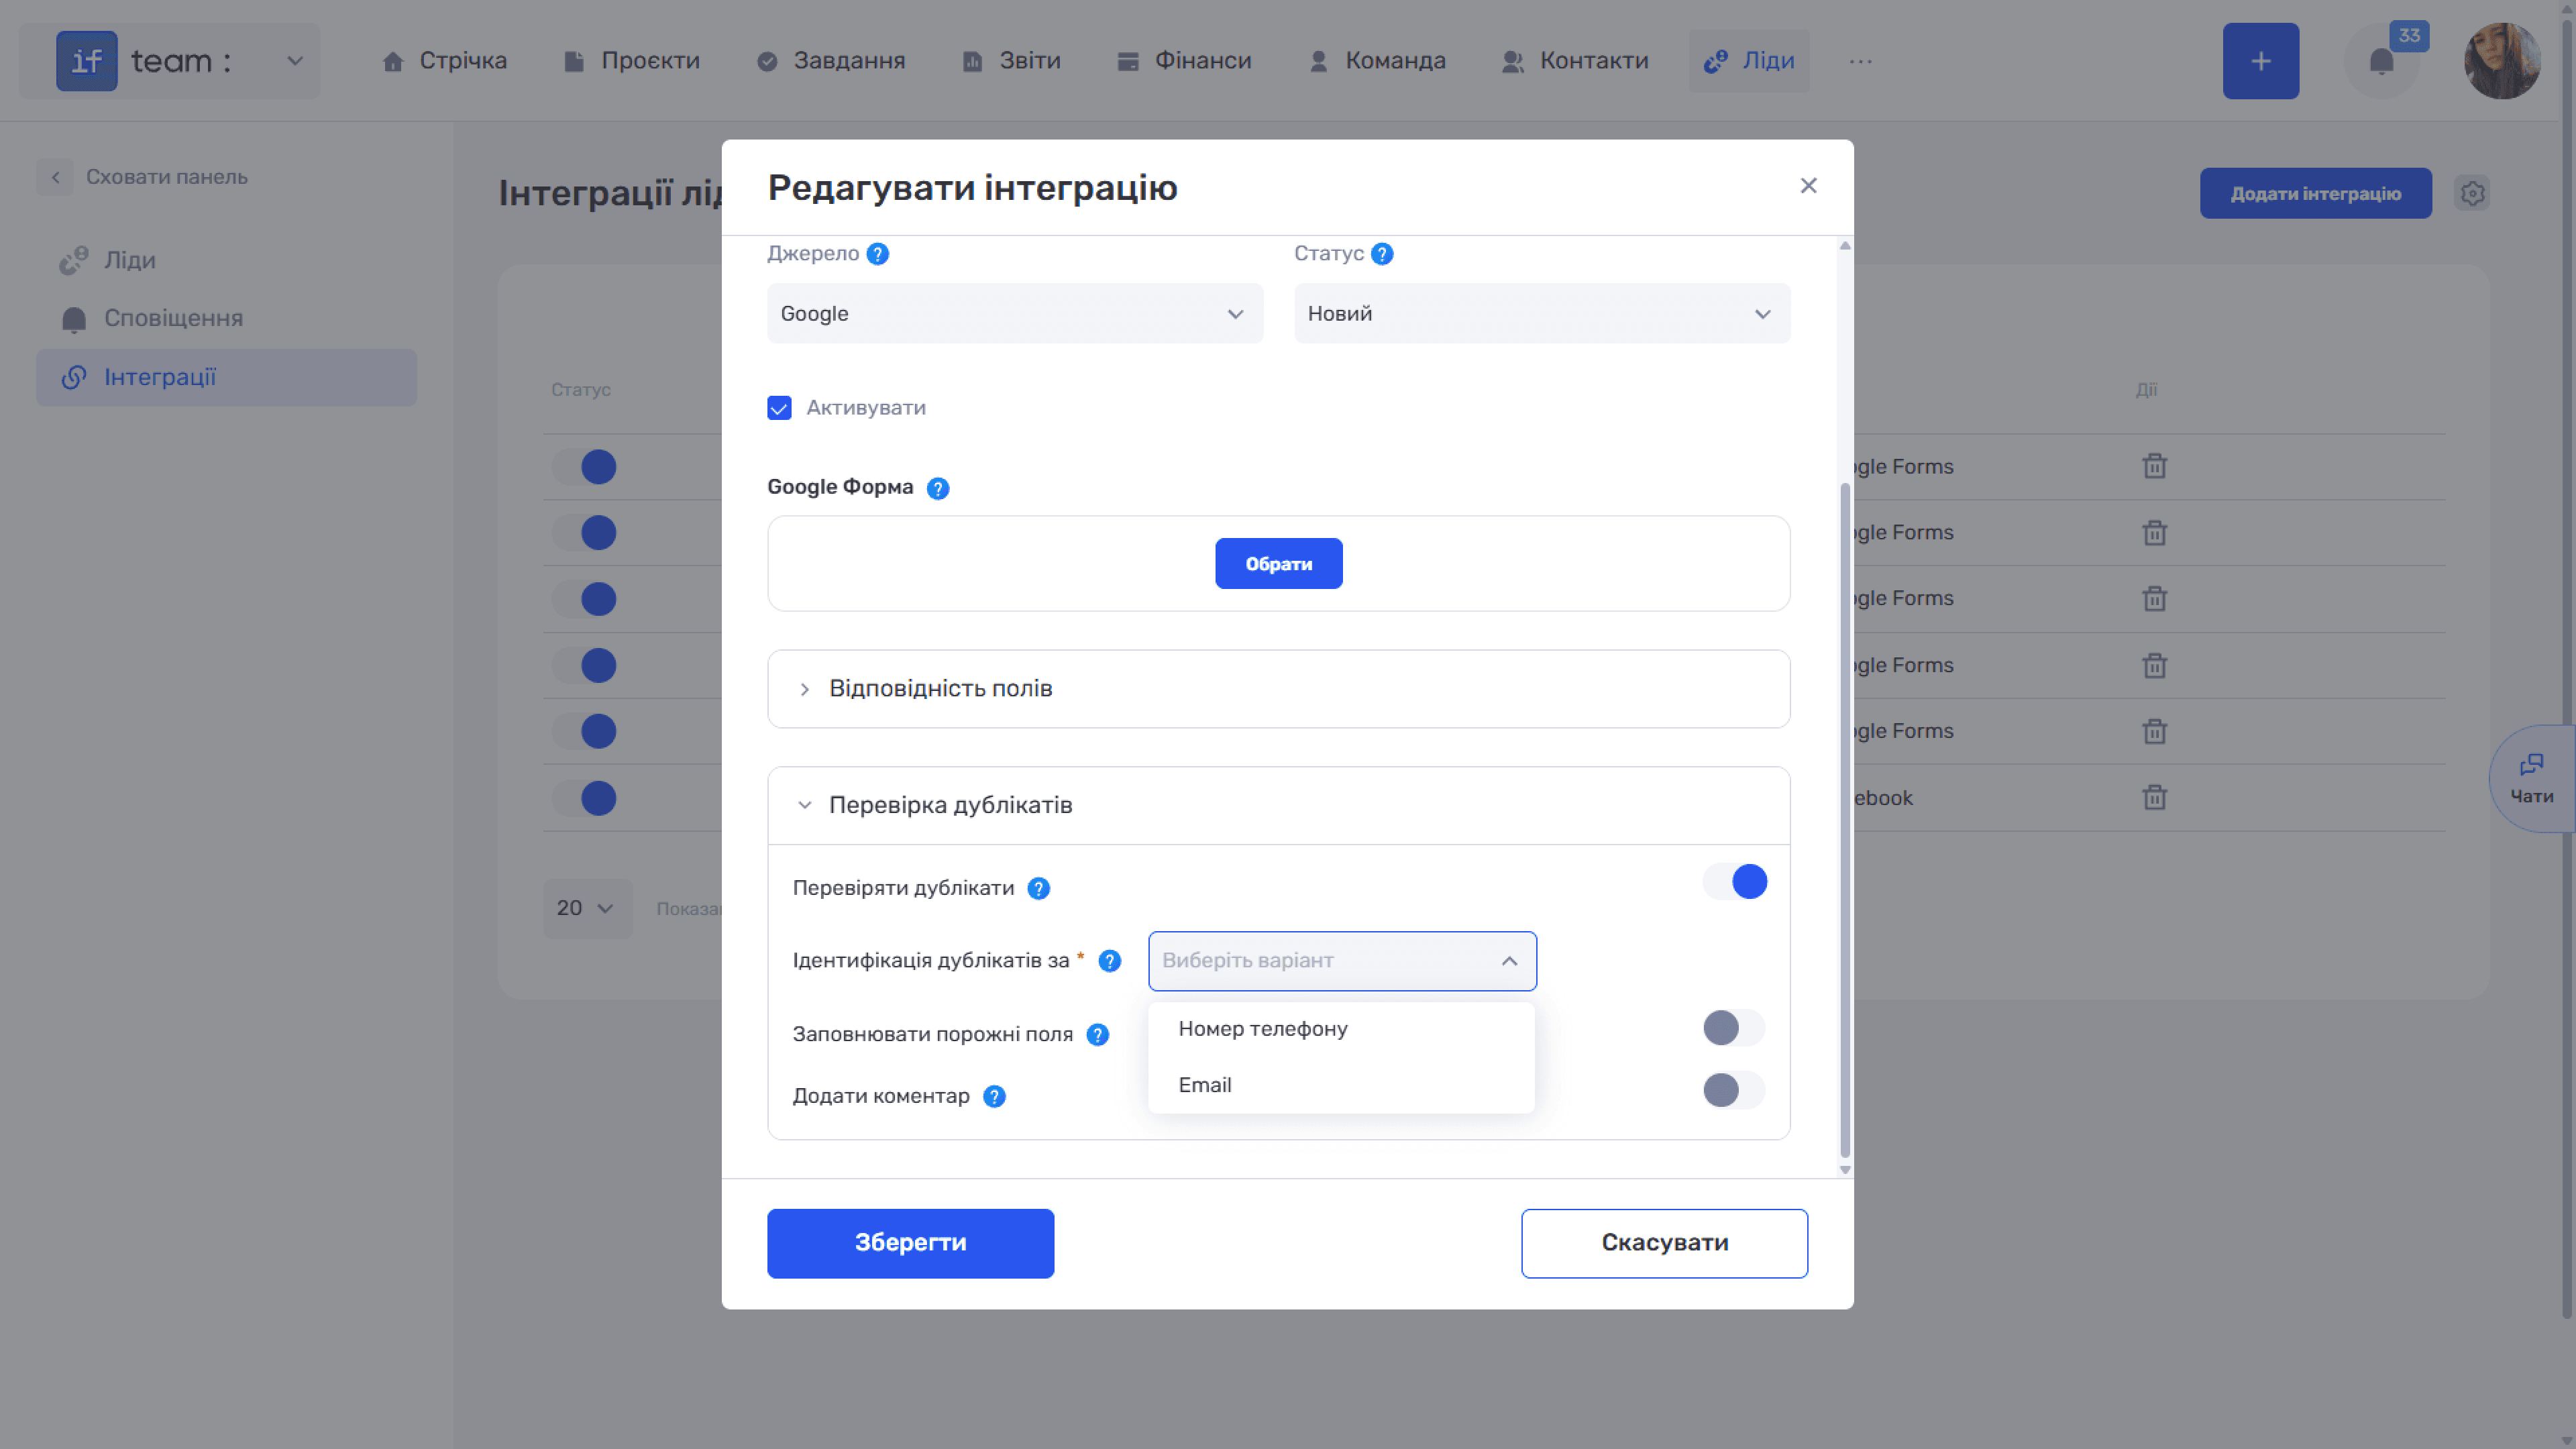
This collapsible section determines what happens when a request comes from someone who already exists among your leads. While the main switch is off, only that switch is visible. The remaining settings appear when it is enabled.
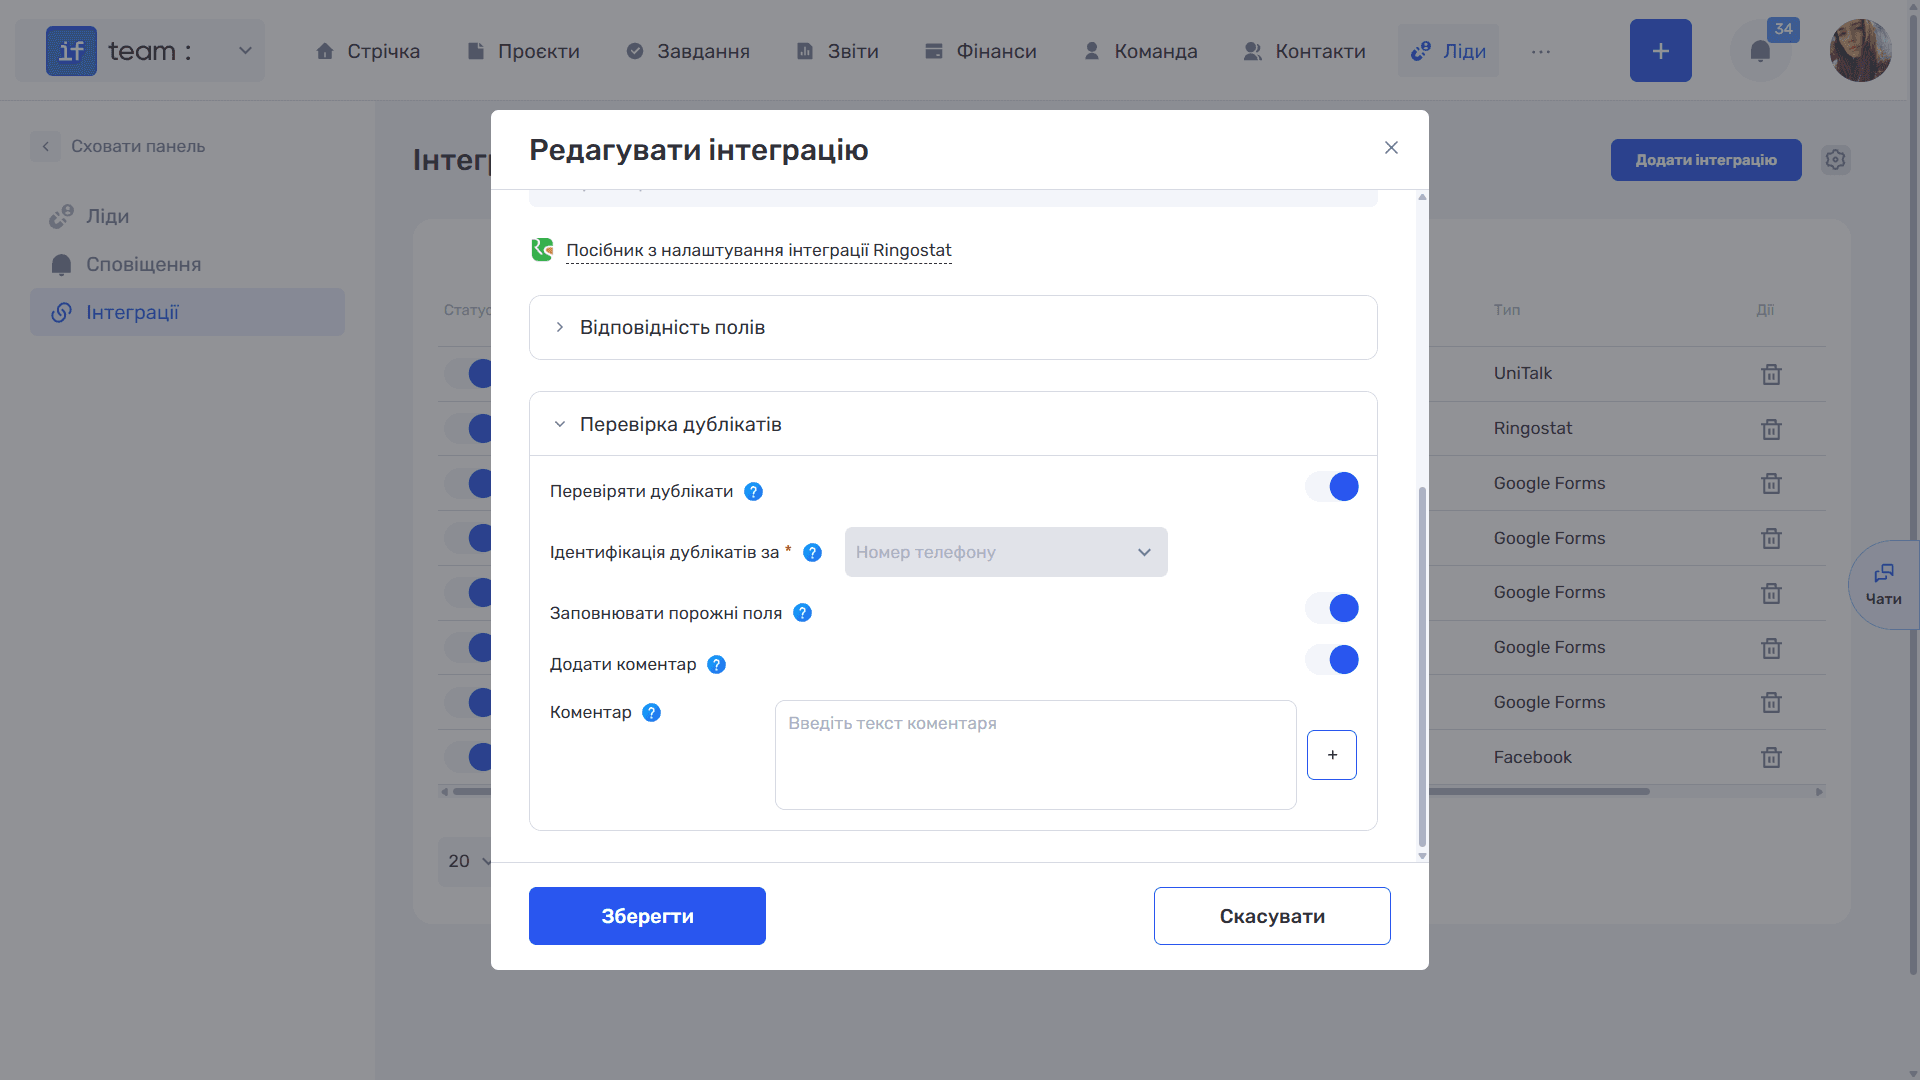
- Check for Duplicates is the main switch. Enable it to avoid creating duplicates: the system compares a new request with existing leads and, if it finds a match, updates the existing lead instead of creating another one.
- Identify Duplicates By is a required field that determines how the system finds matches: Phone Number or Email. This is the checking key; without it, the system does not know what should be considered the same client.
- Fill Empty Fields means that when an existing lead is found, the system fills only empty fields with new data and does not overwrite existing values. It also automatically creates new custom fields if they have appeared in the integration or received a value. In practice, a repeat request enriches the card without erasing information the manager entered manually.
- Add Comment automatically adds a comment to the existing lead when a duplicate arrives from the form. This lets the manager see that the client contacted the company again and what they wrote this time.
- Comment is the text that will be added. It is not merely a static string but a mapping template: enter the required text and use + to insert variables—the questions from your form. The system inserts answers from the new request into the comment.
After making changes, click Save.
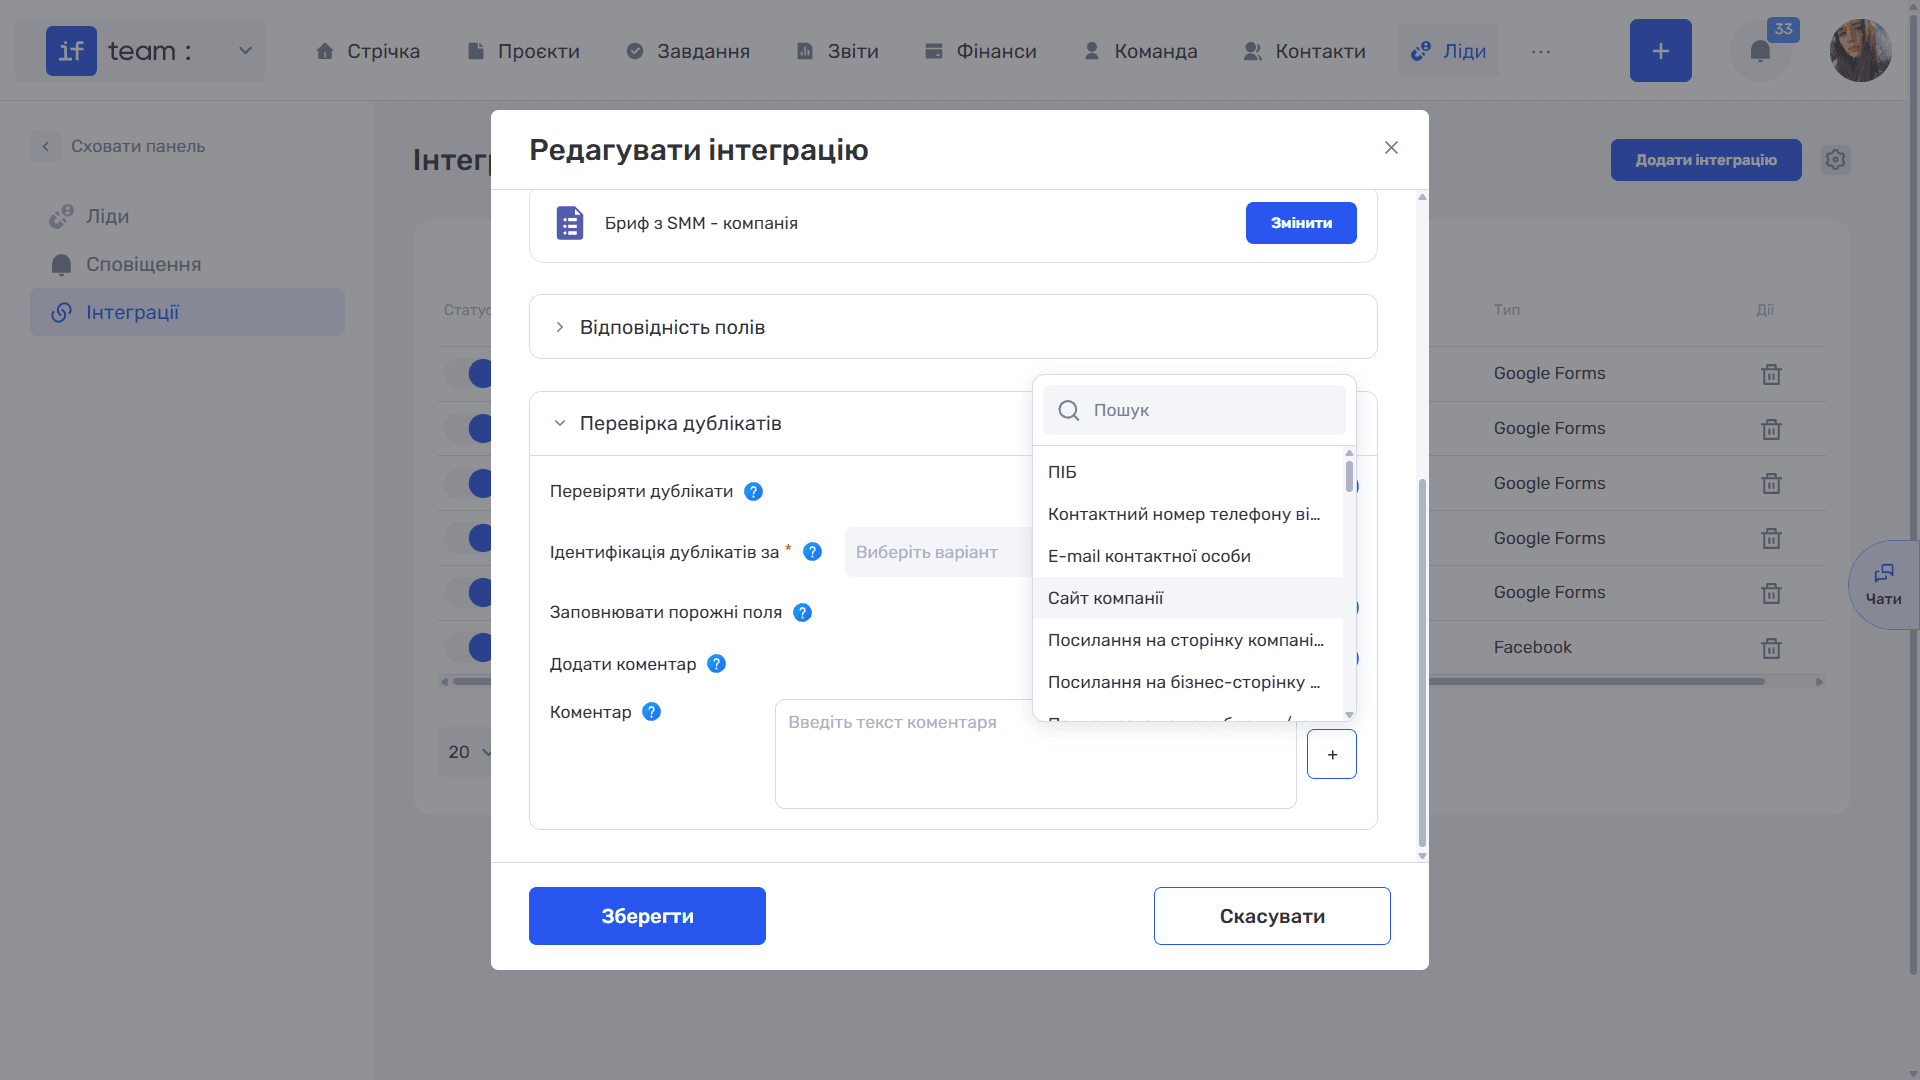
Please note
As in Field Mapping, the list of variables is retrieved from the selected Google Form. Until a form is selected, search displays No Search Results:
Configuring a Telephony Integration (Ringostat, UniTalk)
Step 1. Complete the creation window: enter the name, type (Ringostat or UniTalk), lead source, and lead status. There is no Integration Start Date field because a lead is created when a call occurs rather than imported for a period. Click Save.
Step 2. Select an API key. The required API Key field appears in the editing window. This key is used to configure the webhook. Expand the list and select one of your company’s keys. The copy icon to the right of the field copies the key to the clipboard for use in the telephony service.
Please note
Keys are created and managed in the Admin Panel, and access to them is controlled by the API Keys permission in role settings. See Access Permissions. If the list is empty, create a key first; the integration cannot be saved without it.
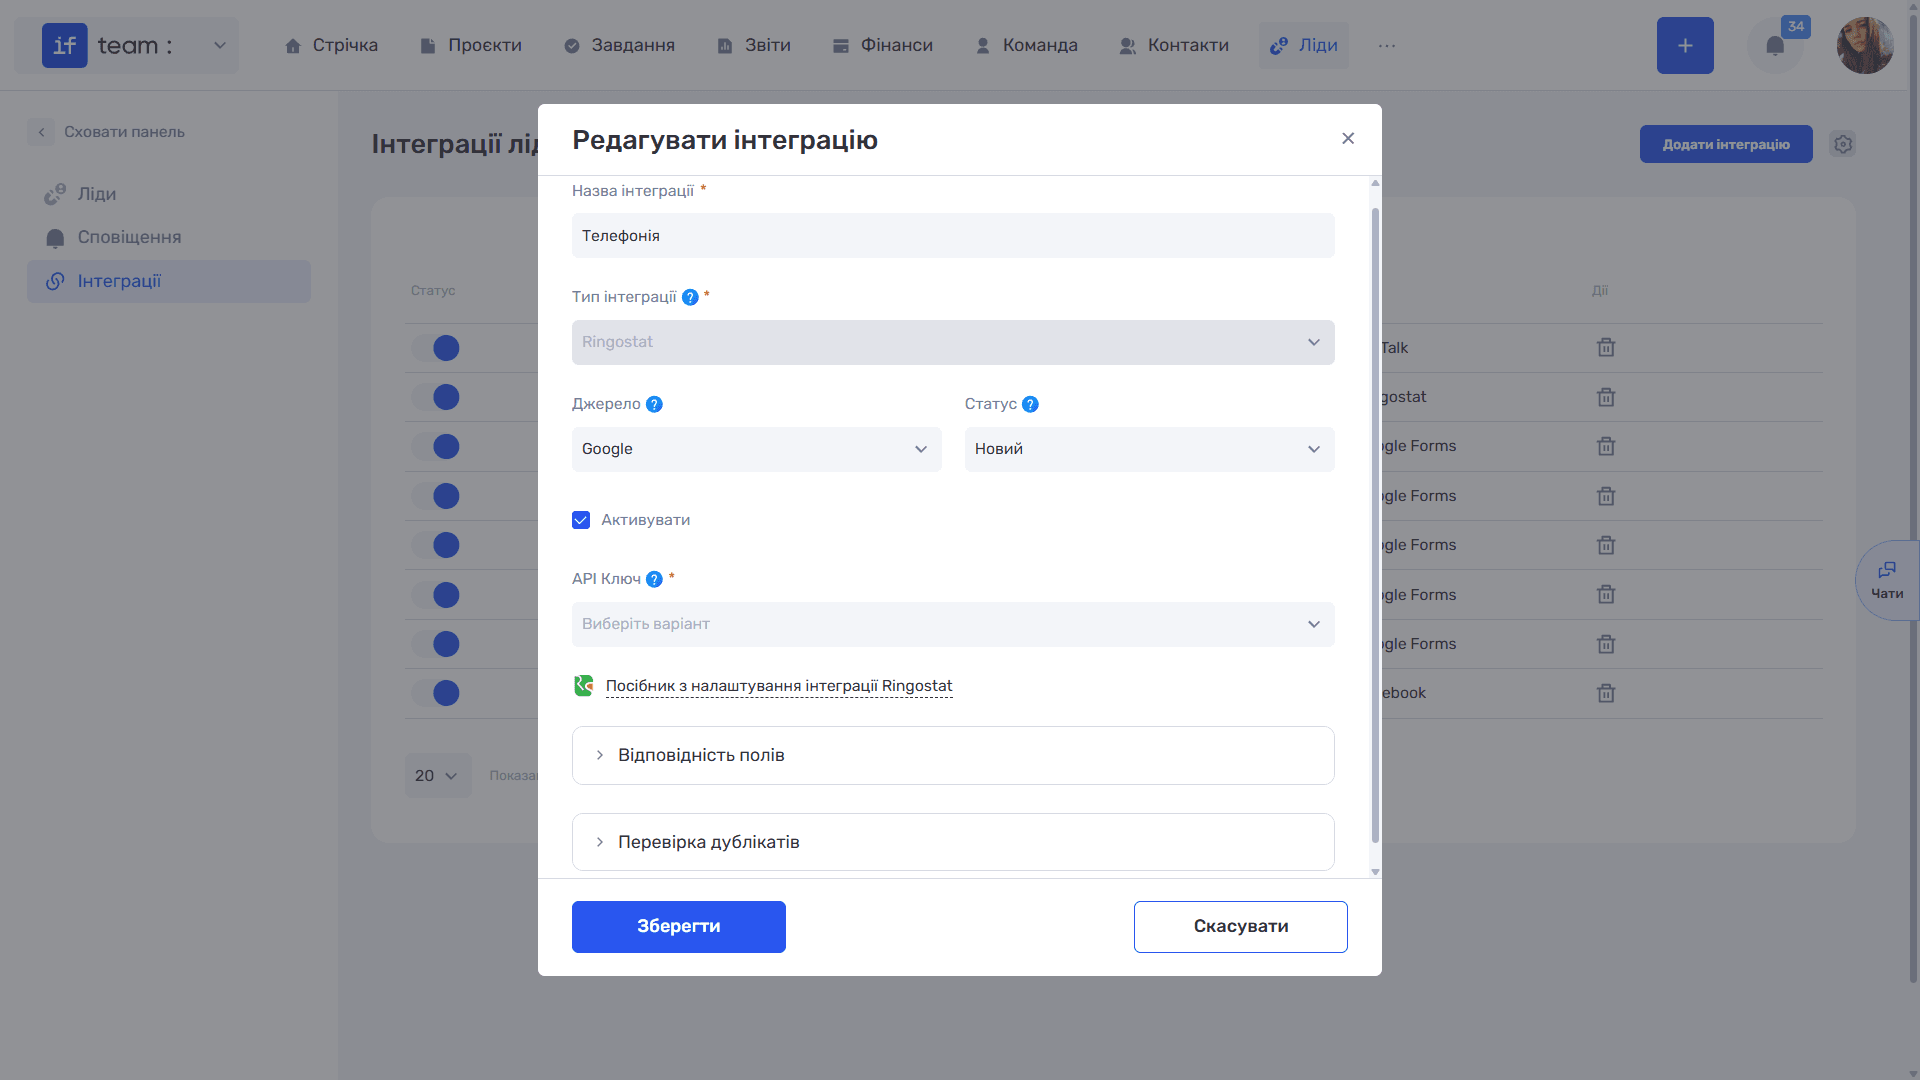
Step 3. Configure the webhook in the service. Most of the work is completed in the telephony account. The window contains a Ringostat Integration Setup Guide link, or a UniTalk guide depending on the selected type, with step-by-step instructions. Leads will not arrive until the webhook is configured.
Step 4. Complete the shared sections. Complete Field Mapping and Duplicate Checking as described above. The data available for mapping consists of call parameters and differs by service:
- Ringostat provides the caller’s number, called number, call status, type and date, call duration, and waiting time;
- UniTalk provides the call ID, database ID, call initiator, destination number, external number, and last group name.
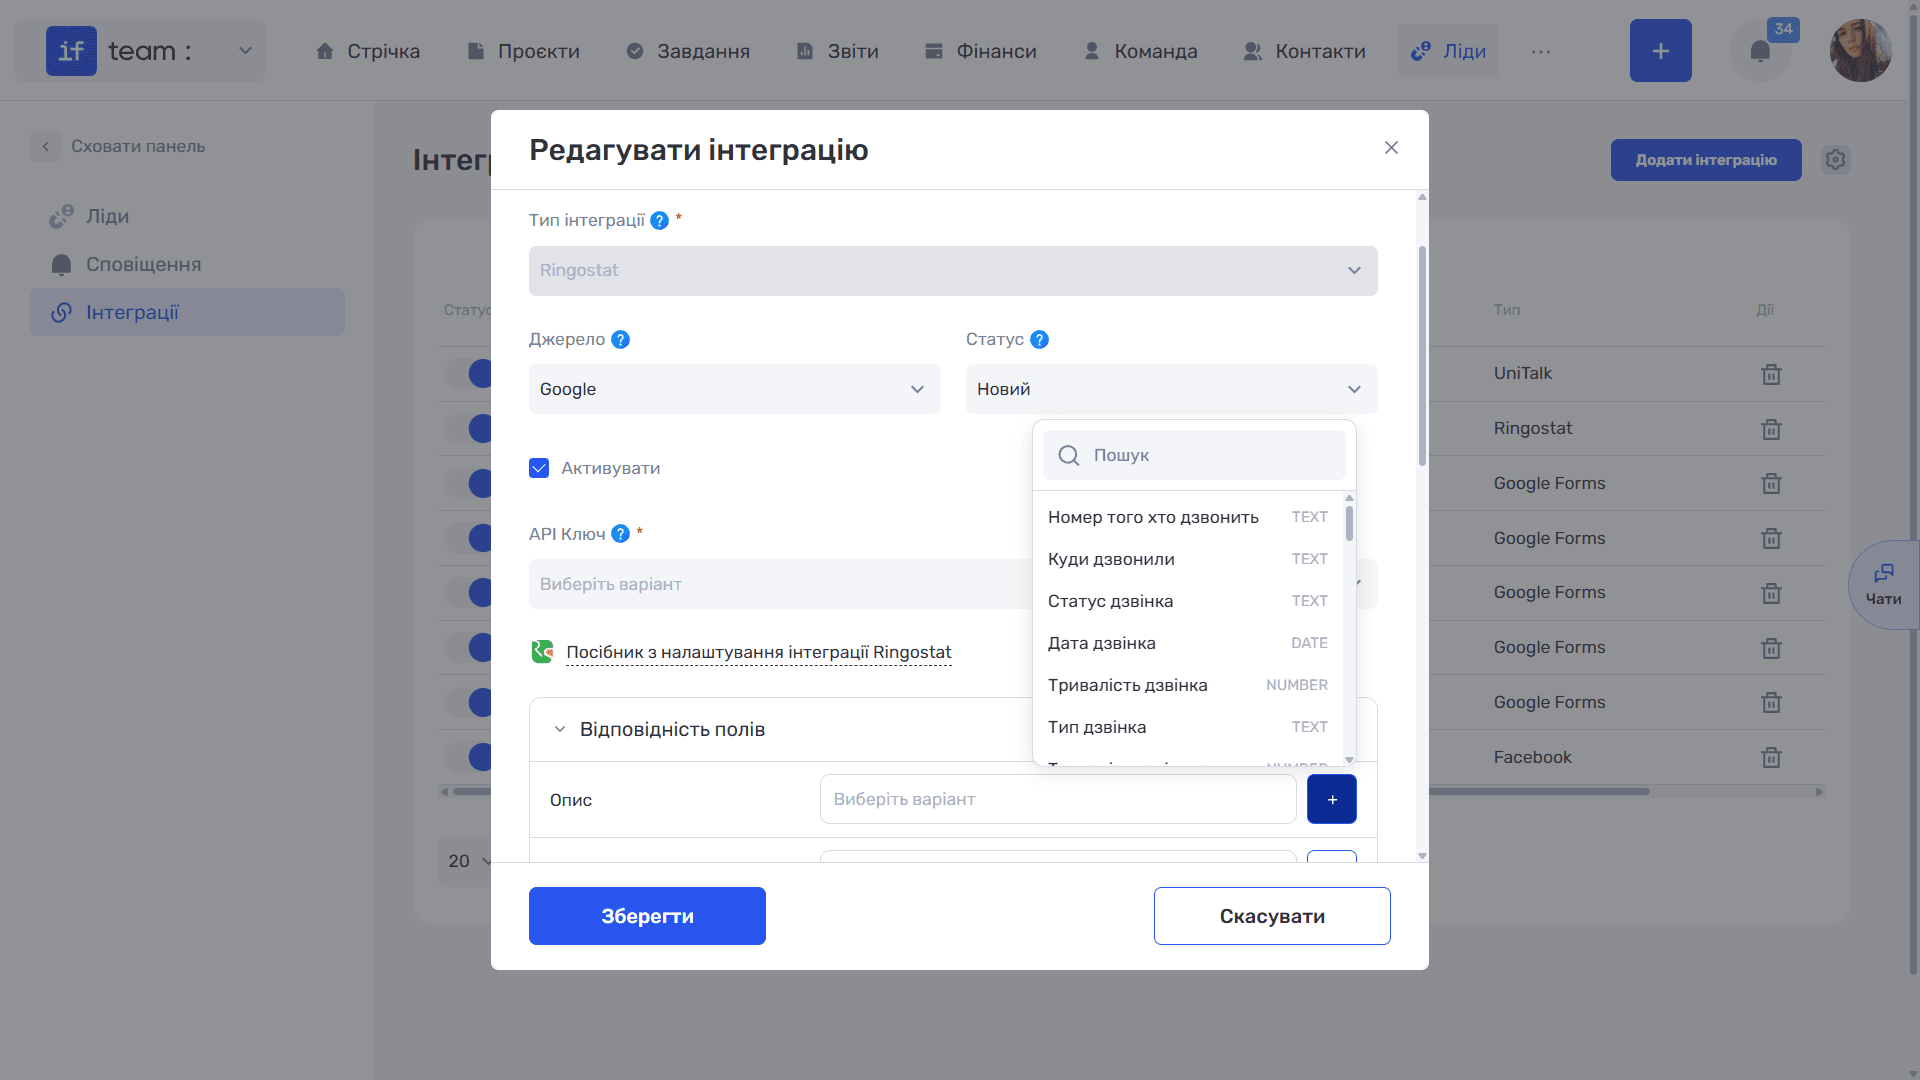
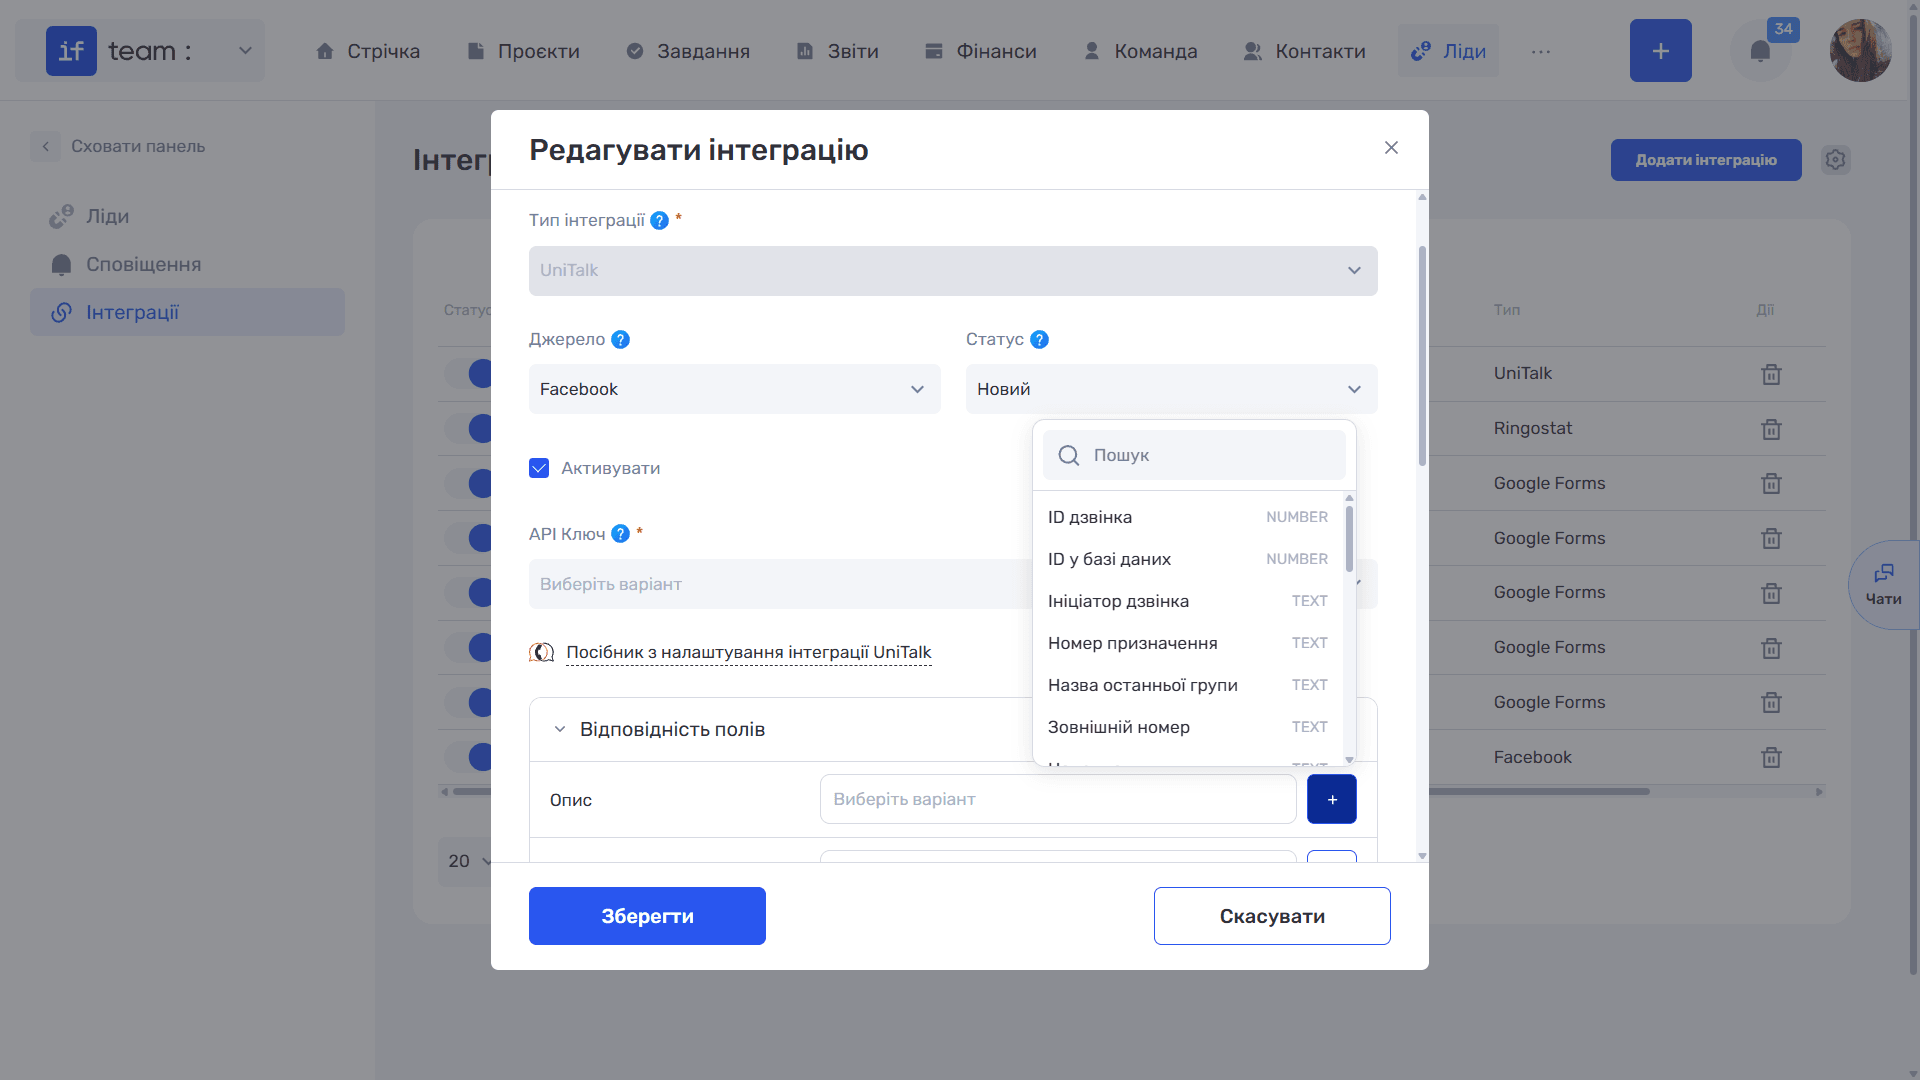
For telephony, it is logical to select Phone Number for duplicate identification because it is the only contact detail guaranteed to arrive with a call.
The email integration turns incoming messages into leads: connect a mailbox, map the email fields to the lead card fields, enable duplicate checking and the blacklist — and every new inquiry appears in the Leads section on its own, while further correspondence with the client is kept in the CRM. The video shows how to set everything up, including automatic email forwarding using Gmail as an example:
Messengers
Telegram, Instagram, WhatsApp, and other messengers are connected through the EasyBusy service. Once connected, client messages arrive as dialogs in the CRM: managers reply straight from if.team, and access to dialogs is configured for each employee separately. Connecting and working with dialogs is shown in the video:
Still have questions?
Maybe we haven't added this information yet. But you can always reach out:
Request a demo
Submit a request and we'll show you how the service works and its capabilities.
Book a demo