Lead Card
Click a lead name in the list or Kanban to open its card.
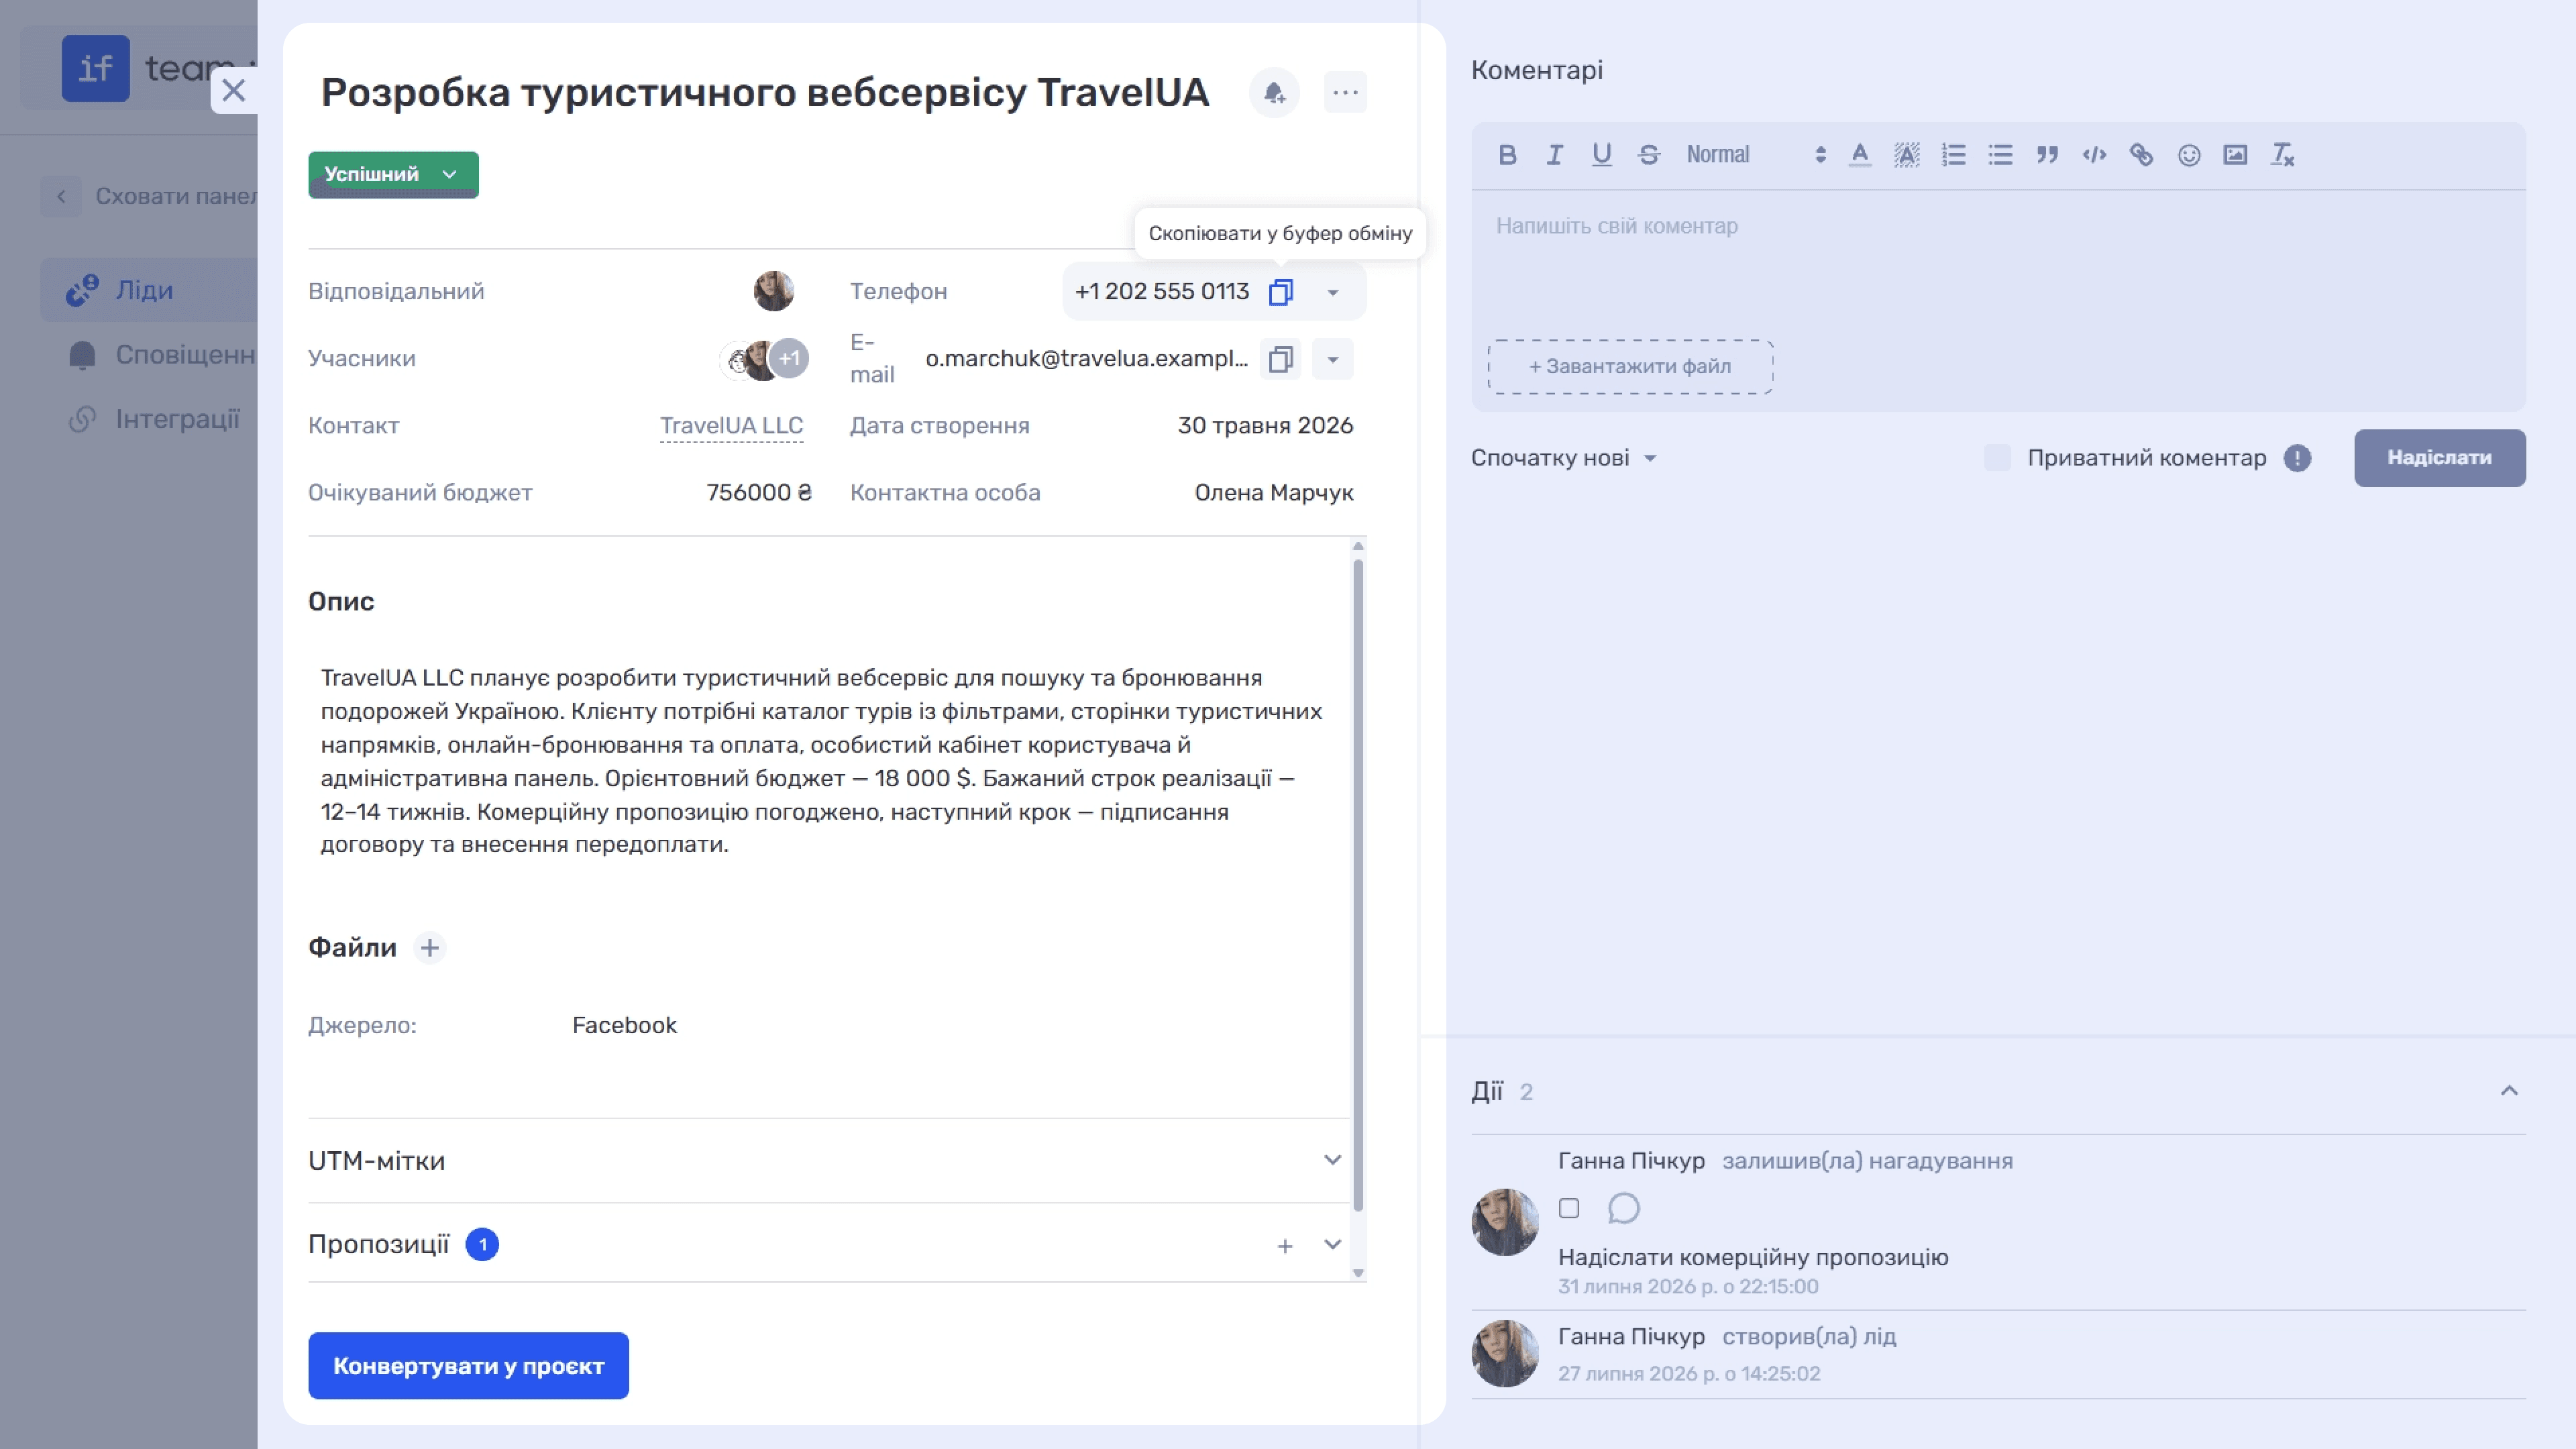
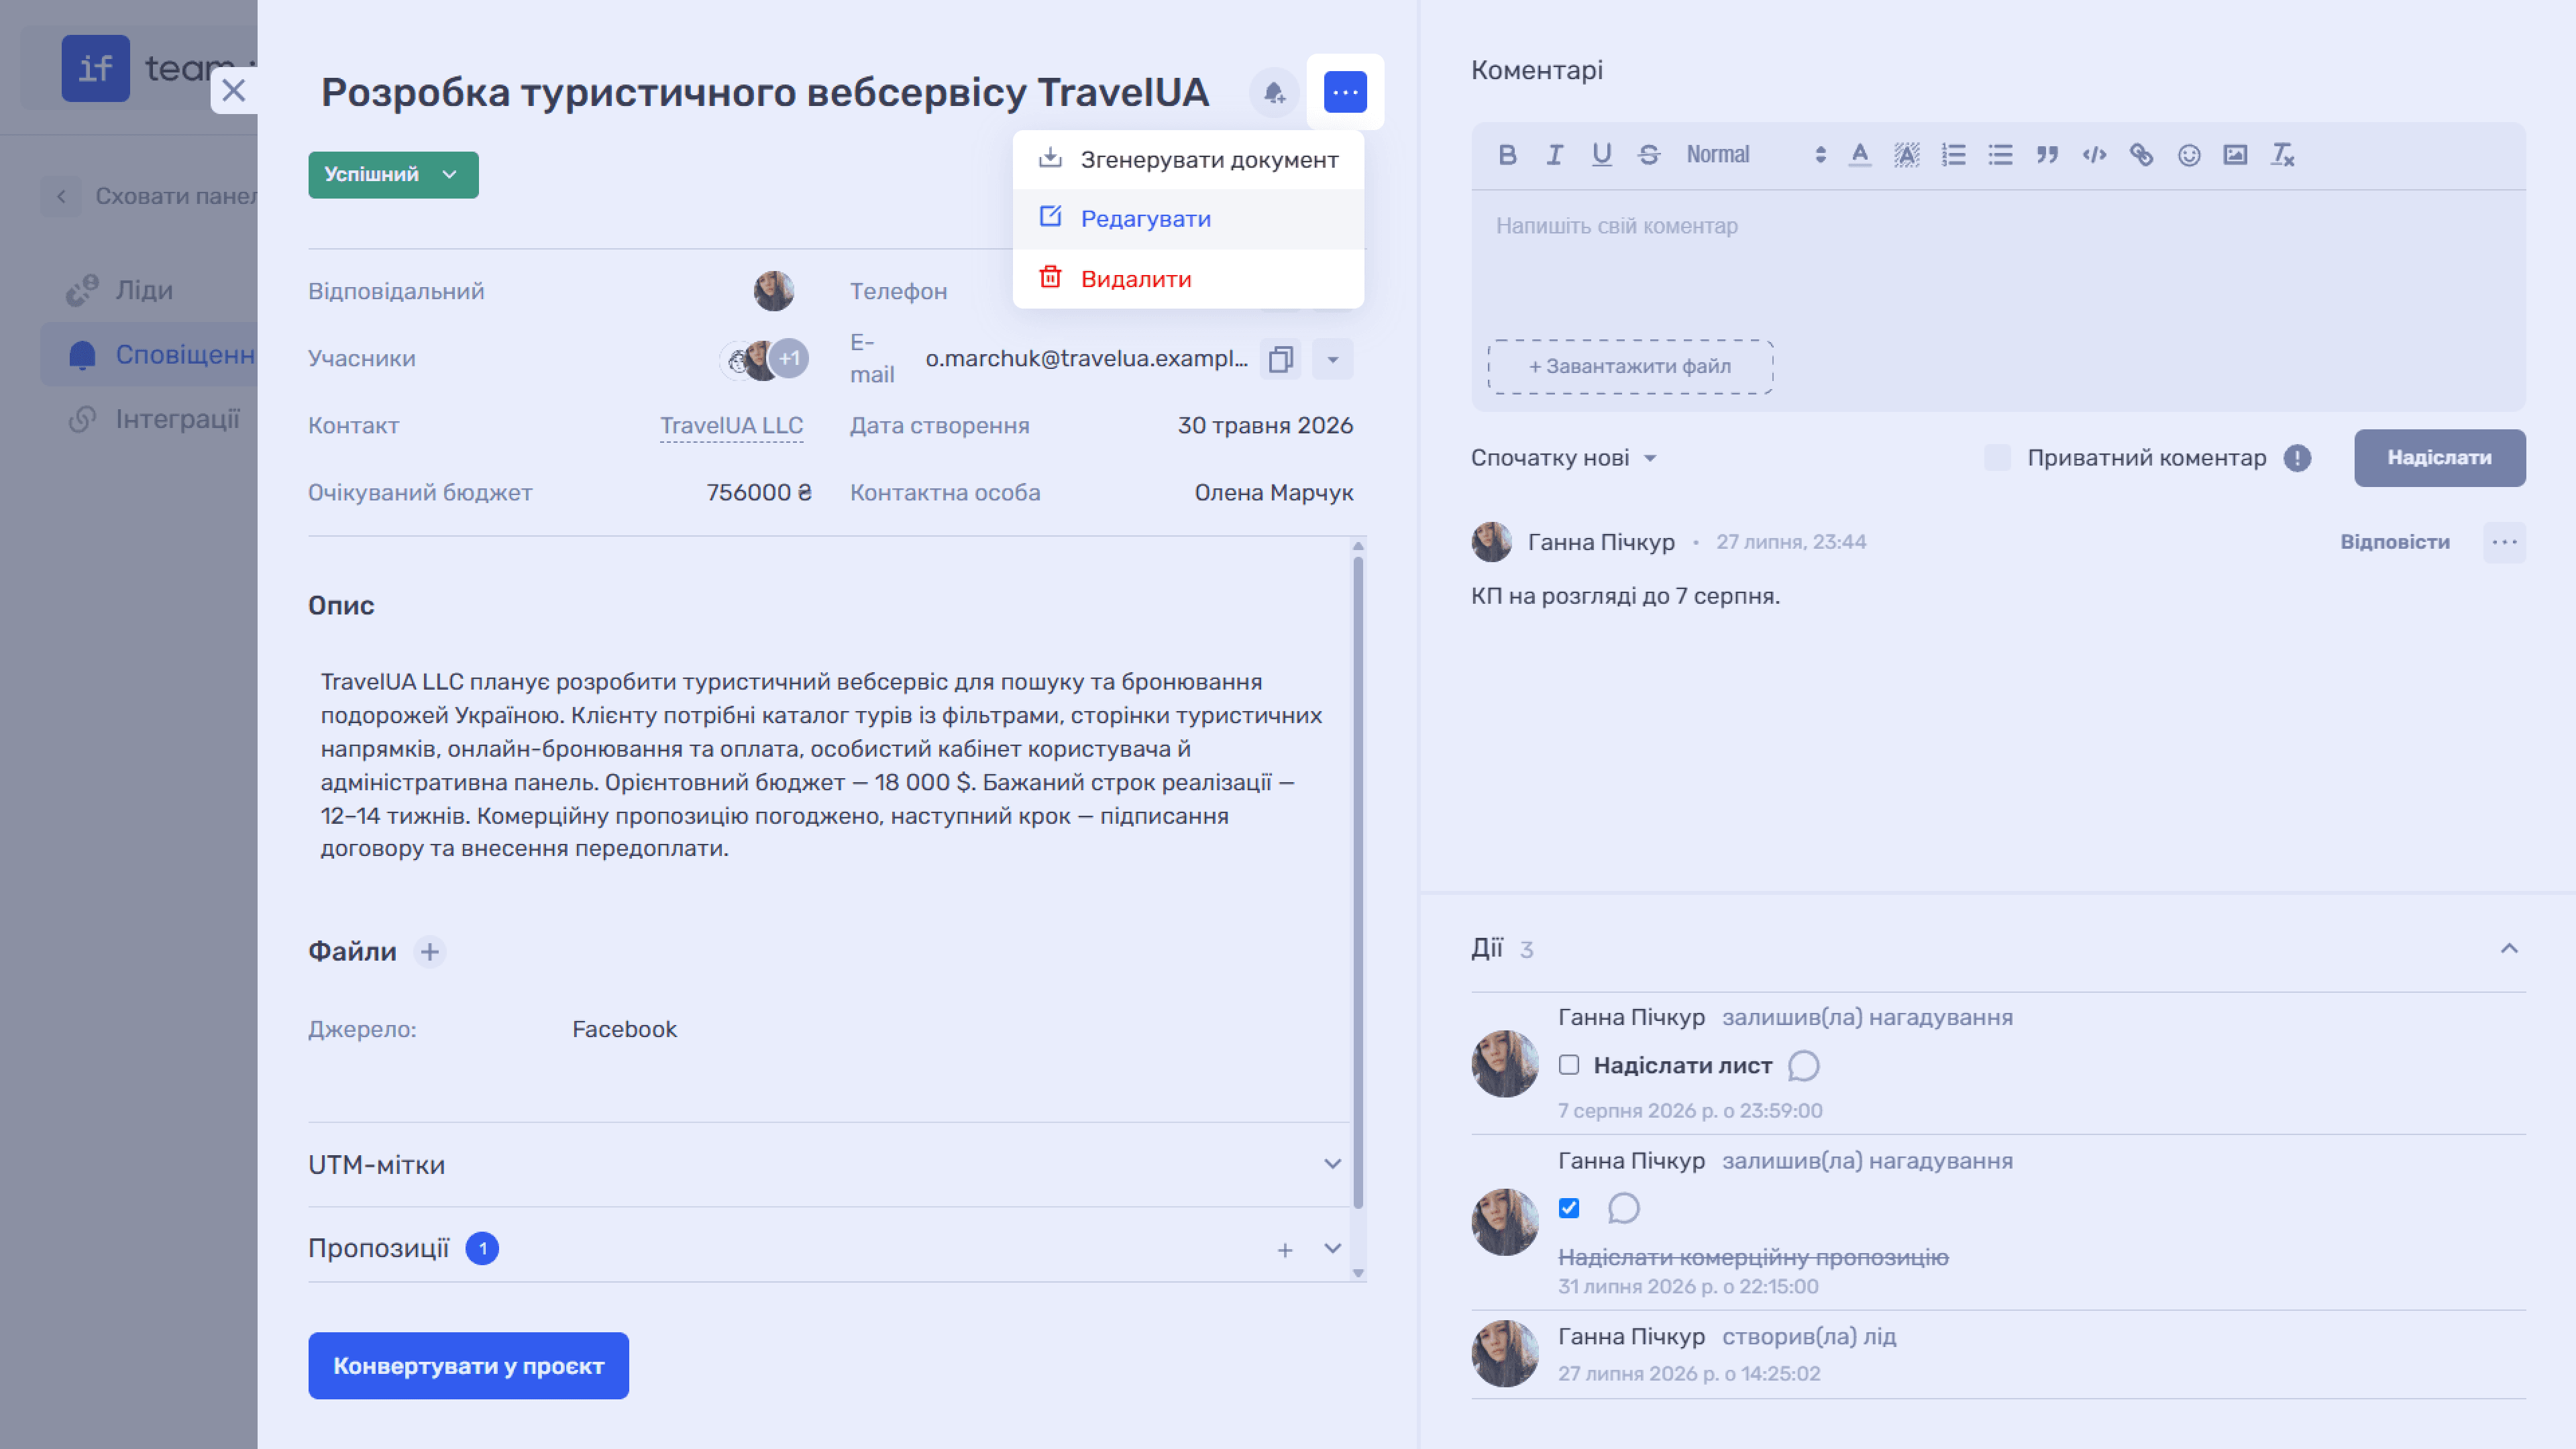
The card header contains the lead name with a status drop-down below it, which you can change directly. On the right are the bell icon (“New Activity”) and the “…” menu.
The main details follow: Assignee, Members, Contact, Expected Budget, Phone, Email, Creation Date, and Contact Person. Copy icons appear next to the phone and email, while the adjacent arrow opens quick actions. For a phone number, these are “Copy Number,” WhatsApp, Telegram, Viber, and “Call.” For email, they are “Copy Email” and “Write.”
Below are “Description” and “Files,” where the “+” button uploads documents, as well as “Source” and the collapsible “UTM Tags” and “Quote” sections, each with a count and “+” button.
Comments and History
The right column is a comment feed with a full editor and file uploads. You can change the sort order using “Newest First.” The “Private Comment” checkbox makes an entry visible only to its author; a client or colleague with access to the system will not see it. At the bottom is “Actions,” containing the history of who created the lead and set reminders, as well as what changed and when.
New Activity
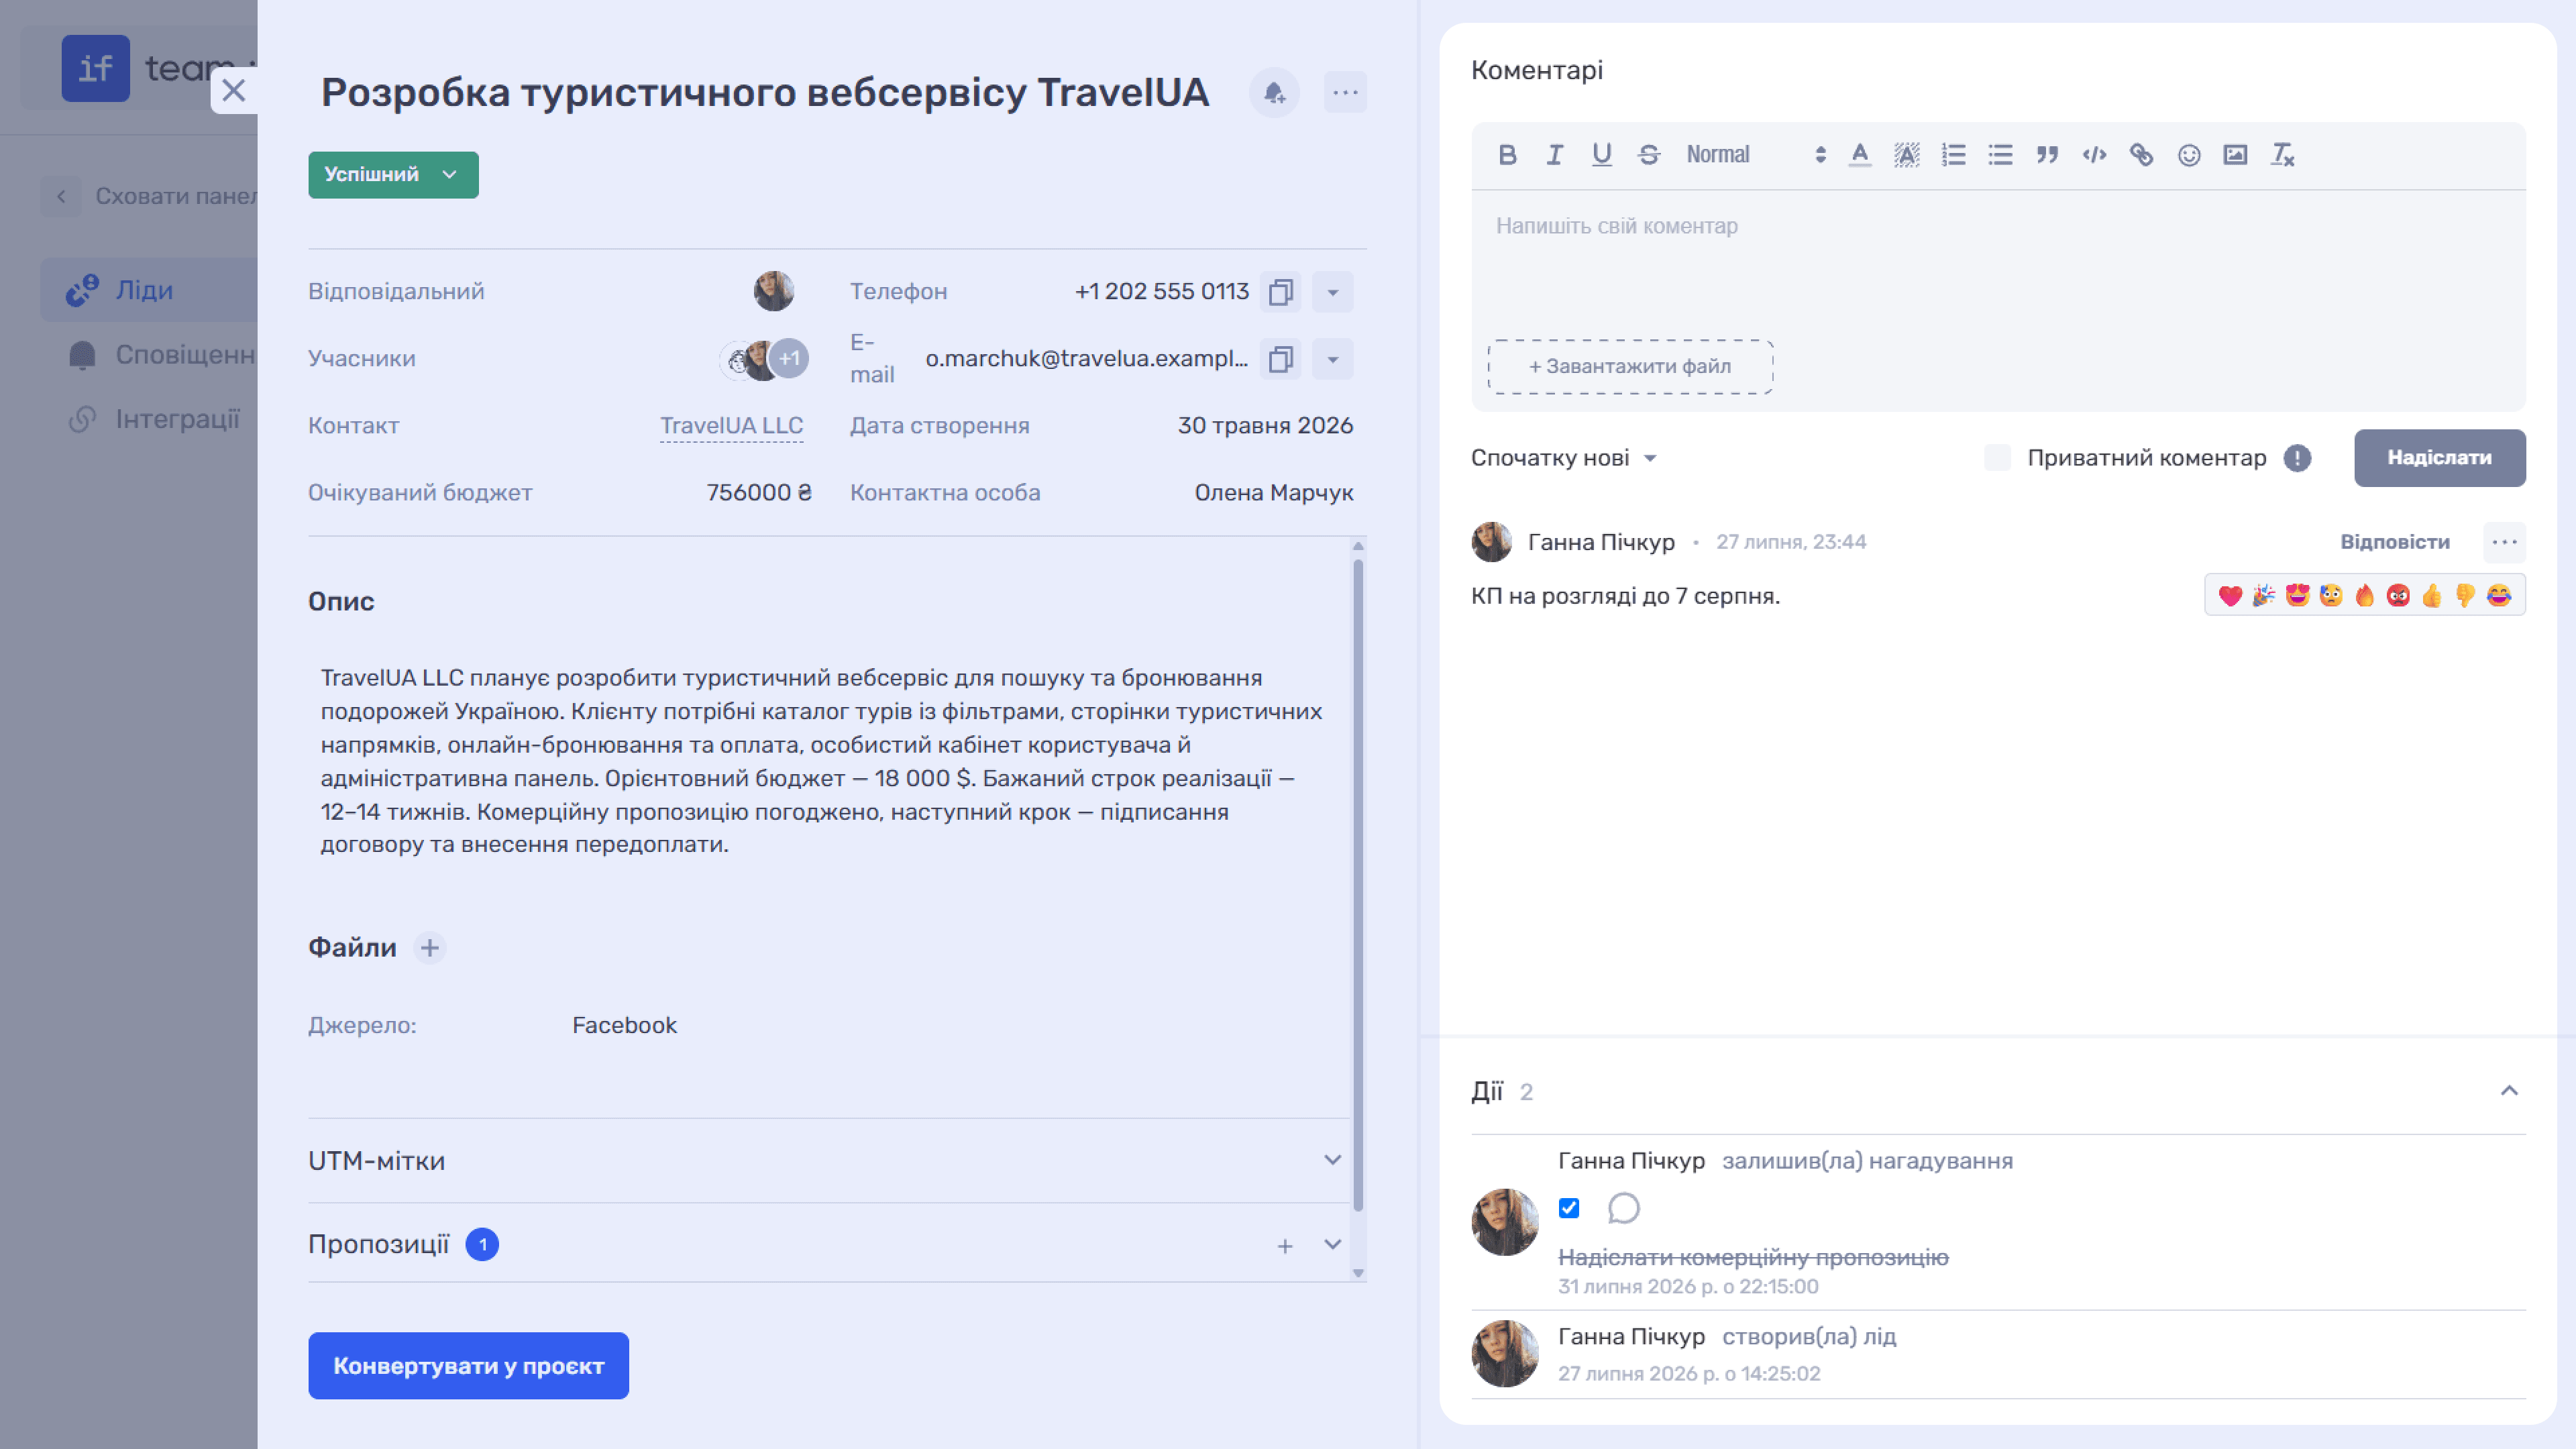
The bell icon opens the “New Activity” window for scheduling the next step for a lead:
- Date specifies when it should take place.
- Send To determines who receives the reminder: “Only Me,” “Everyone,” or “Team Members.”
- Type can be “Call,” “Email/SMS,” “Meeting,” or “Other.”
- Title and Description.
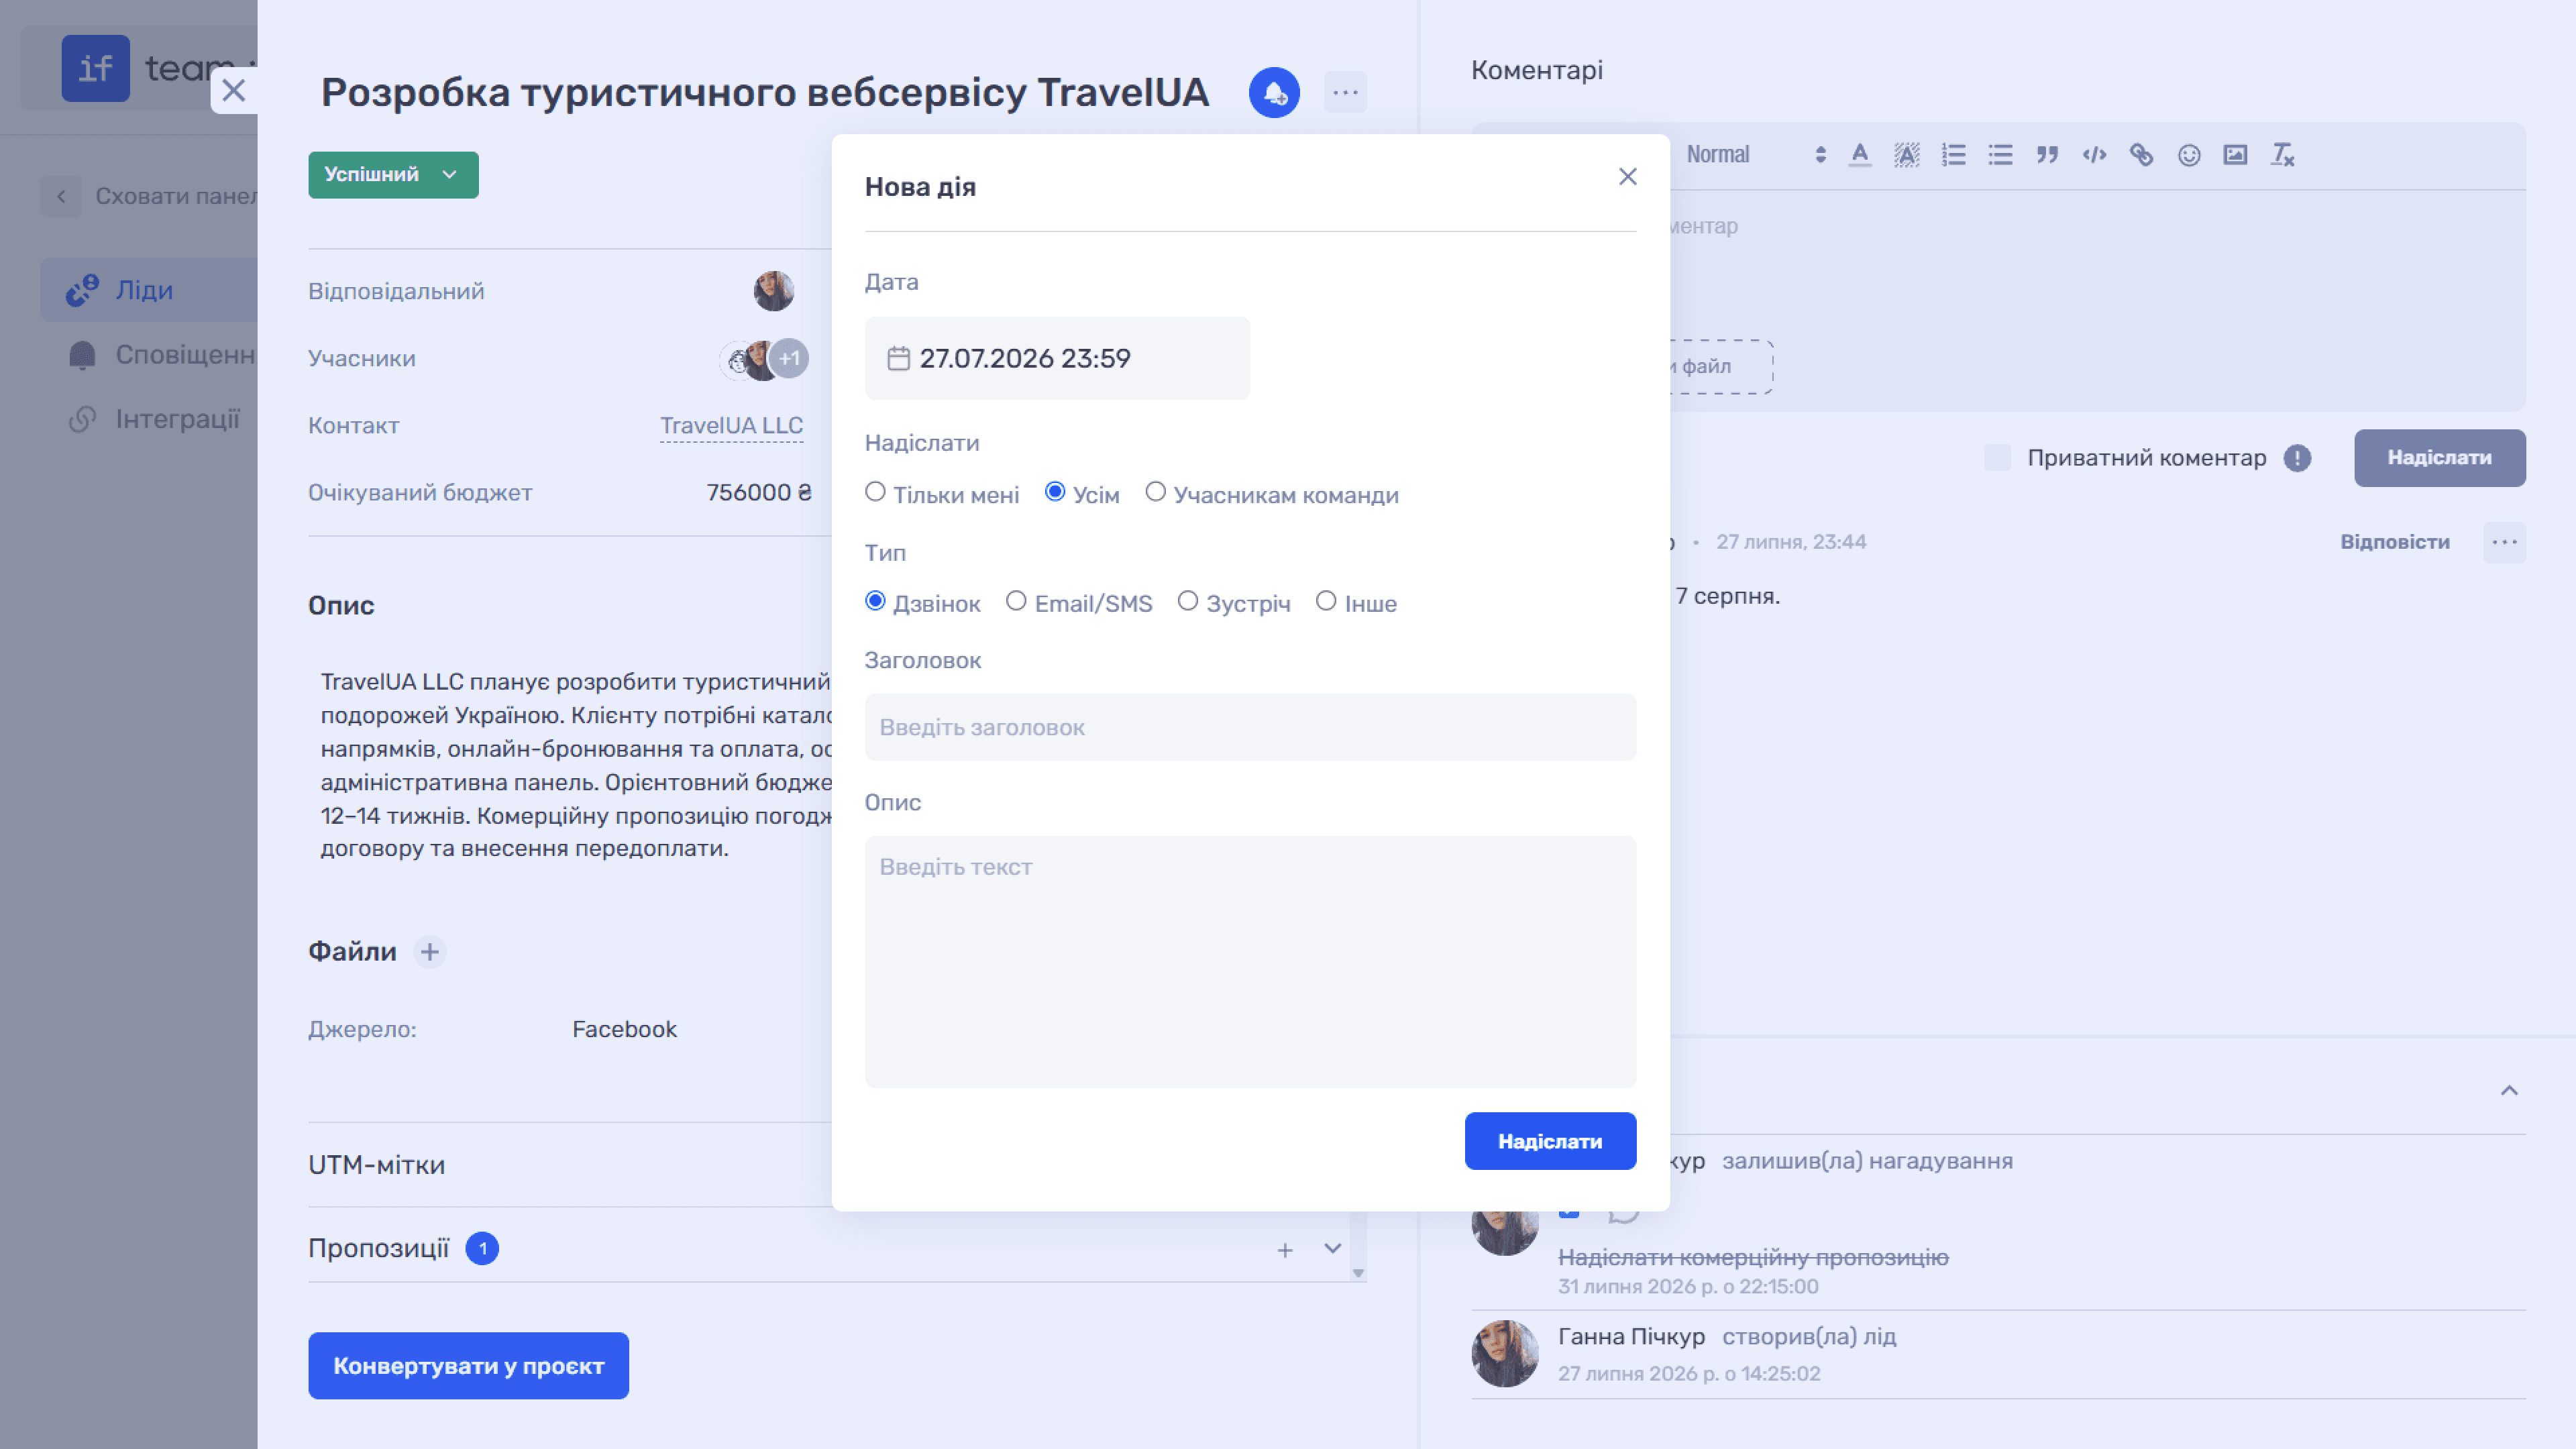
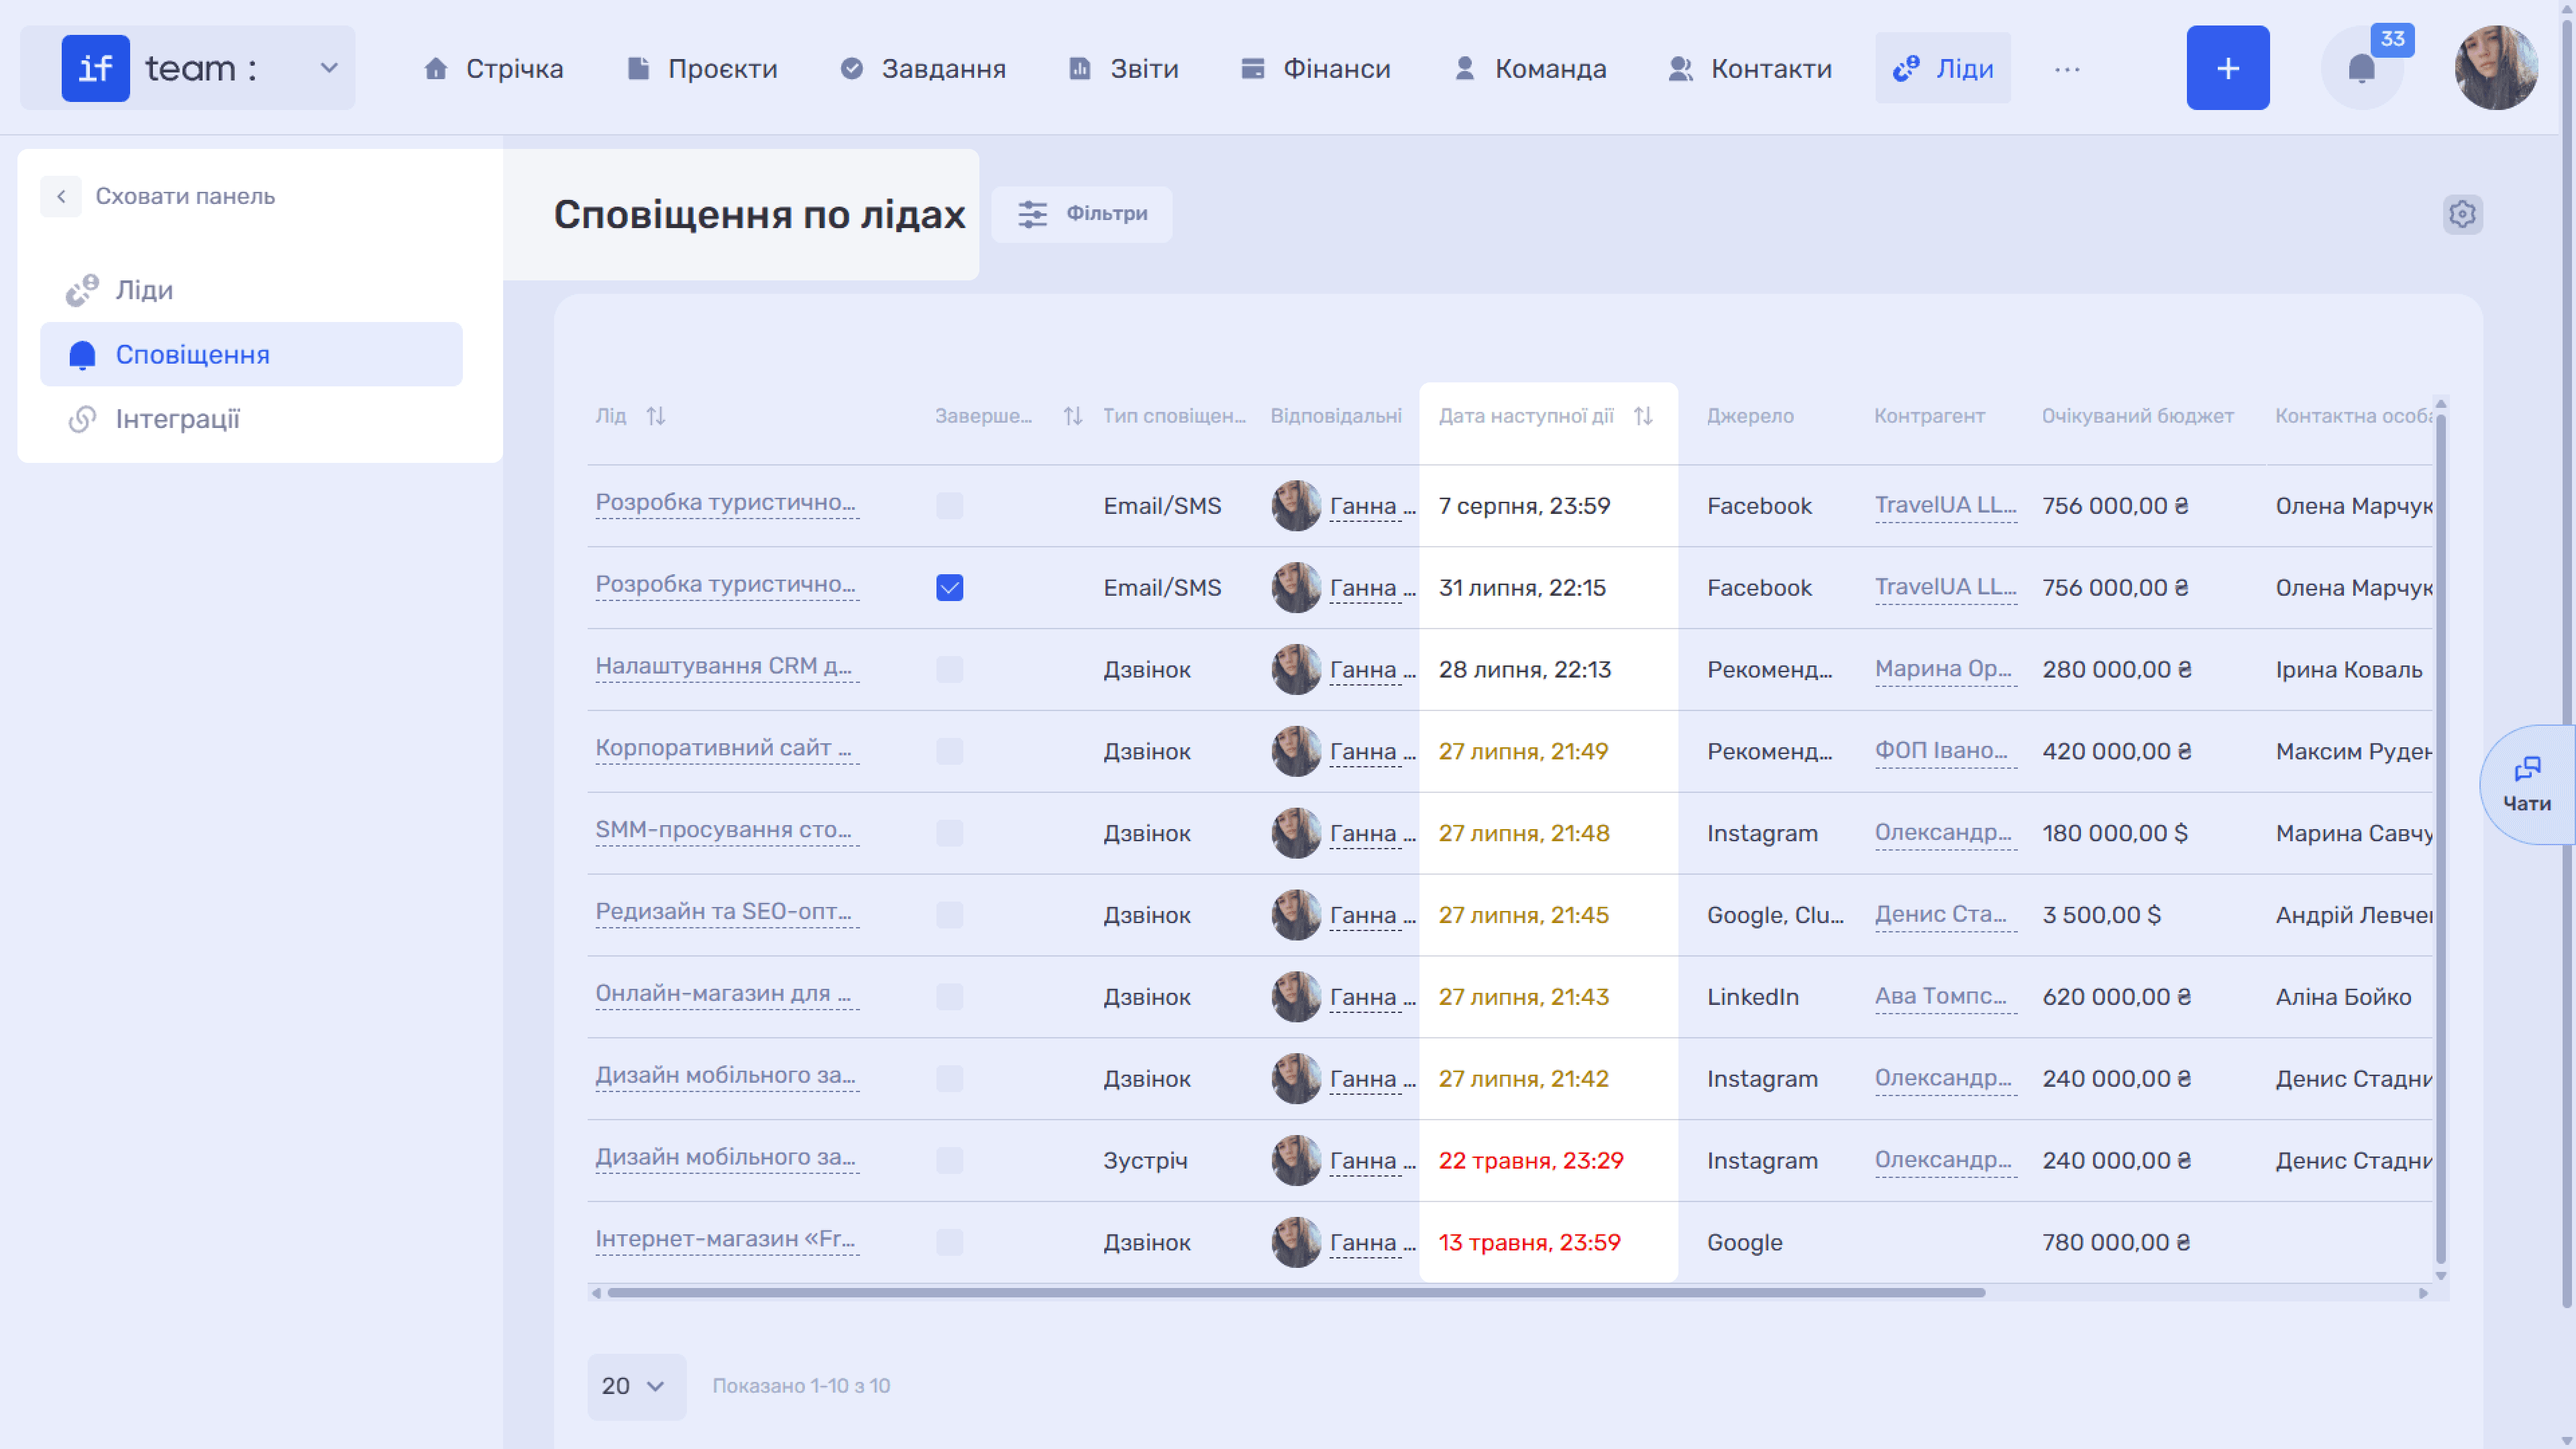
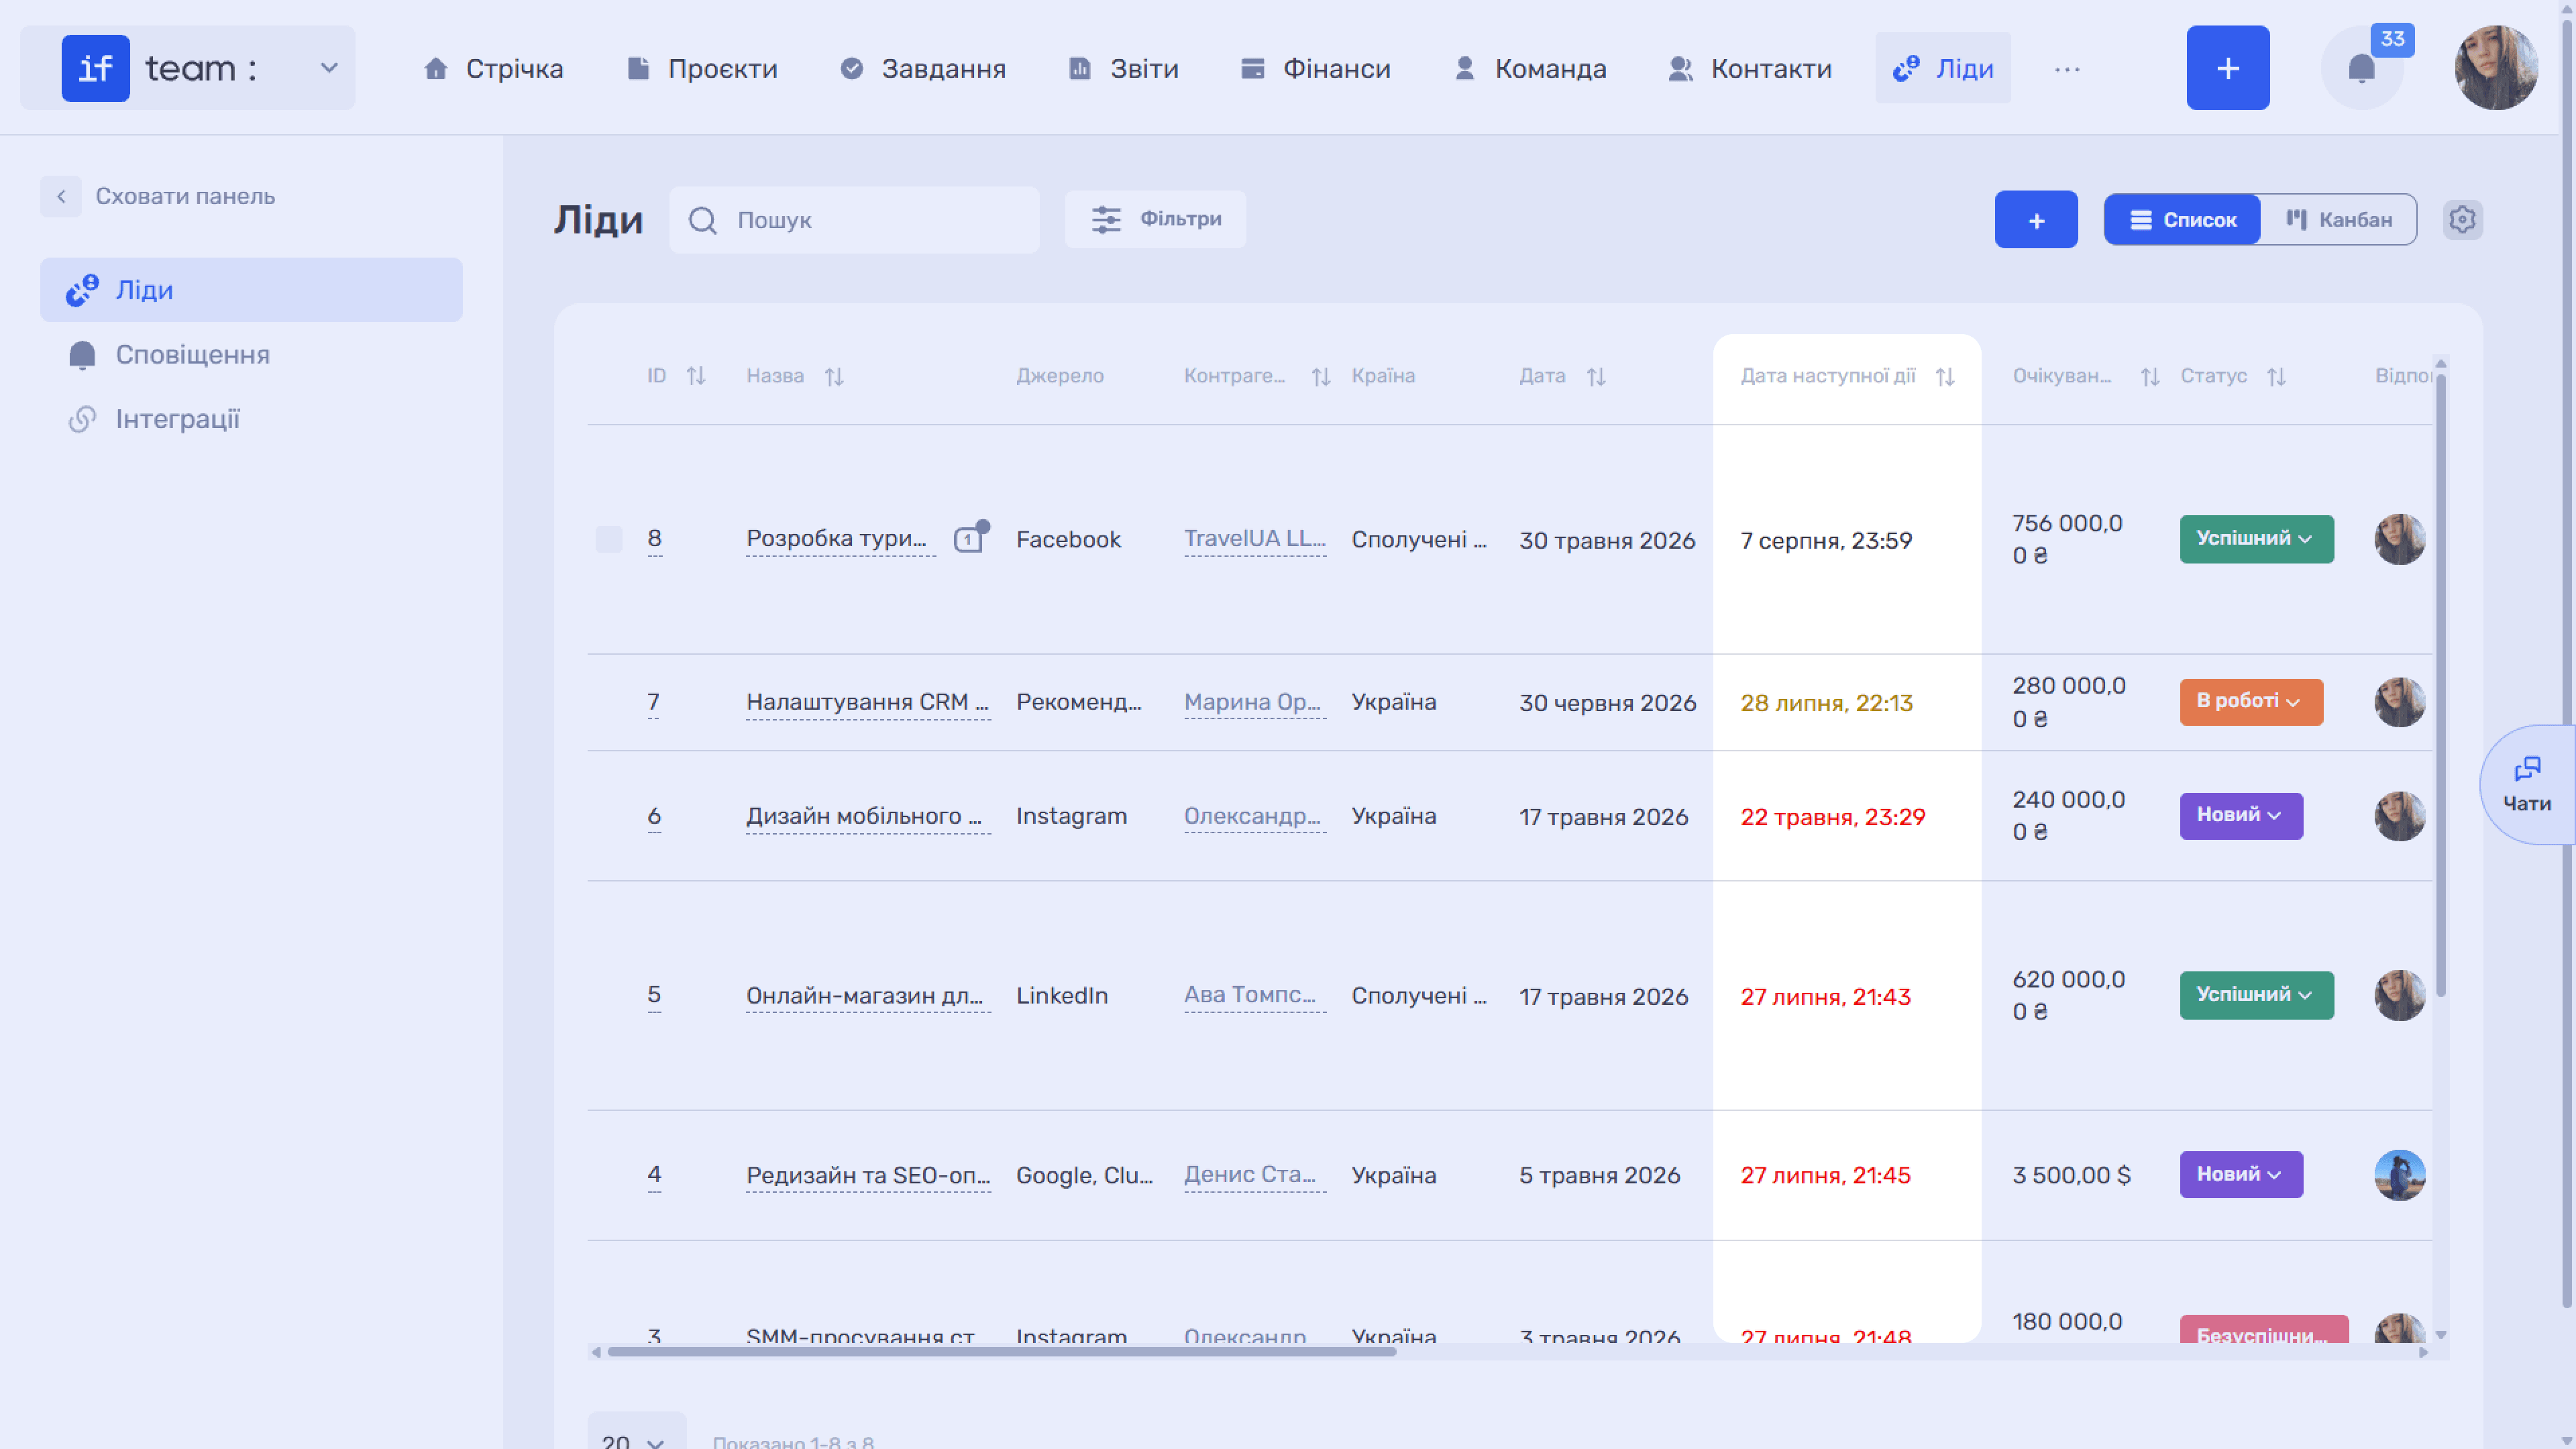
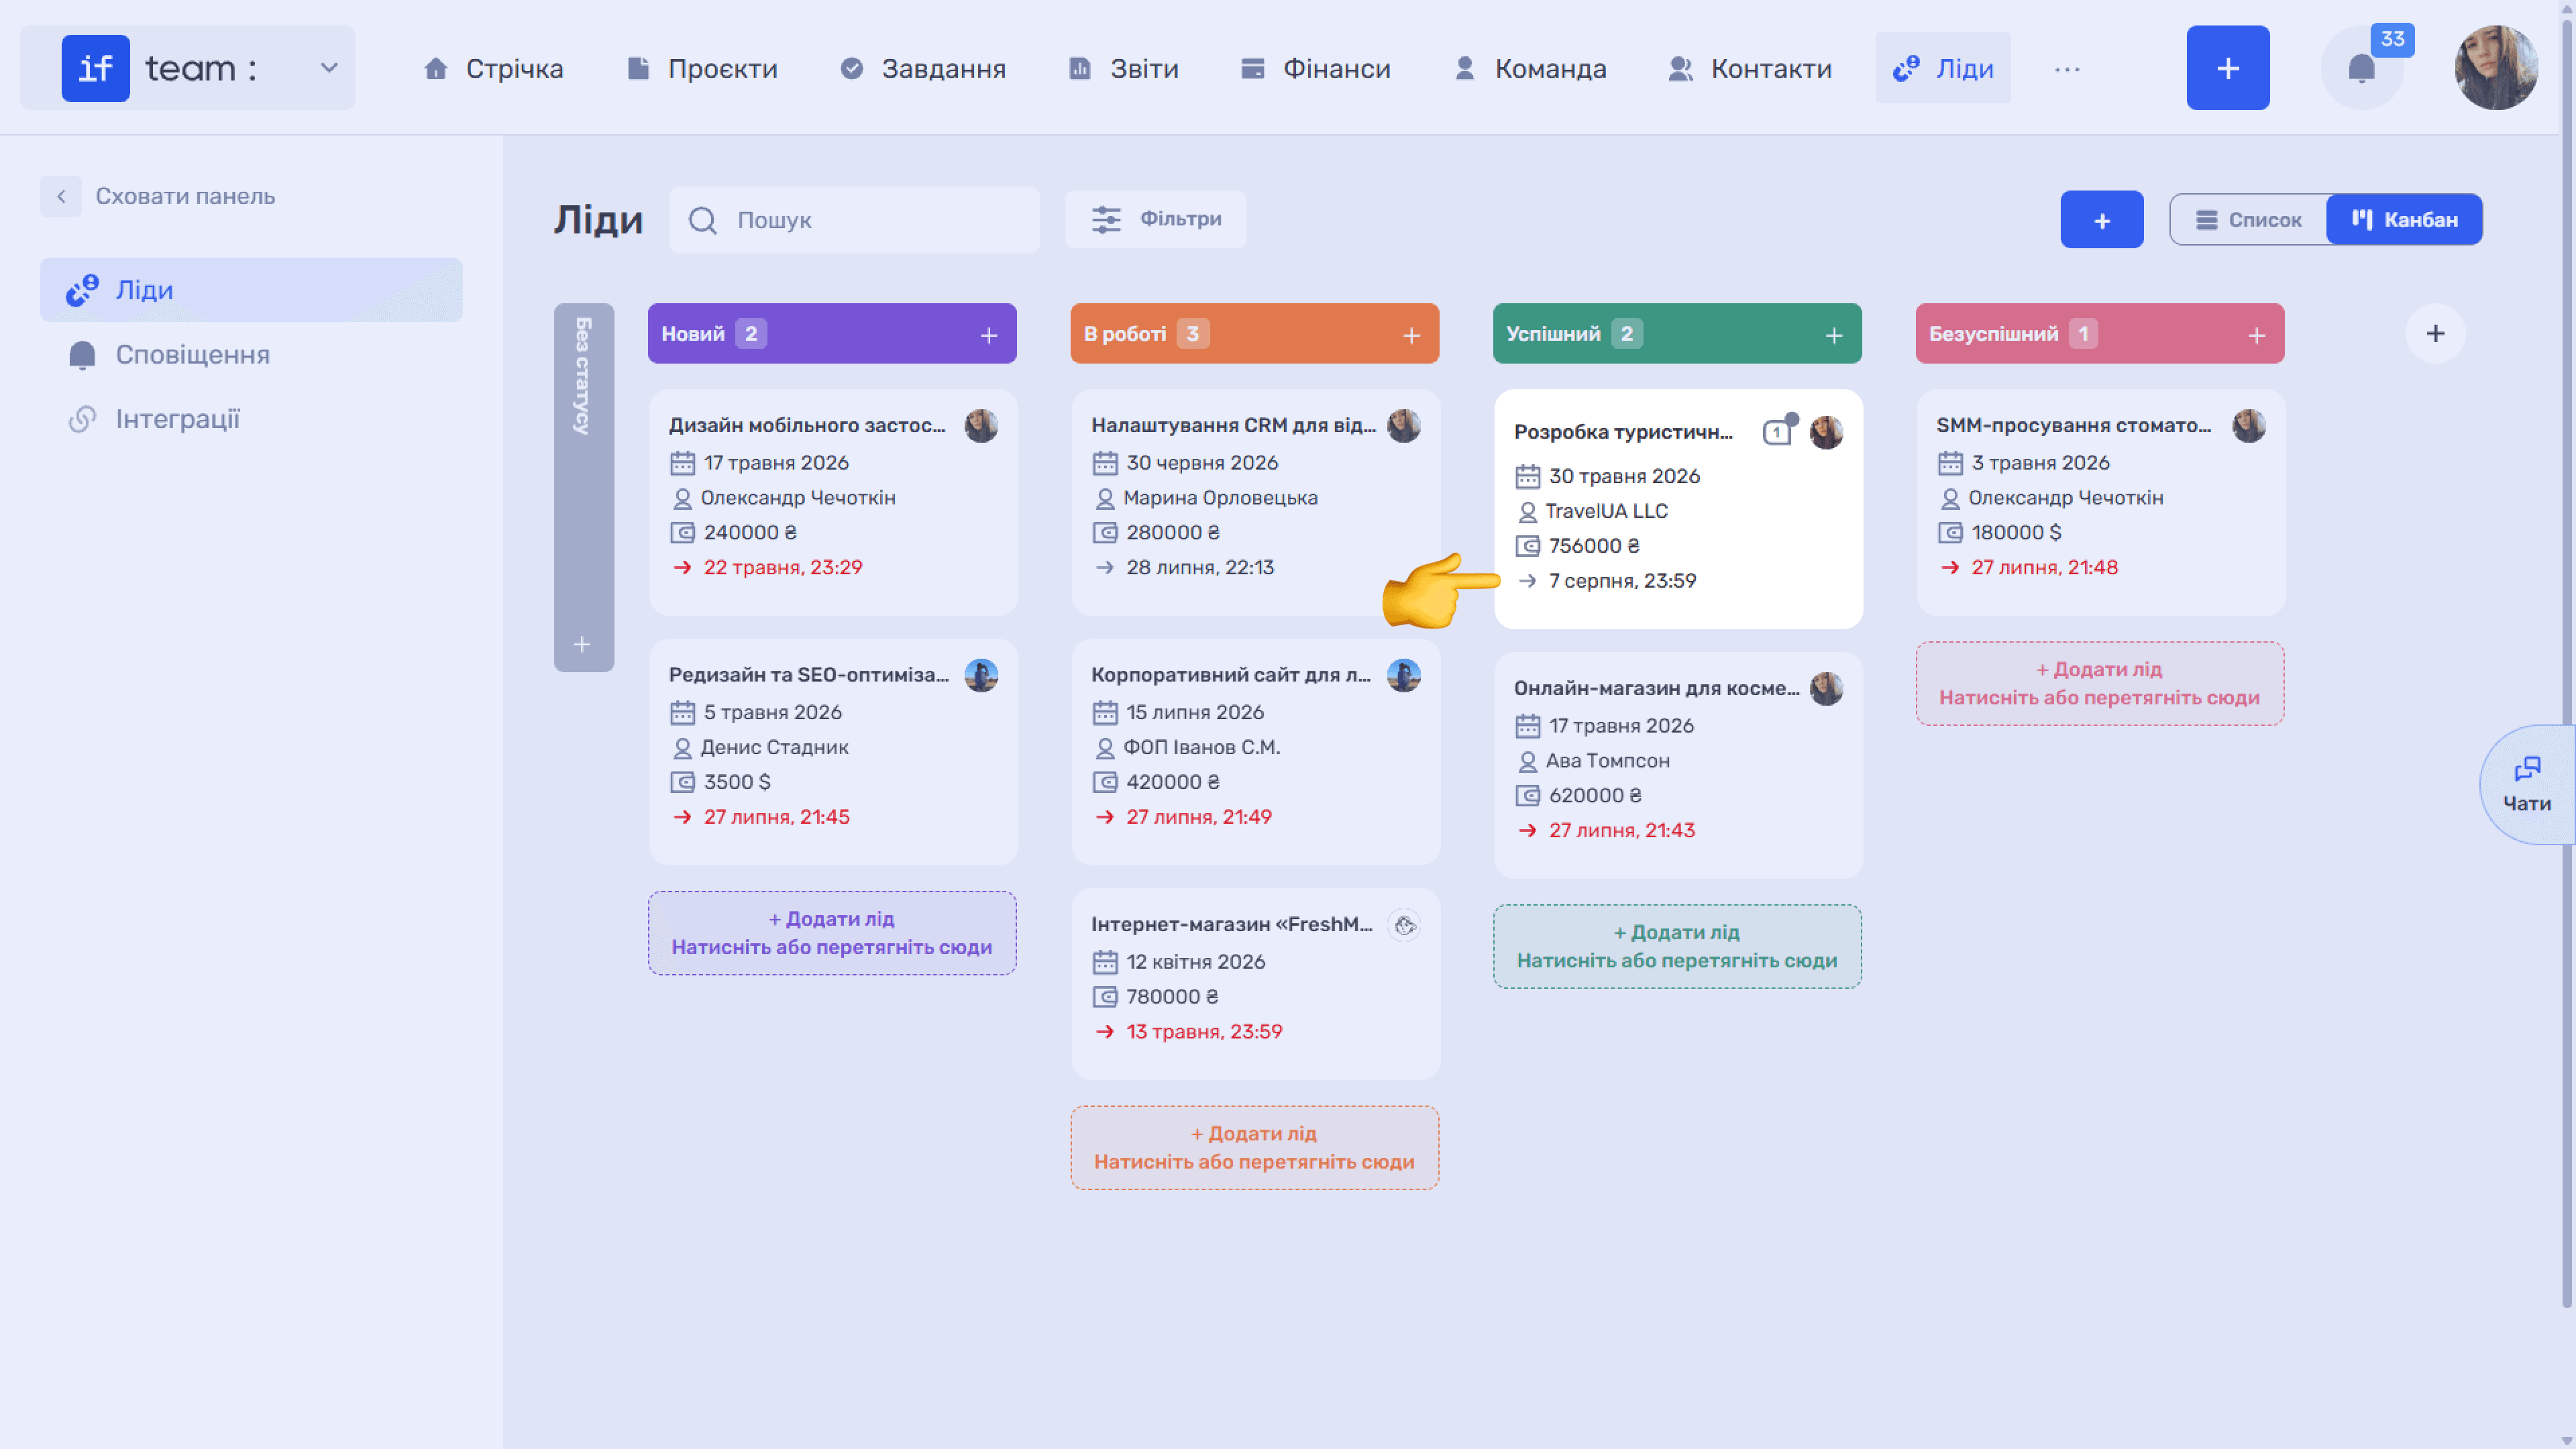
After you click “Send,” the reminder appears in the card’s “Actions” section and in “Notifications.” Its date appears on the Kanban card and in the list’s “Next Activity Date” column.
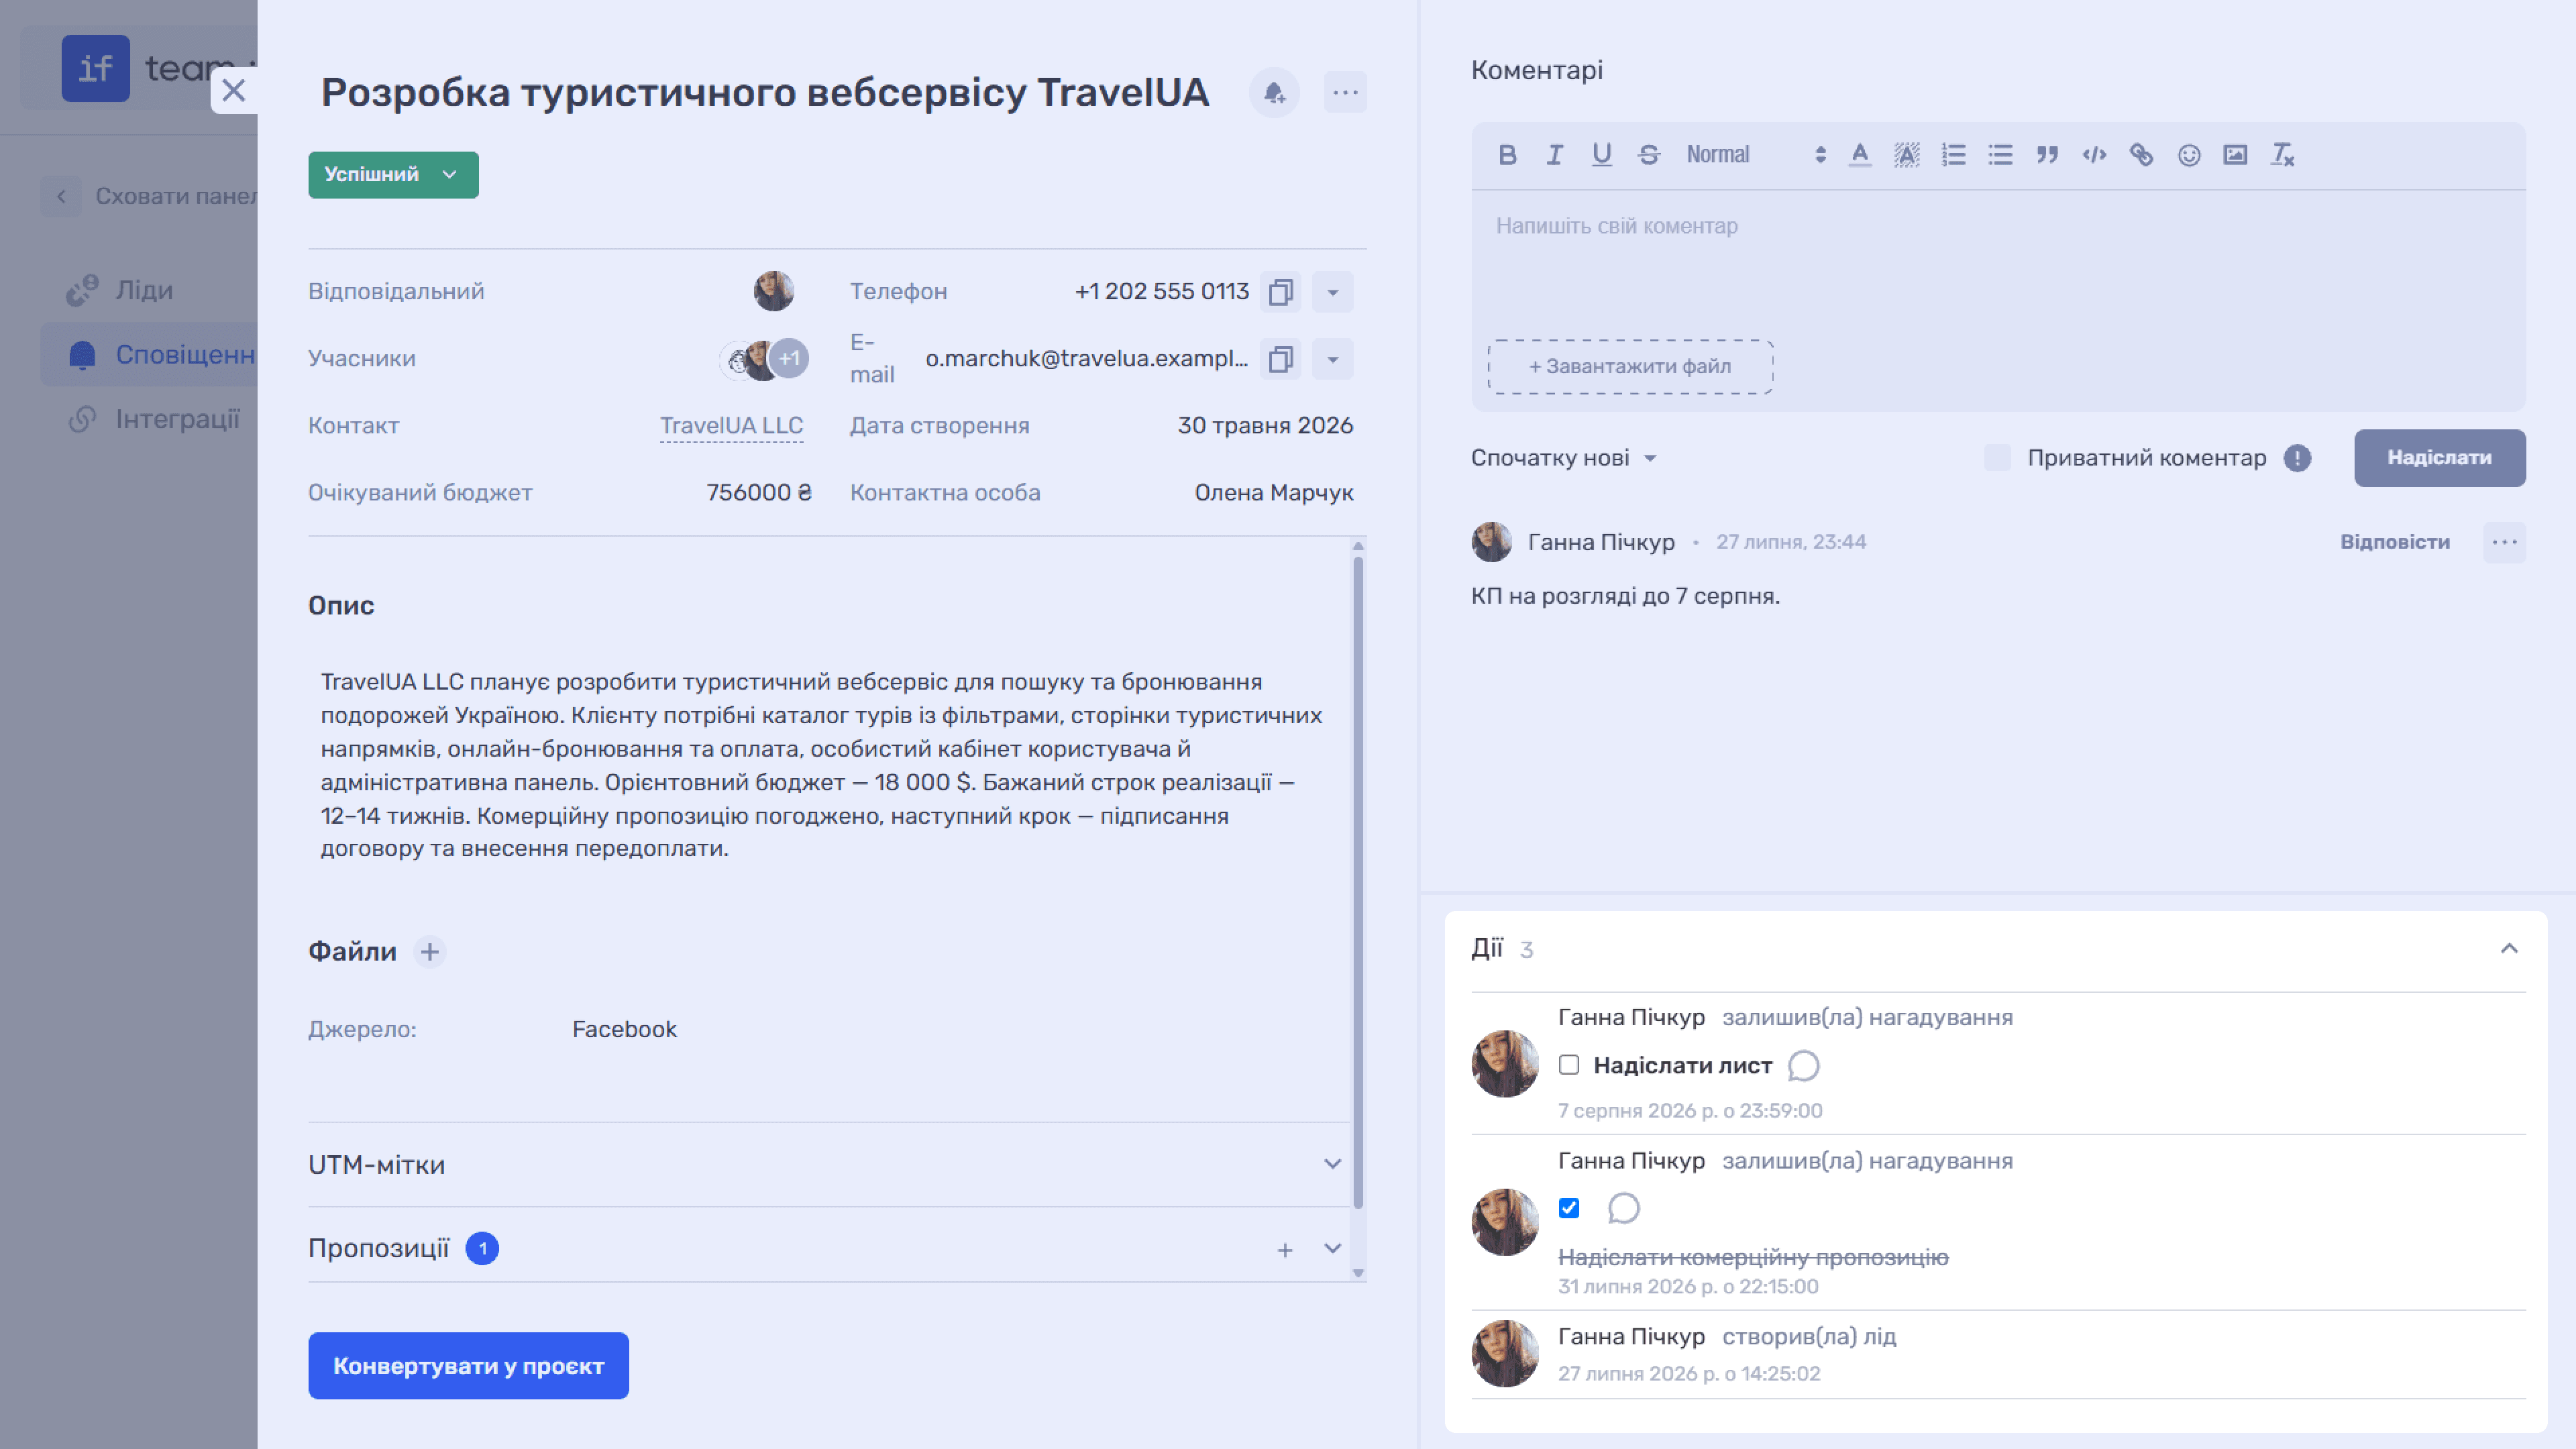
The card’s “…” menu contains three items: “Generate Document,” “Edit,” and “Delete.”
Converting to a Project
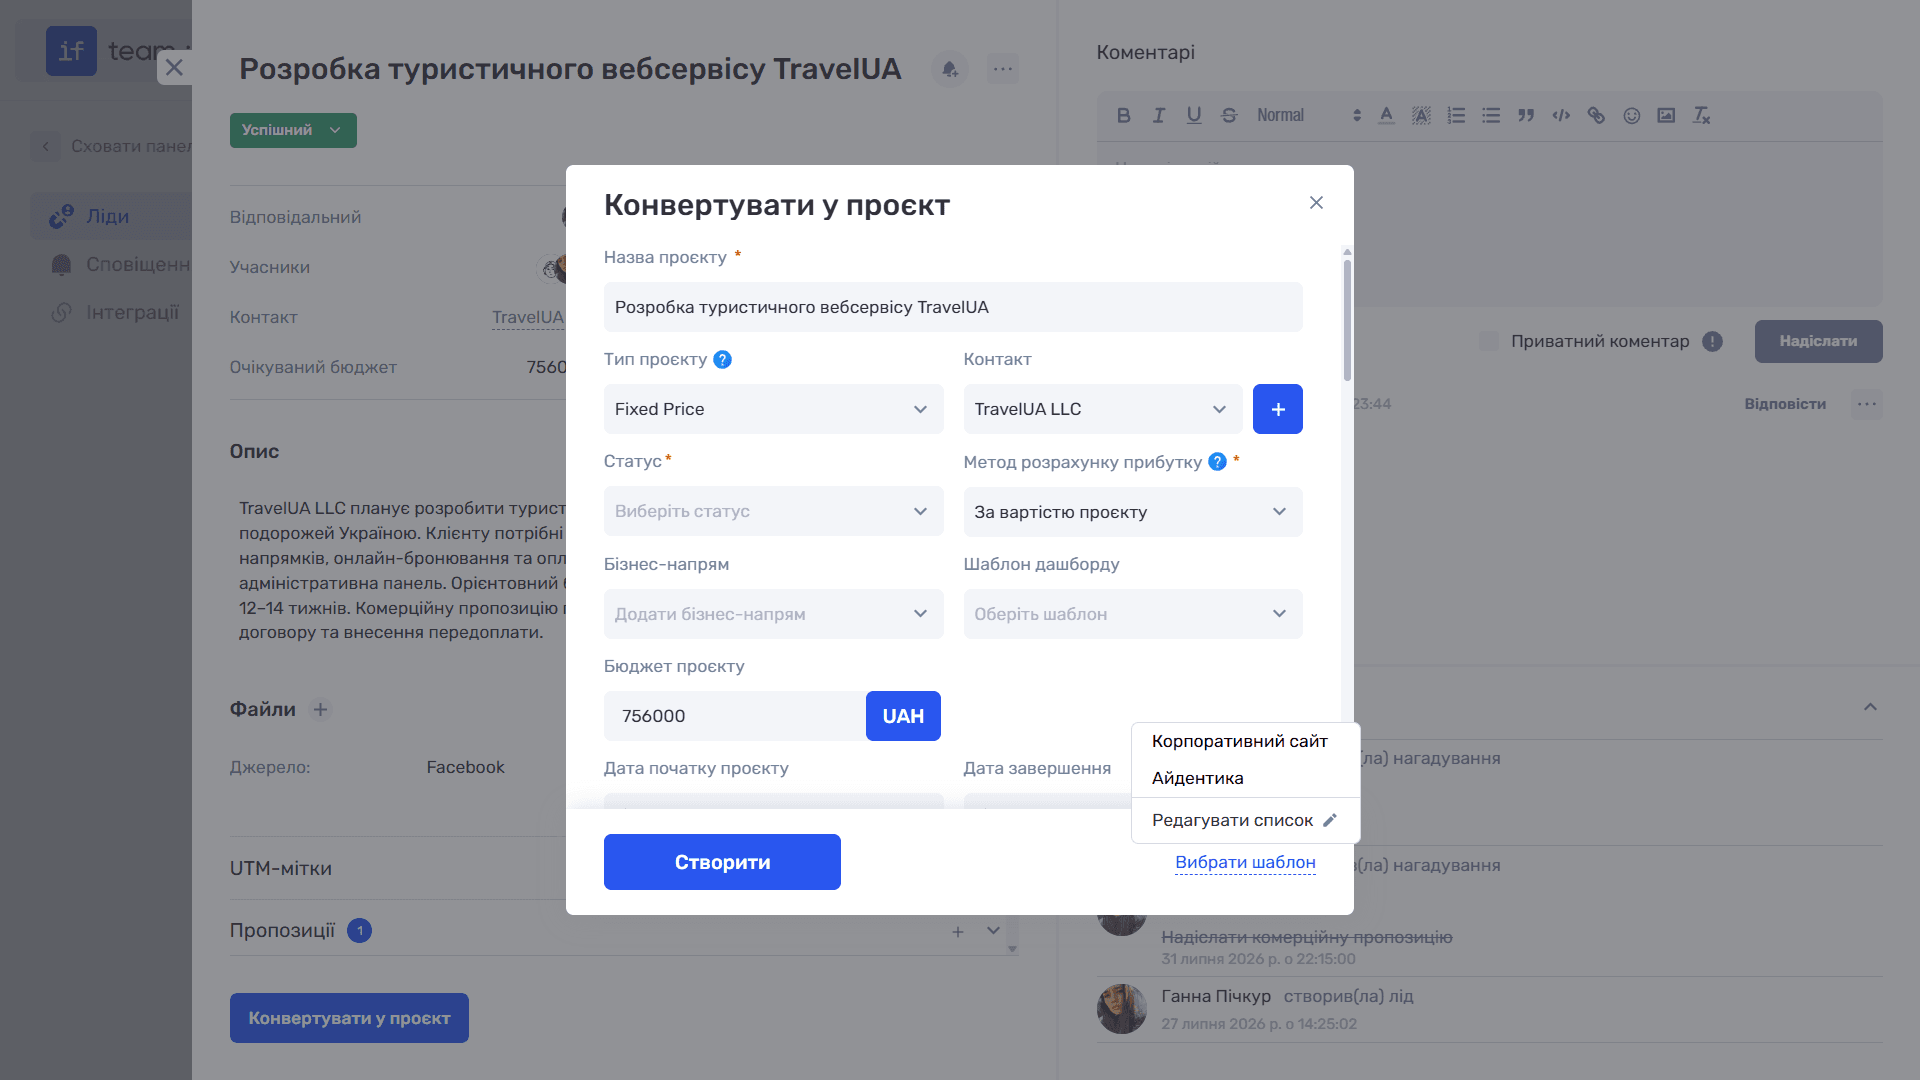
The “Convert to Project” button at the bottom of the card opens the project creation window with the lead’s data already populated: name, contact, and budget. Complete the required project fields—status, profit-calculation method, and manager—then click “Create.” If necessary, use a ready-made dashboard template or the “Select Template” link.
Still have questions?
Maybe we haven't added this information yet. But you can always reach out:
Request a demo
Submit a request and we'll show you how the service works and its capabilities.
Book a demo