Working with the Team
Before creating projects and tasks, configure the company structure: add employees, create departments and positions, and assign roles and access permissions. This is done through the Admin Panel and employee invitations.
How to Invite an Employee
You can add a new team member from any service page using the quick-create button.
- Click + in the upper-right corner of the screen.
- Select Employee from the drop-down menu.
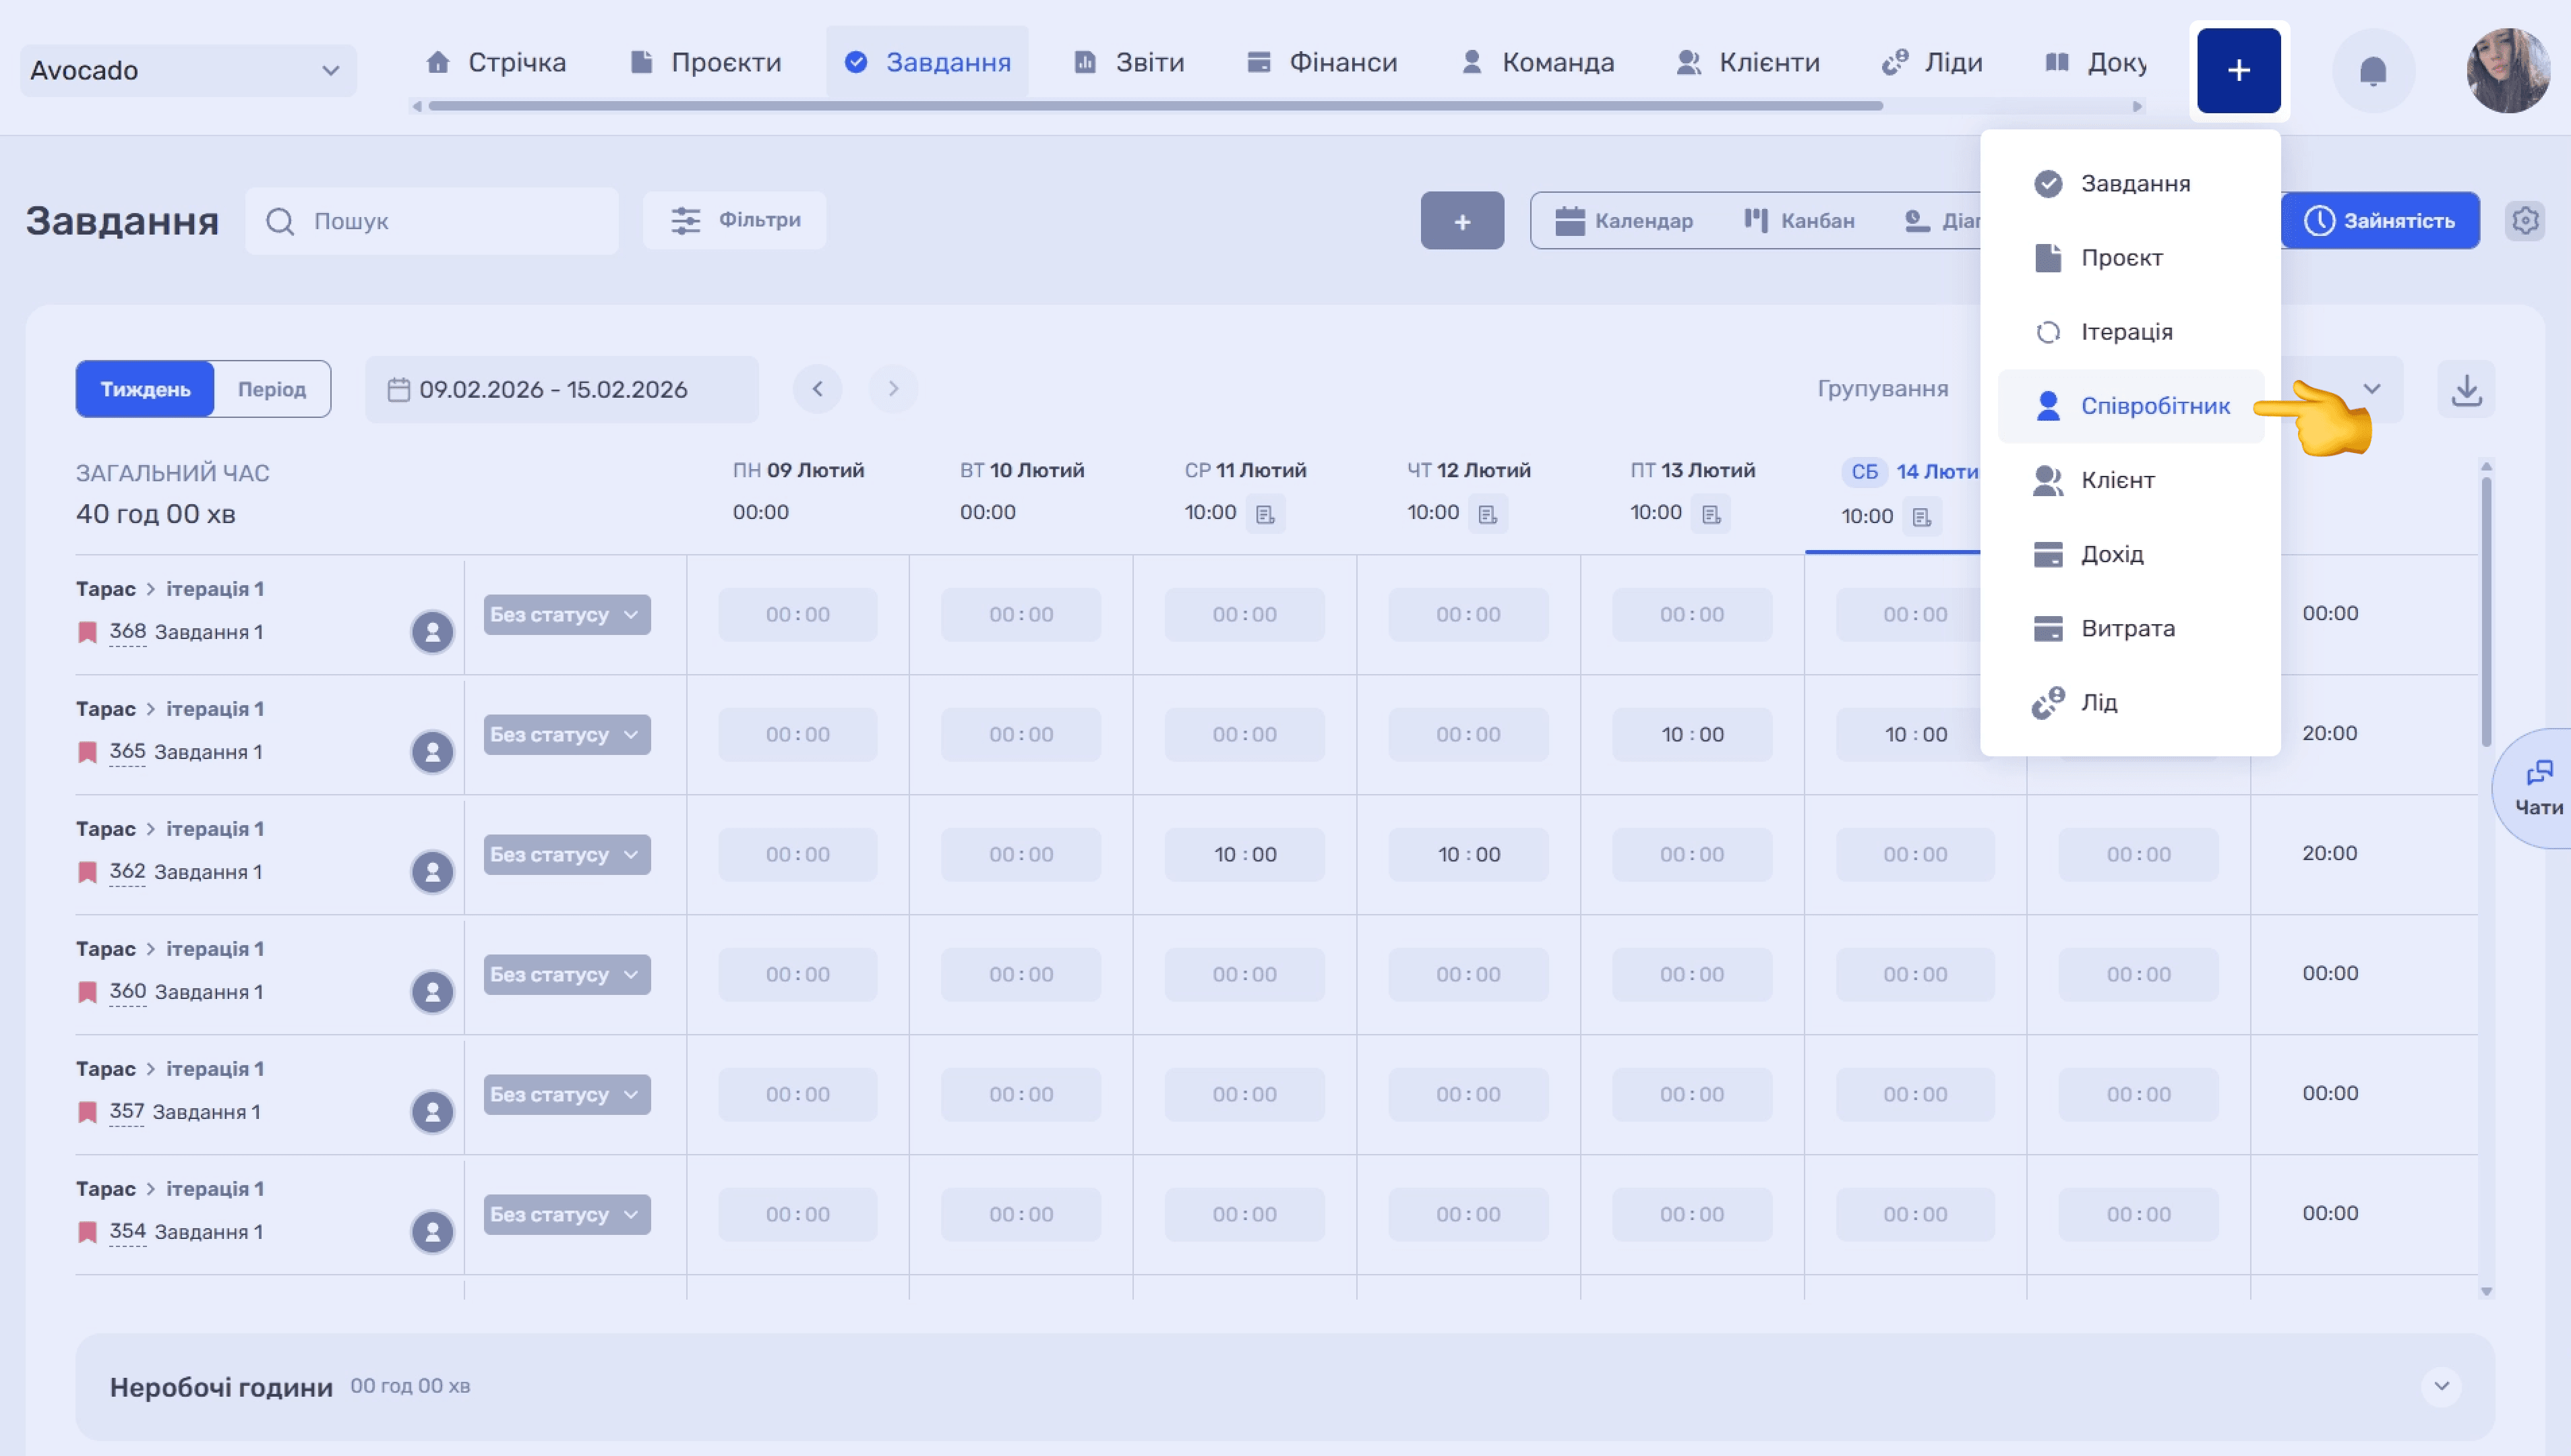
The Invite Employee modal opens. The number of available seats under the current subscription plan appears at the top.
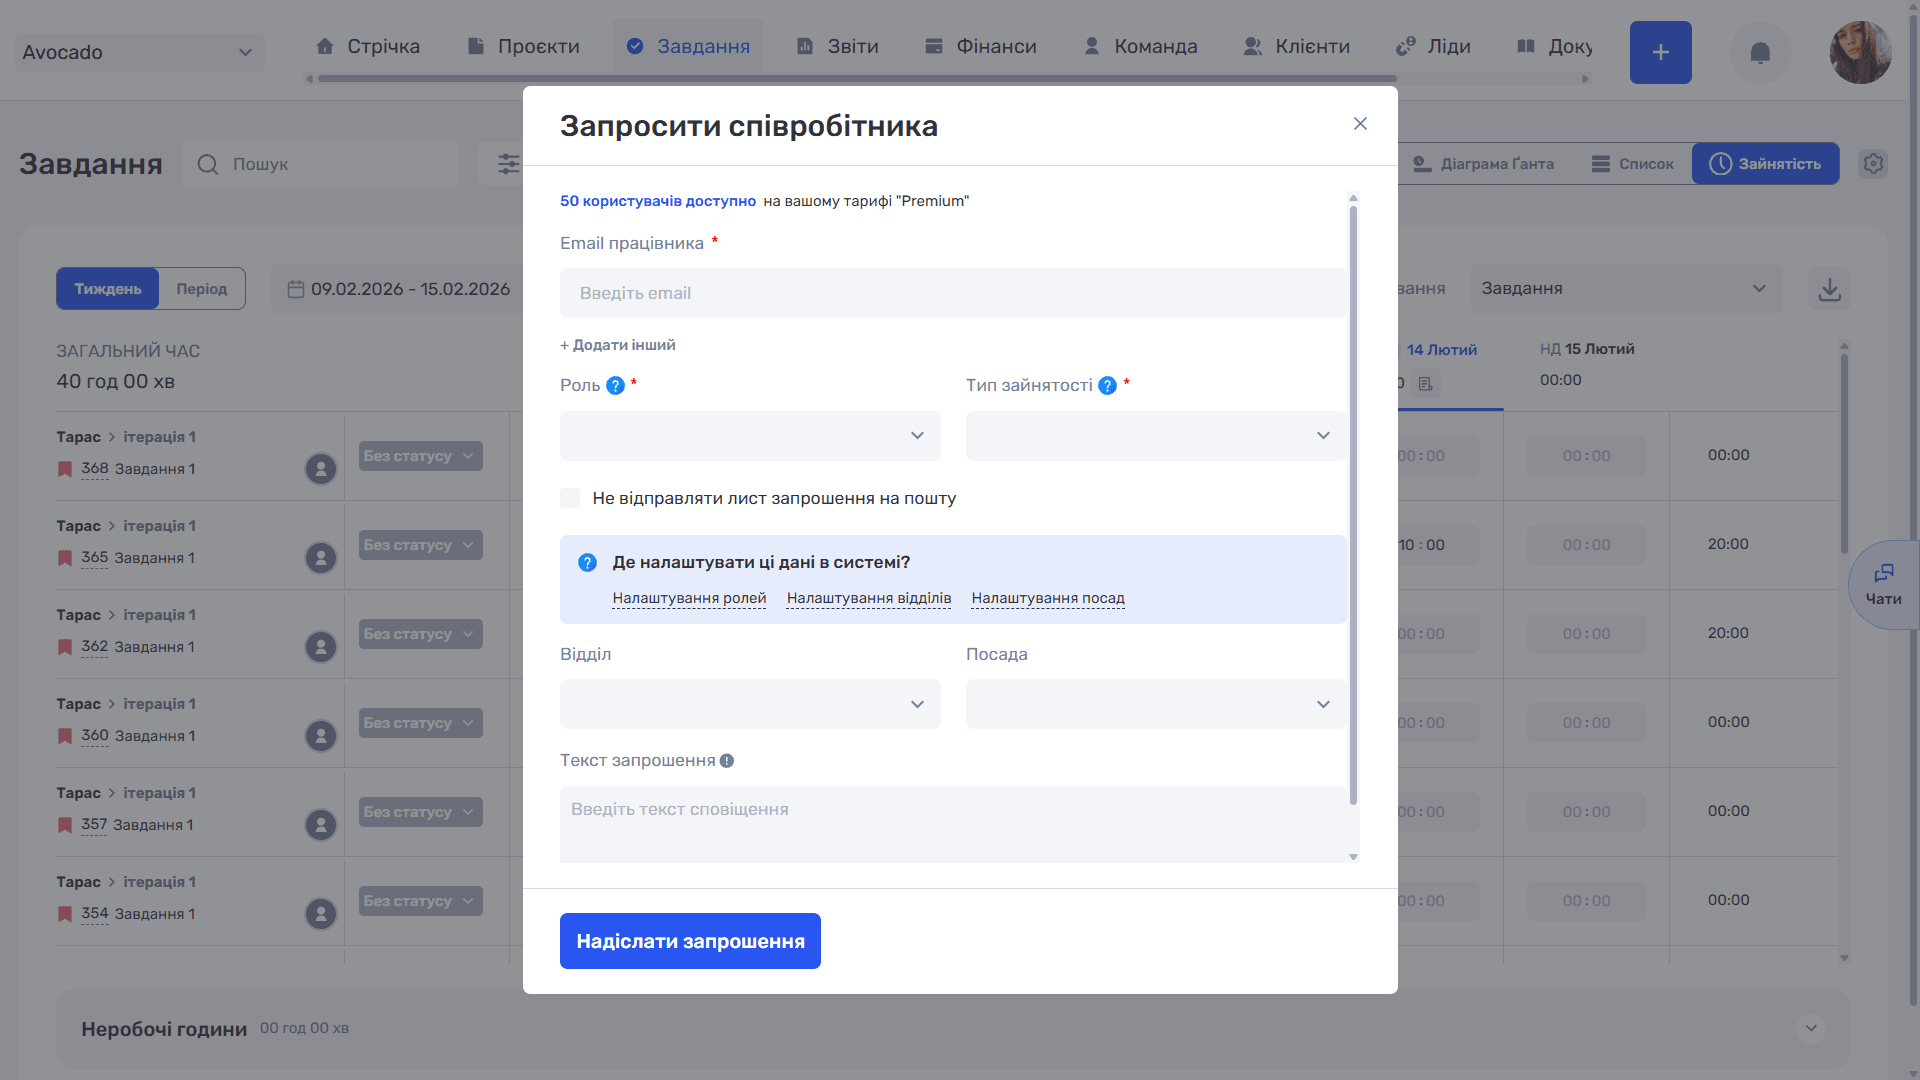
Complete the required fields:
- Employee Email: enter your colleague’s email address.
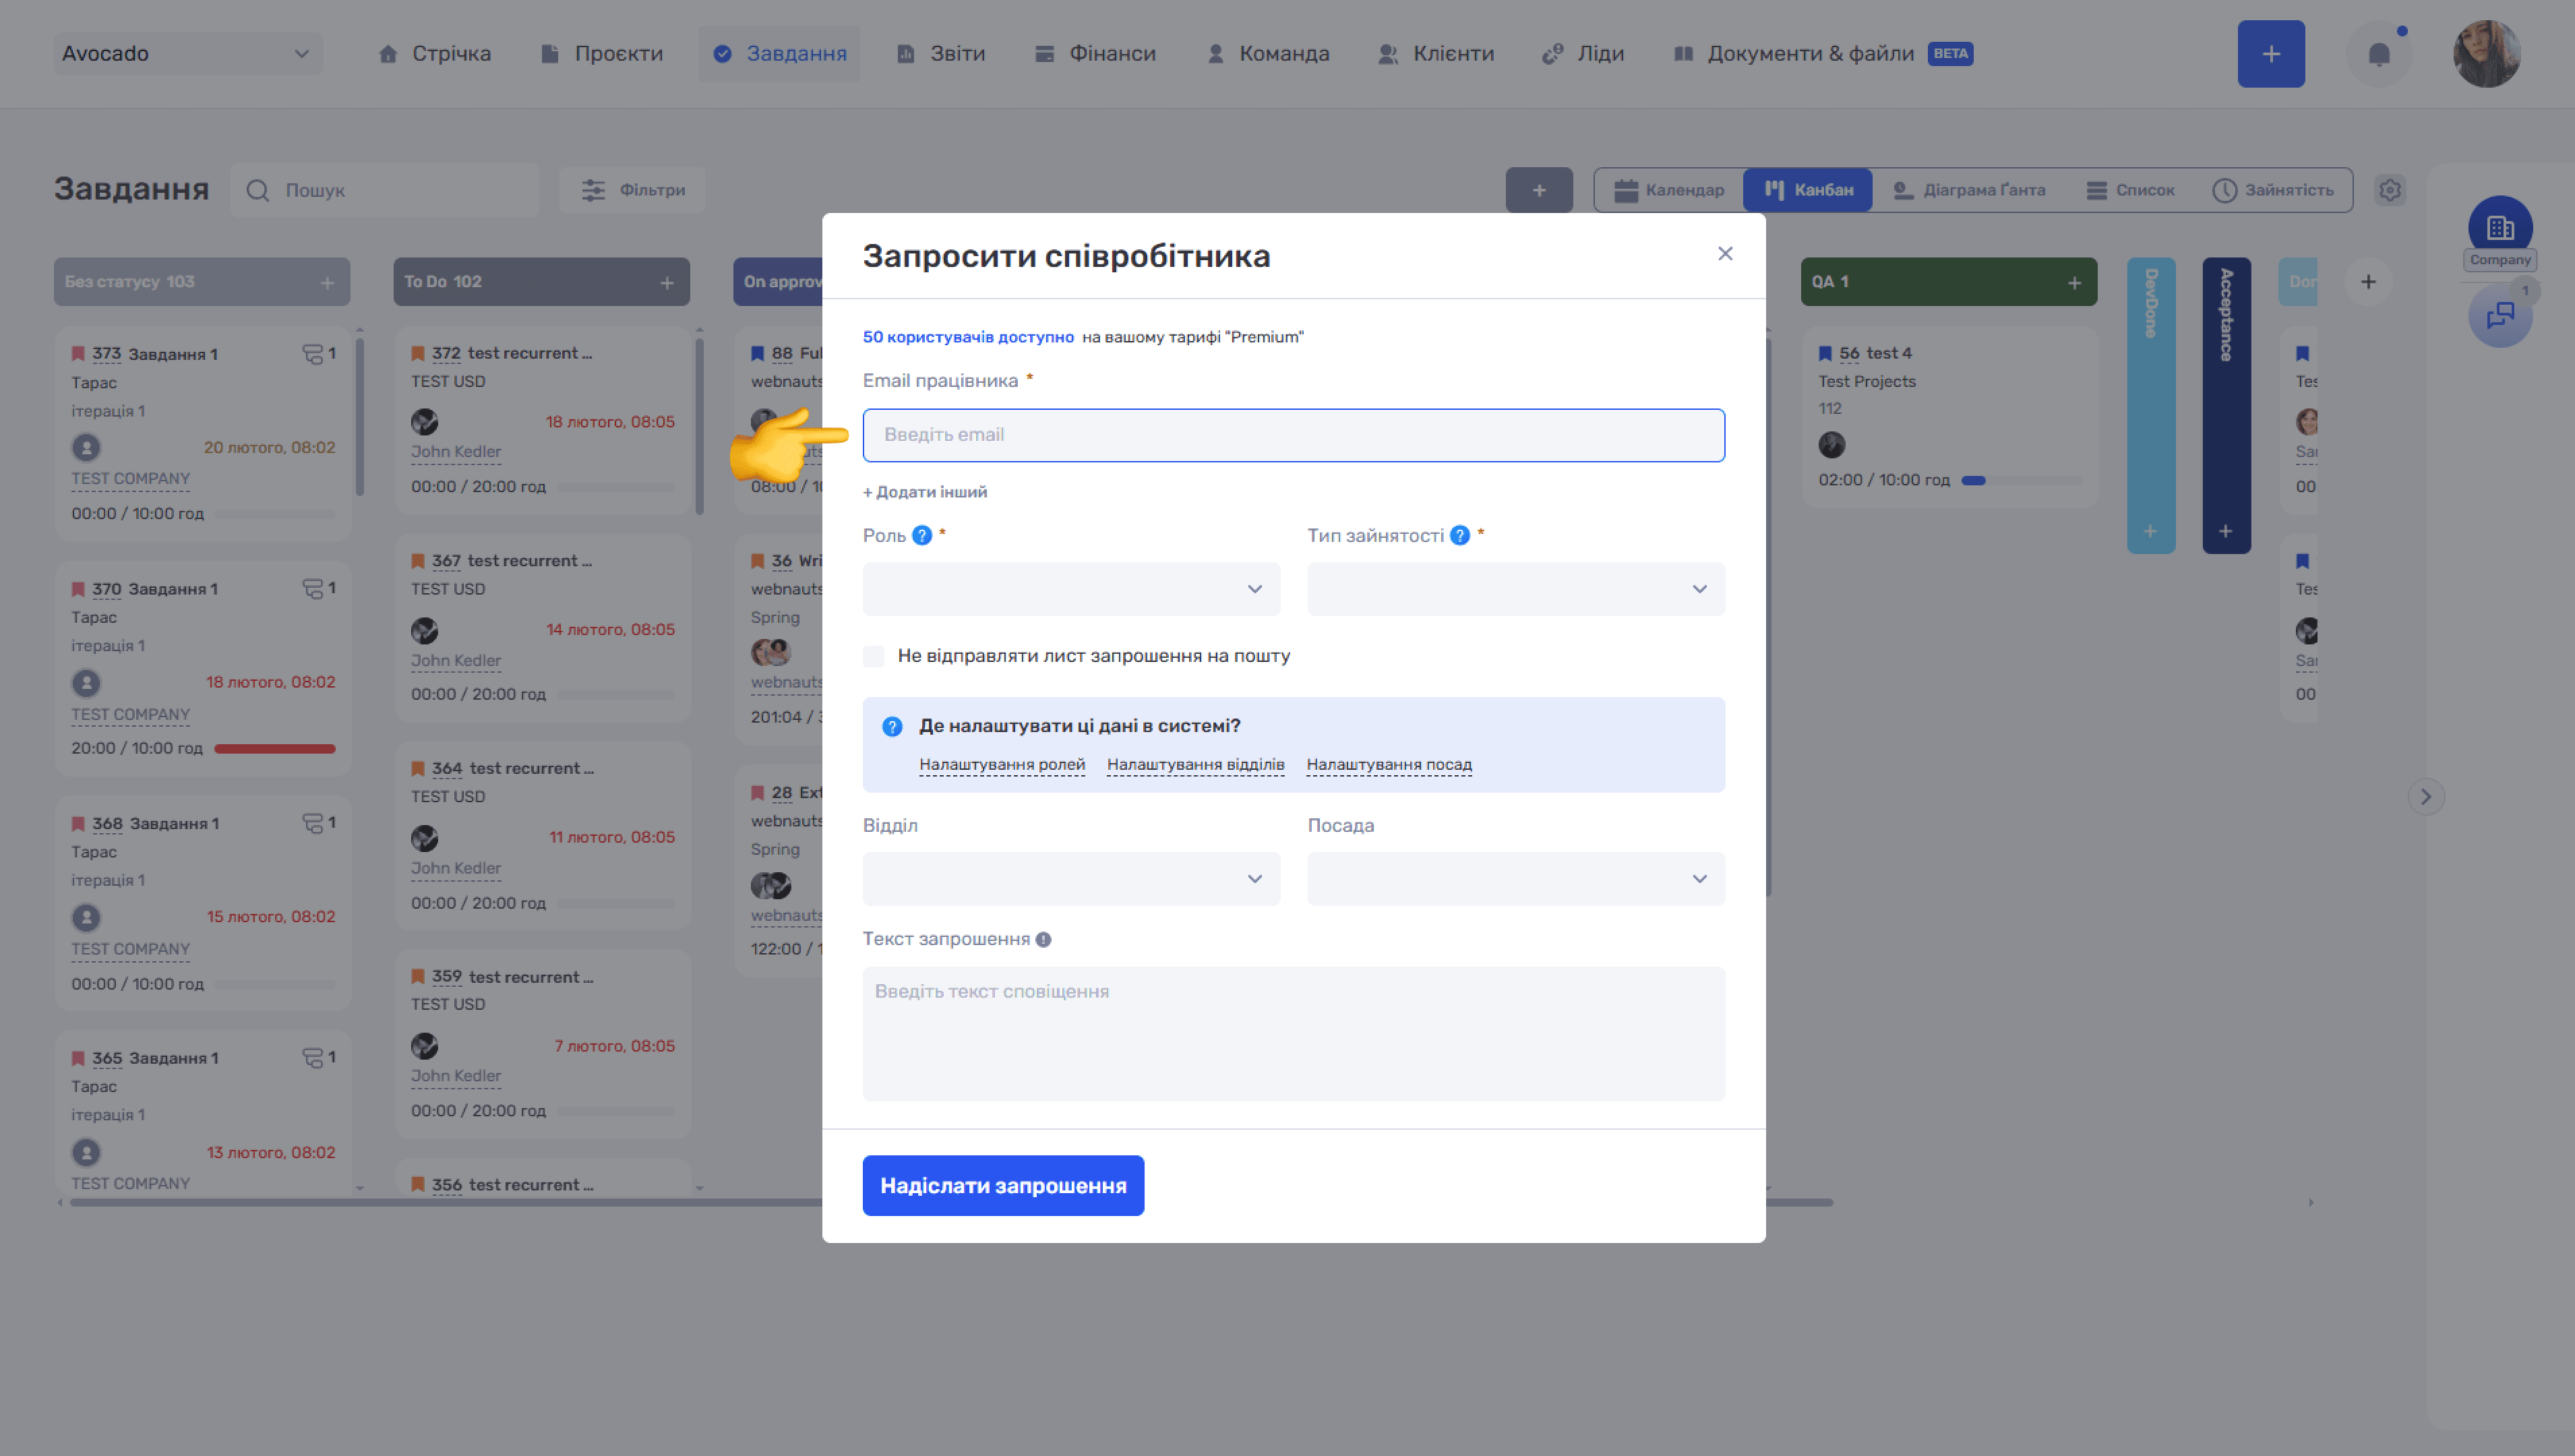
To add another address and invite several people at once, click + Add Another. An additional email field appears.
- Role: select a role from the drop-down list, such as Administrator, Manager, or Accountant. The role determines the employee’s access permissions in the system.
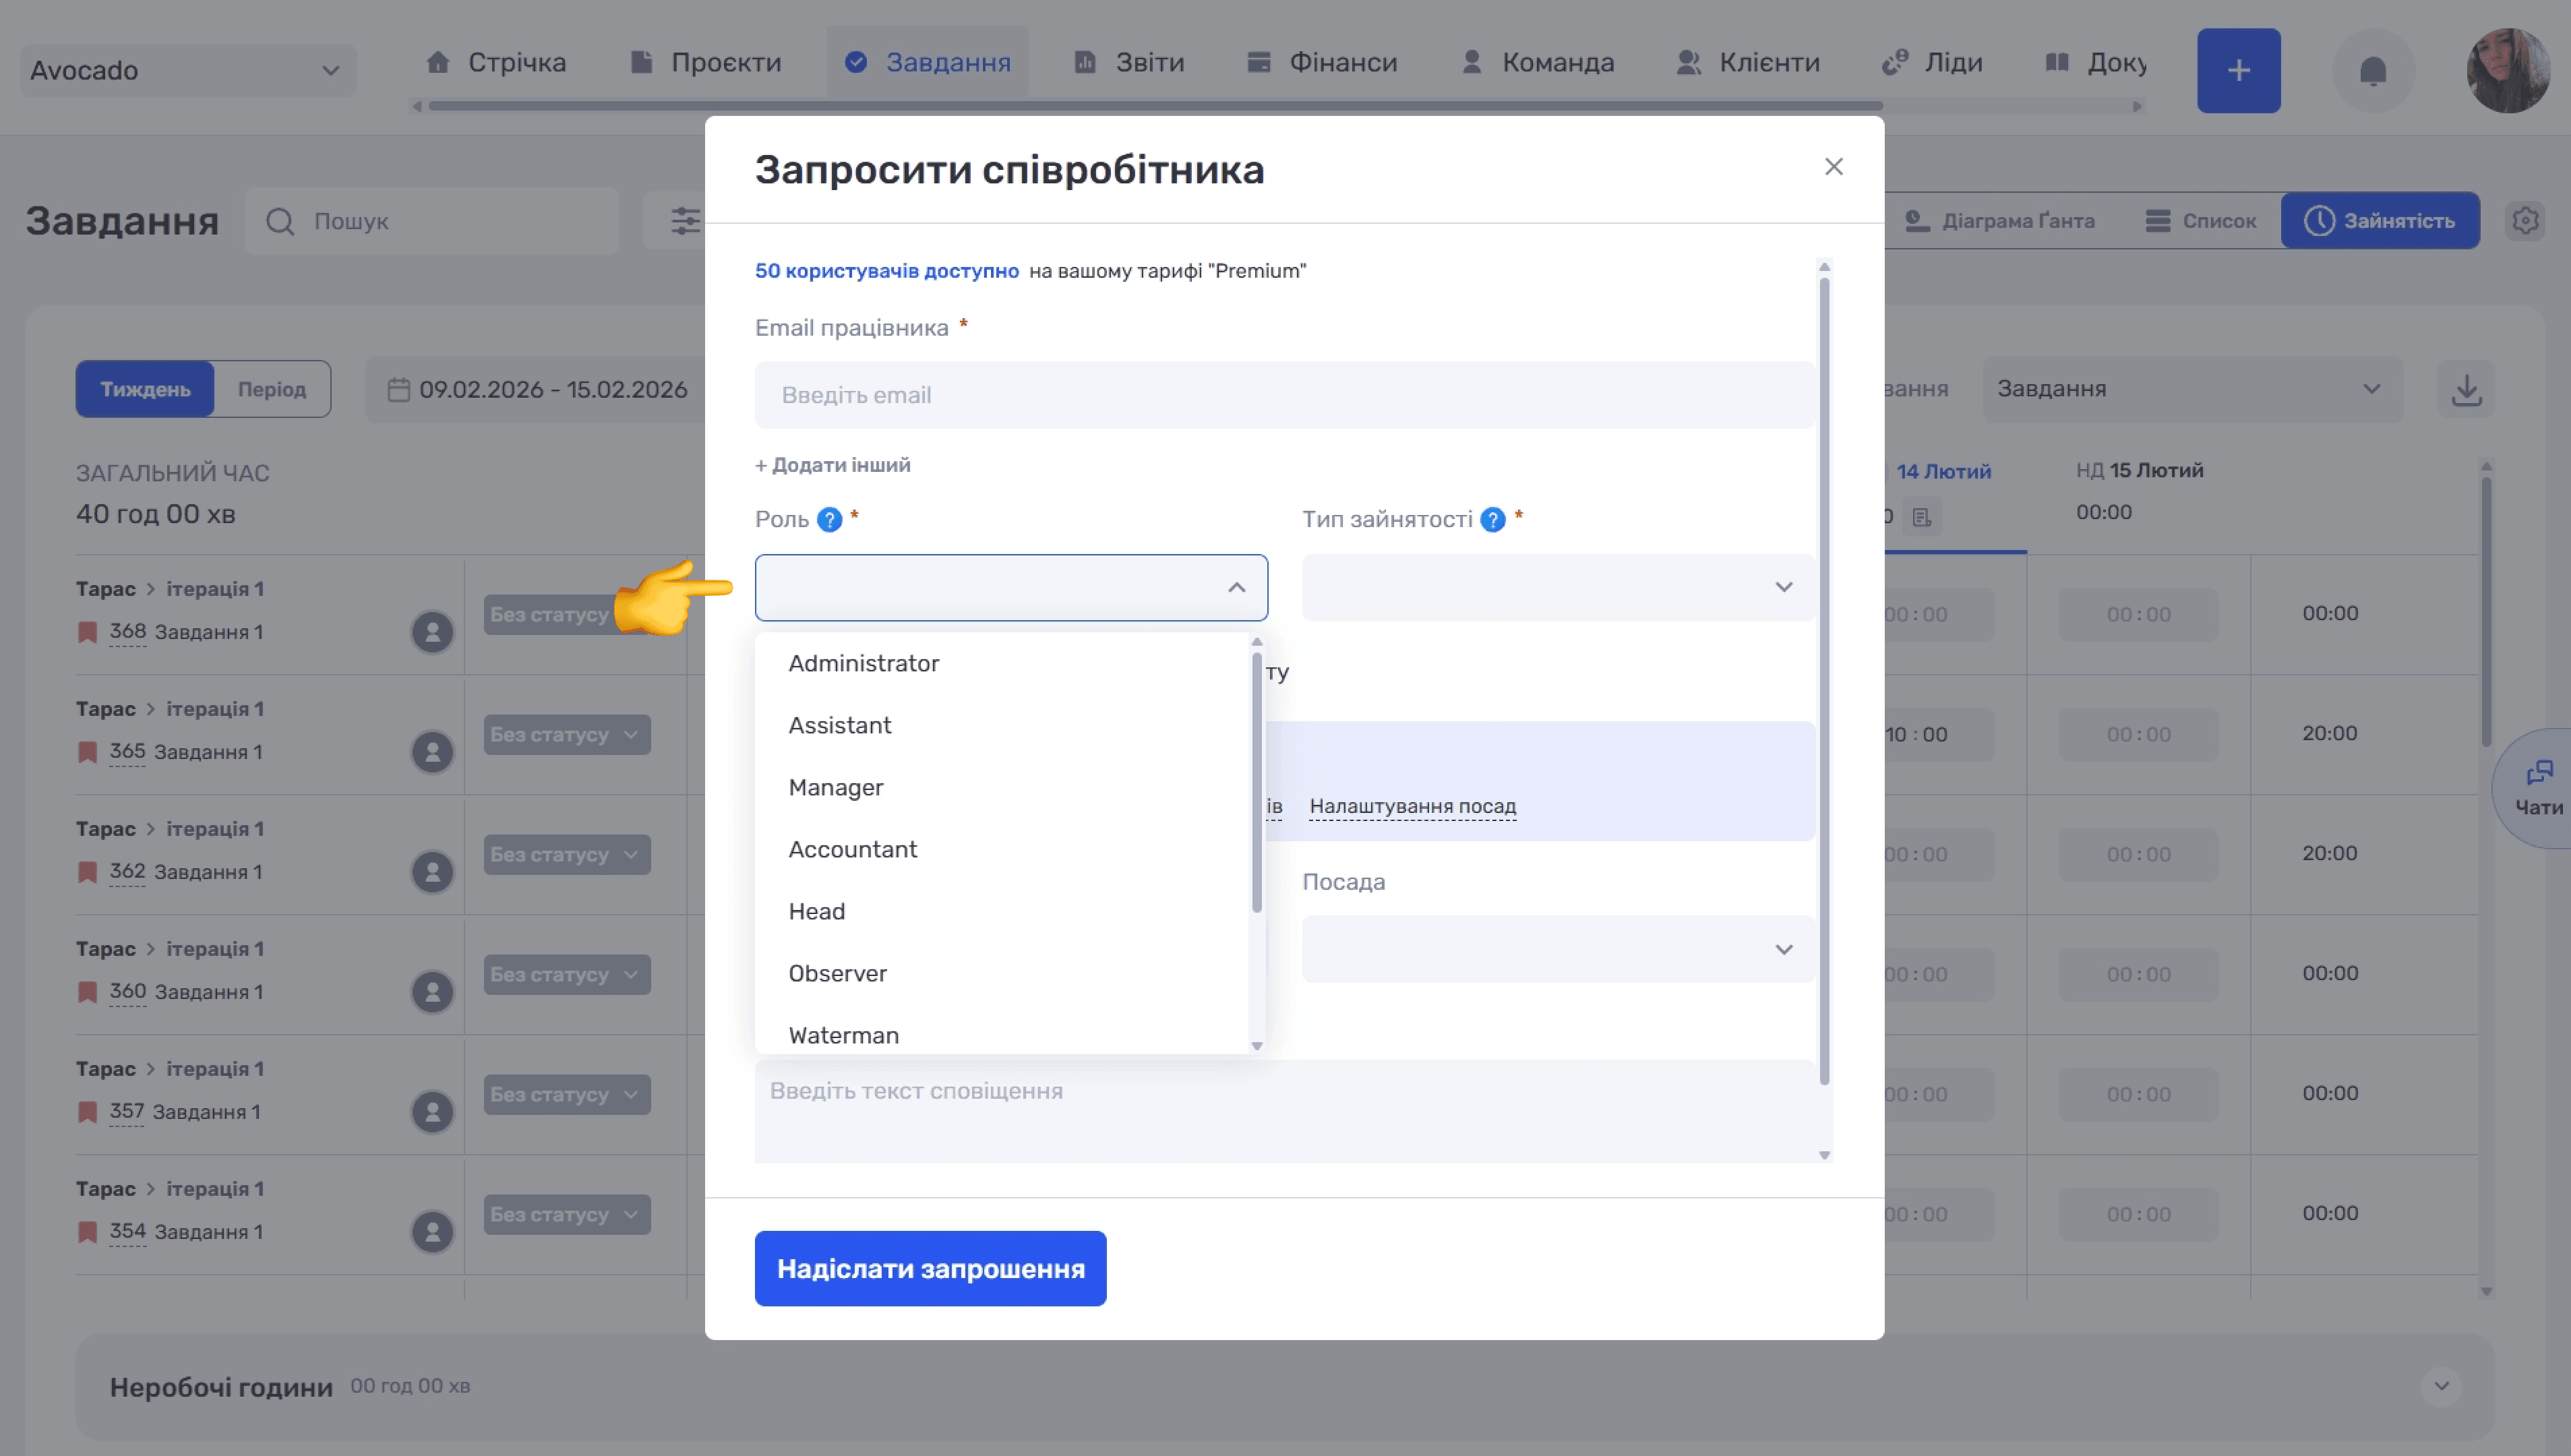
- Employment Type: select the work arrangement—Part-time, Full-time, Hourly Work, or Flexible. Work-time and payroll calculations depend on the employment type.
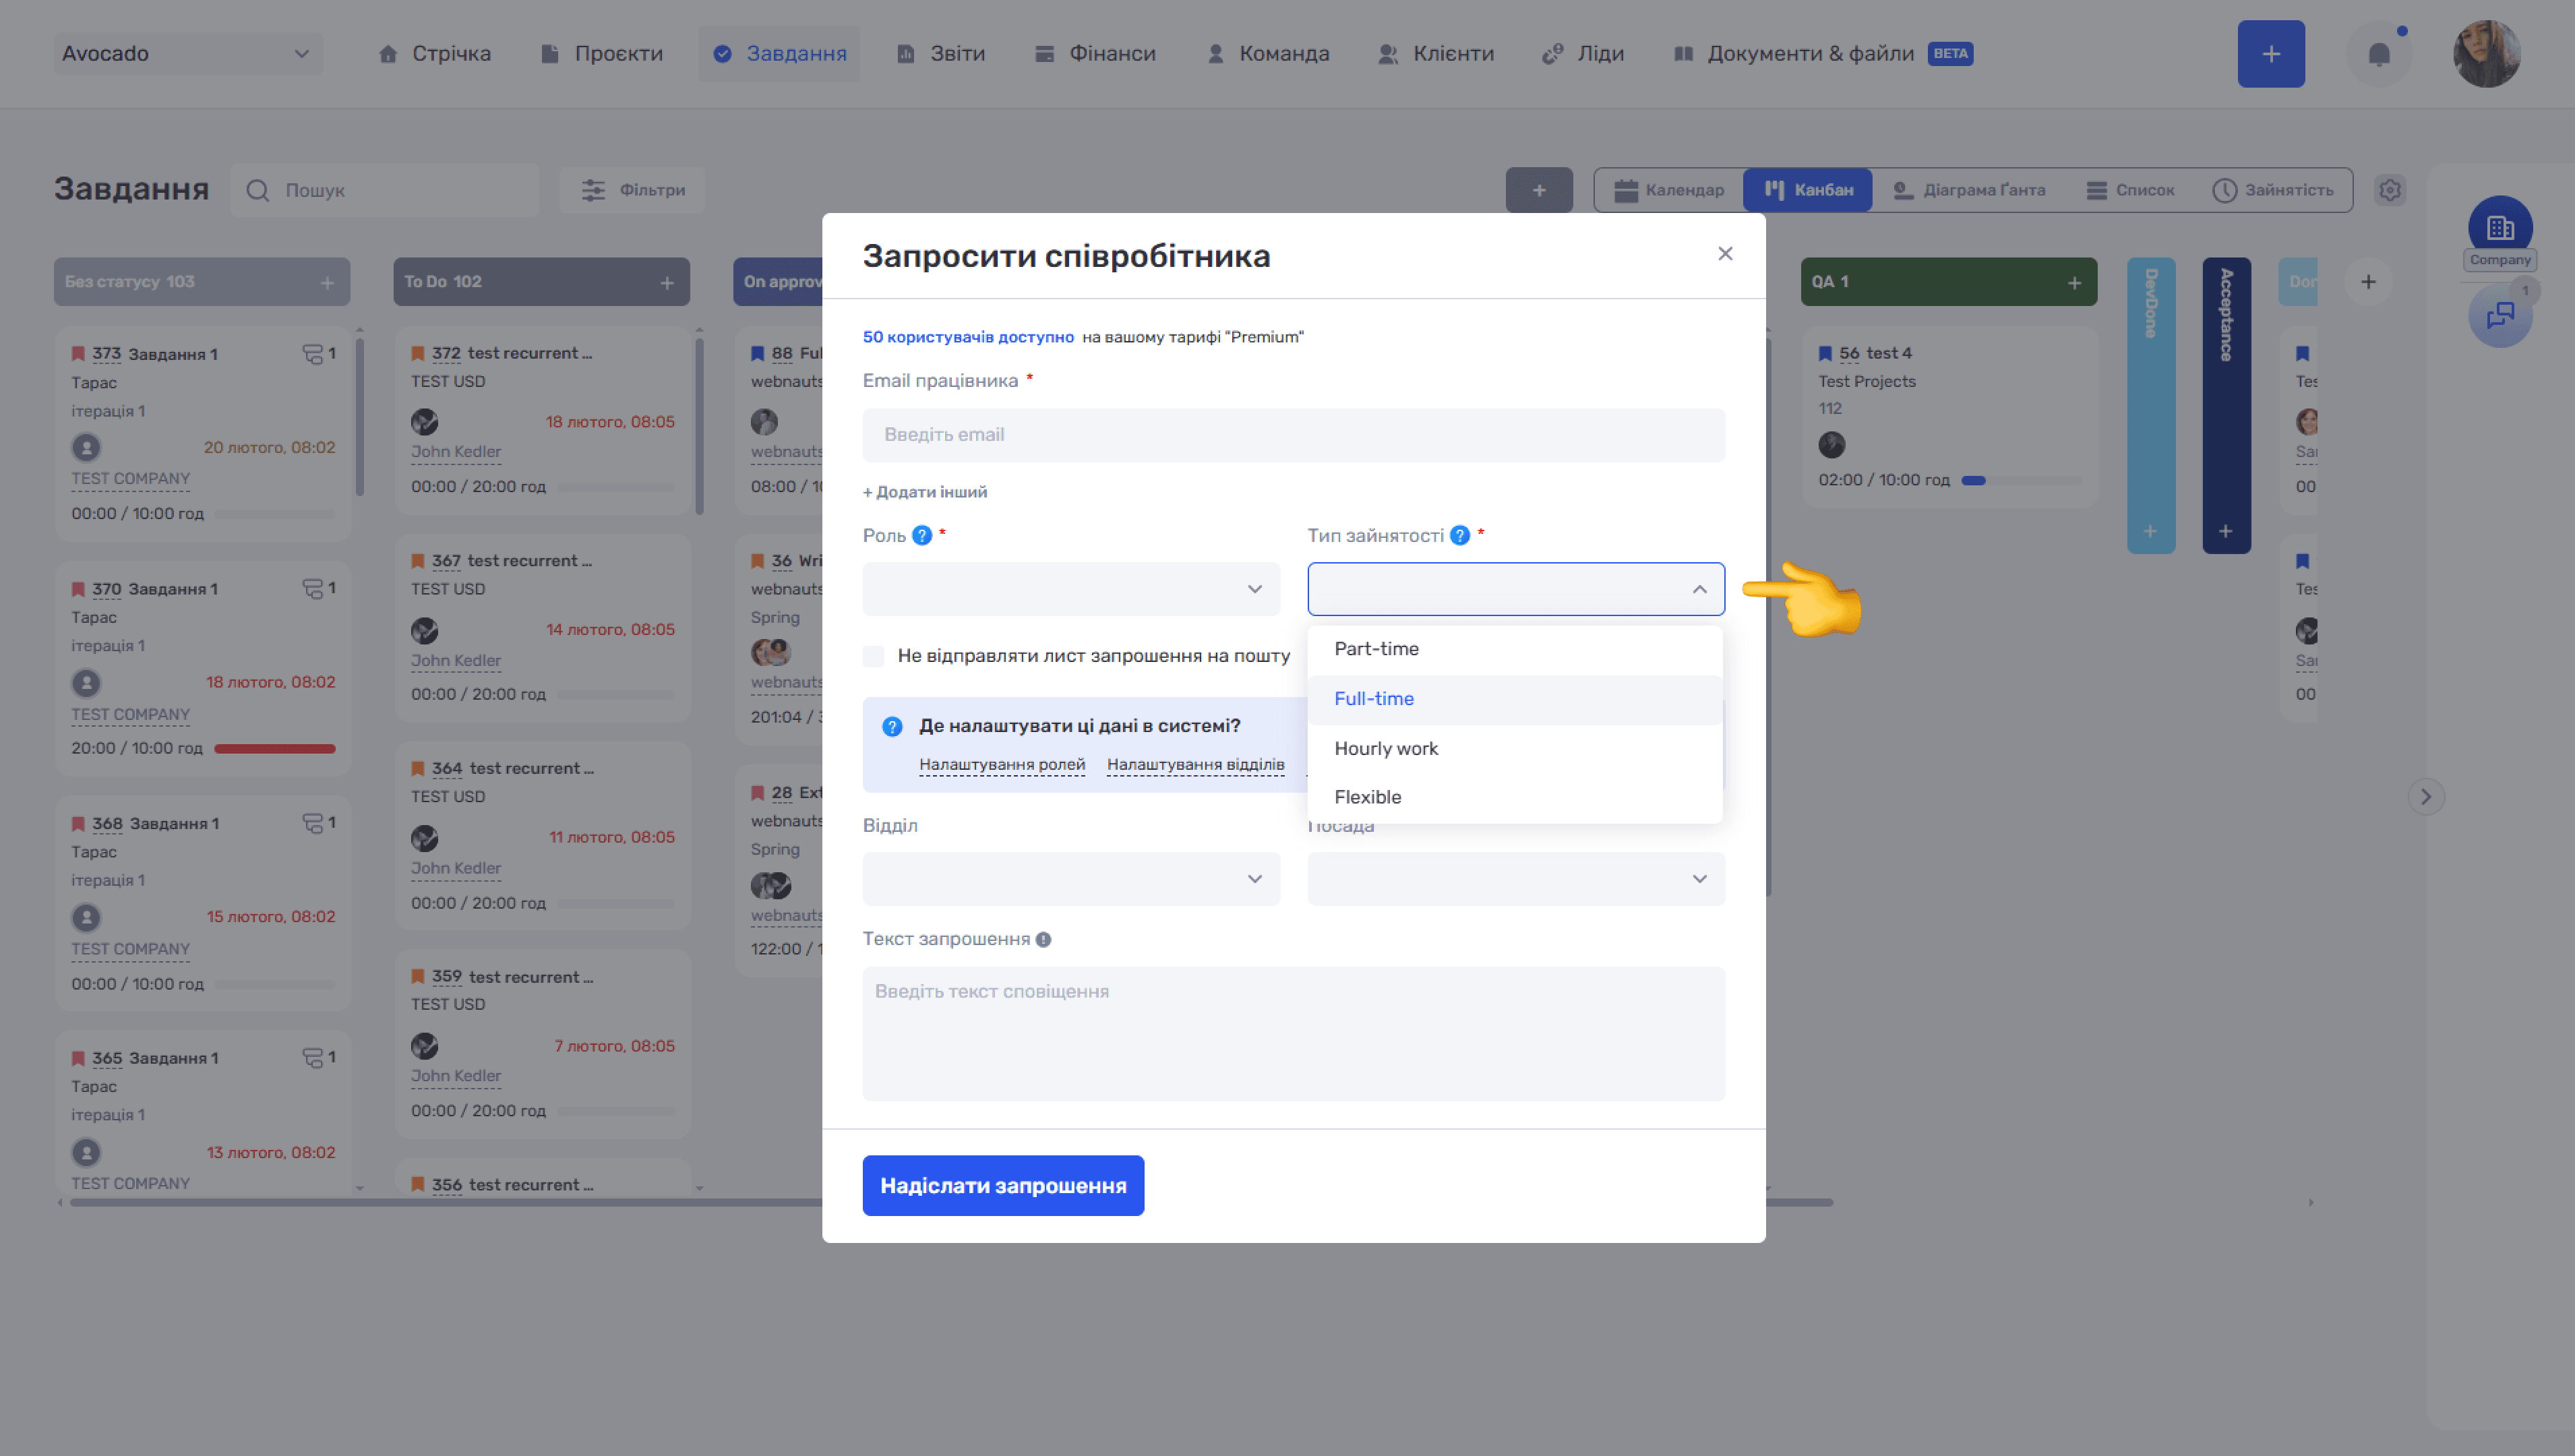
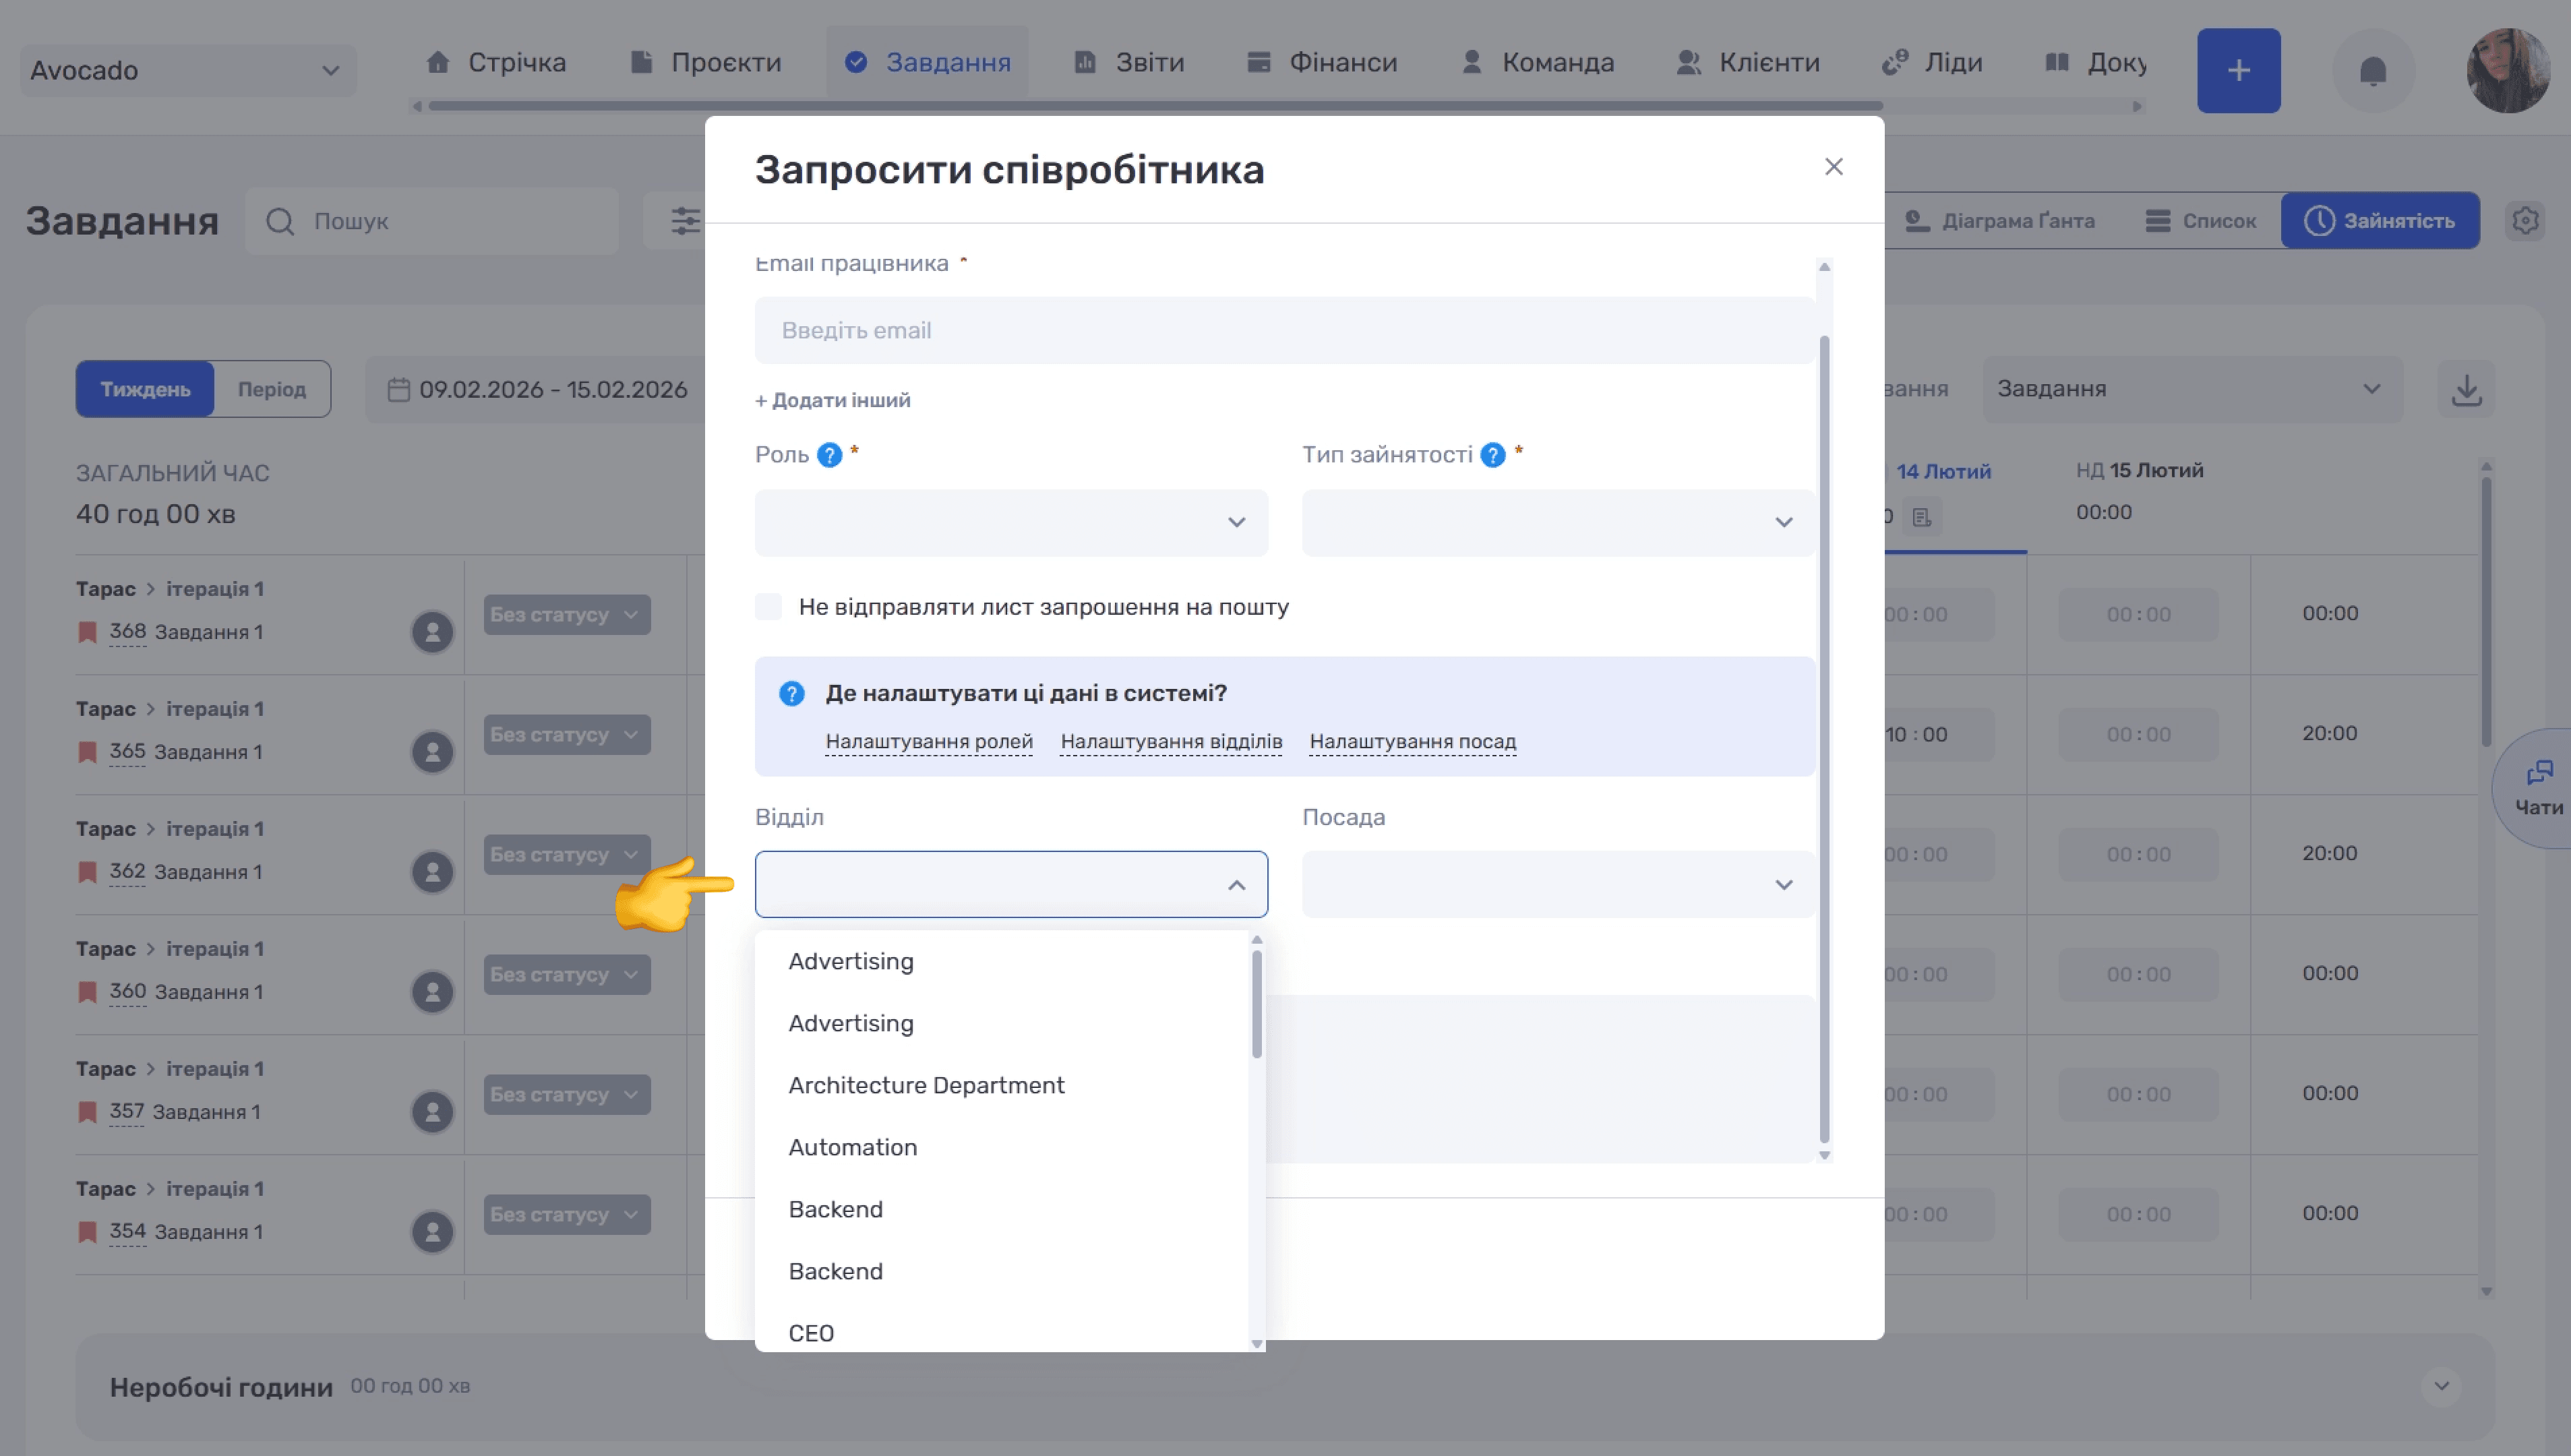
- Department and Position are optional fields that help immediately define the employee’s place in the company structure.
Please note
You can configure the values for these fields later in the Admin Panel under Department, Position, and Roles, or quickly open the required settings using the links in the Where Can I Configure This Data in the System? information section of the form.
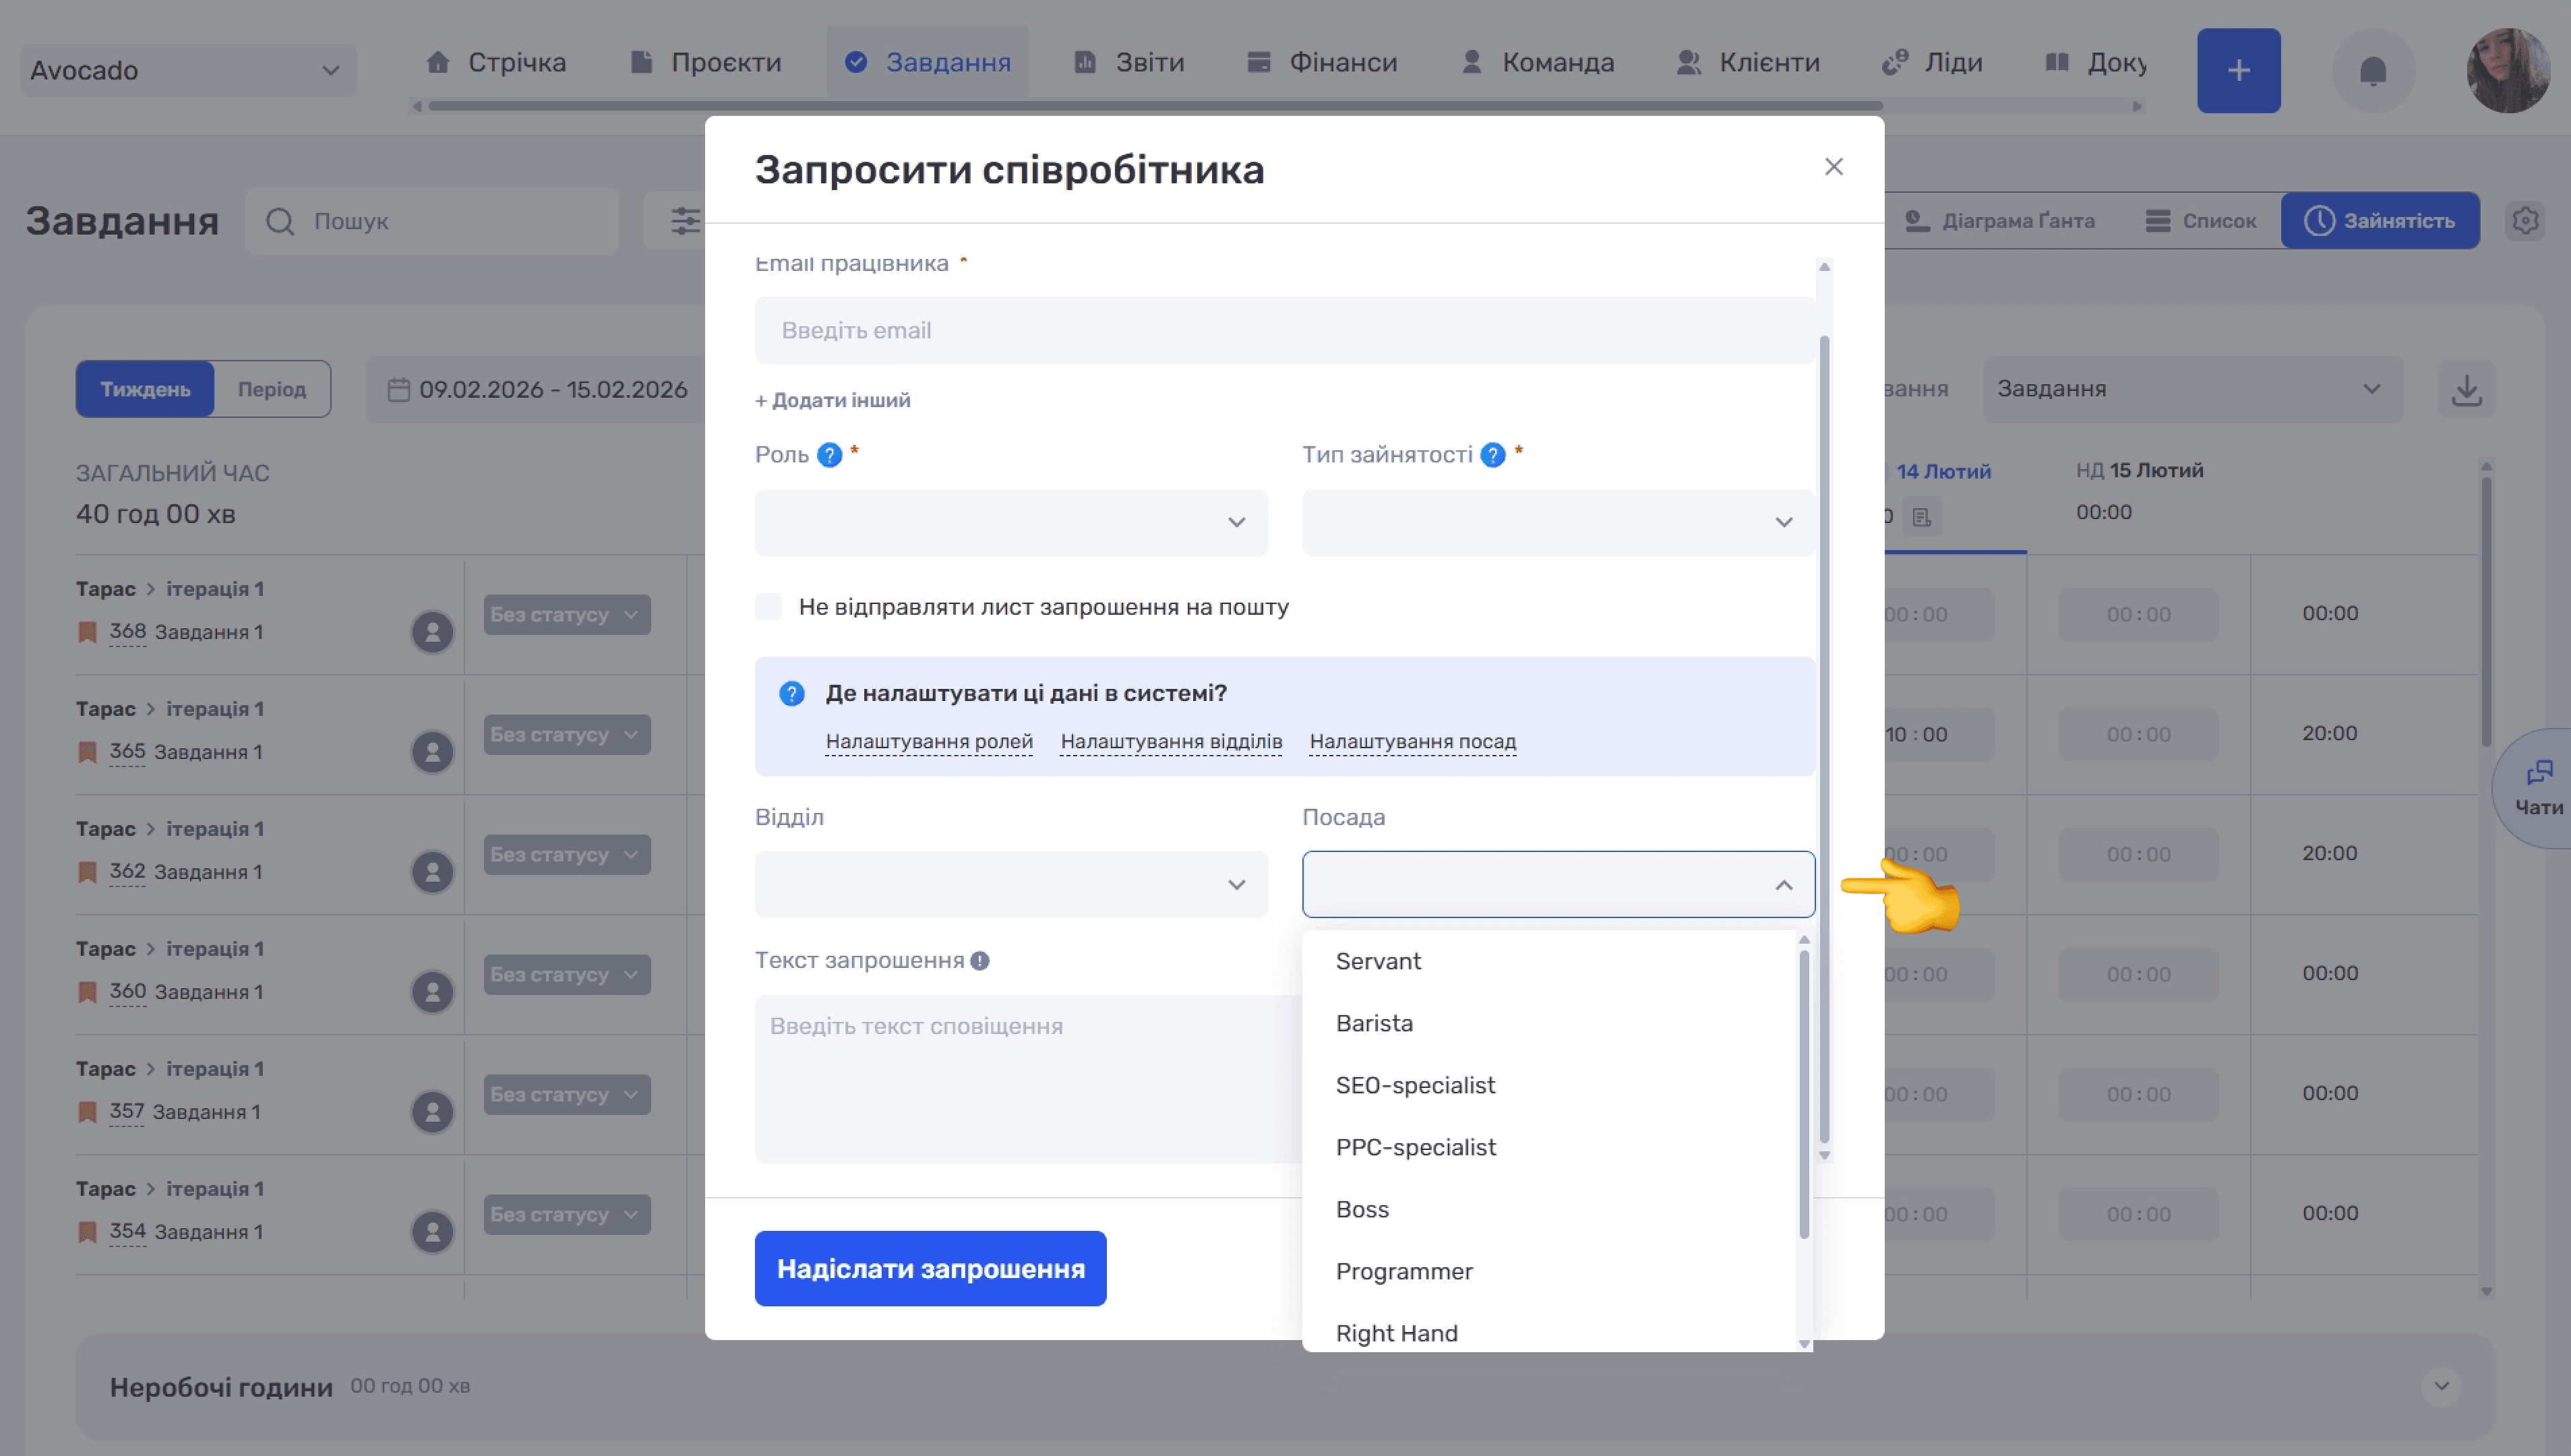
- Invitation Text: optionally add a personal message that will be sent with the email invitation.
To add an employee to the system without sending an email, for example to prepare the team structure in advance, select Do Not Send an Invitation Email.
When everything is complete, click Send Invitation. The employee receives an email with a link to register or join the company.
Admin Panel
The Admin Panel is the center for managing company structure and settings. Here, an administrator creates departments and positions, configures roles and access permissions, defines income and expense categories, sets statuses for projects, tasks, and leads, and configures other service parameters.
To open the Admin Panel:
- Click your profile avatar in the upper-right corner.
- Select Admin Panel.
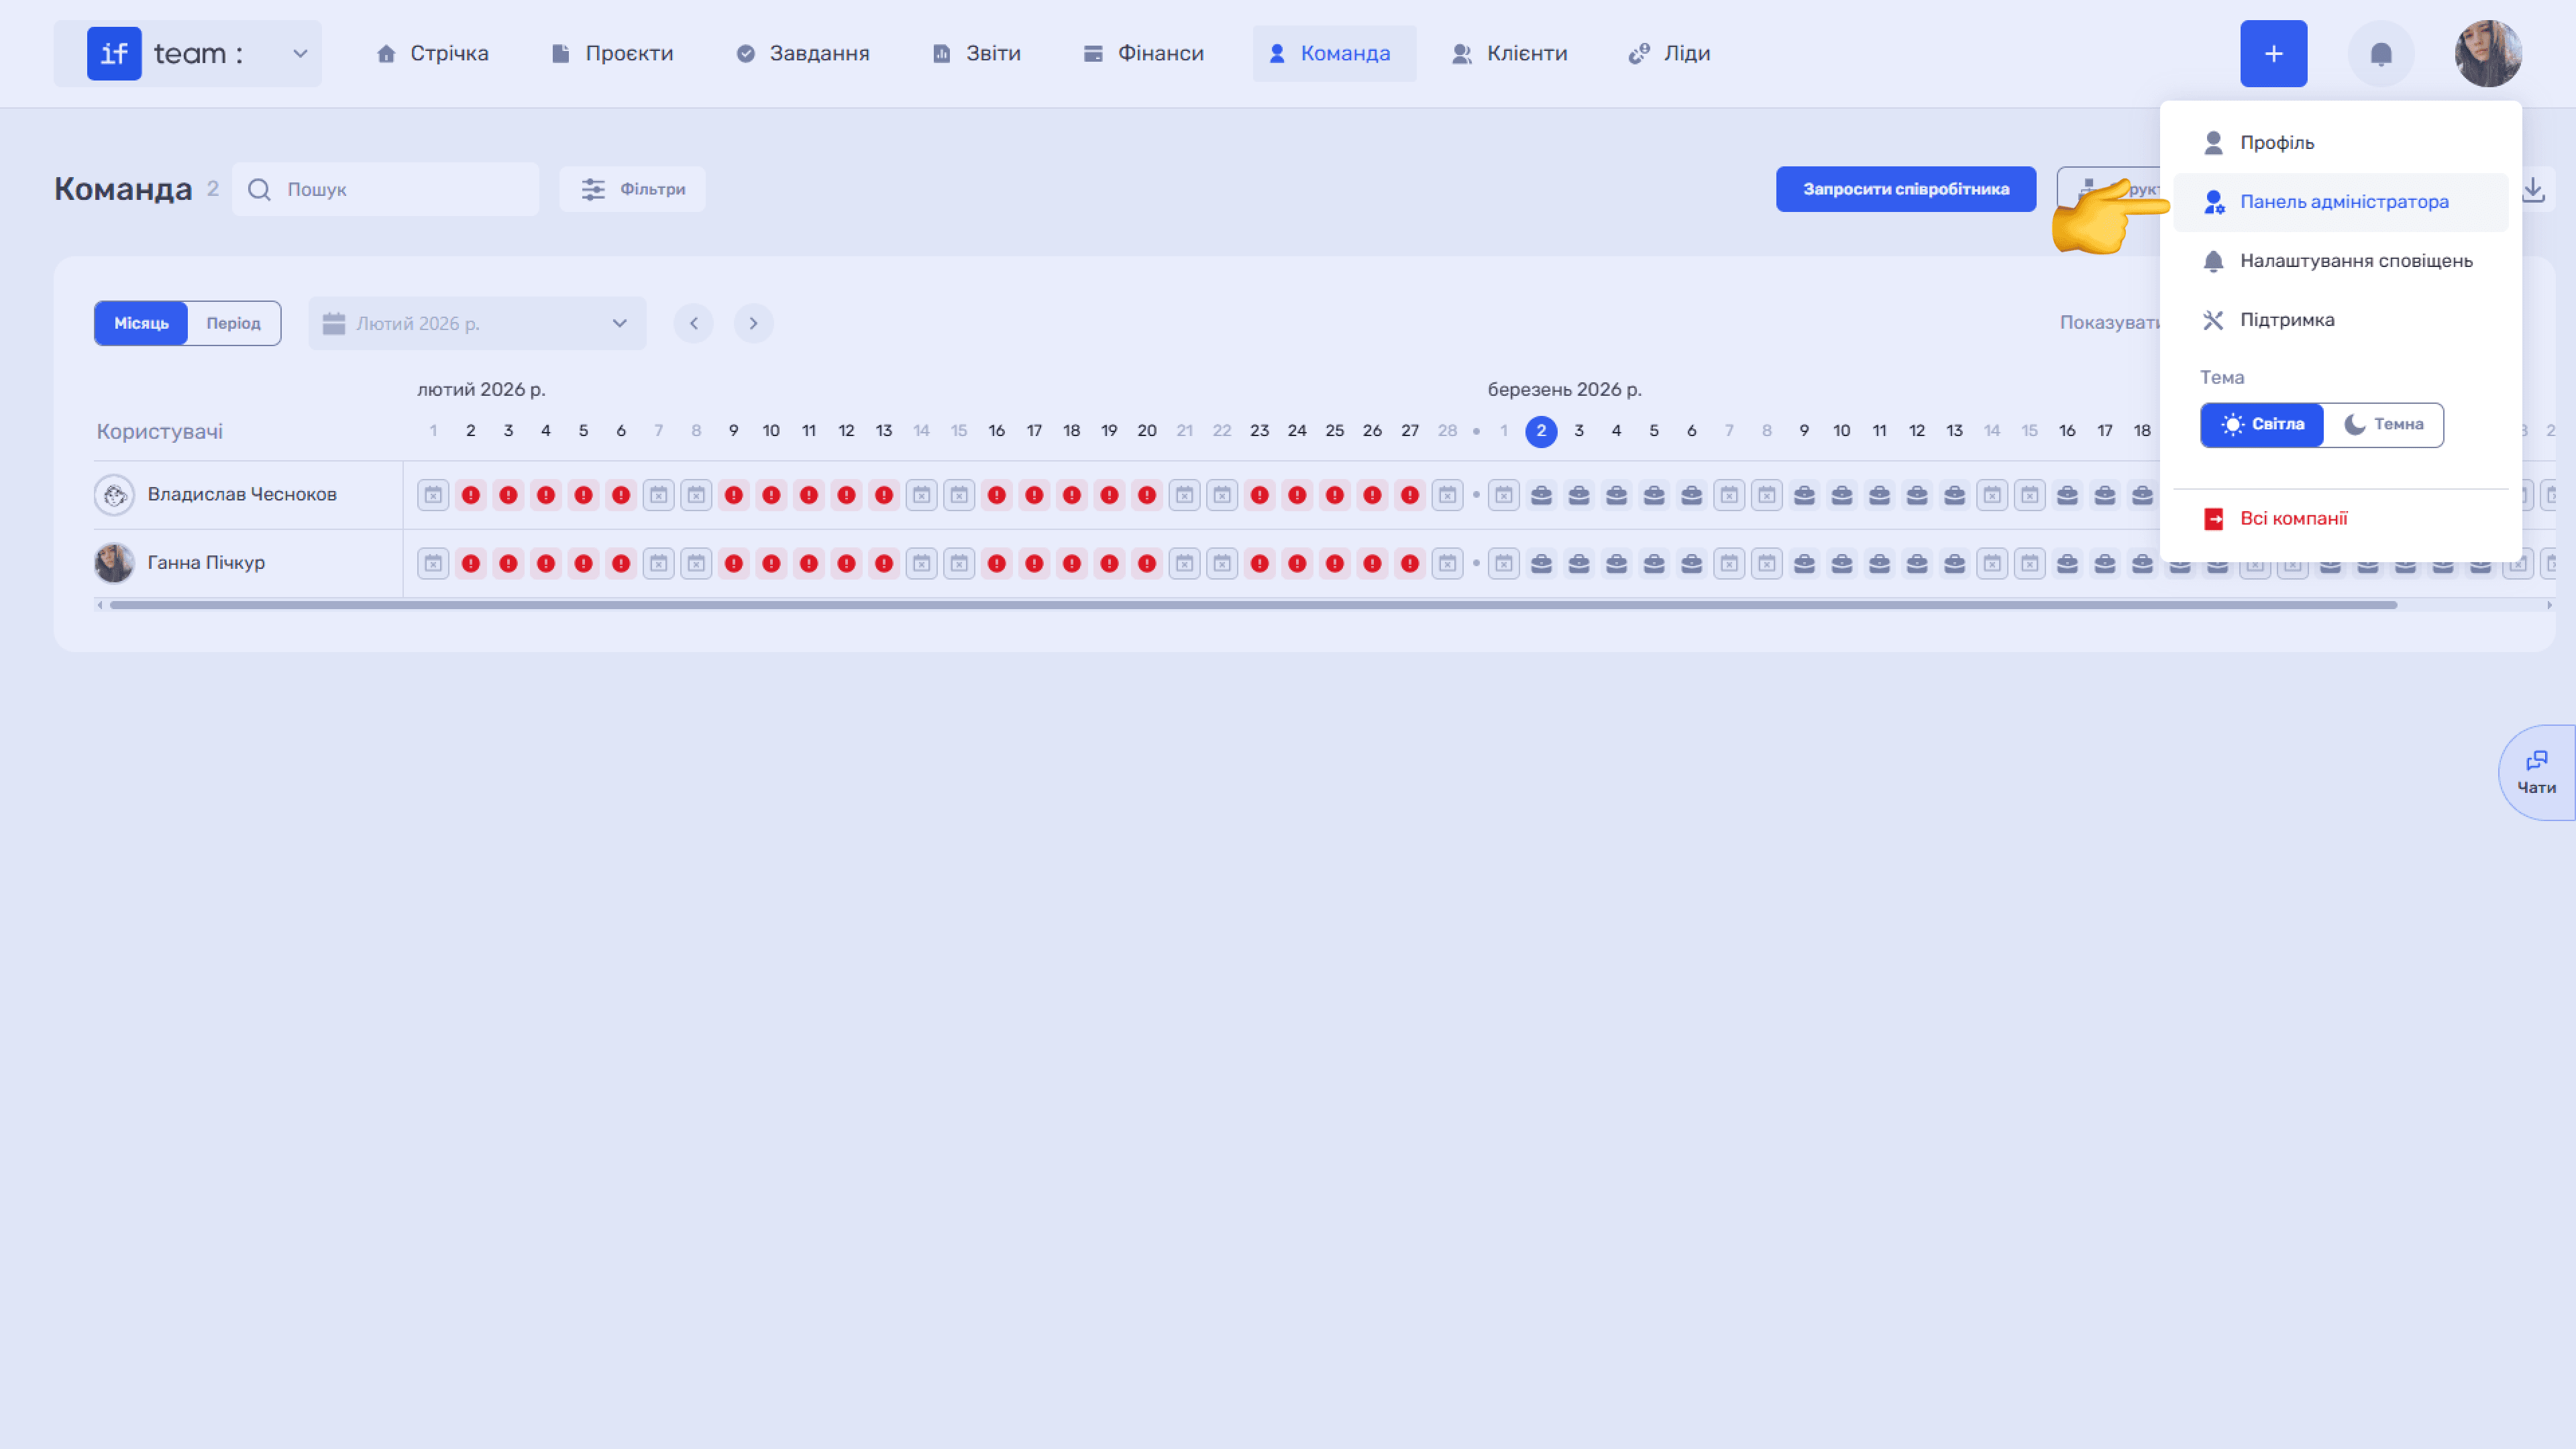
The Admin Panel contains four tabs in the sidebar: Department, Position, Roles, and Settings.
Departments
The Department tab displays all company departments. Each department has a name and a parent department, allowing you to build a hierarchical organizational structure. For example, the Backend department may report to Web Development.
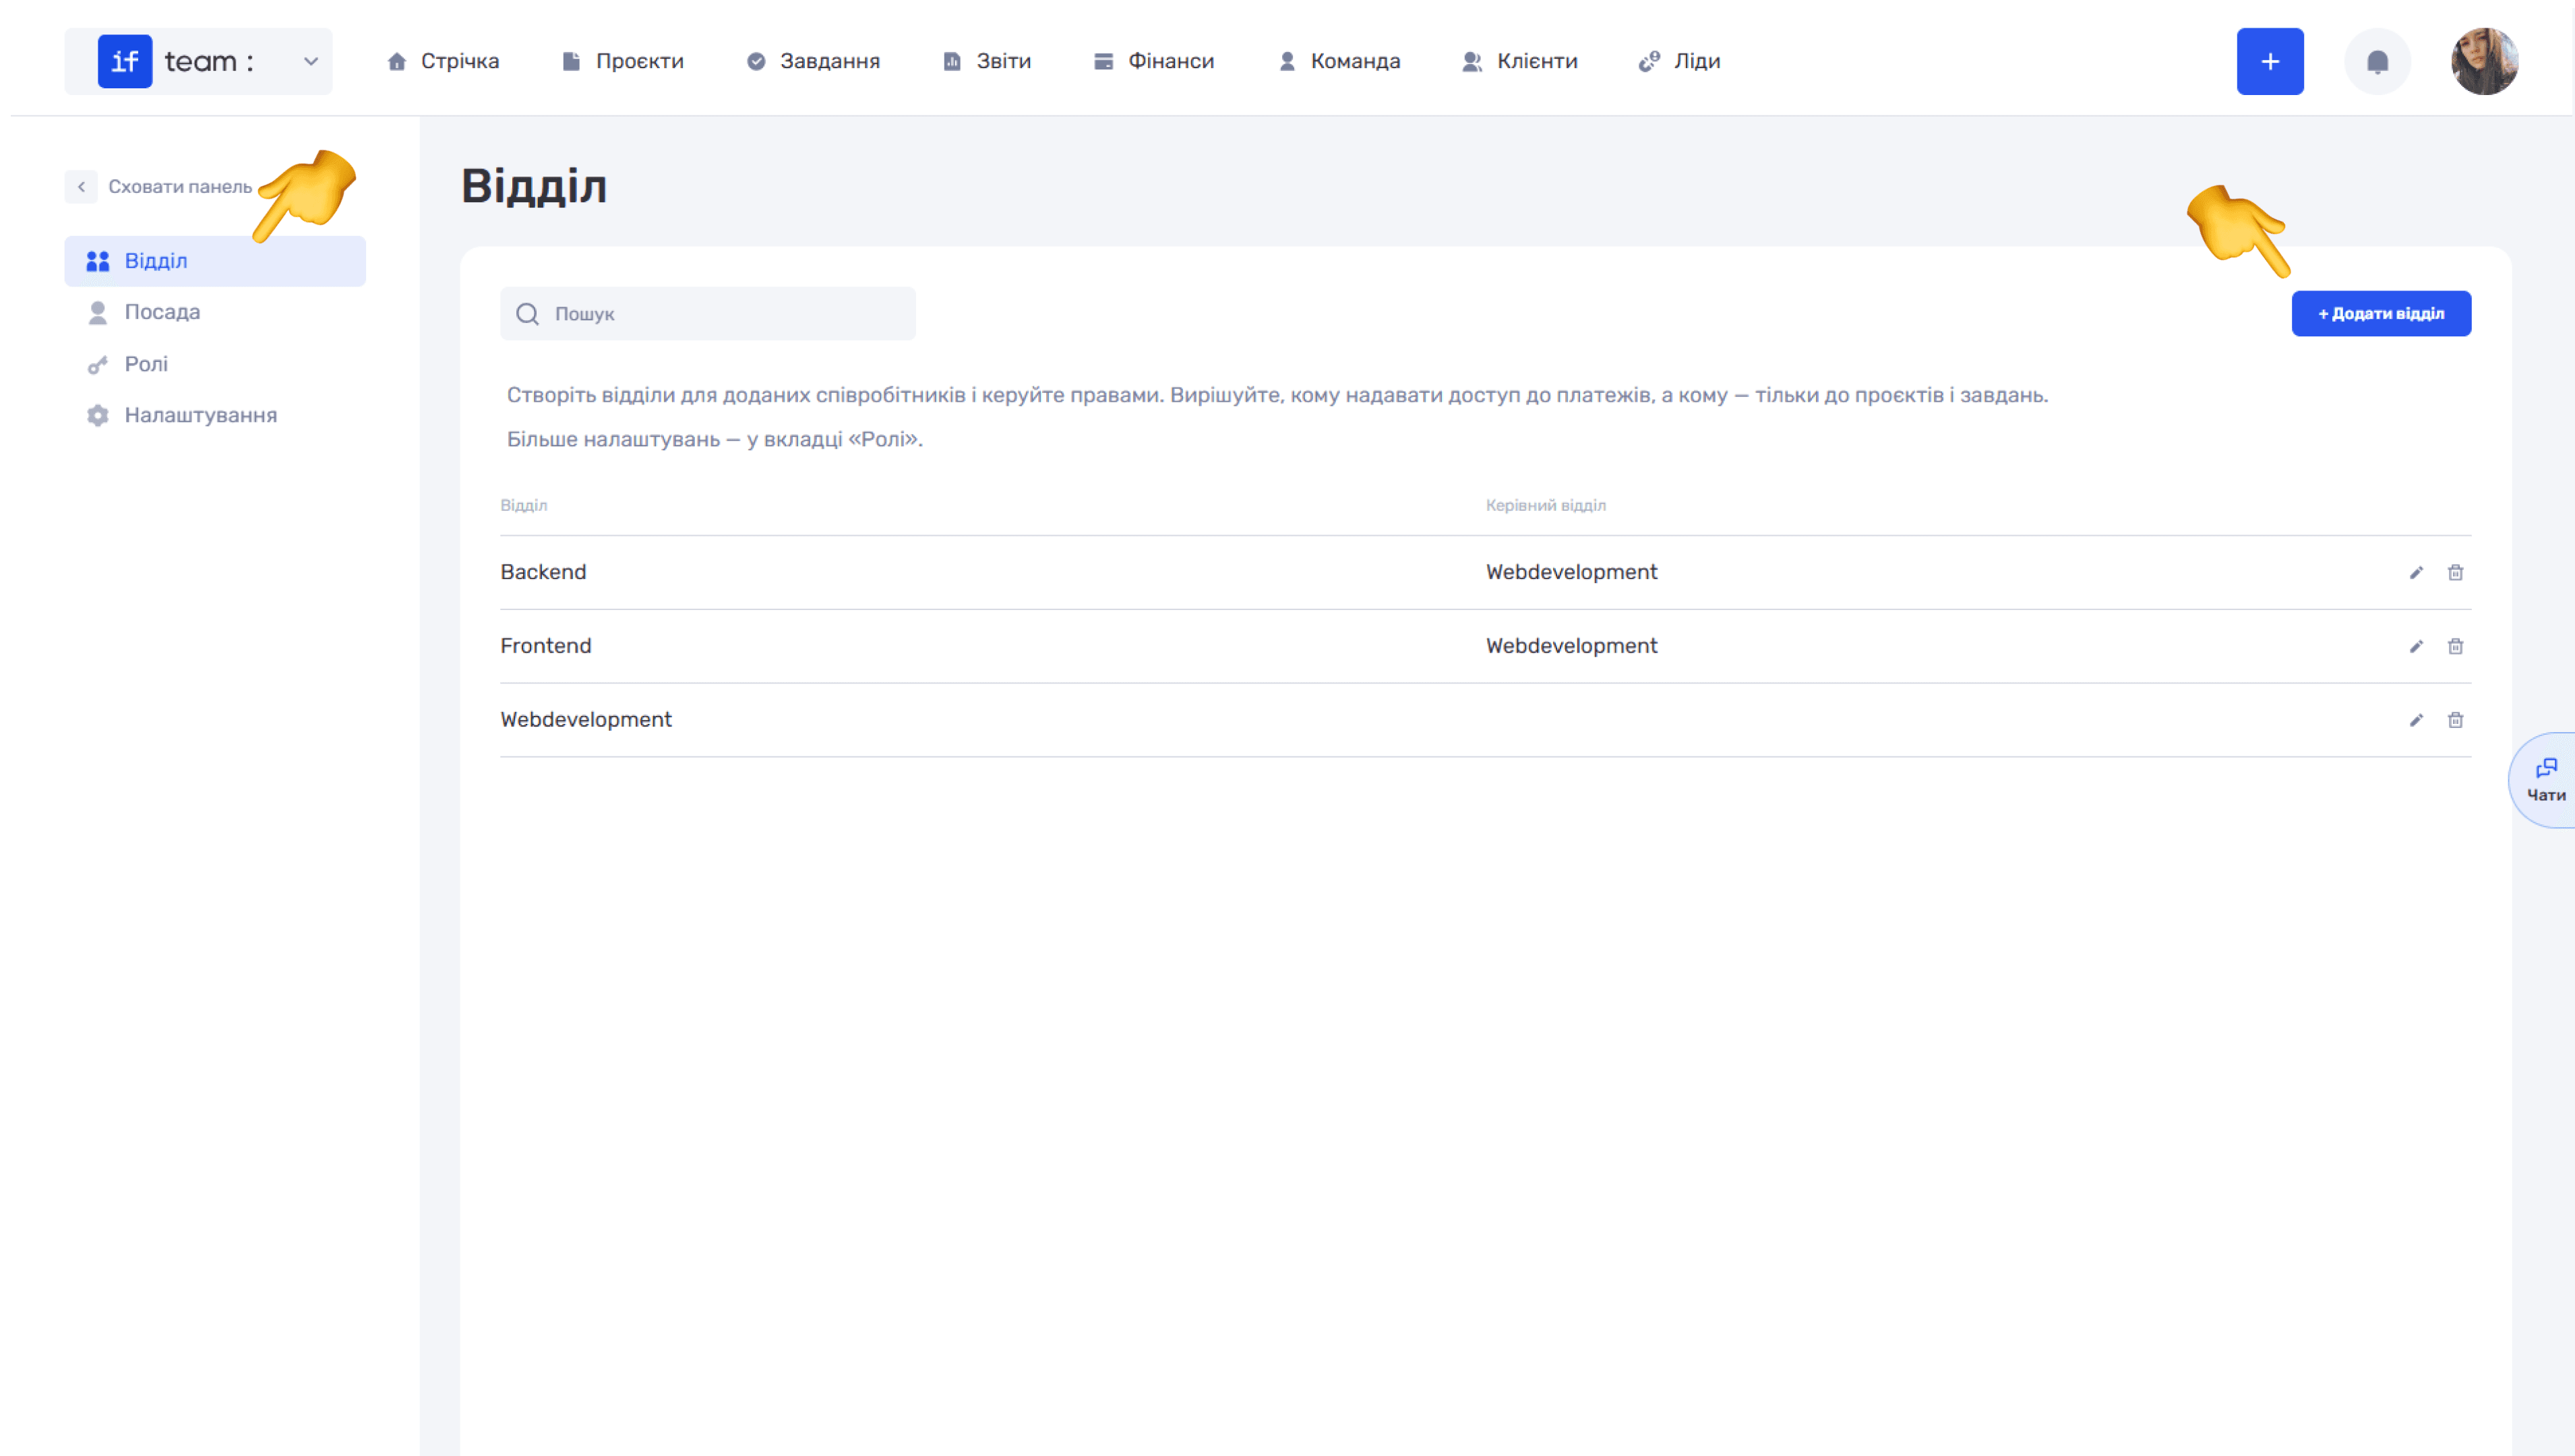
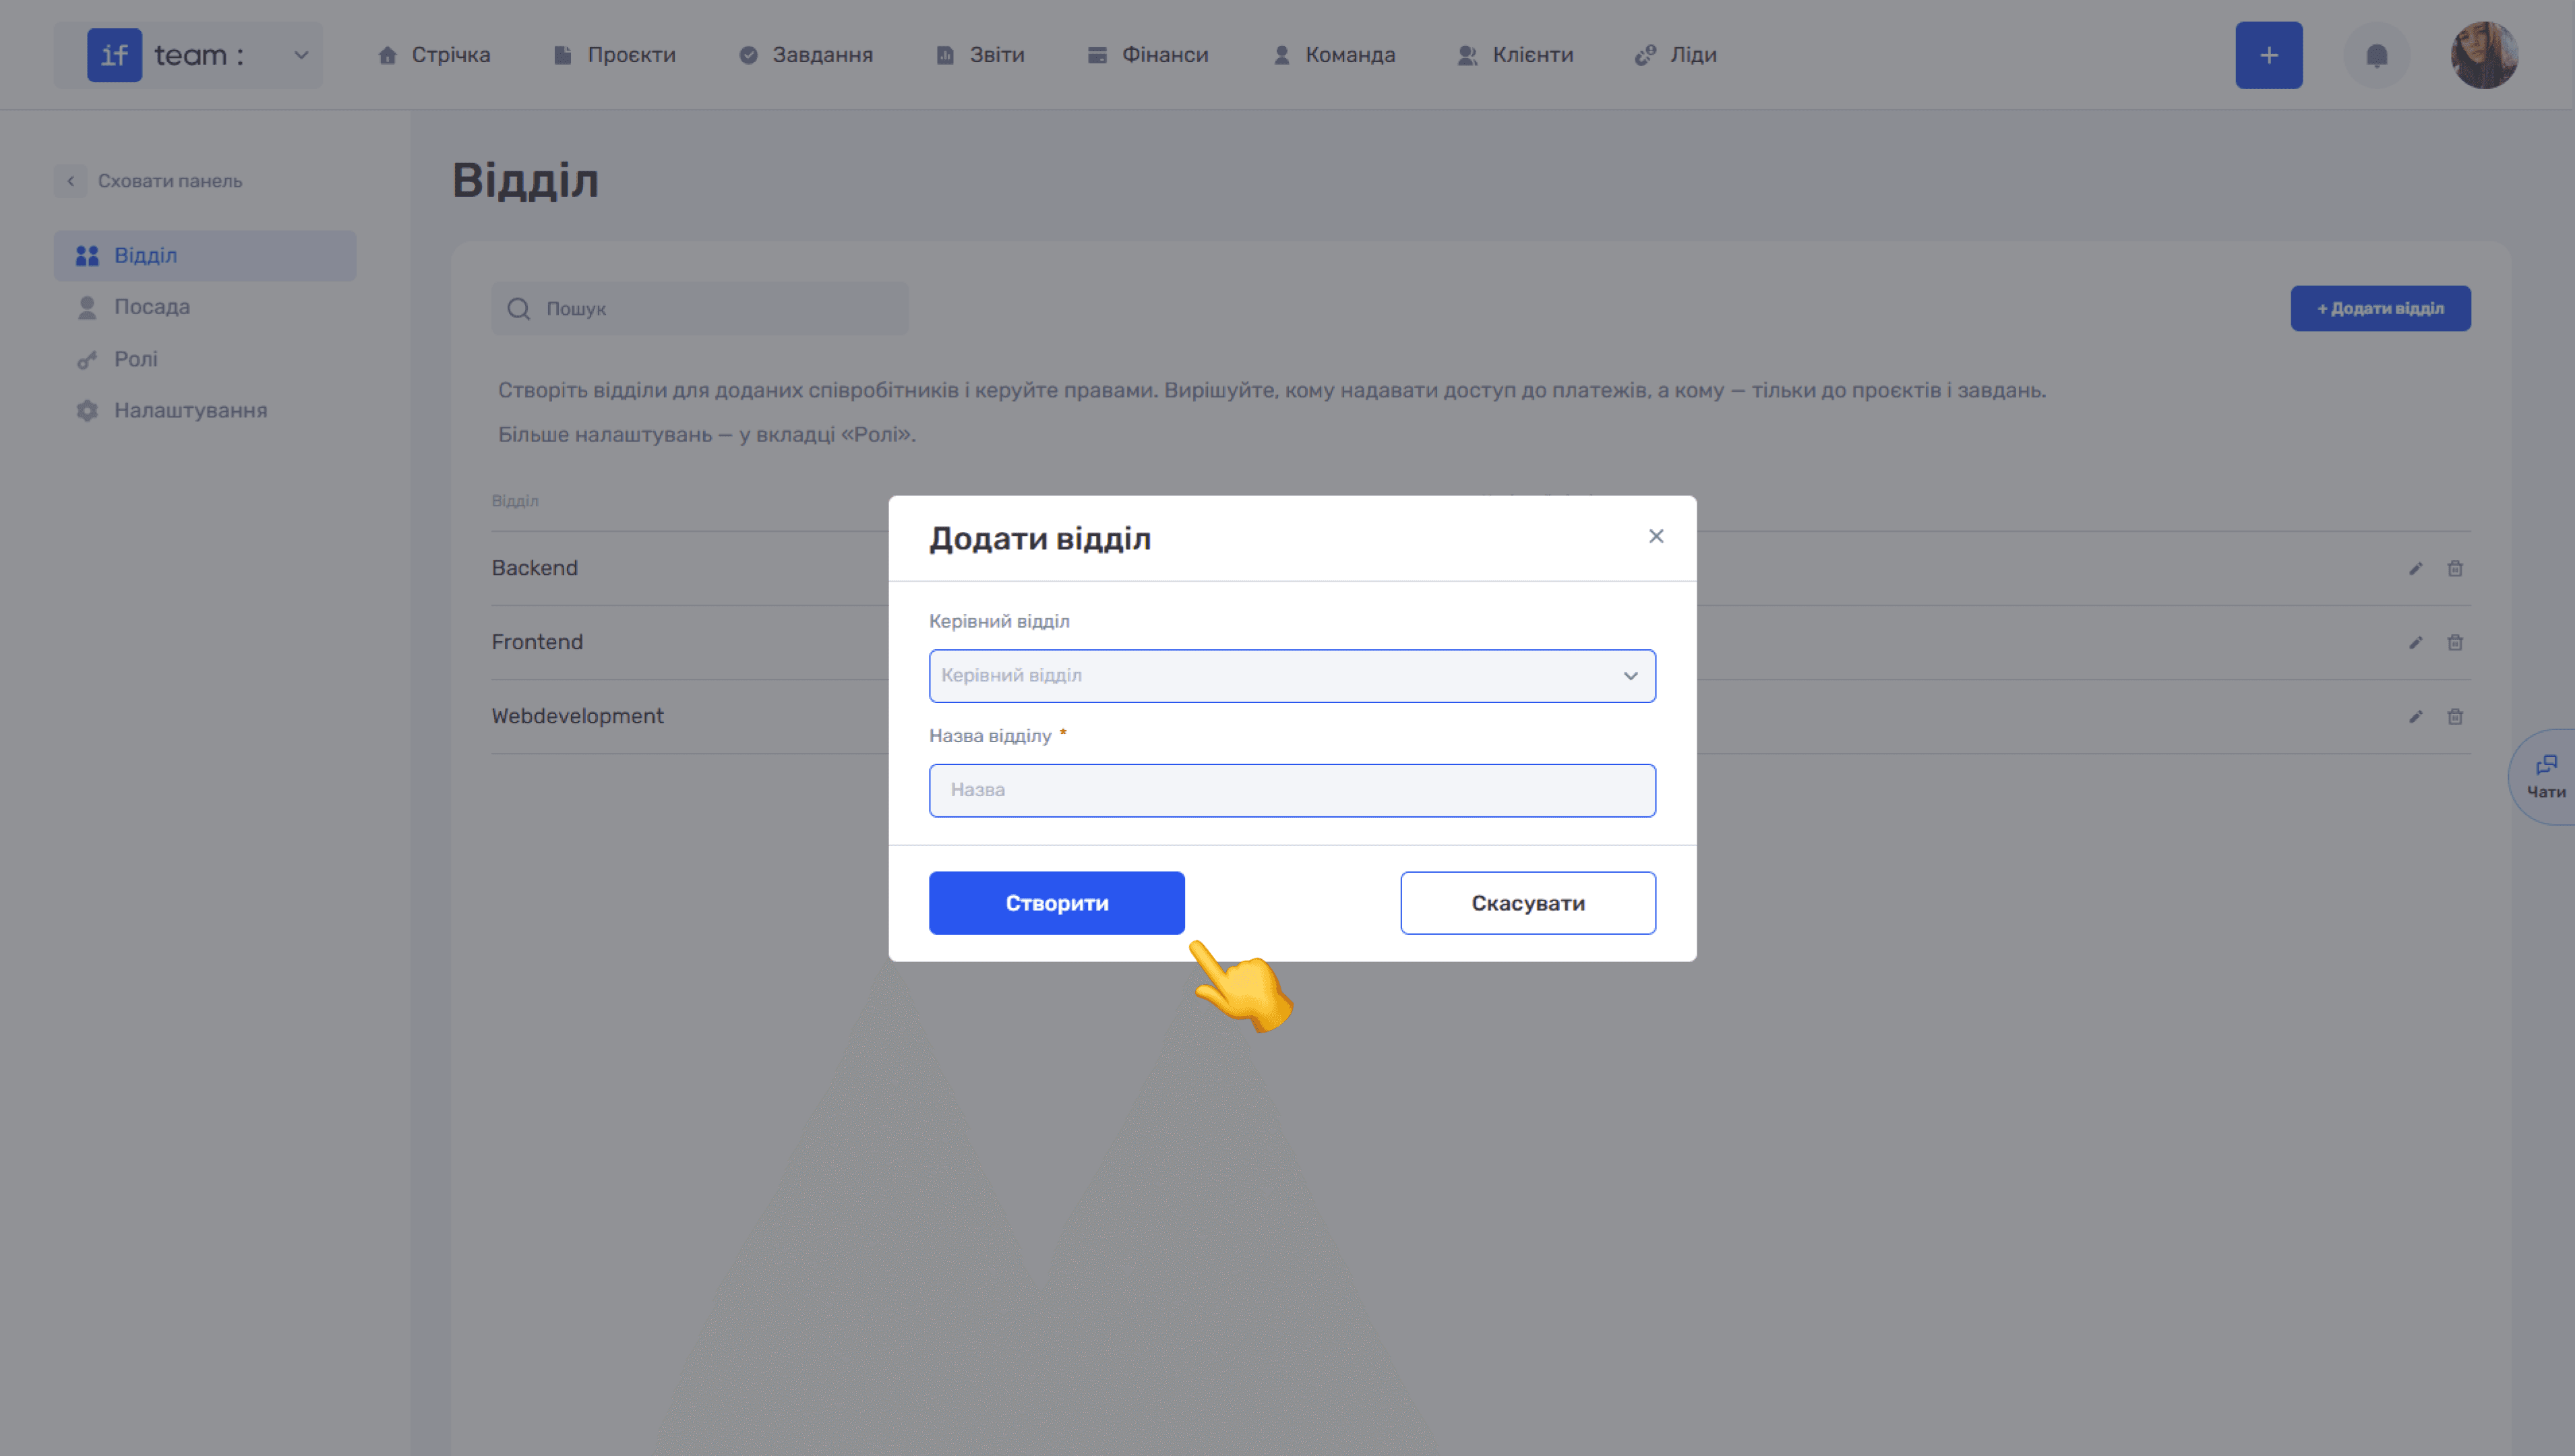
To add a department:
- Click + Add Department in the upper-right corner.
- In the modal, select a Parent Department from the list if needed and enter the Department Name.
- Click Create.
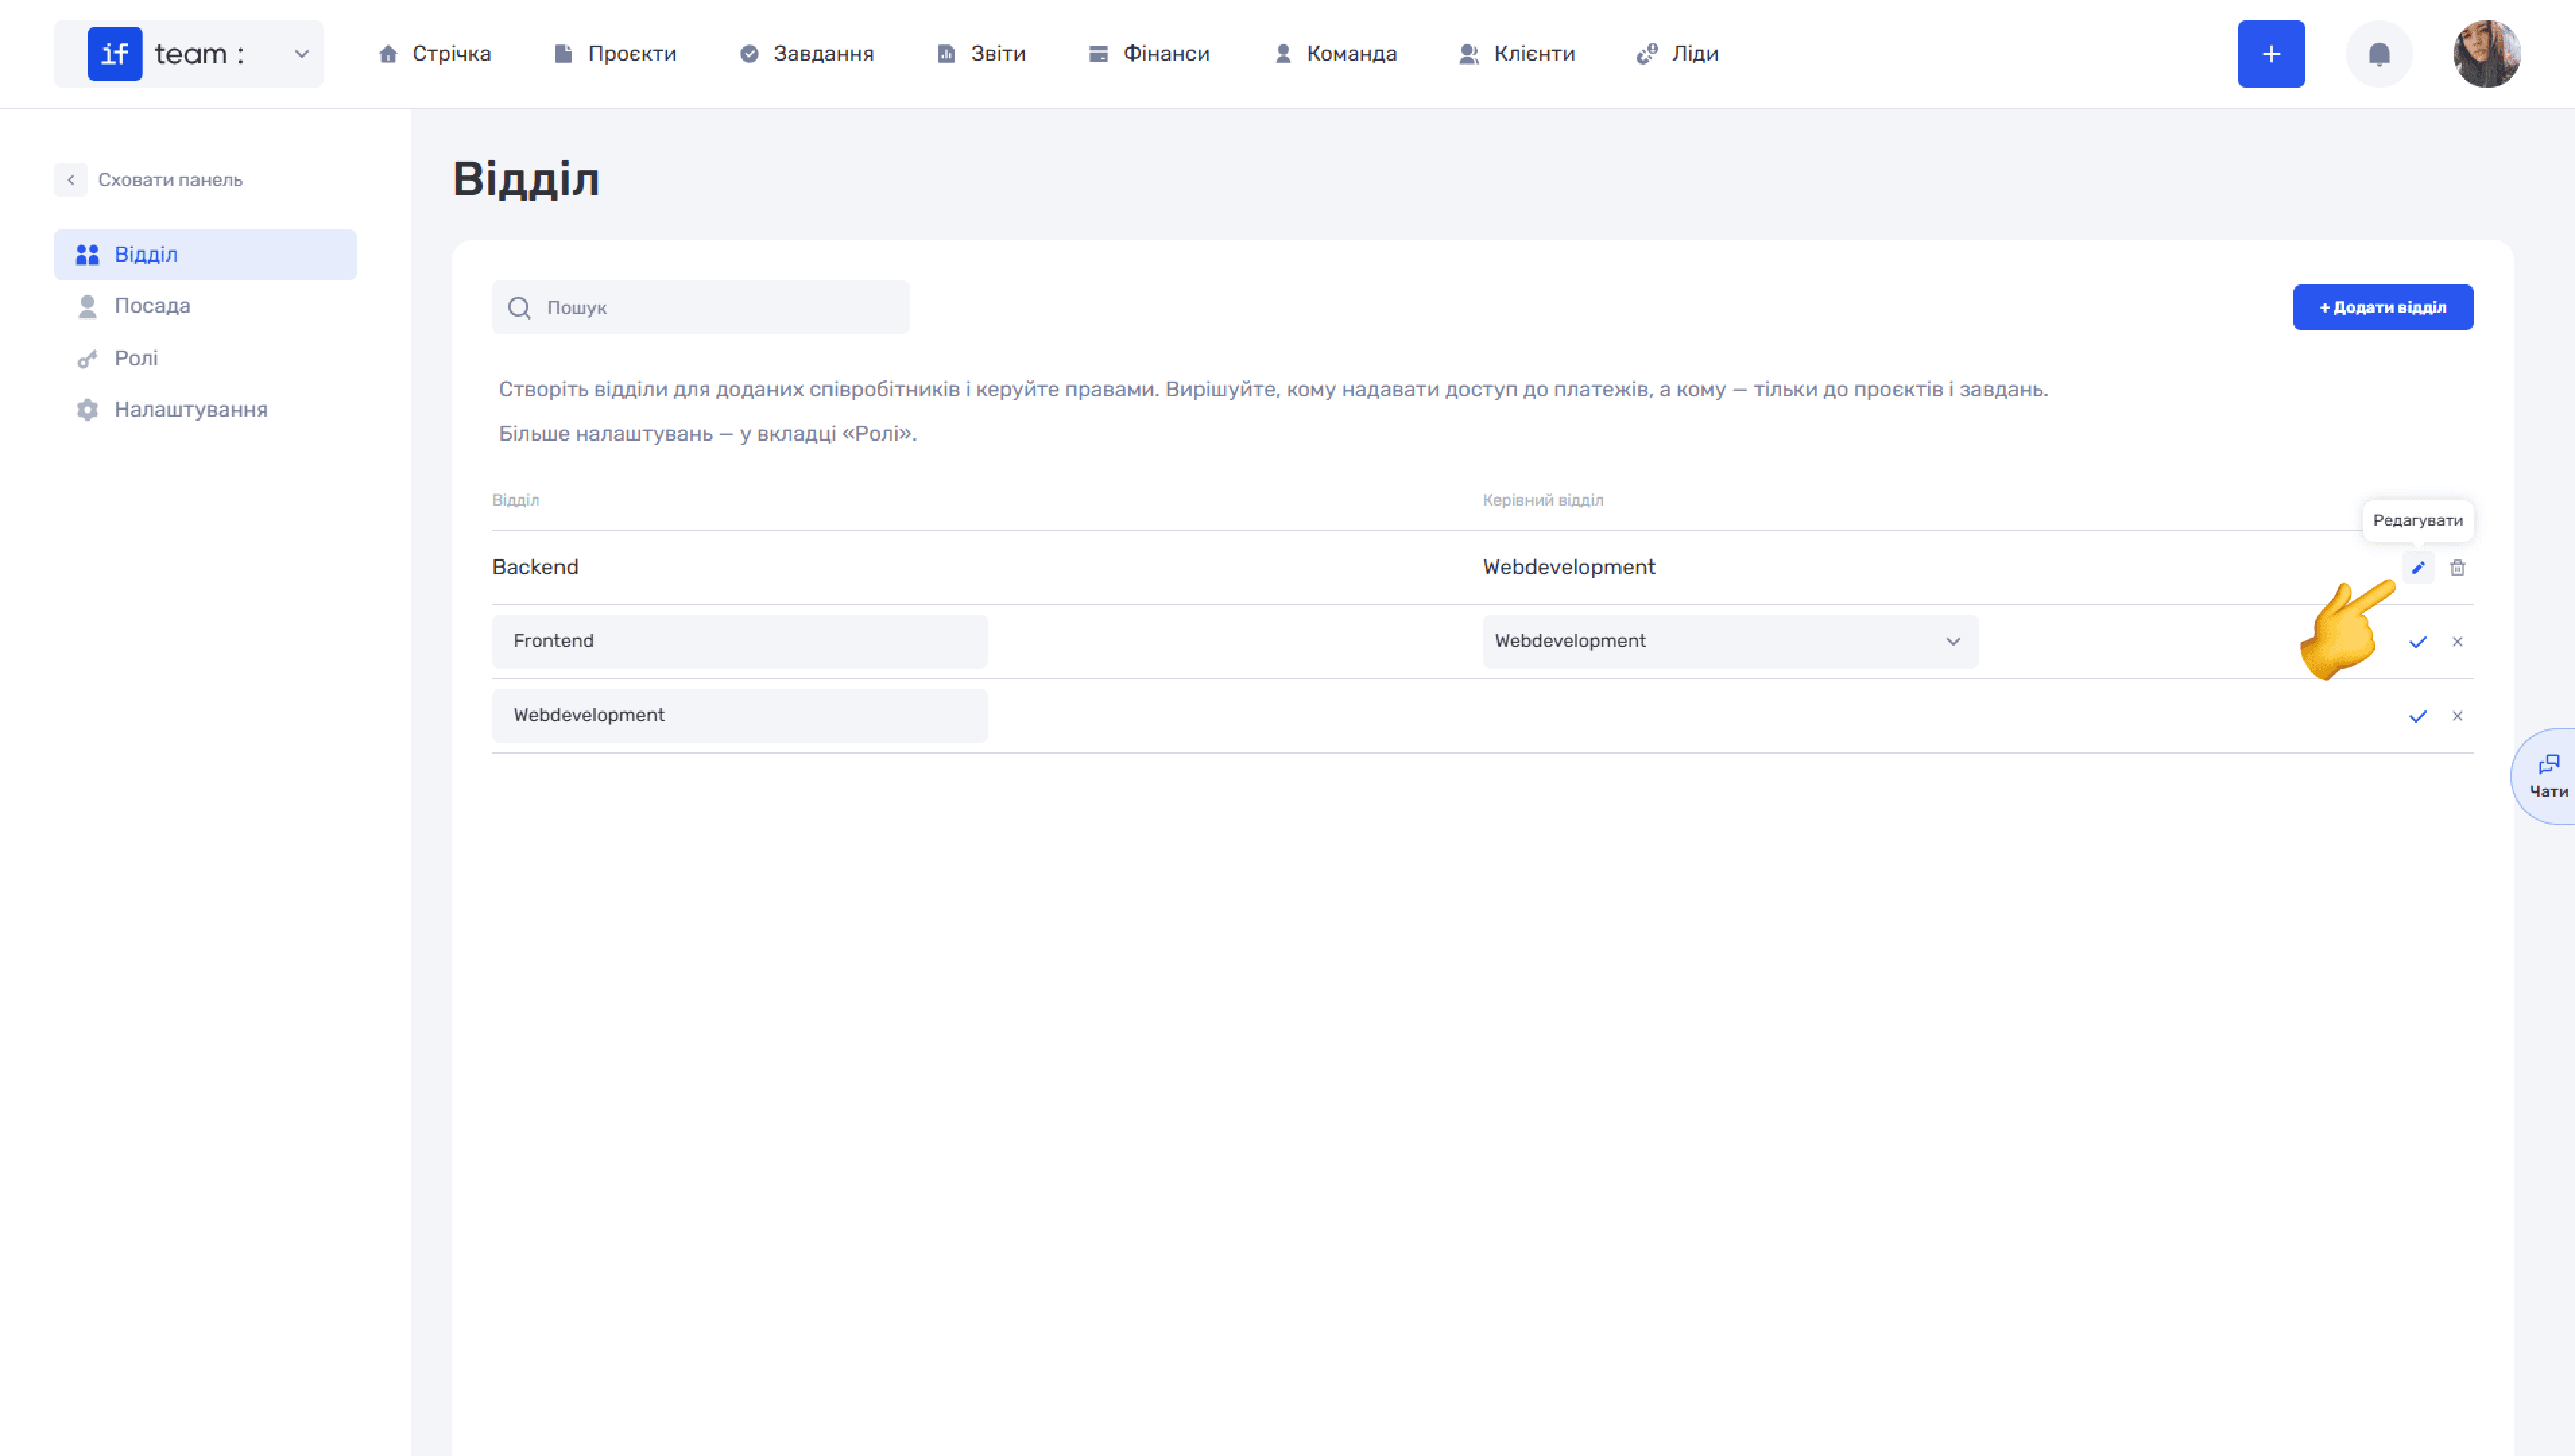
To edit an existing department, click the pencil icon next to its name. The fields become editable. To delete a department, click the trash icon.
Positions
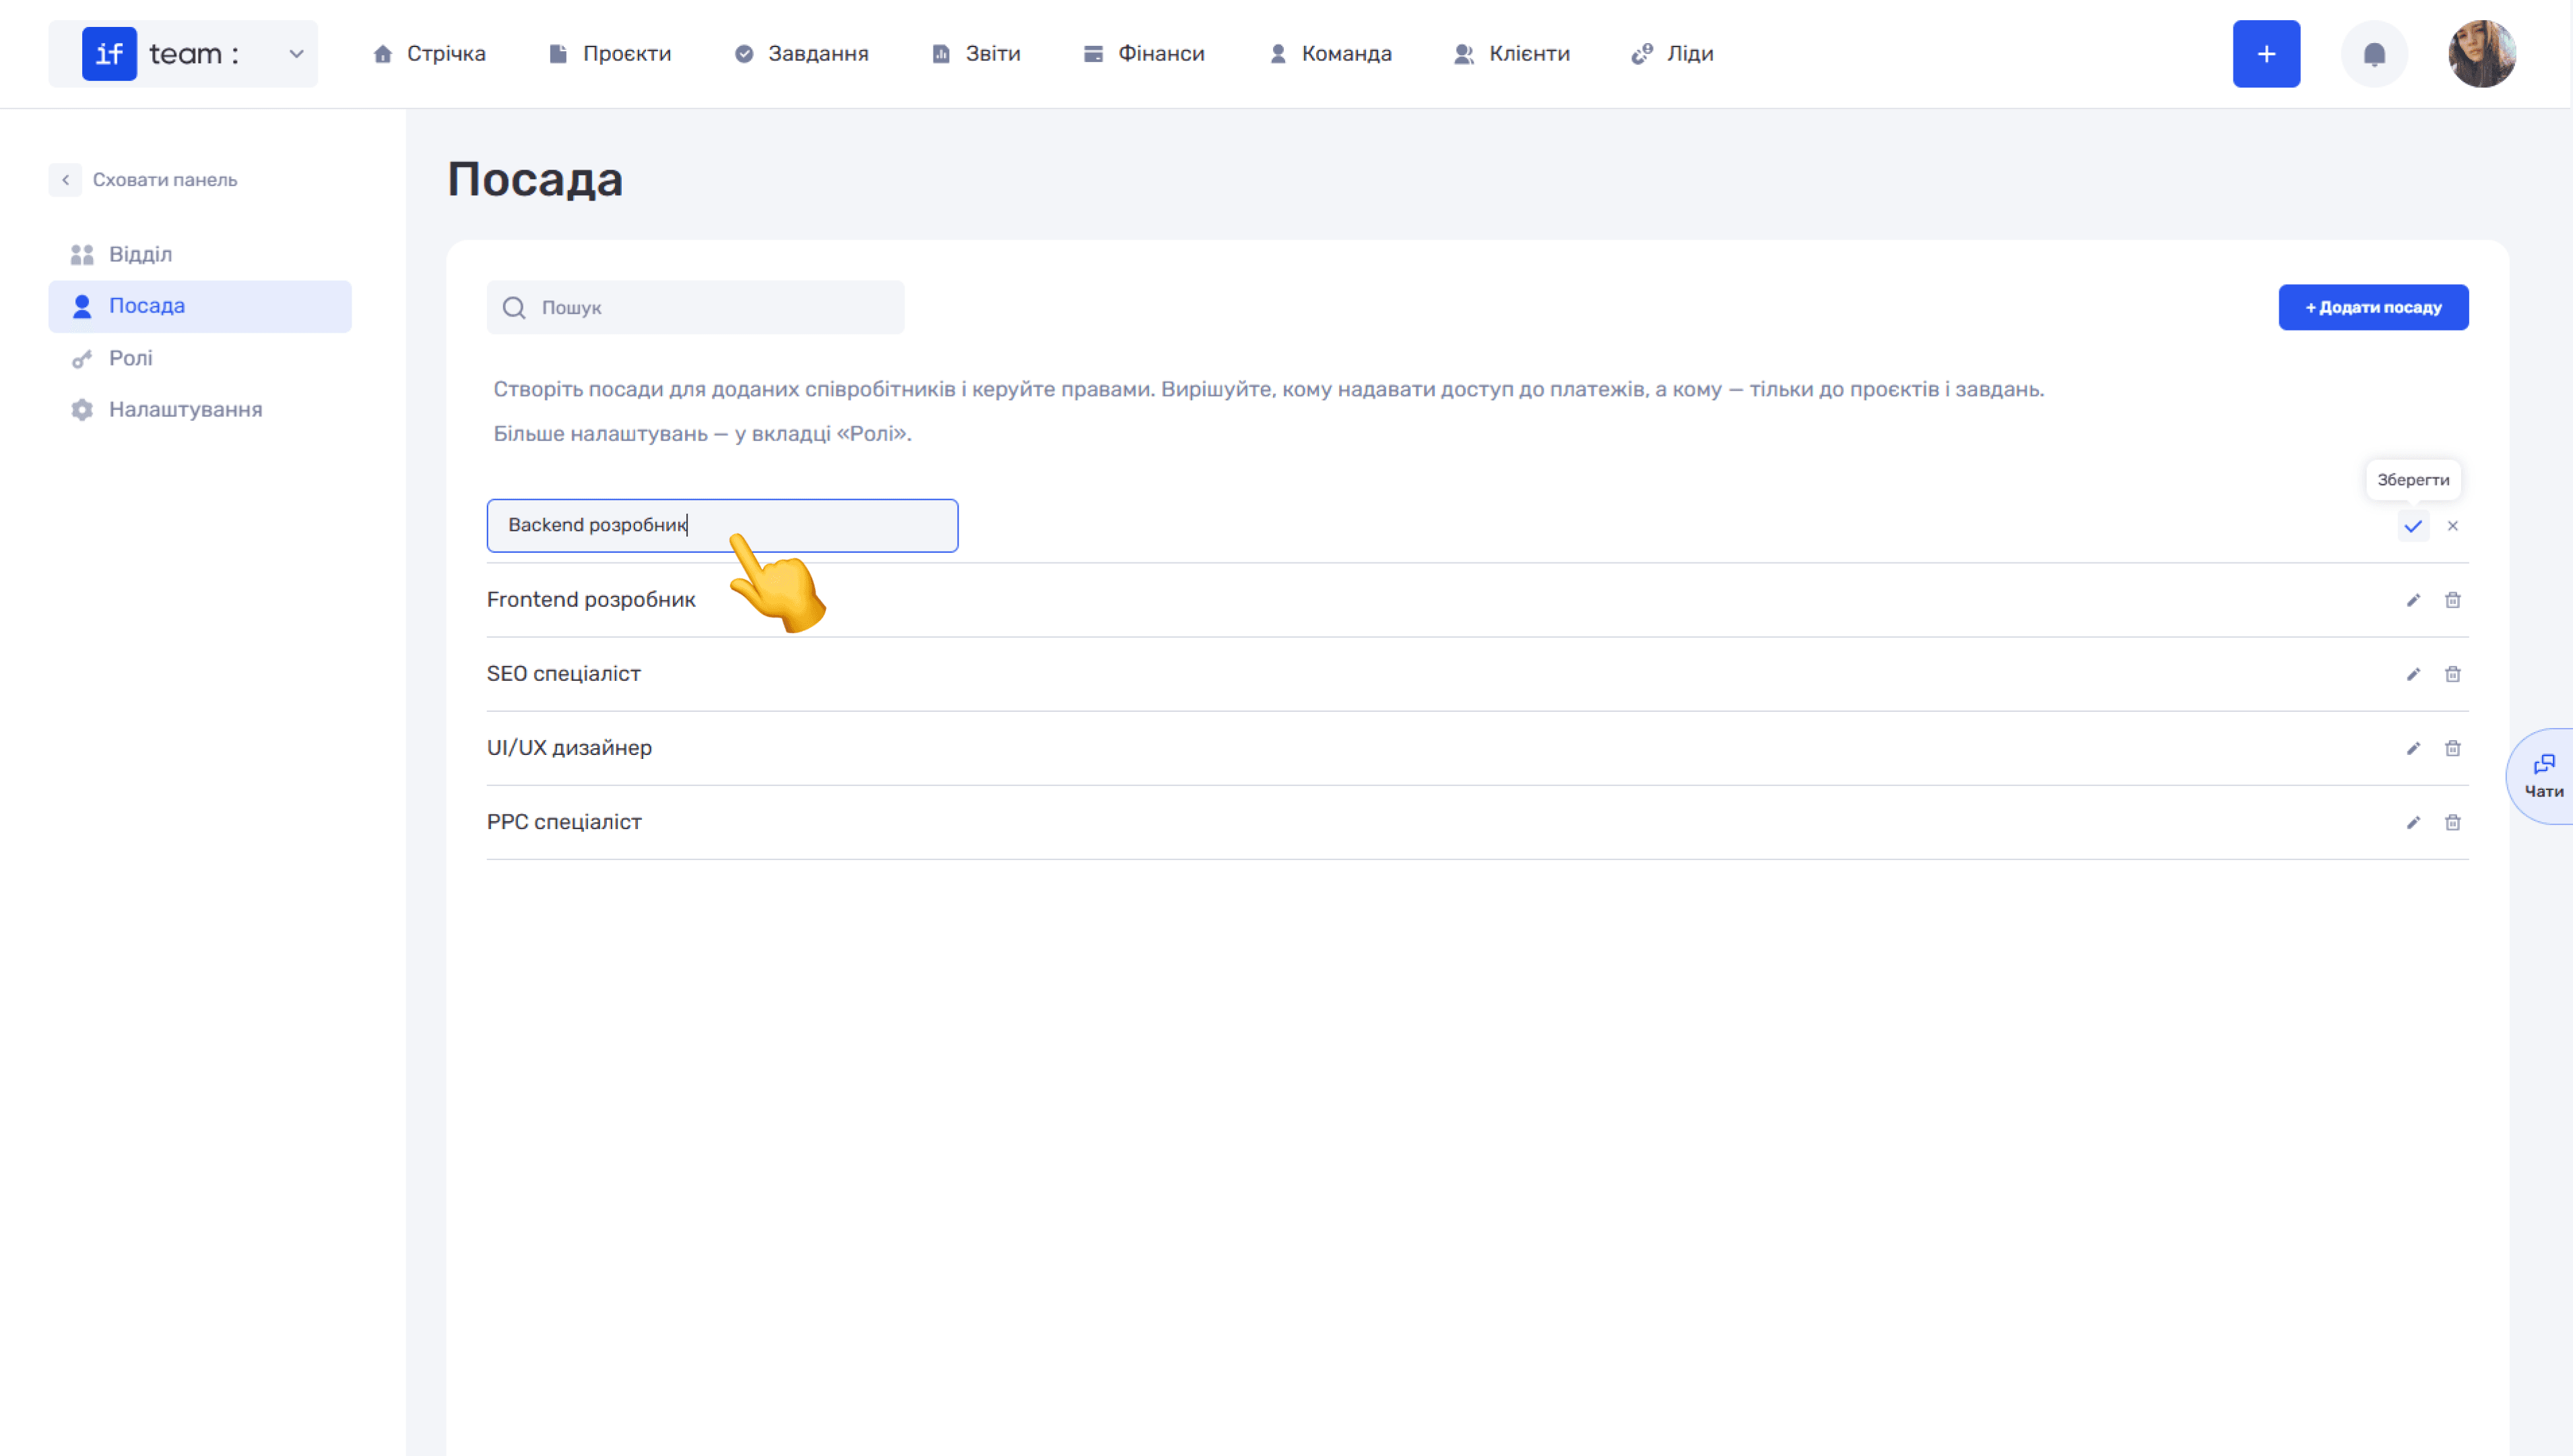
The Position tab contains all positions that can be assigned to employees when they are invited or in the employee card.
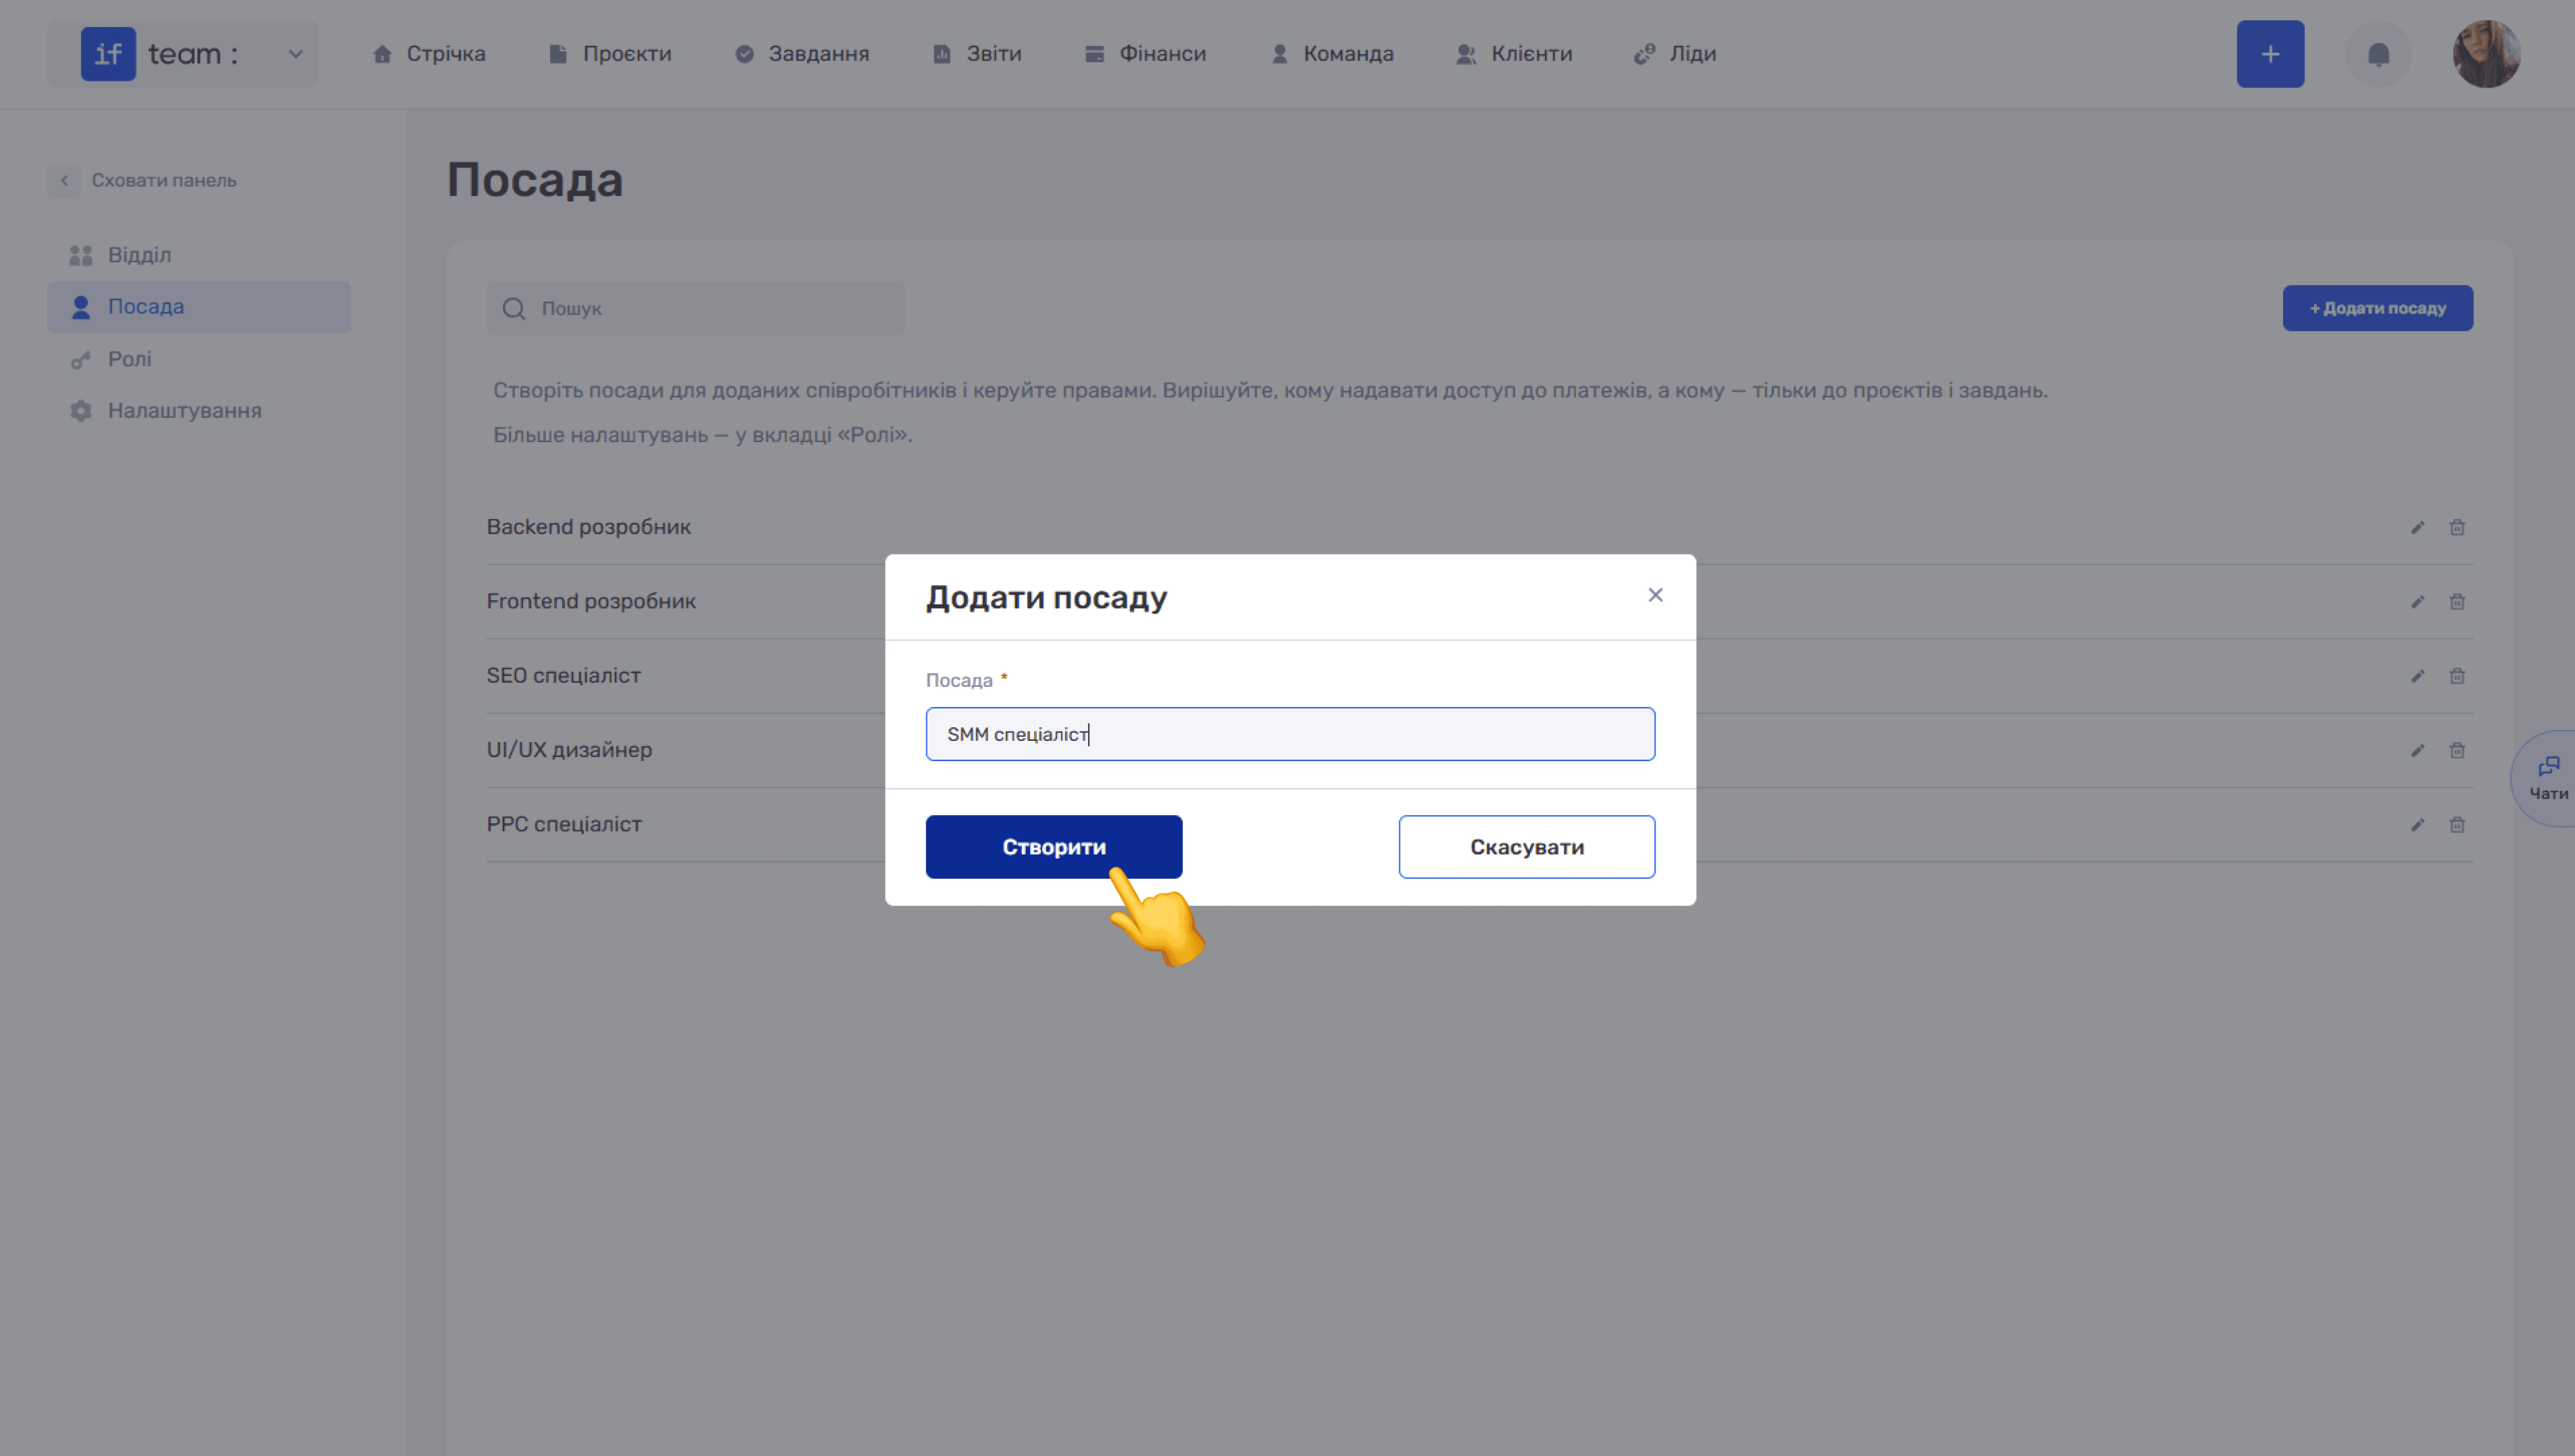
To add a position:
- Click + Add Position.
- Enter the new position’s name.
- Click Create to confirm.
You can edit and delete positions in the same way as departments, using the pencil and trash icons.
Roles and Access Permissions
The Roles tab lets you create roles and configure detailed access permissions for each one. This removes the need to configure permissions separately for every employee: create a role with the required permissions once and assign it to employees.
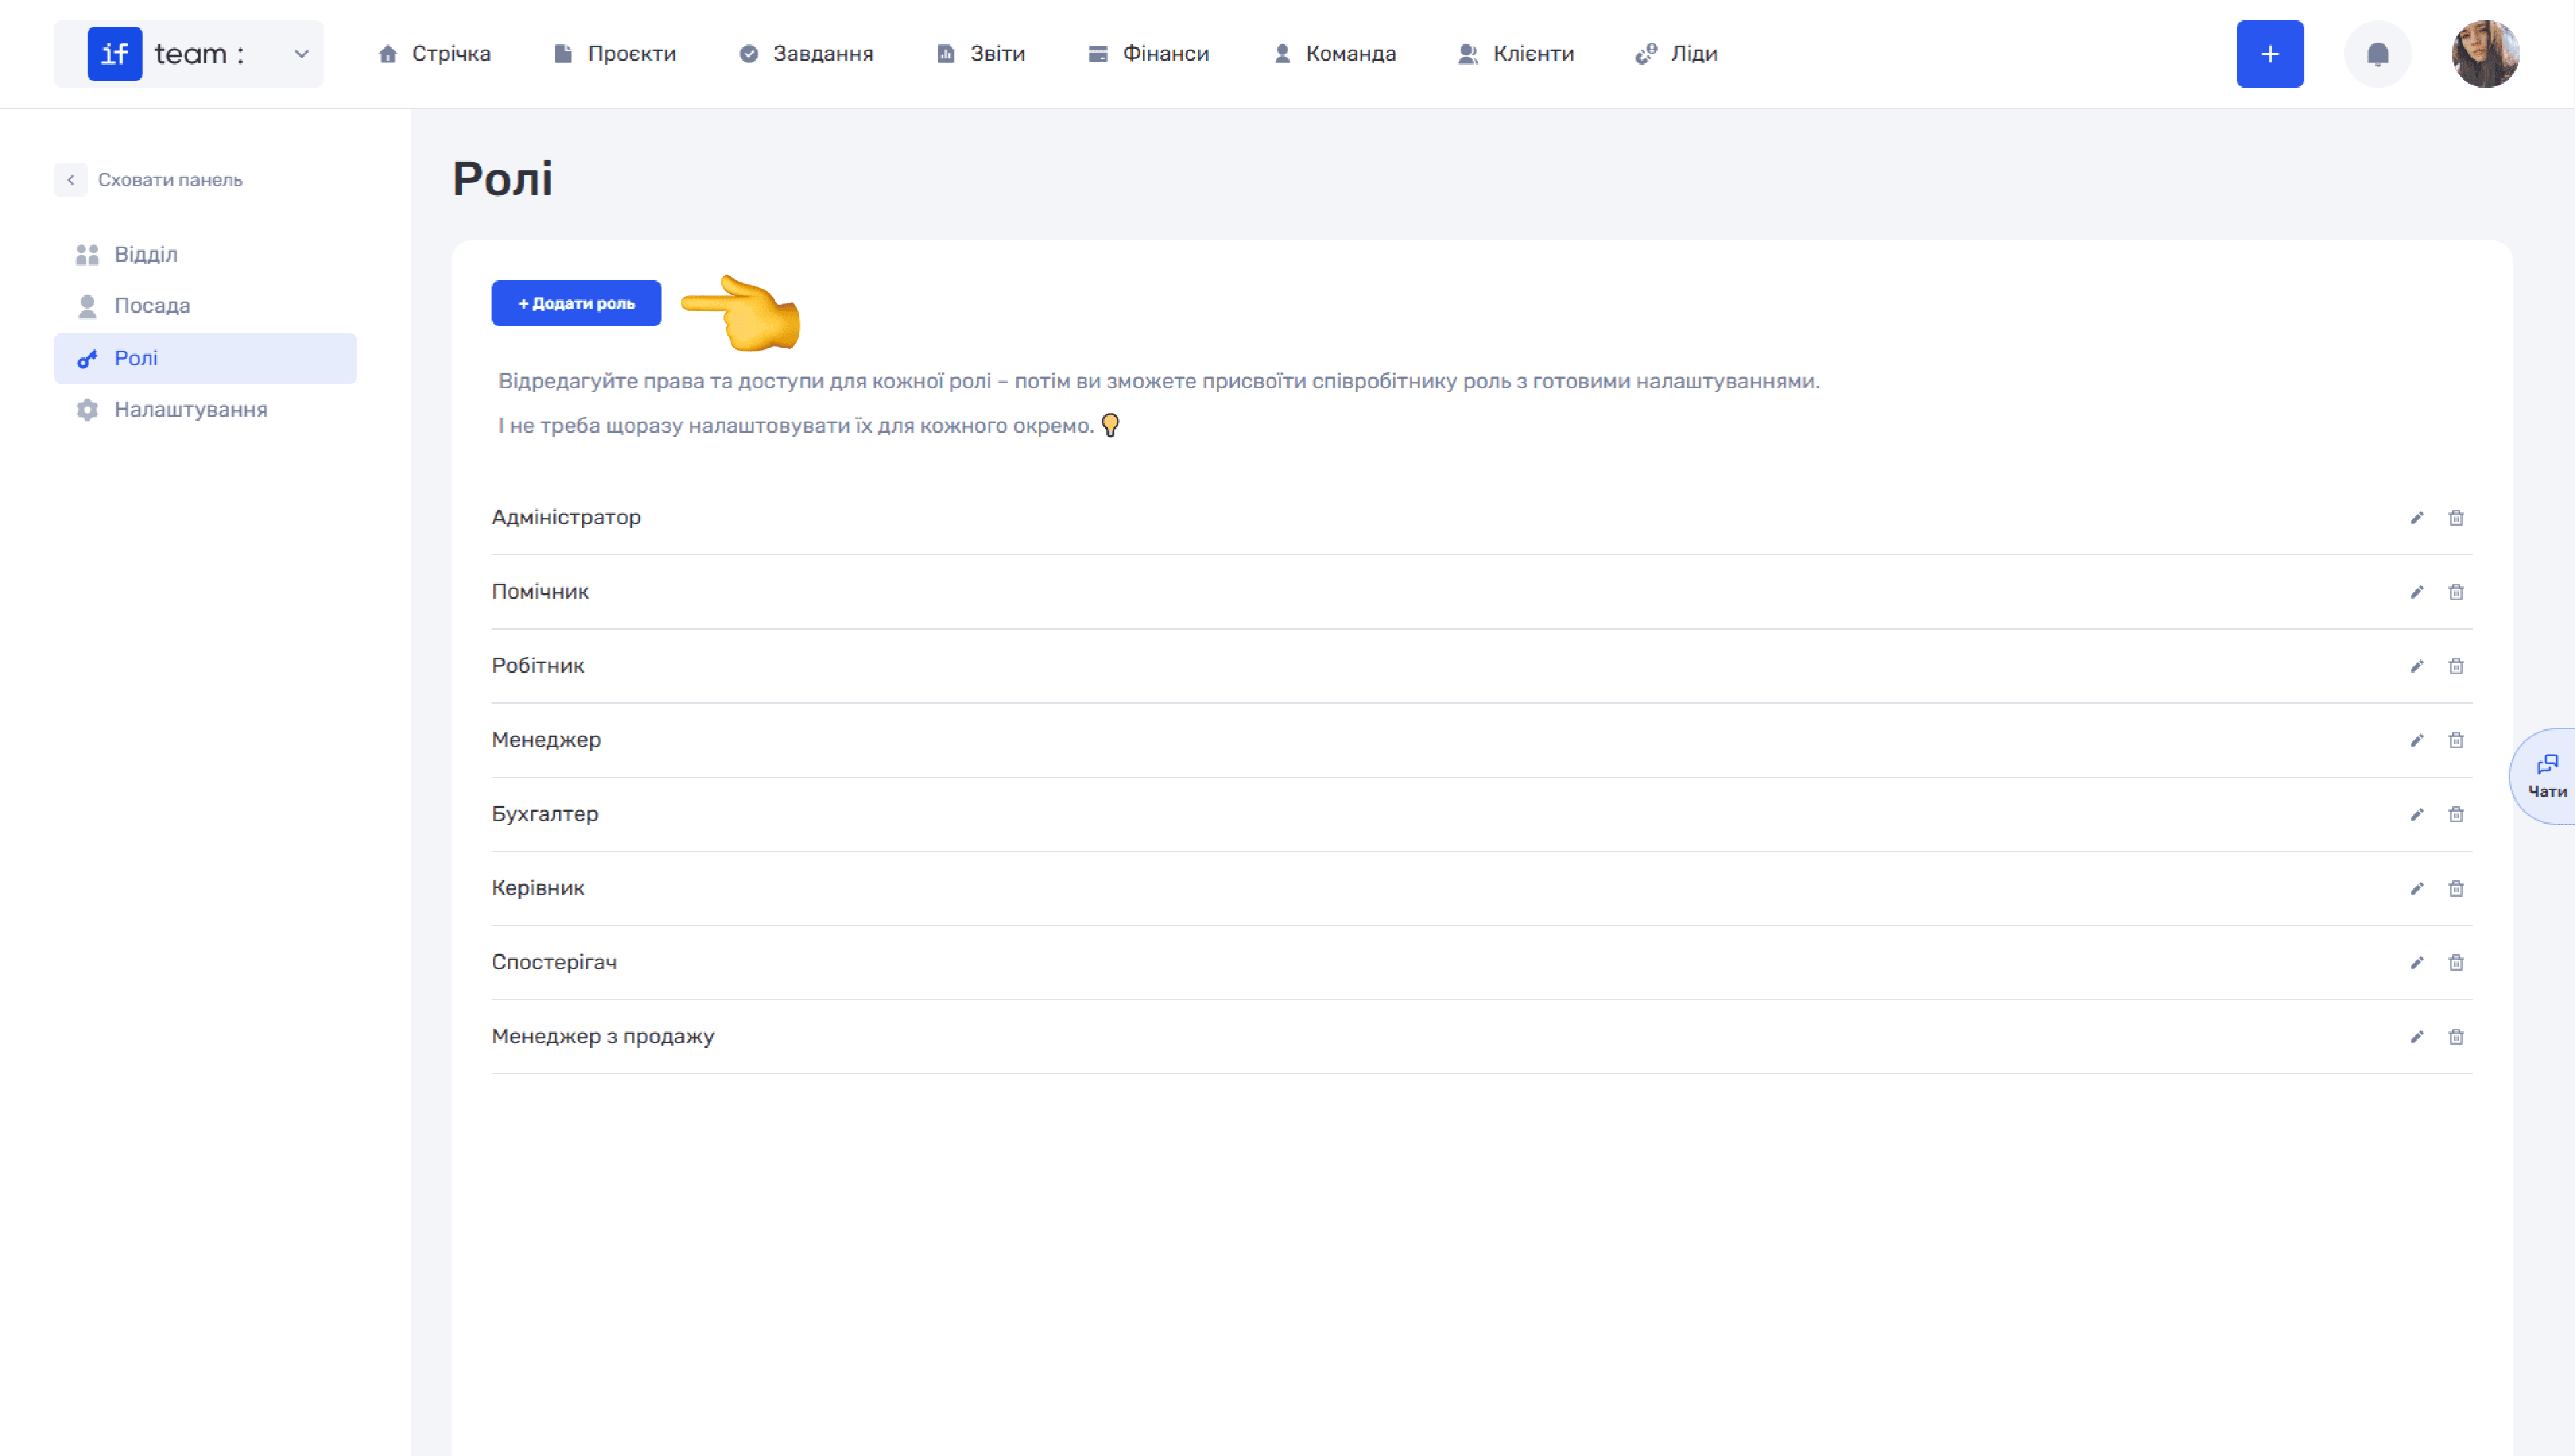
To add a role:
- Click + Add Role.
- Enter the new role’s name.
- Configure its permissions and click Save.
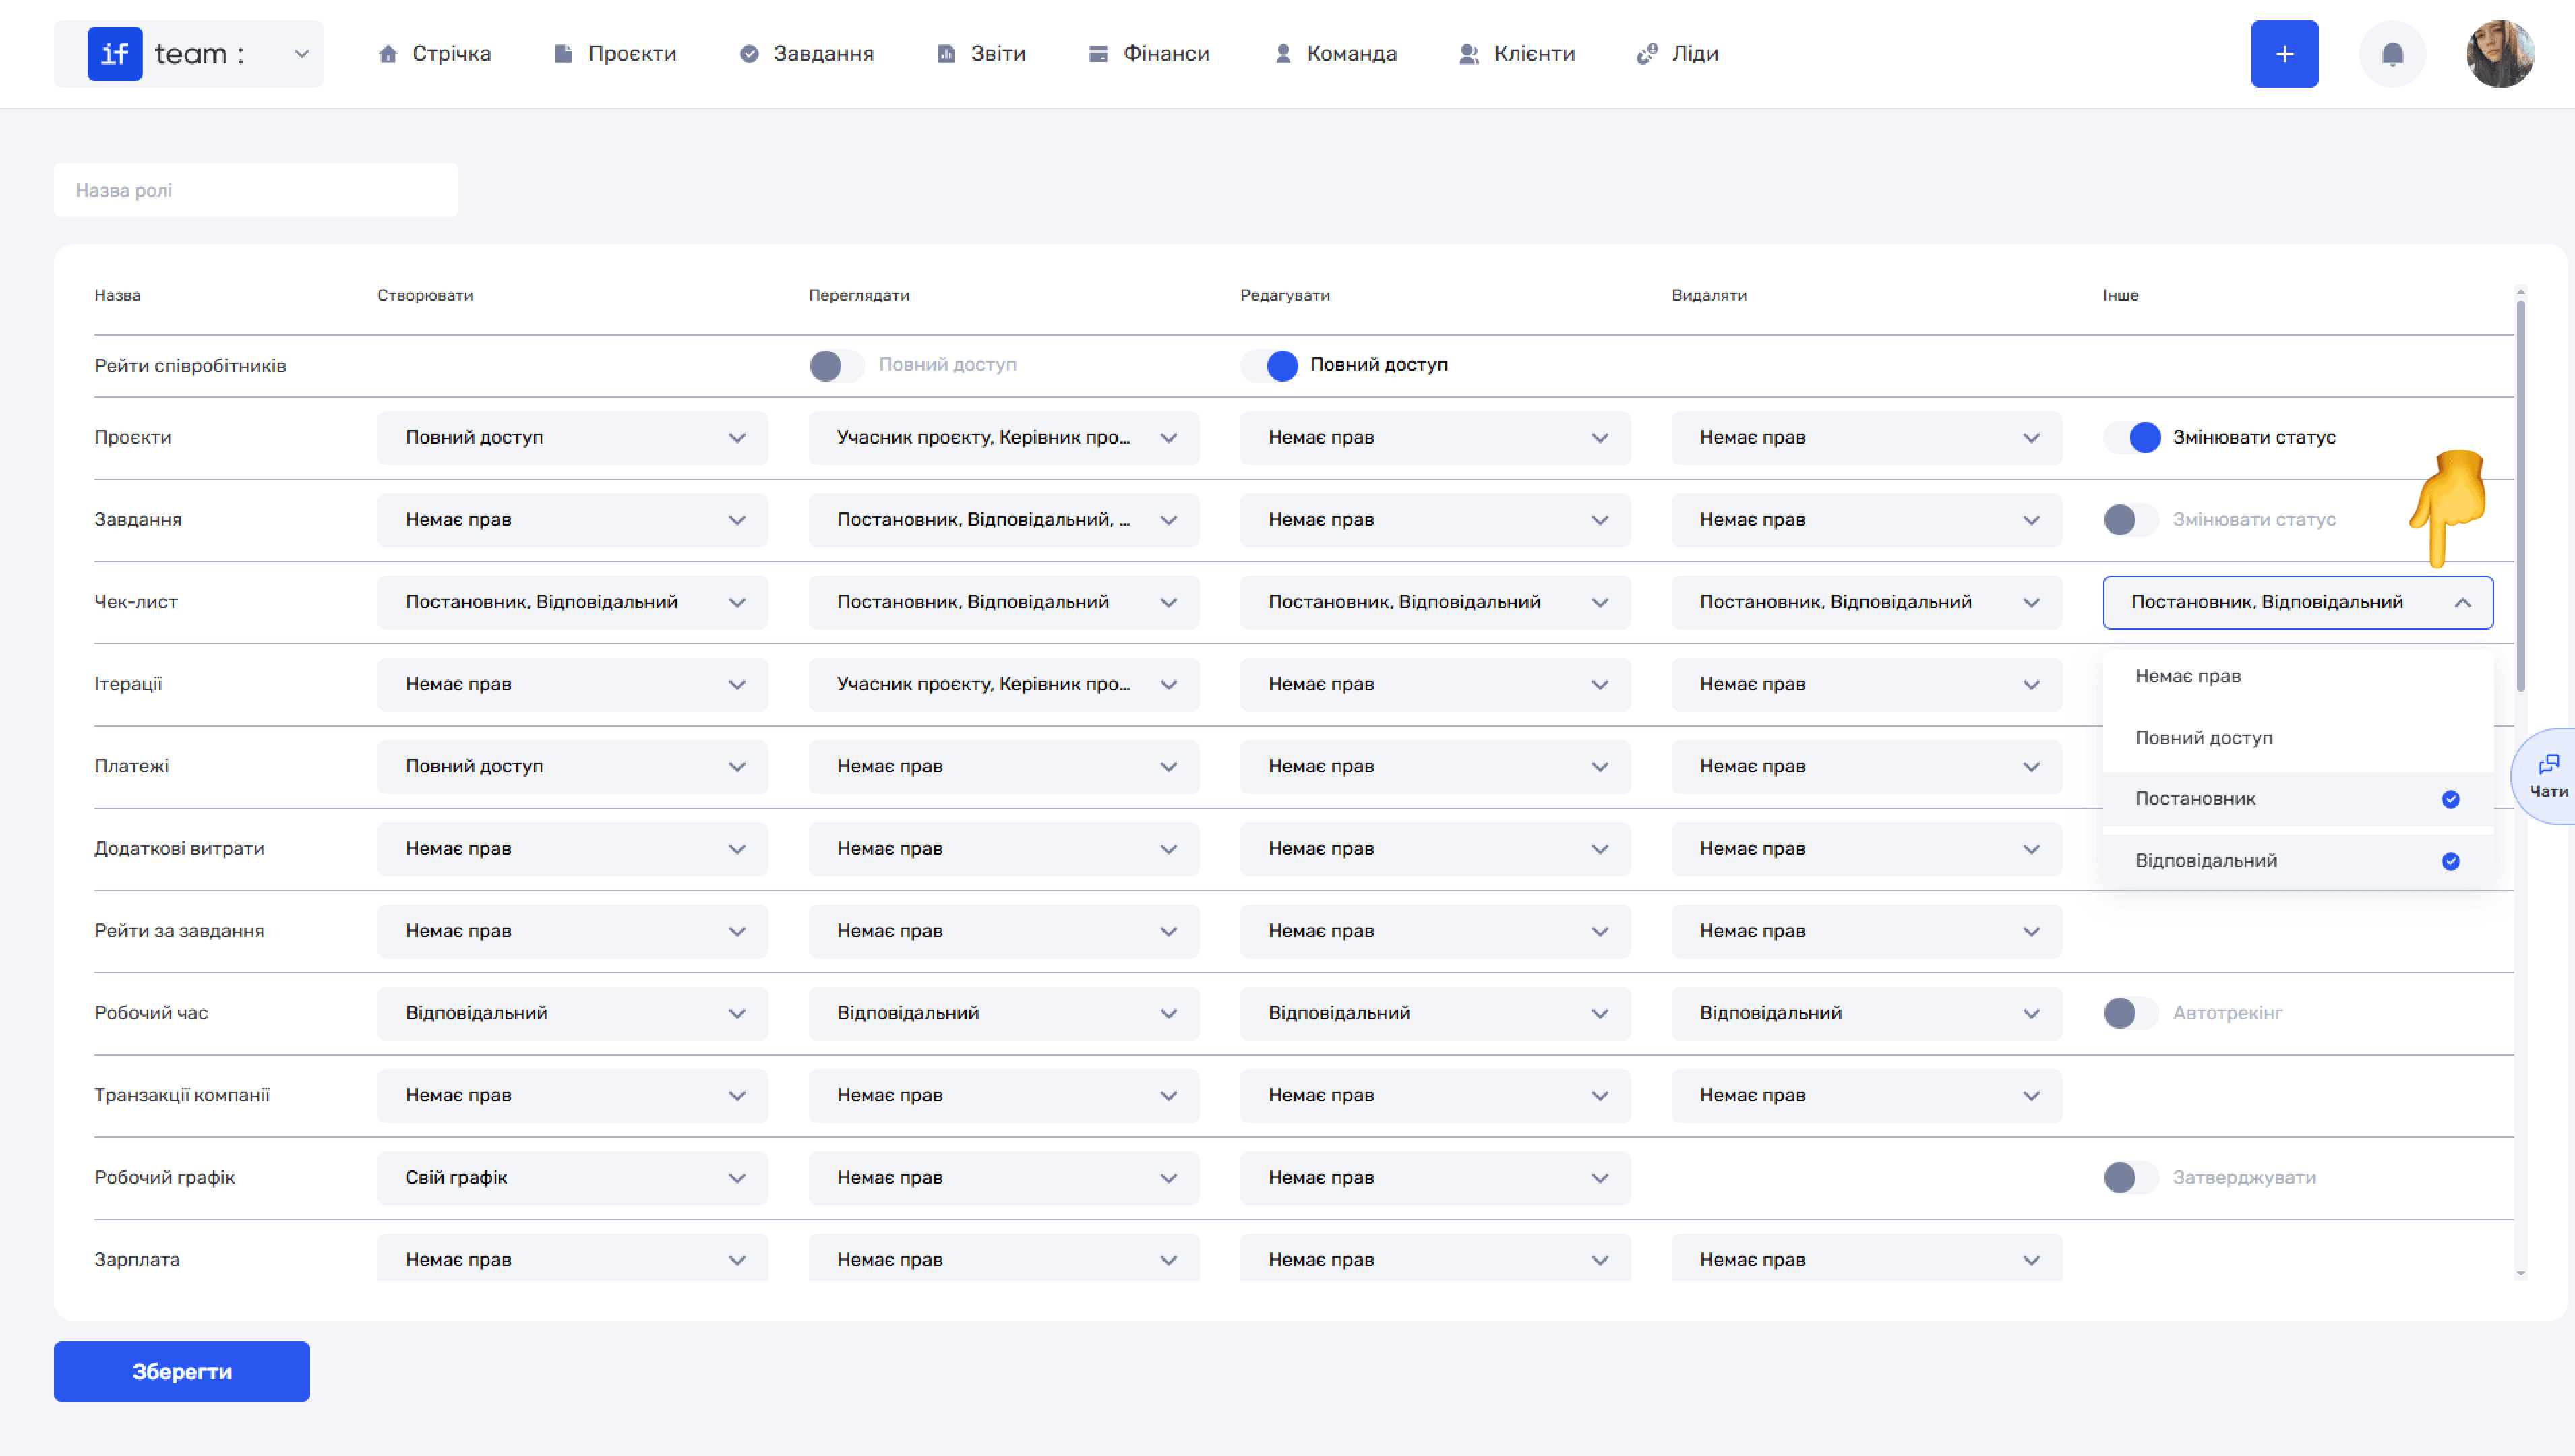
Access permissions are configured in a table. For each system entity—projects, tasks, iterations, payments, rates, transactions, and work time—you can set permissions for four actions: Create, View, Edit, and Delete.
Available options for each action include No Access, Full Access, Task Creator, Responsible Employee, and other contextual levels such as Project Participant, Project Manager, or Chat Member.
The Other column contains additional switches: Change Status, Auto-tracking, Approve, and Assign.
Settings
The Settings tab lets you customize if.team for your business needs. It contains sections that can each be expanded and edited:
- Income Categories and Expense Categories let you create and edit categories for classifying company financial transactions.
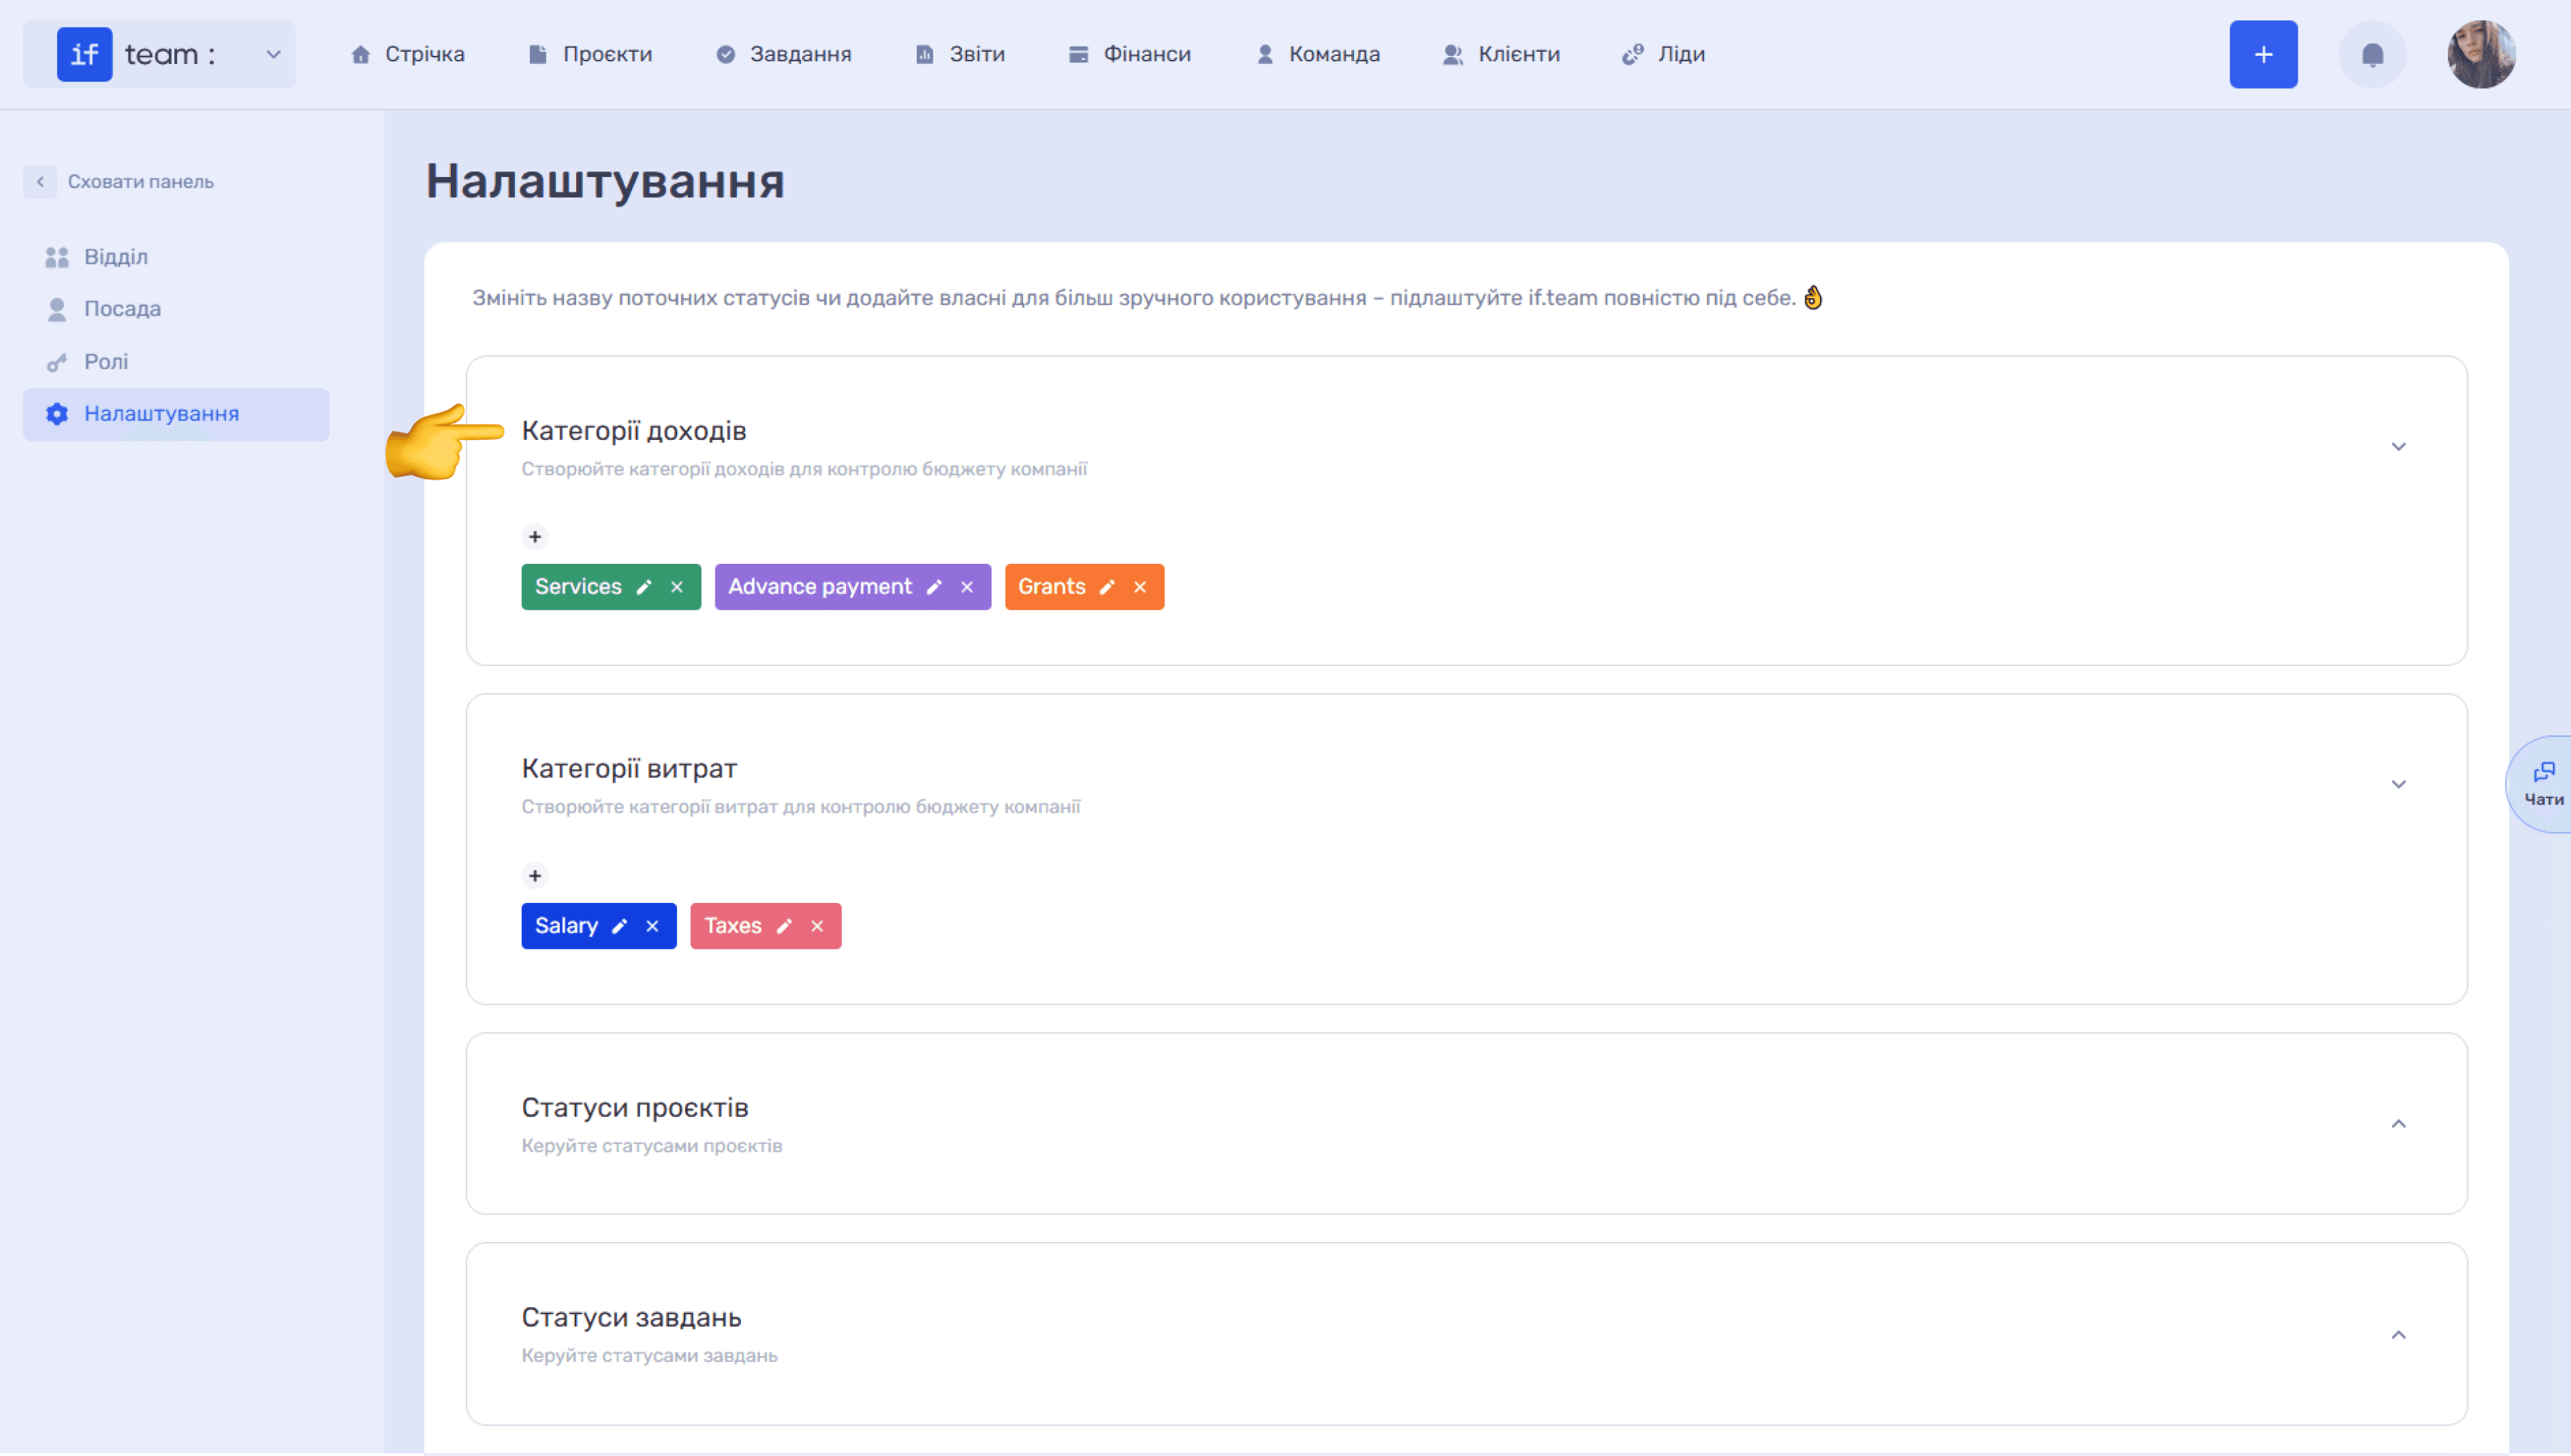
Give each category a name and color for convenient visual distinction.
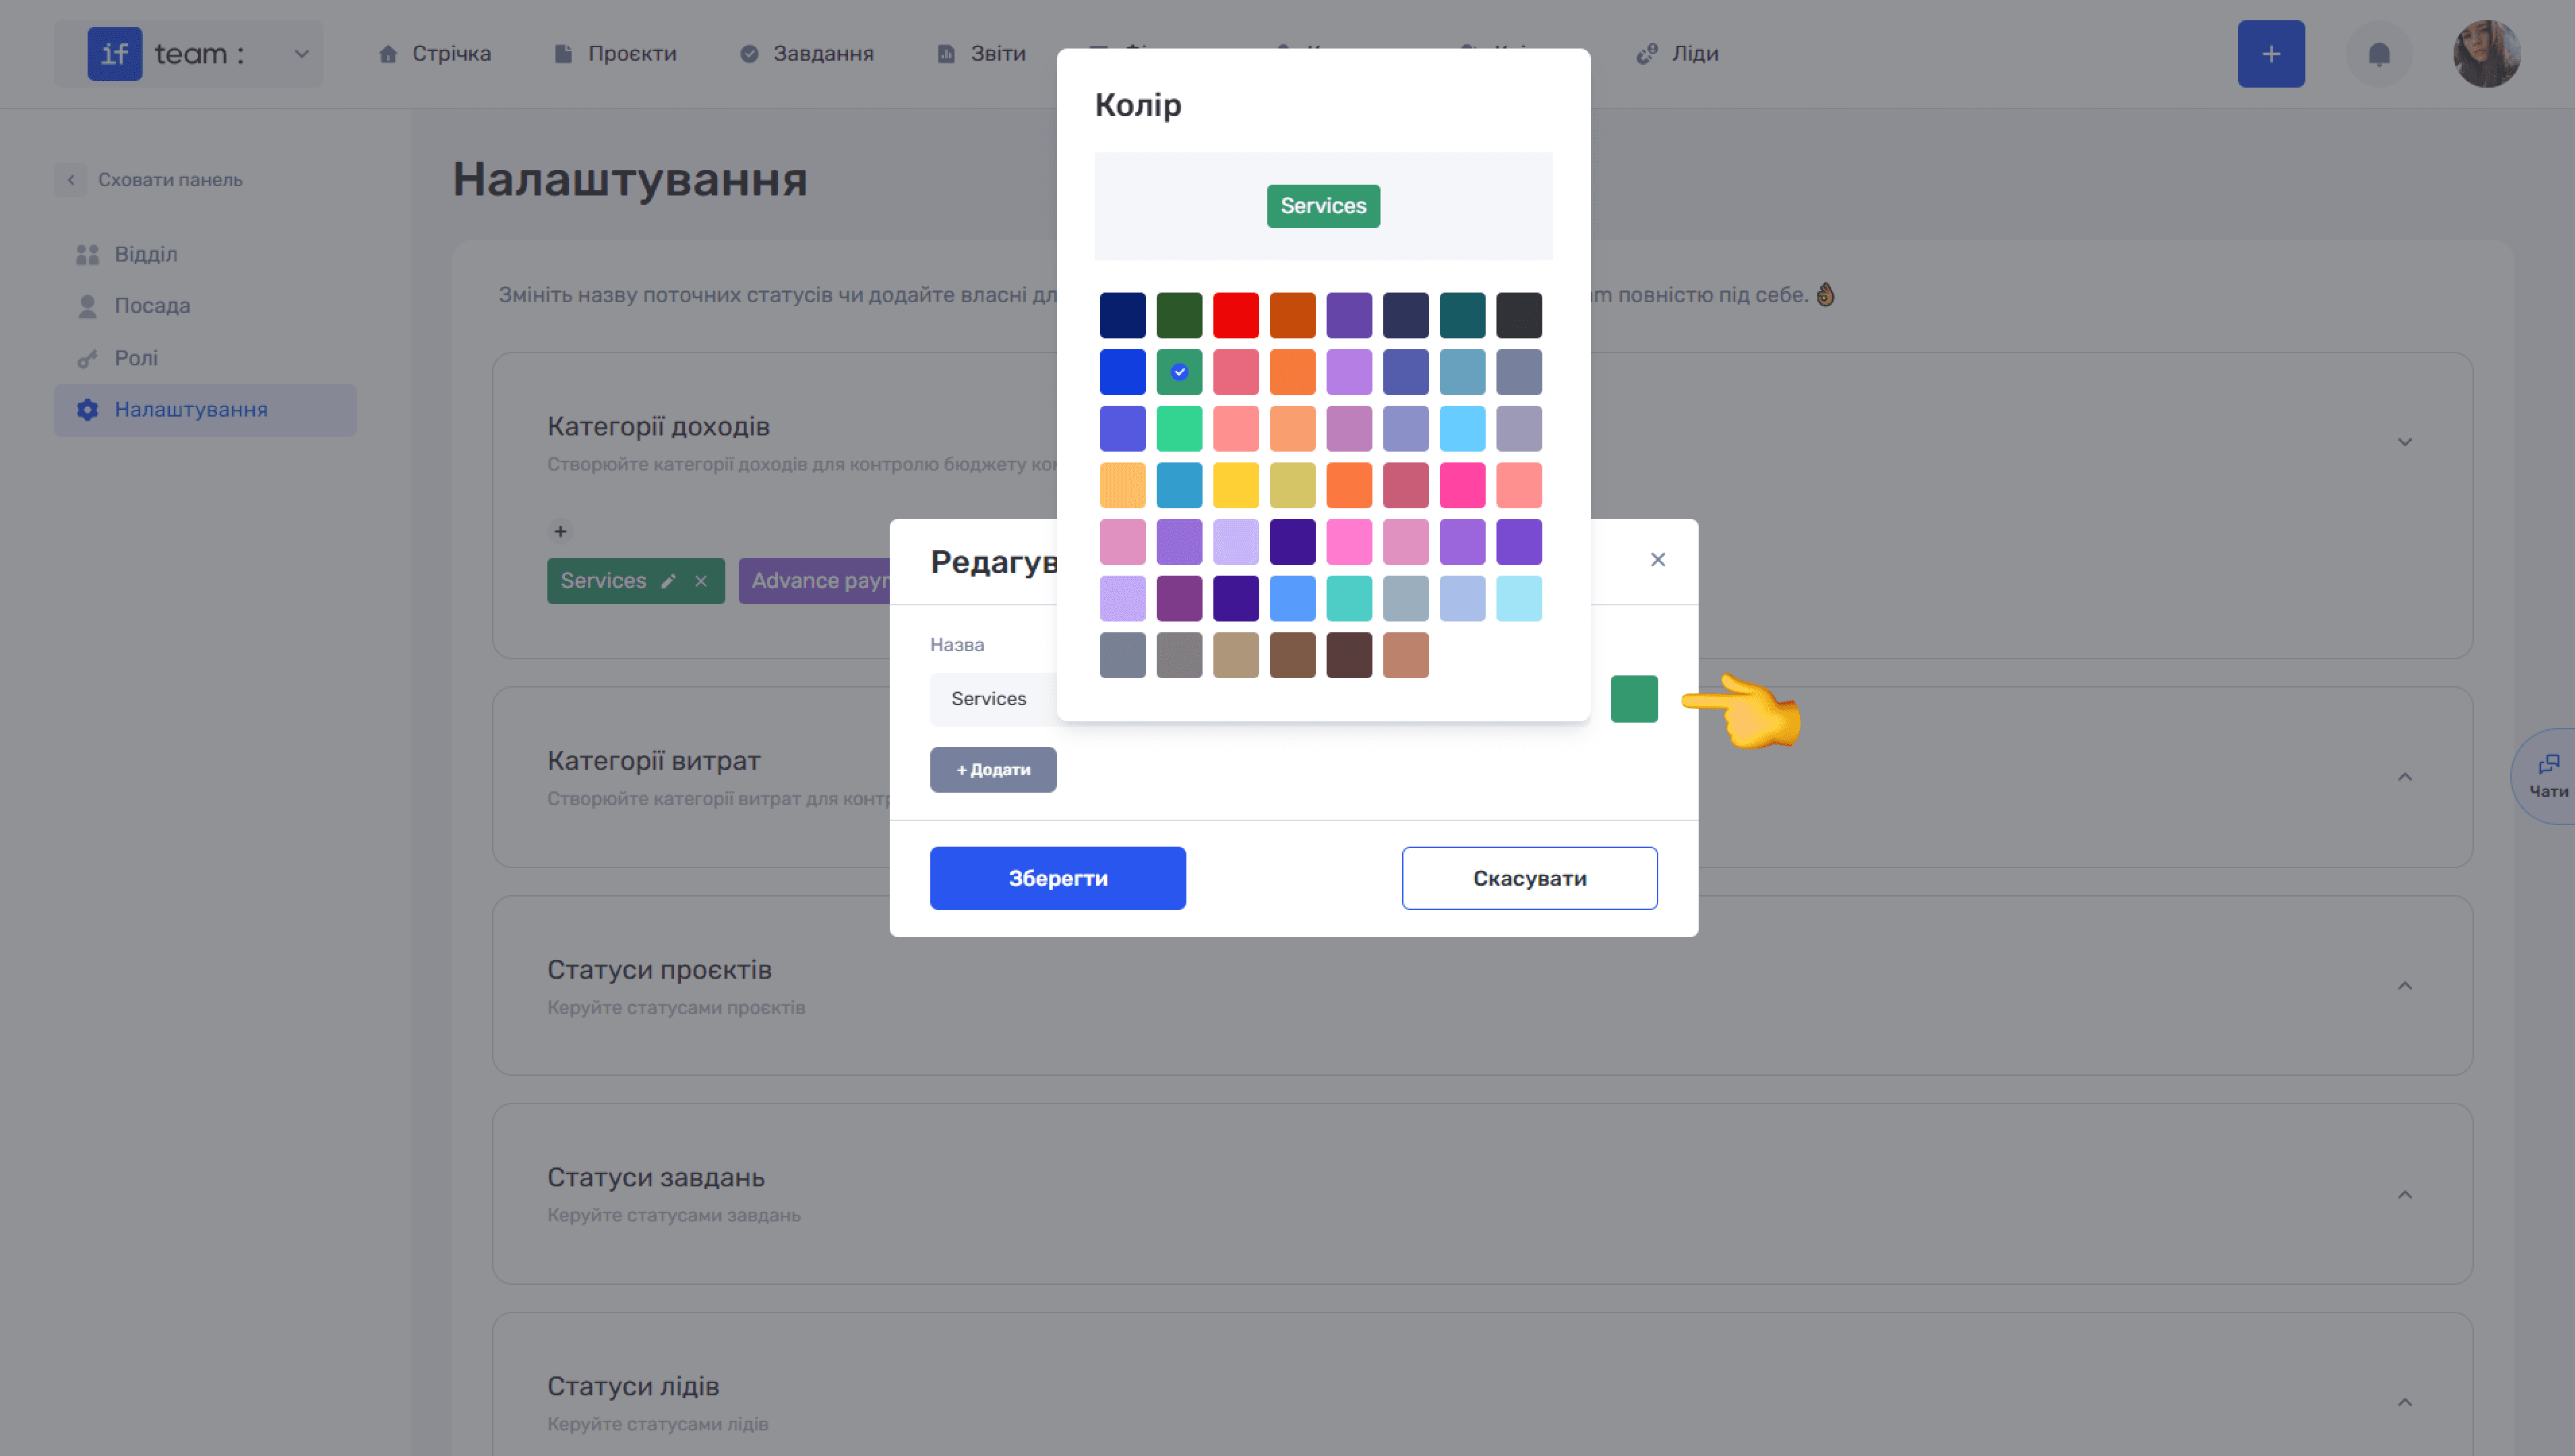
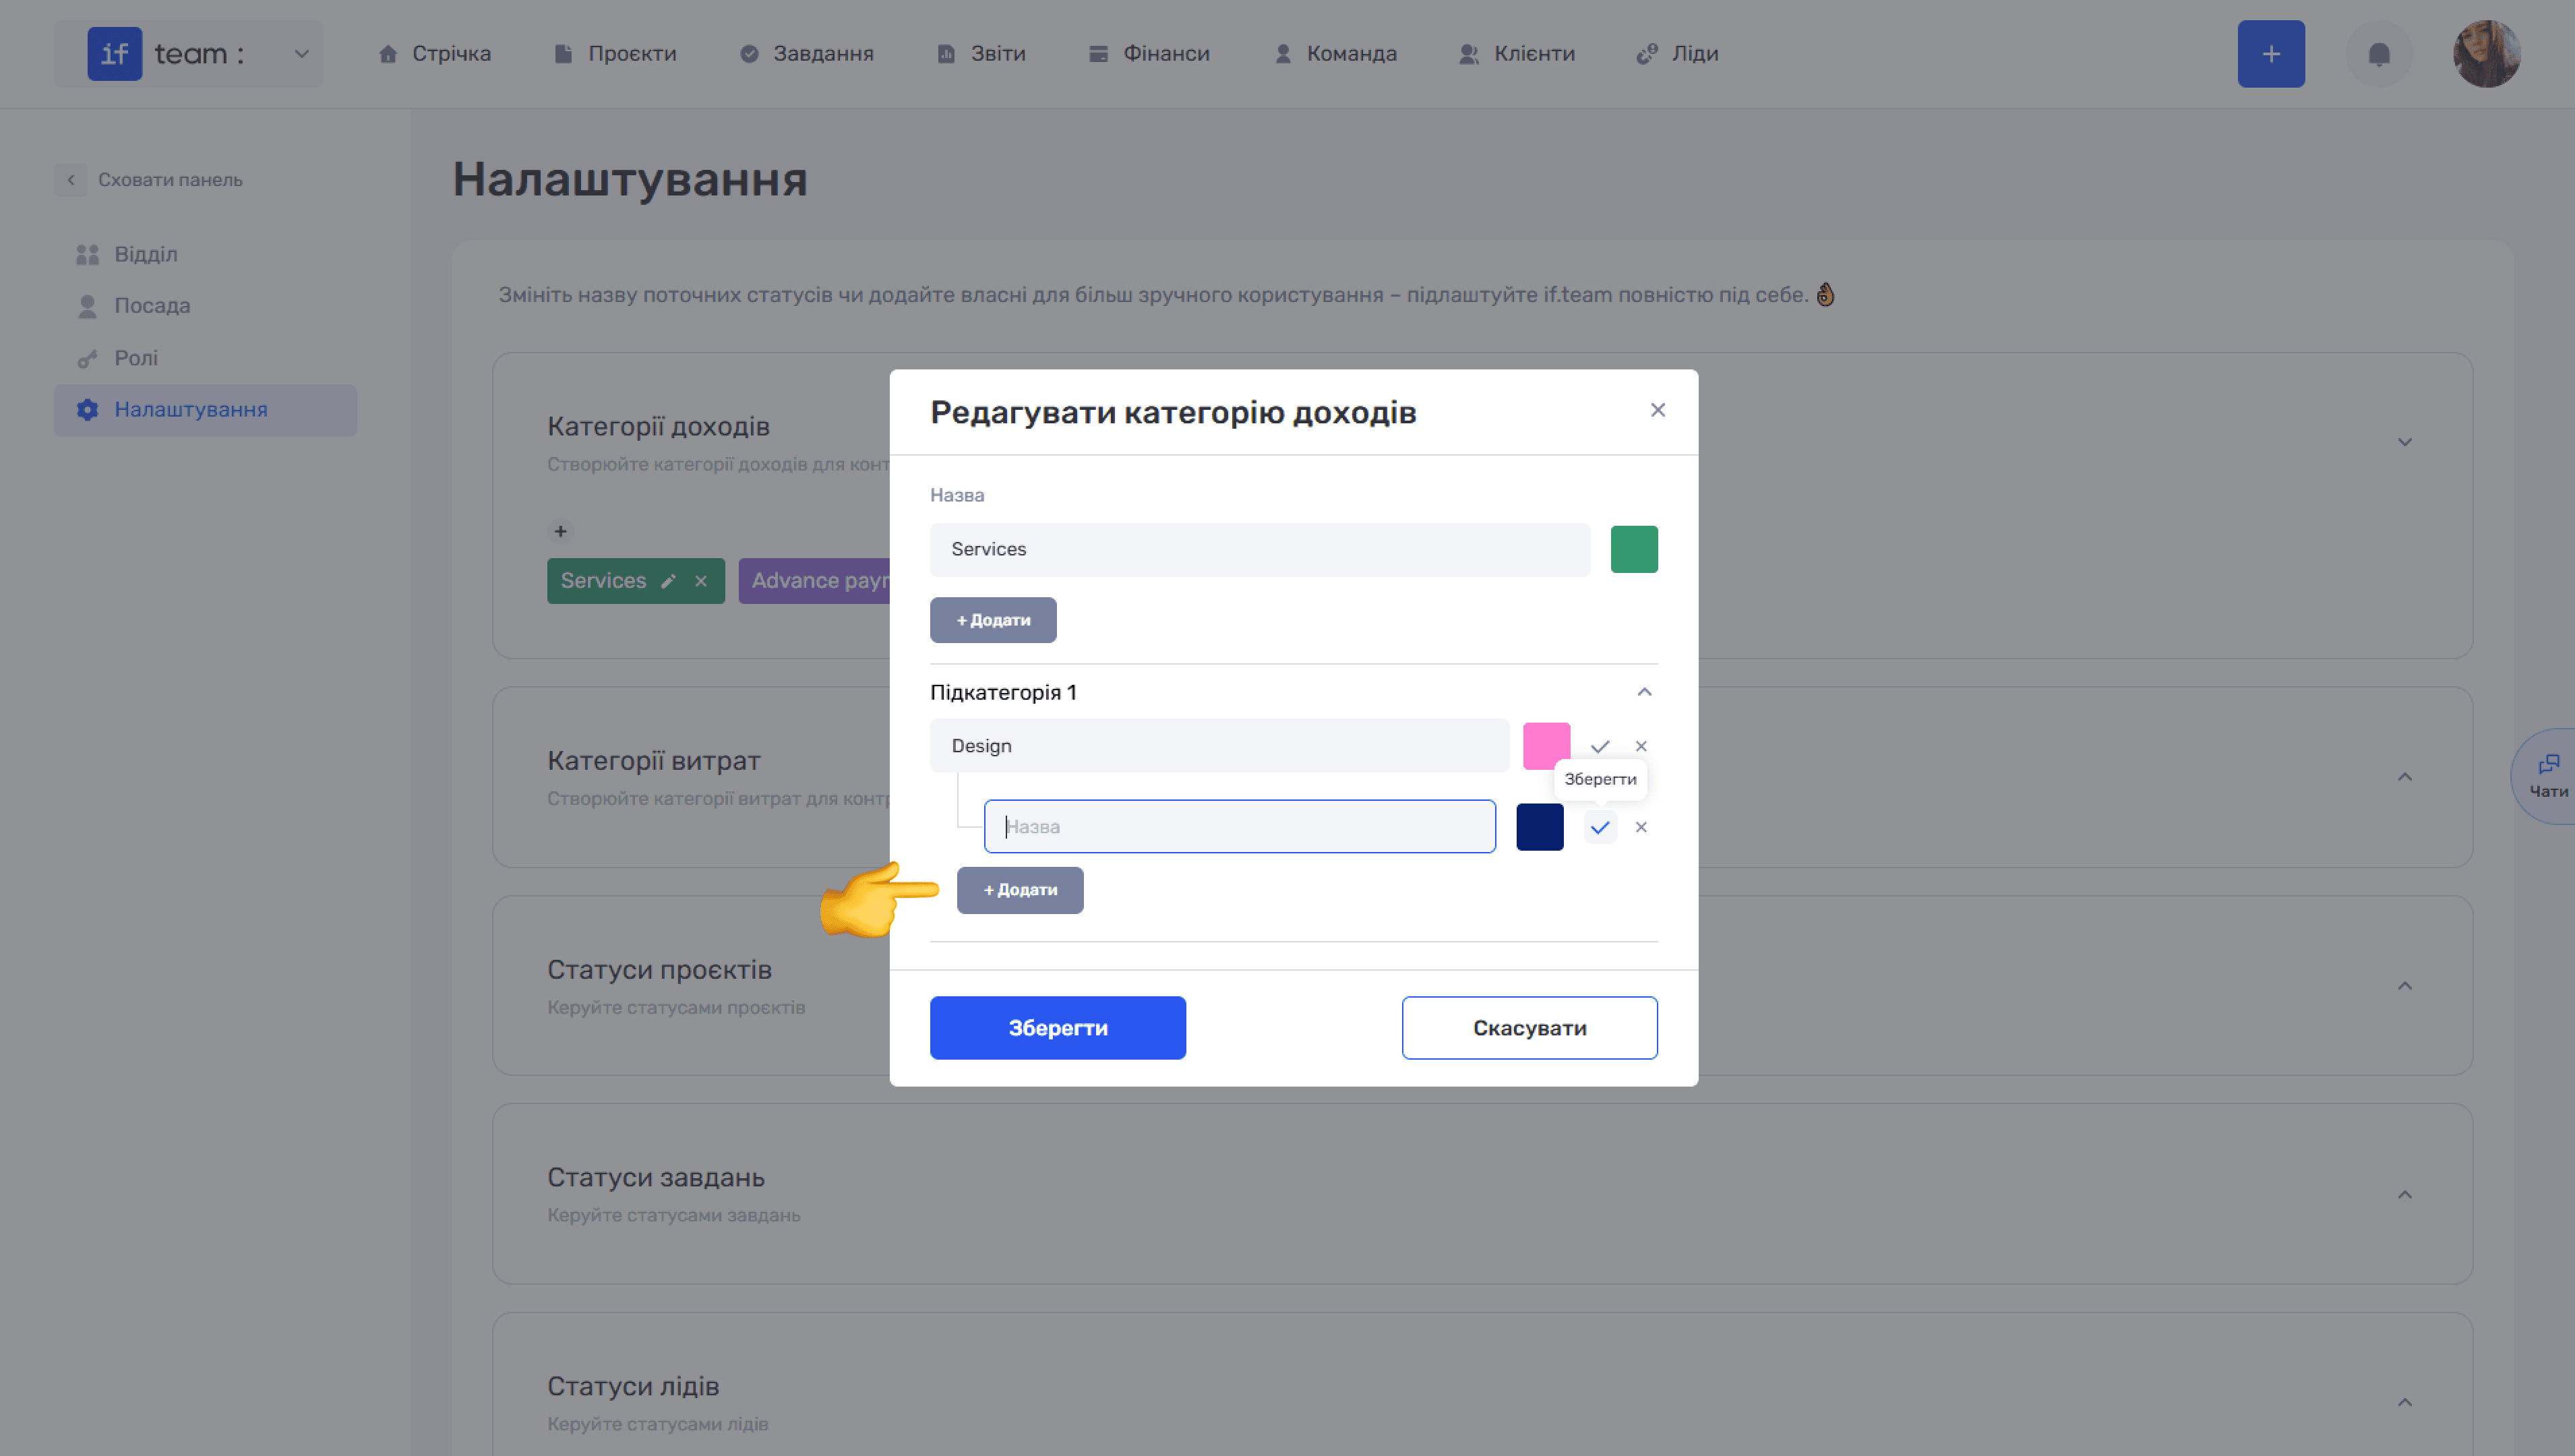
For a more detailed structure, create subcategories within a category. Click + Add in the category editing window, enter the subcategory name, and select its color.
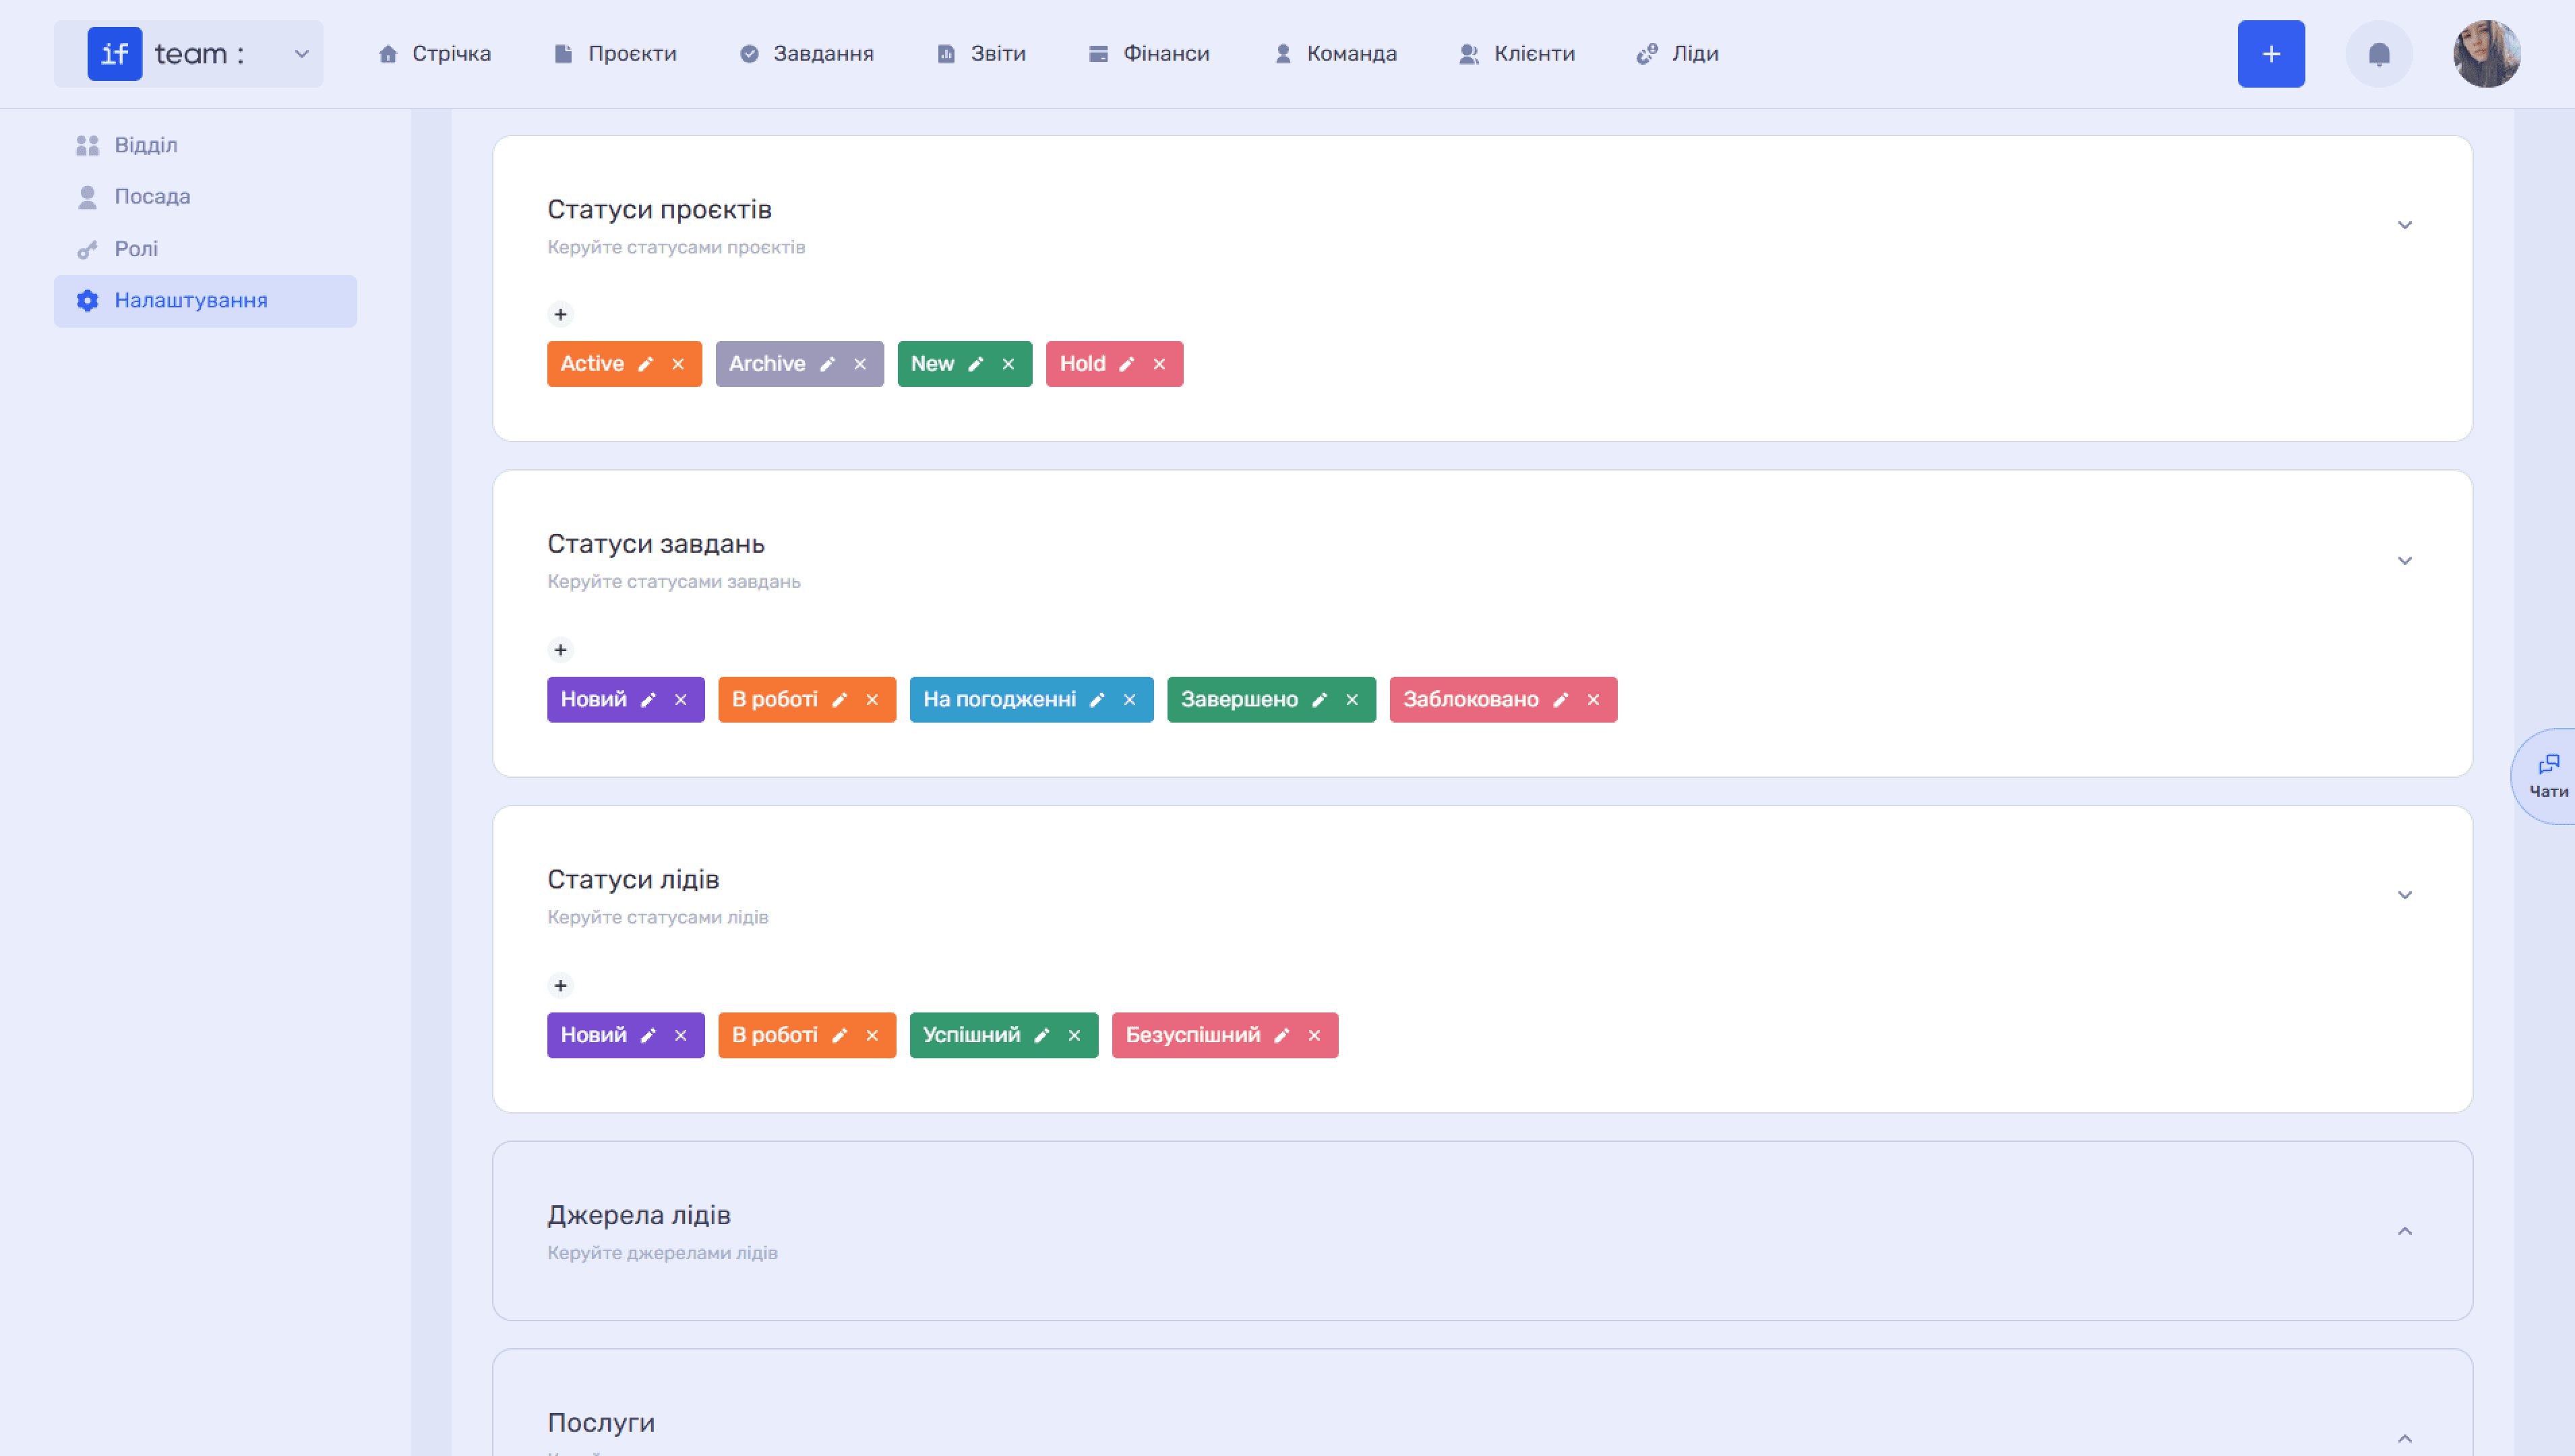
- Statuses lets you configure status sets for different system entities: projects, tasks, leads, iterations, and transactions. Statuses define workflow stages and are used in Kanban boards, filters, and reports.
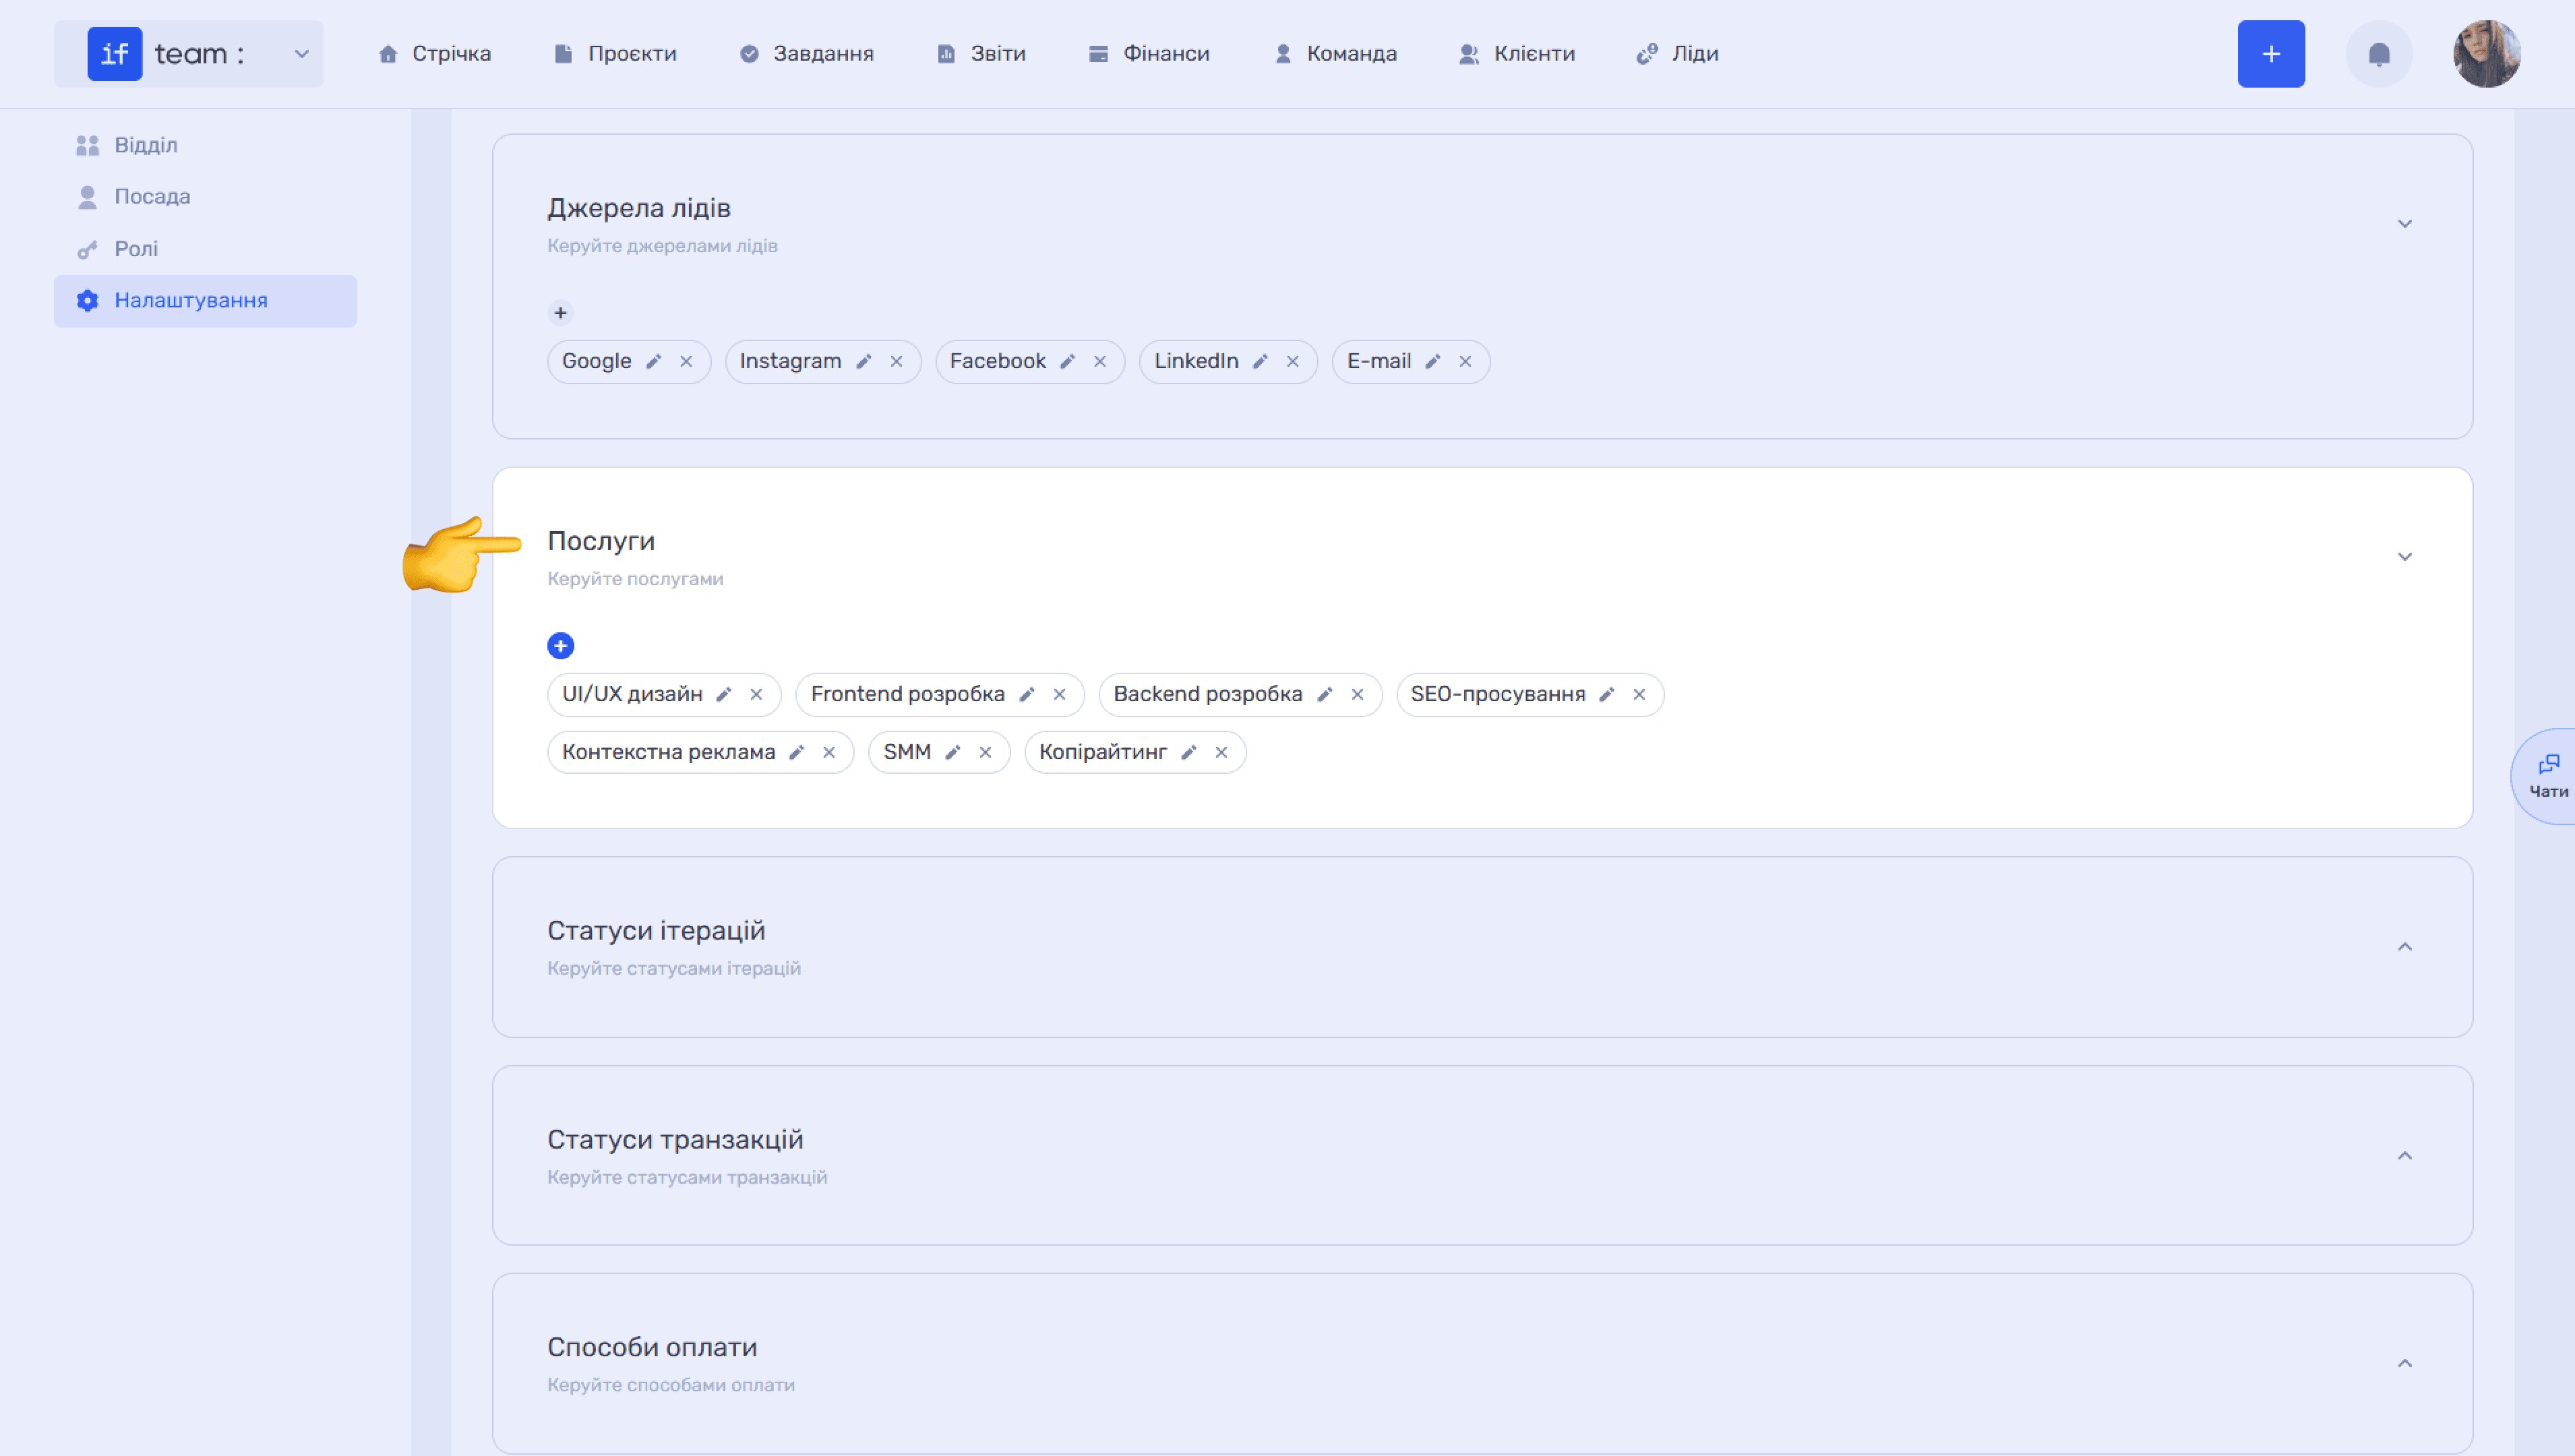
- Lead Sources lets you manage the list of channels through which potential clients arrive.
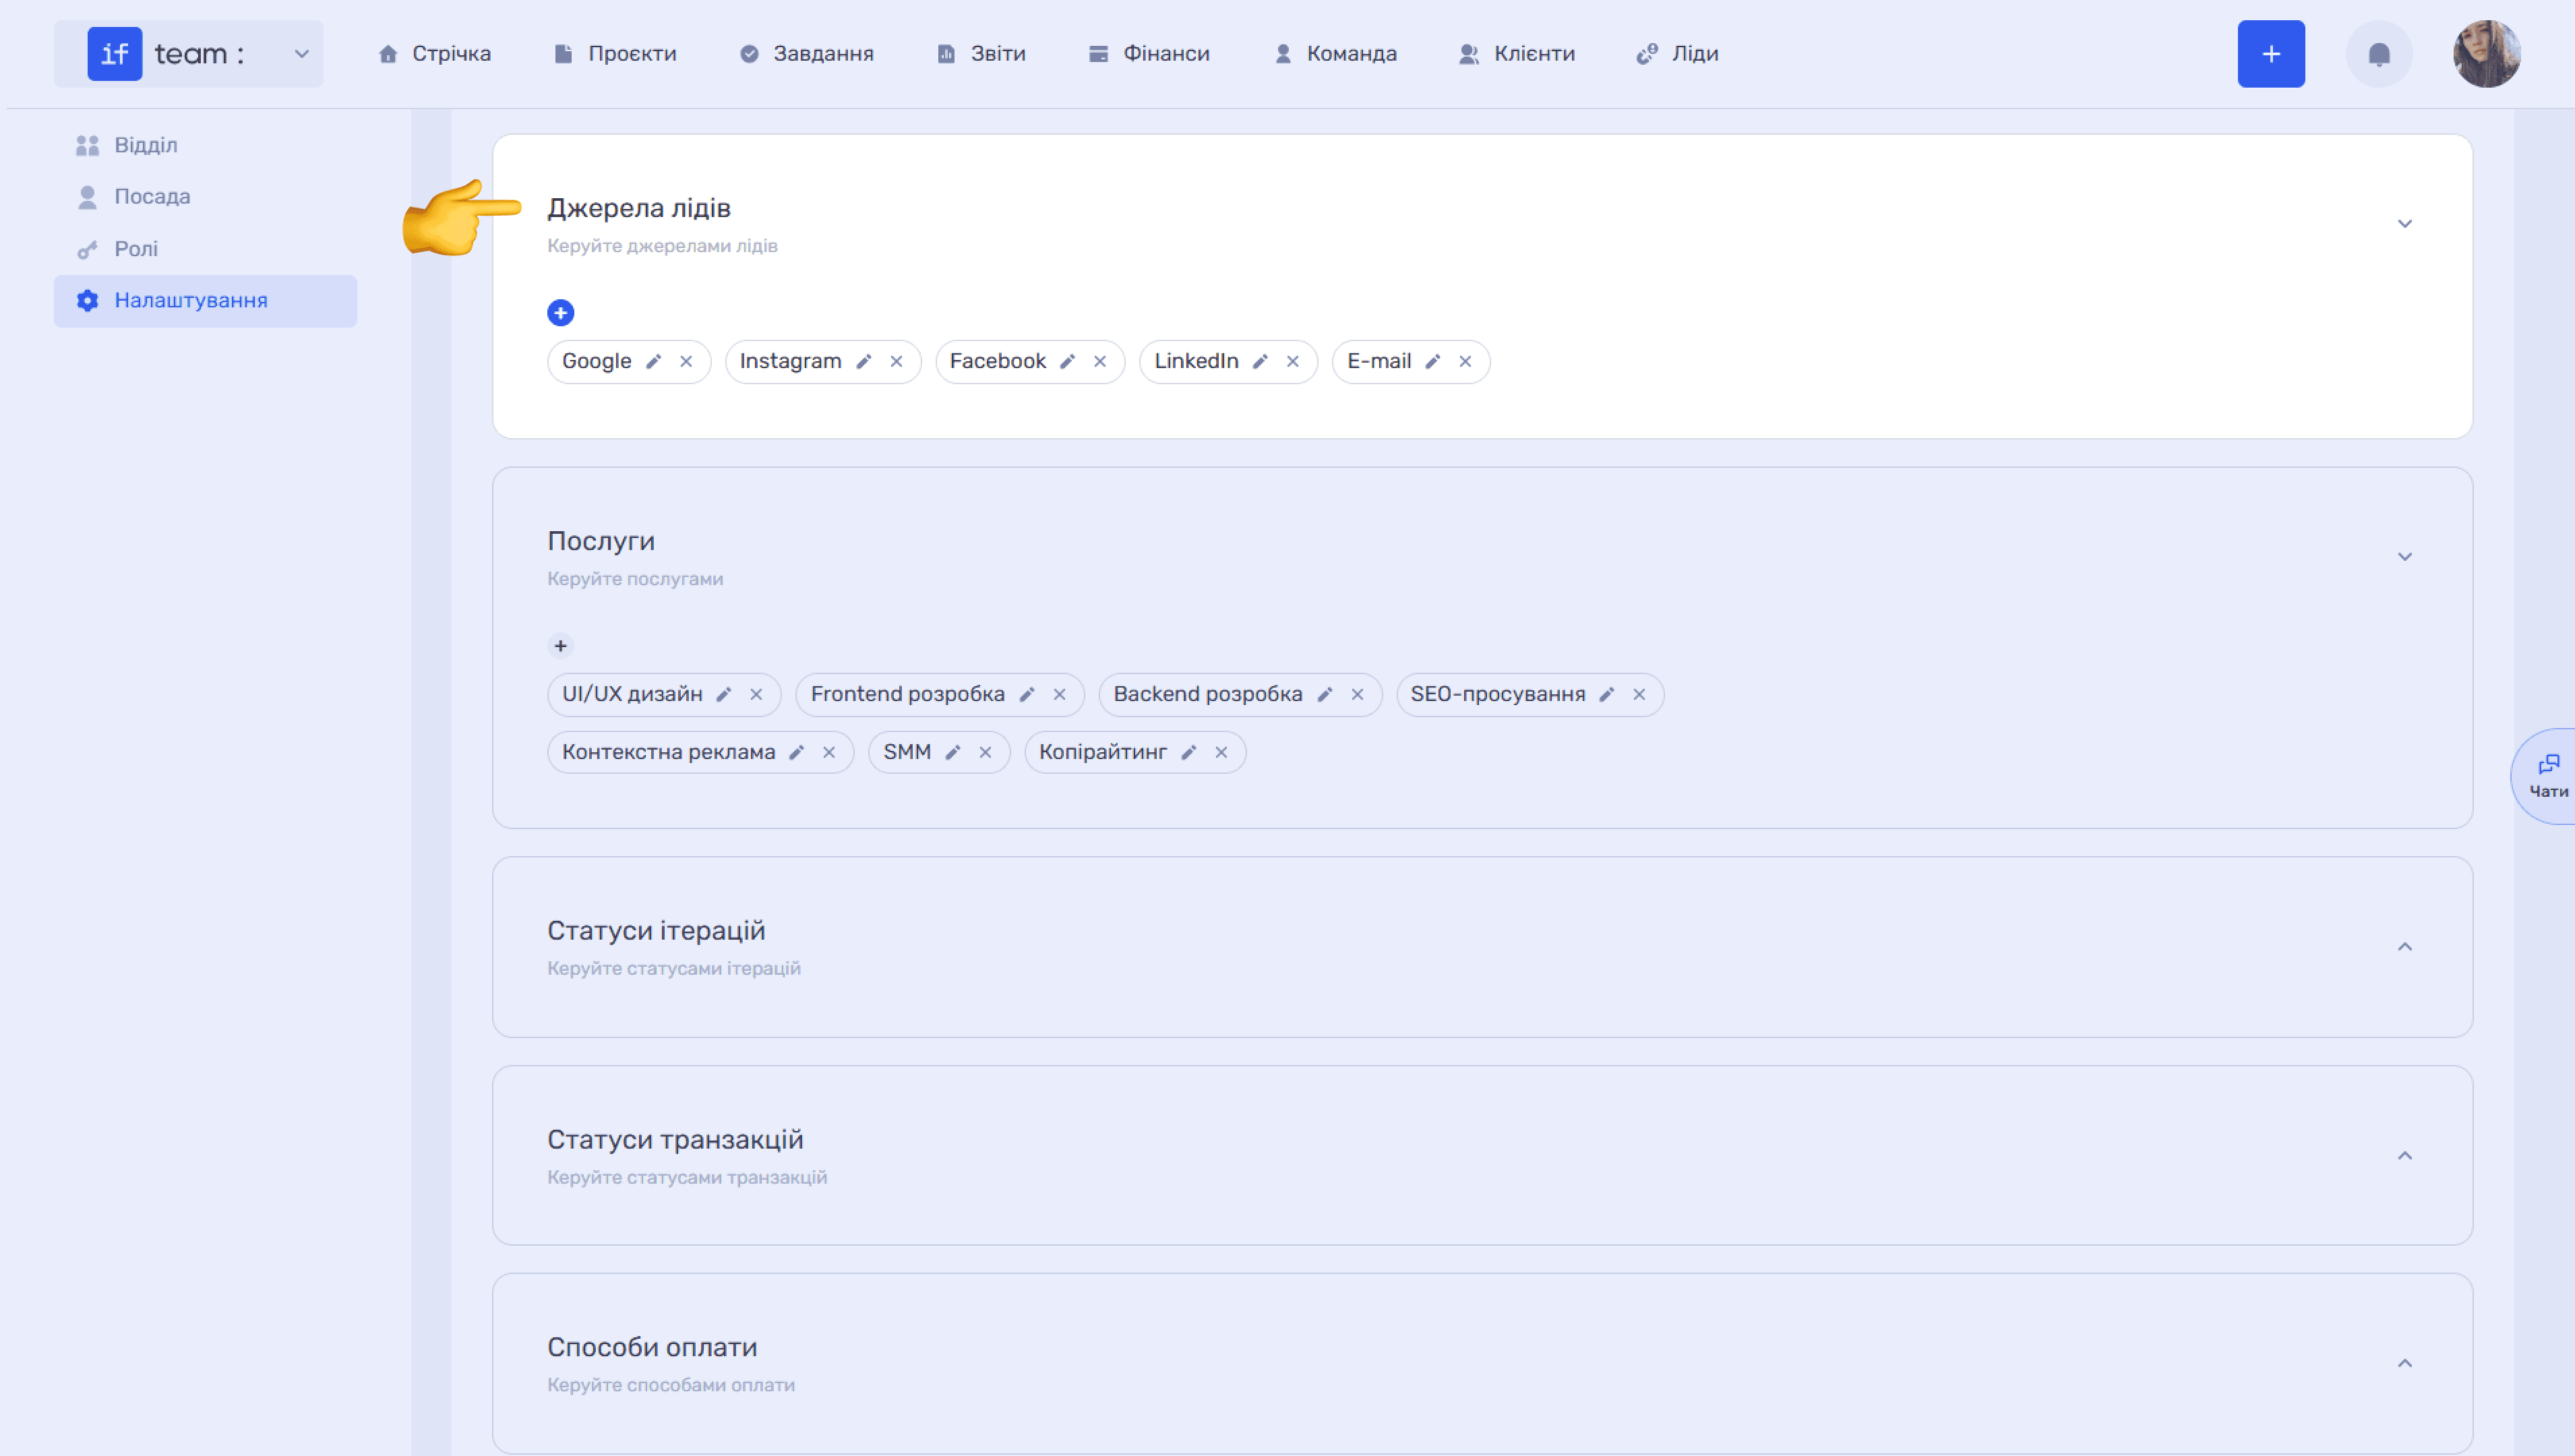
- Services lets you build the list of services the company provides to clients.
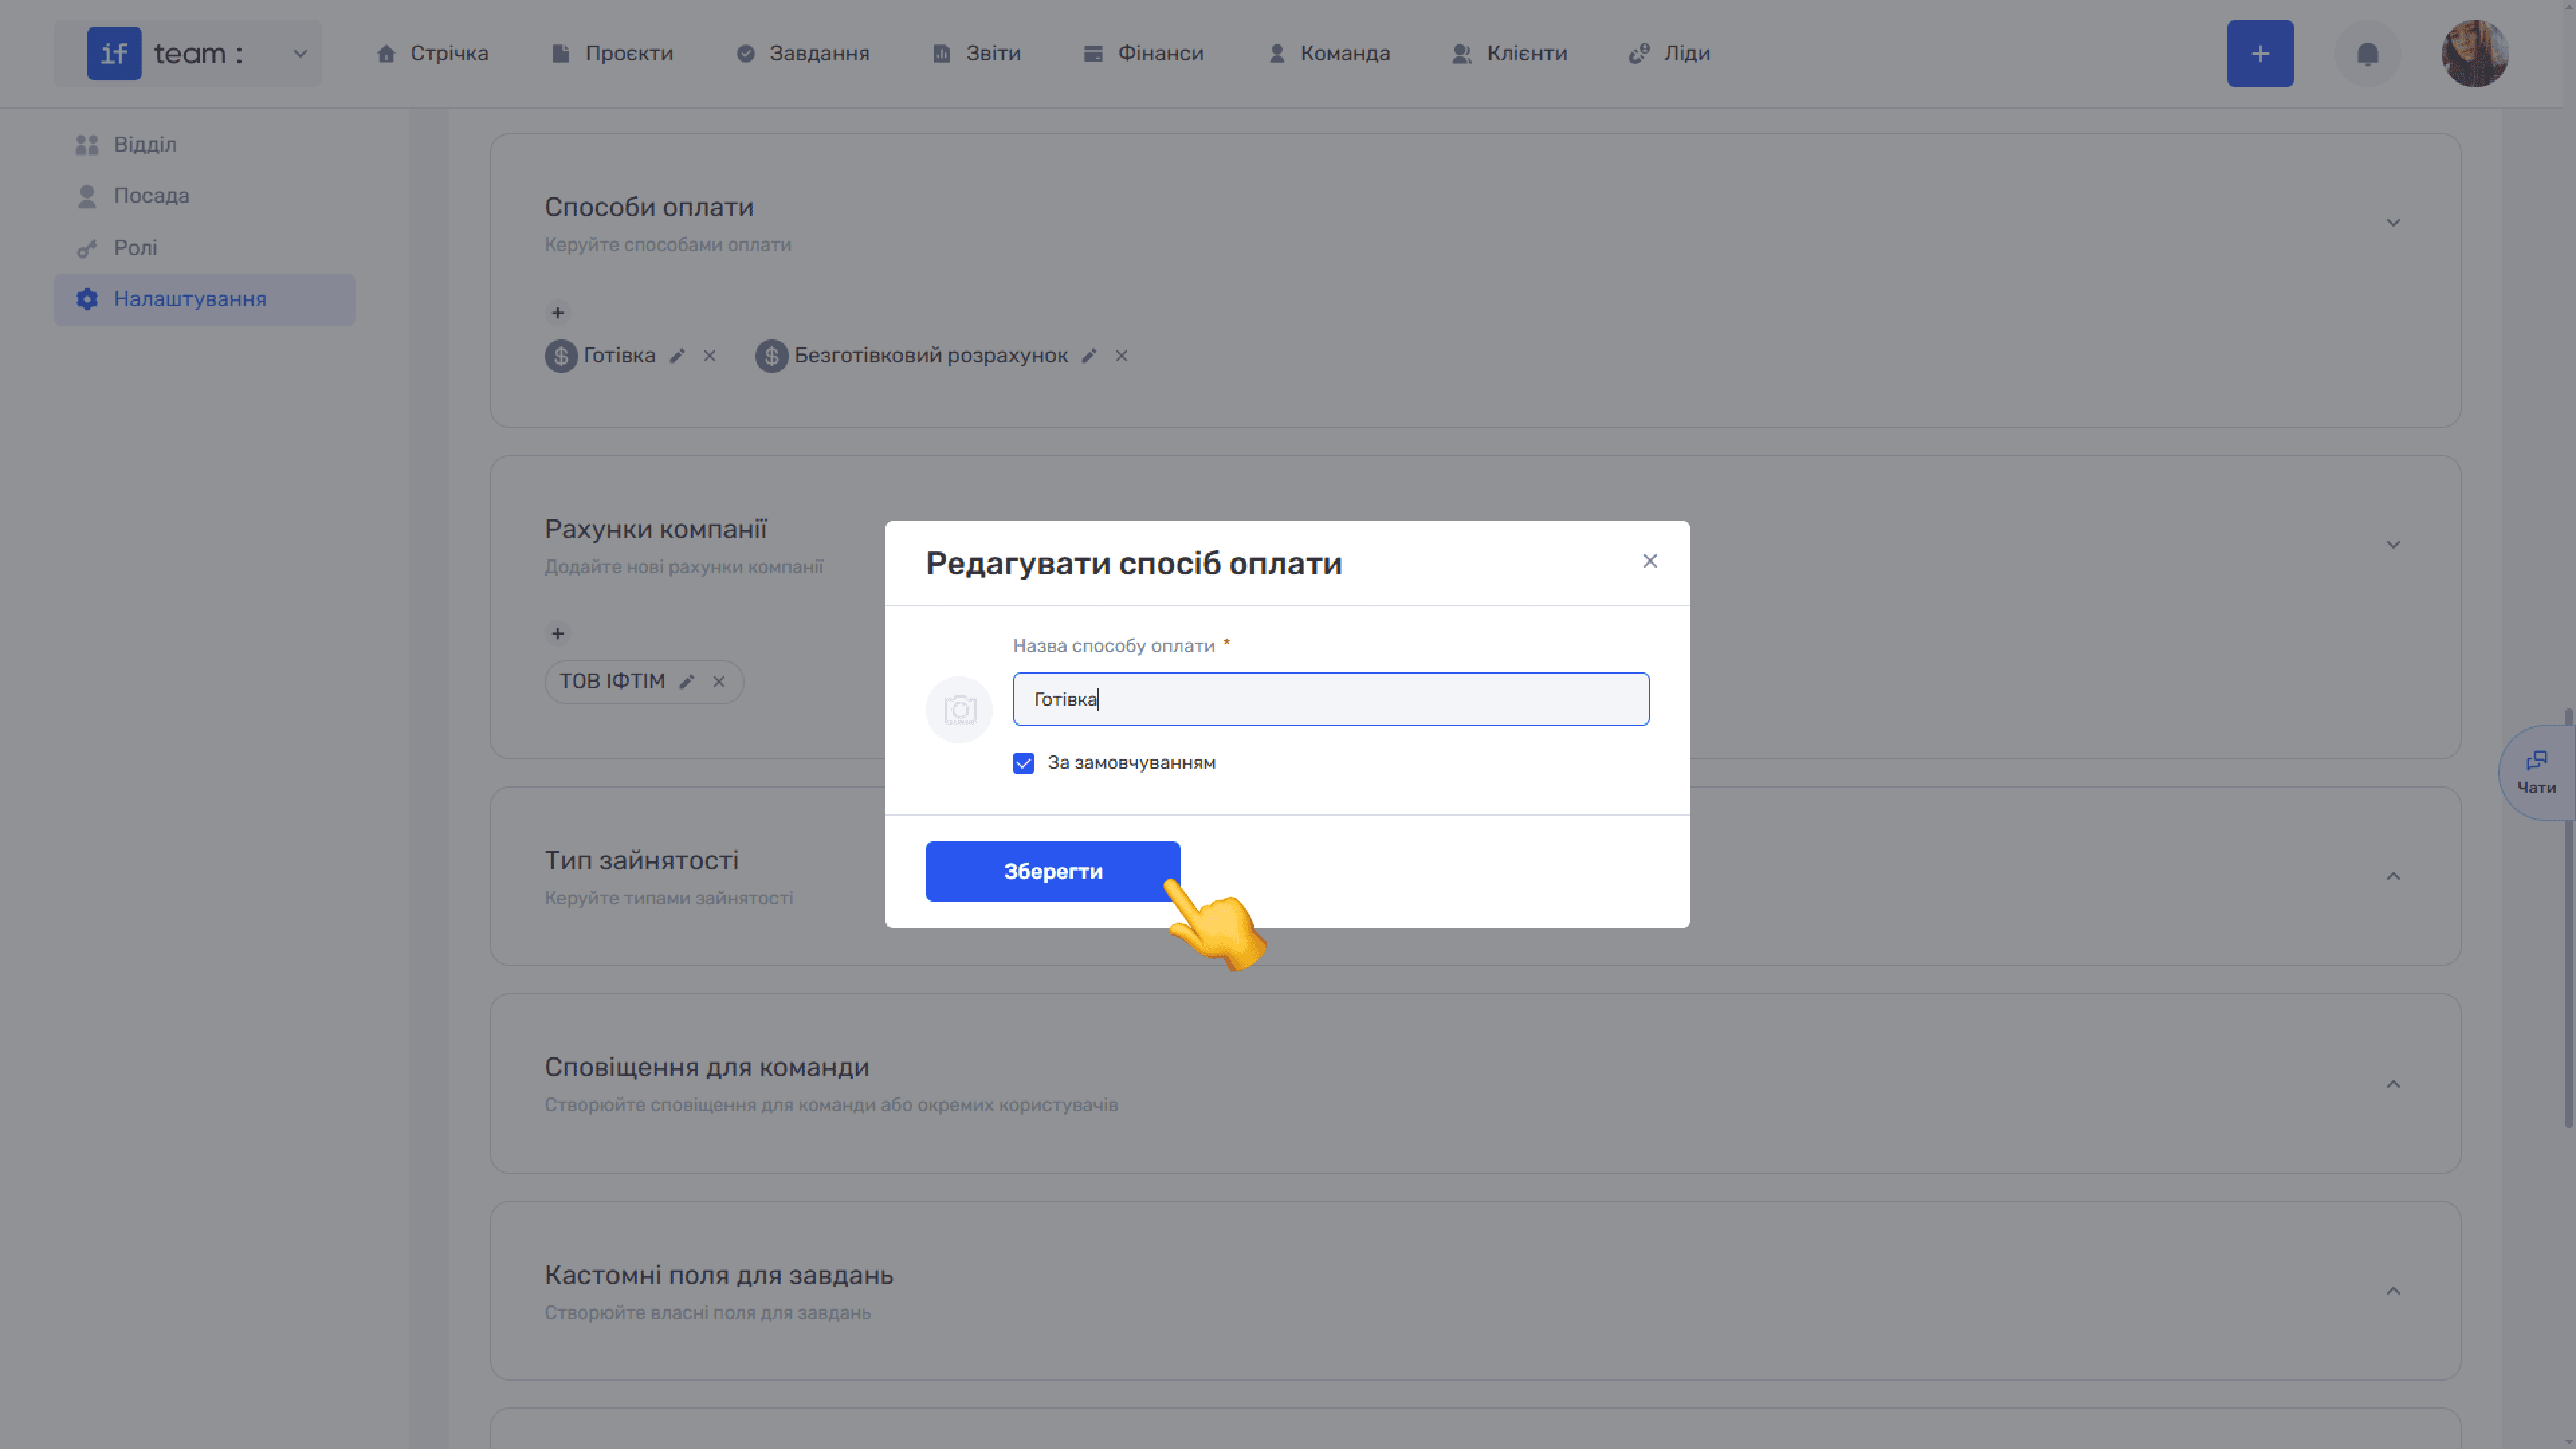
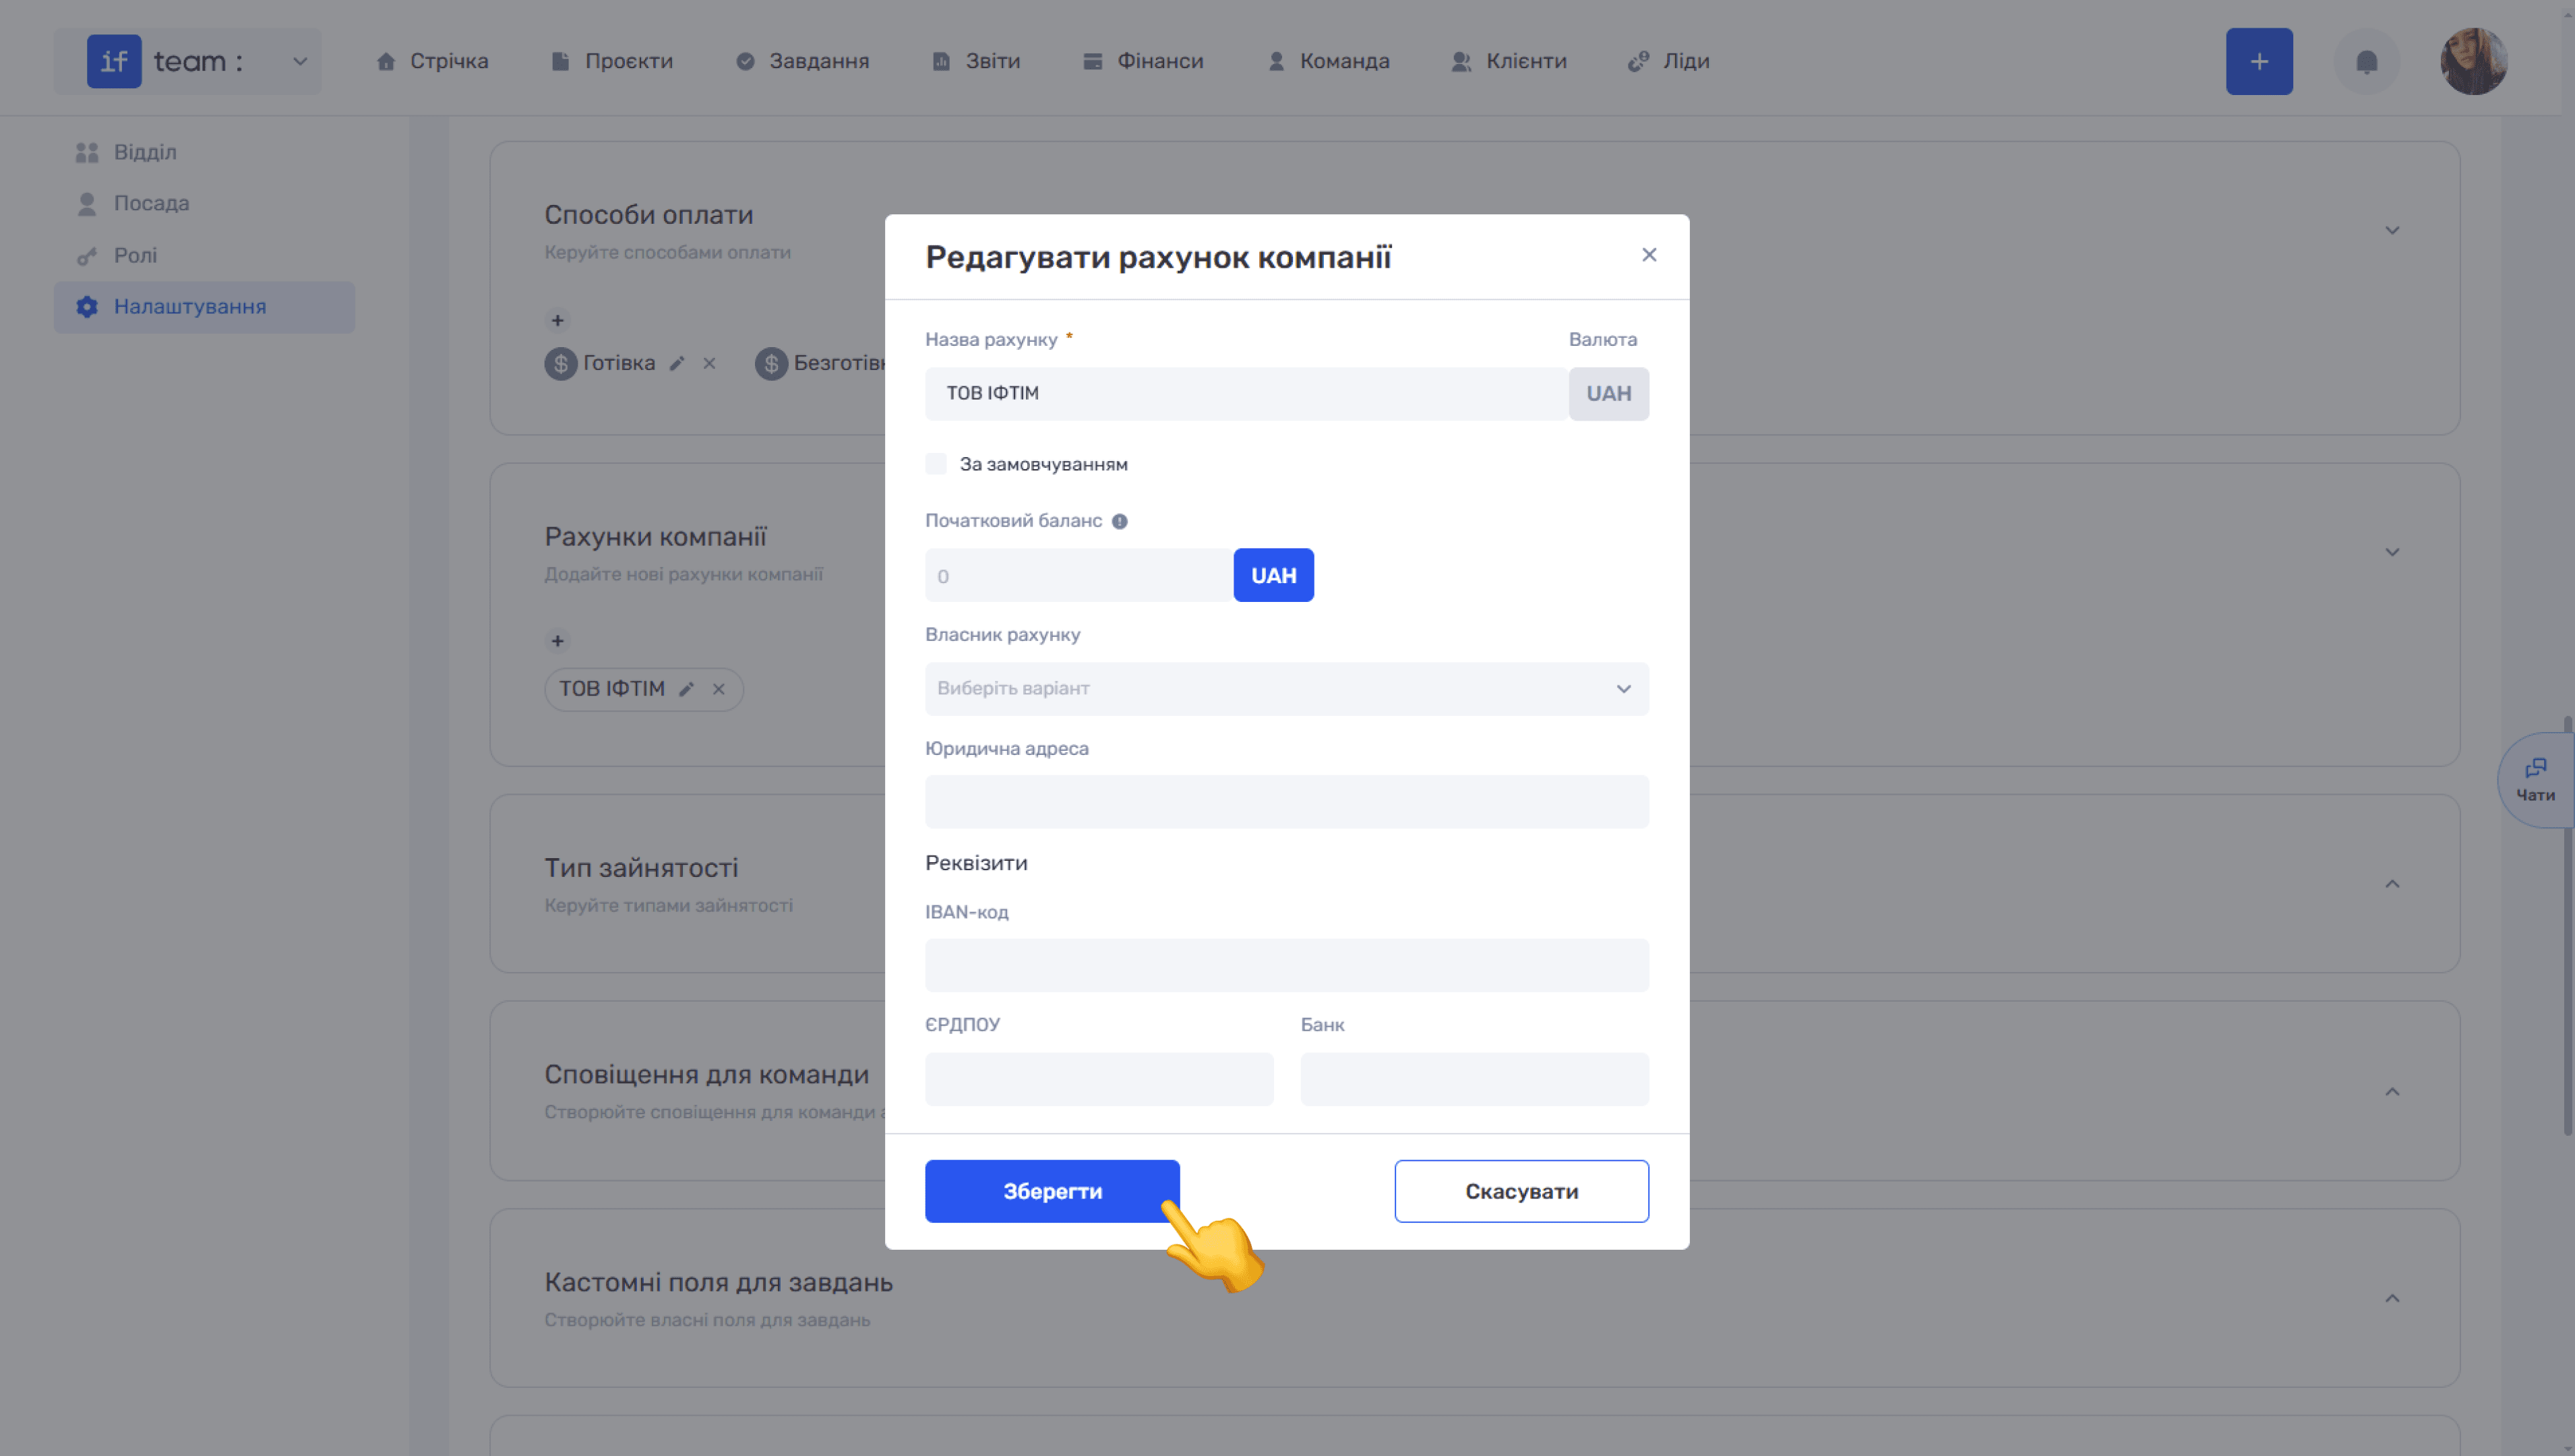
- Payment Methods and Company Accounts let you configure payment parameters for financial accounting.
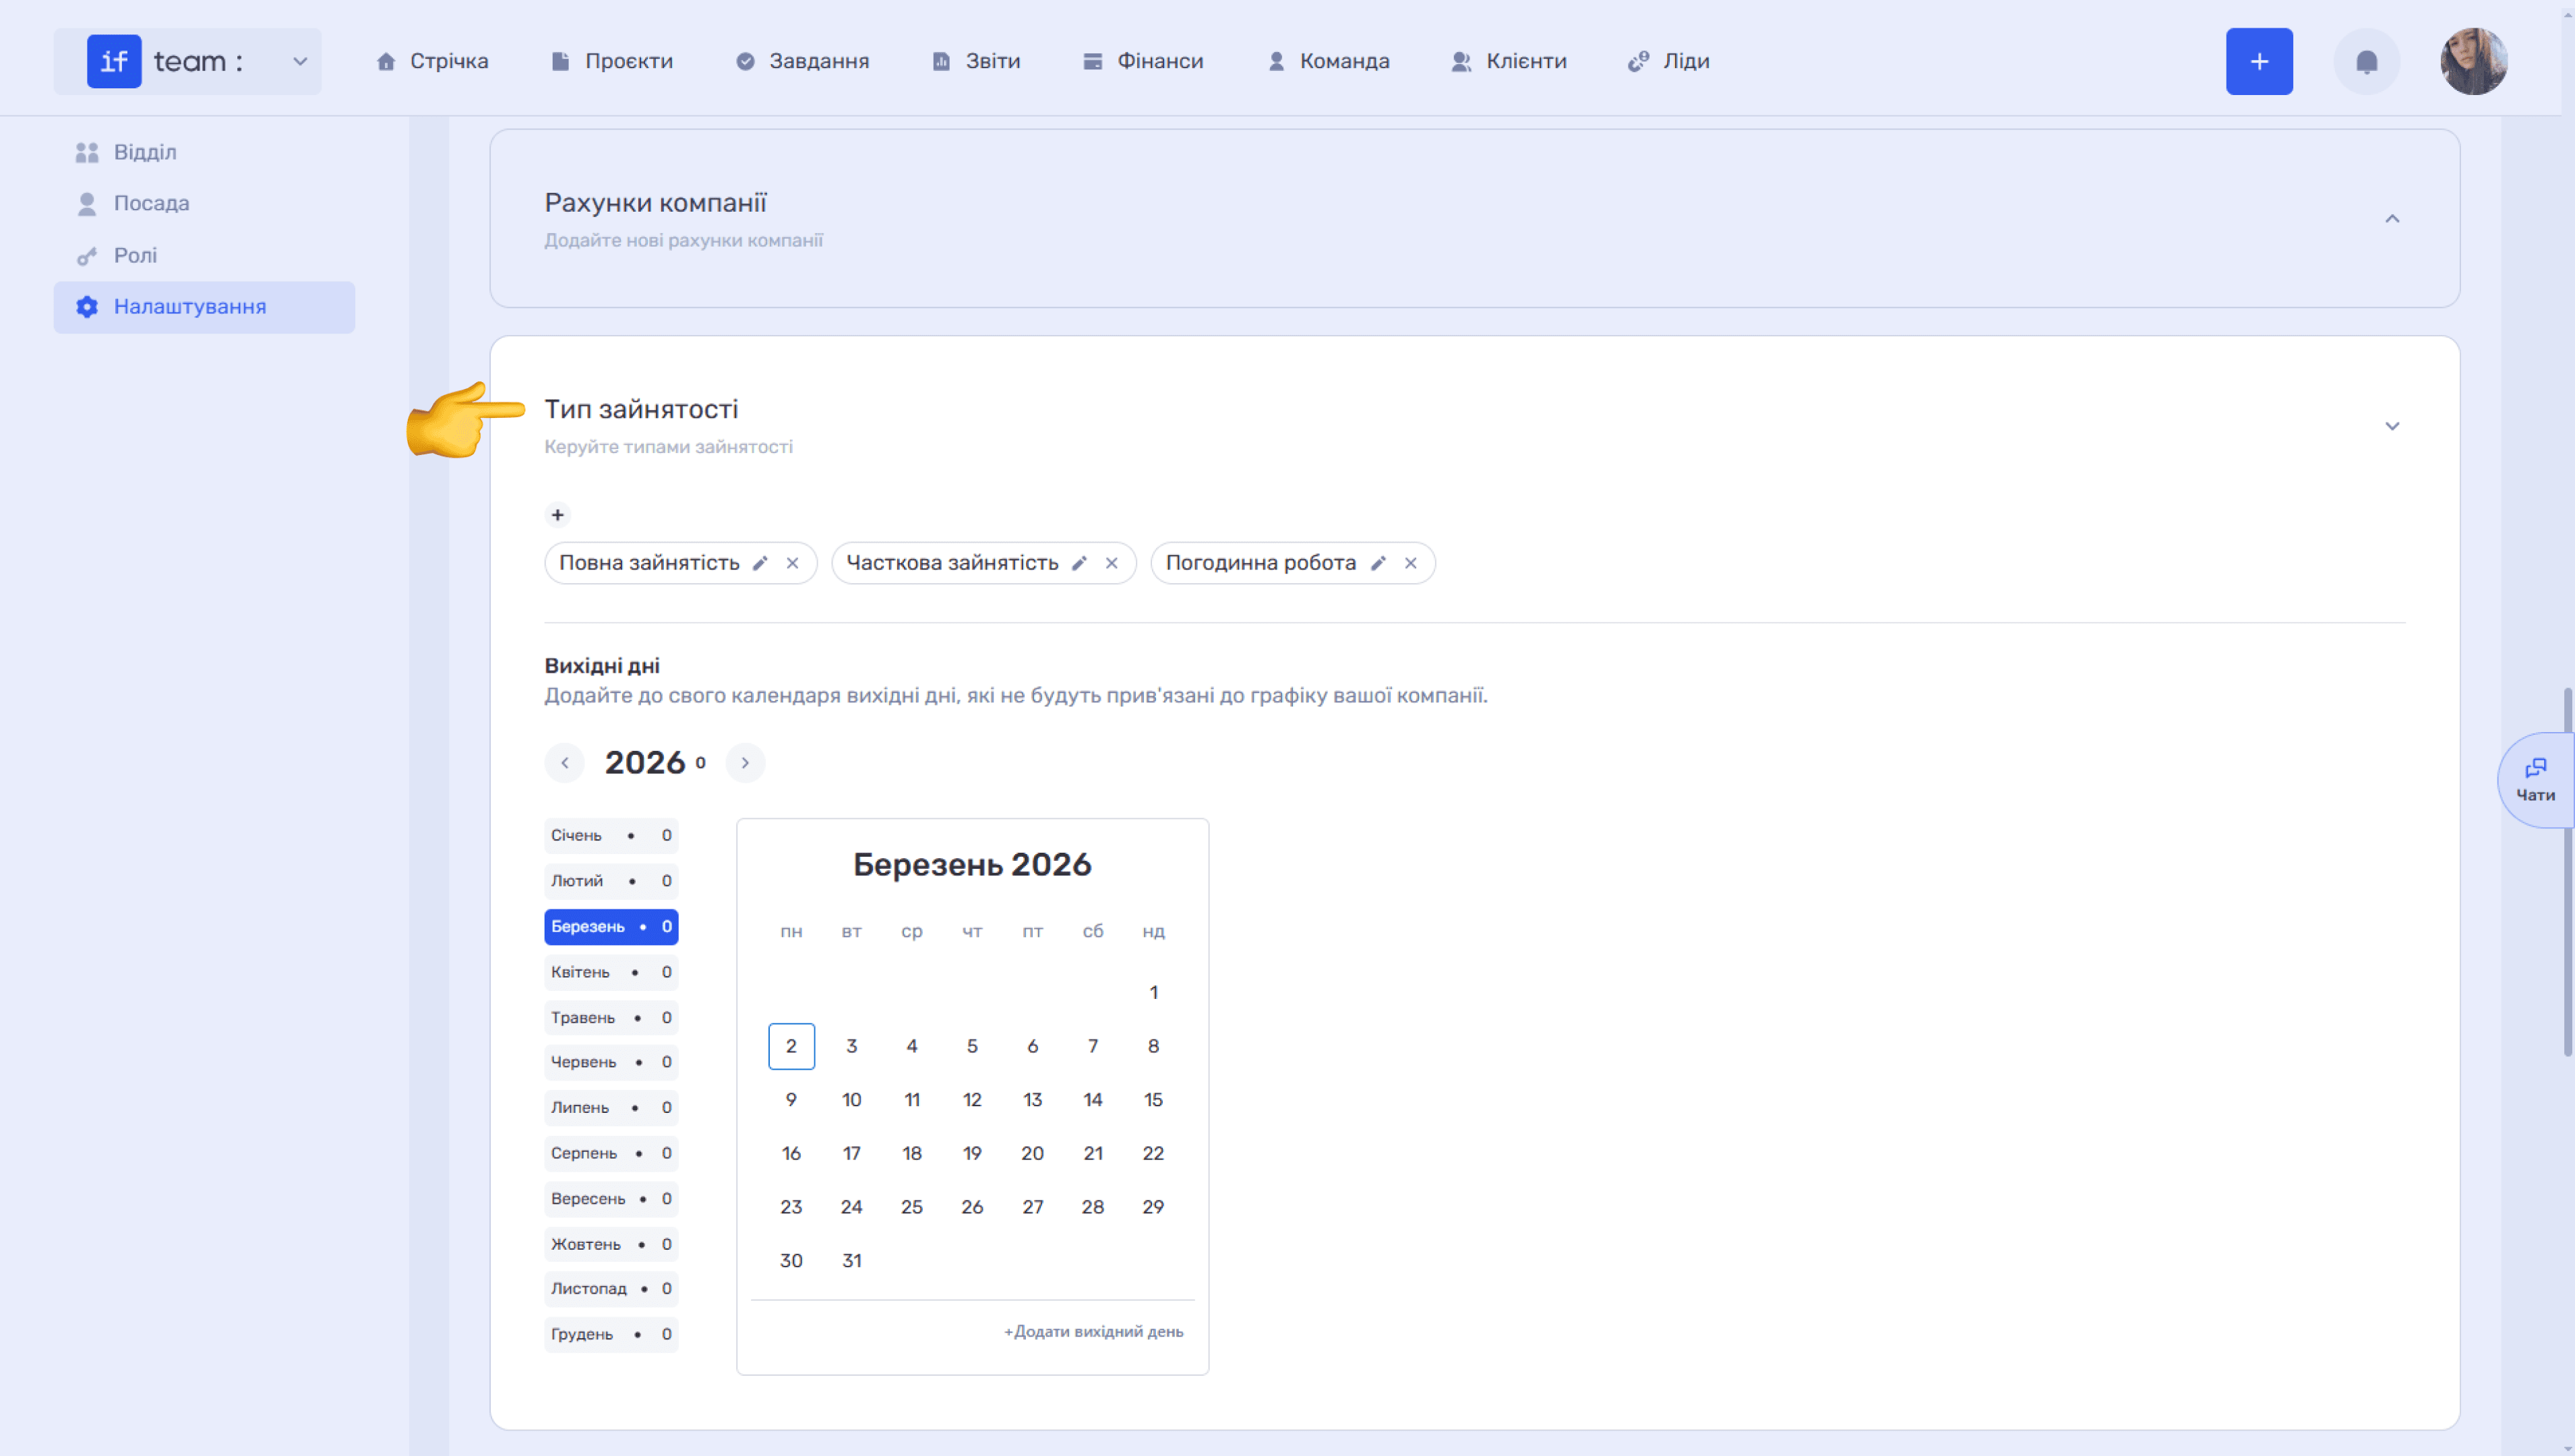
- Employment Type lets you edit the available employment arrangements for employees.
- Team Notifications lets you create notifications for the entire team or selected users.
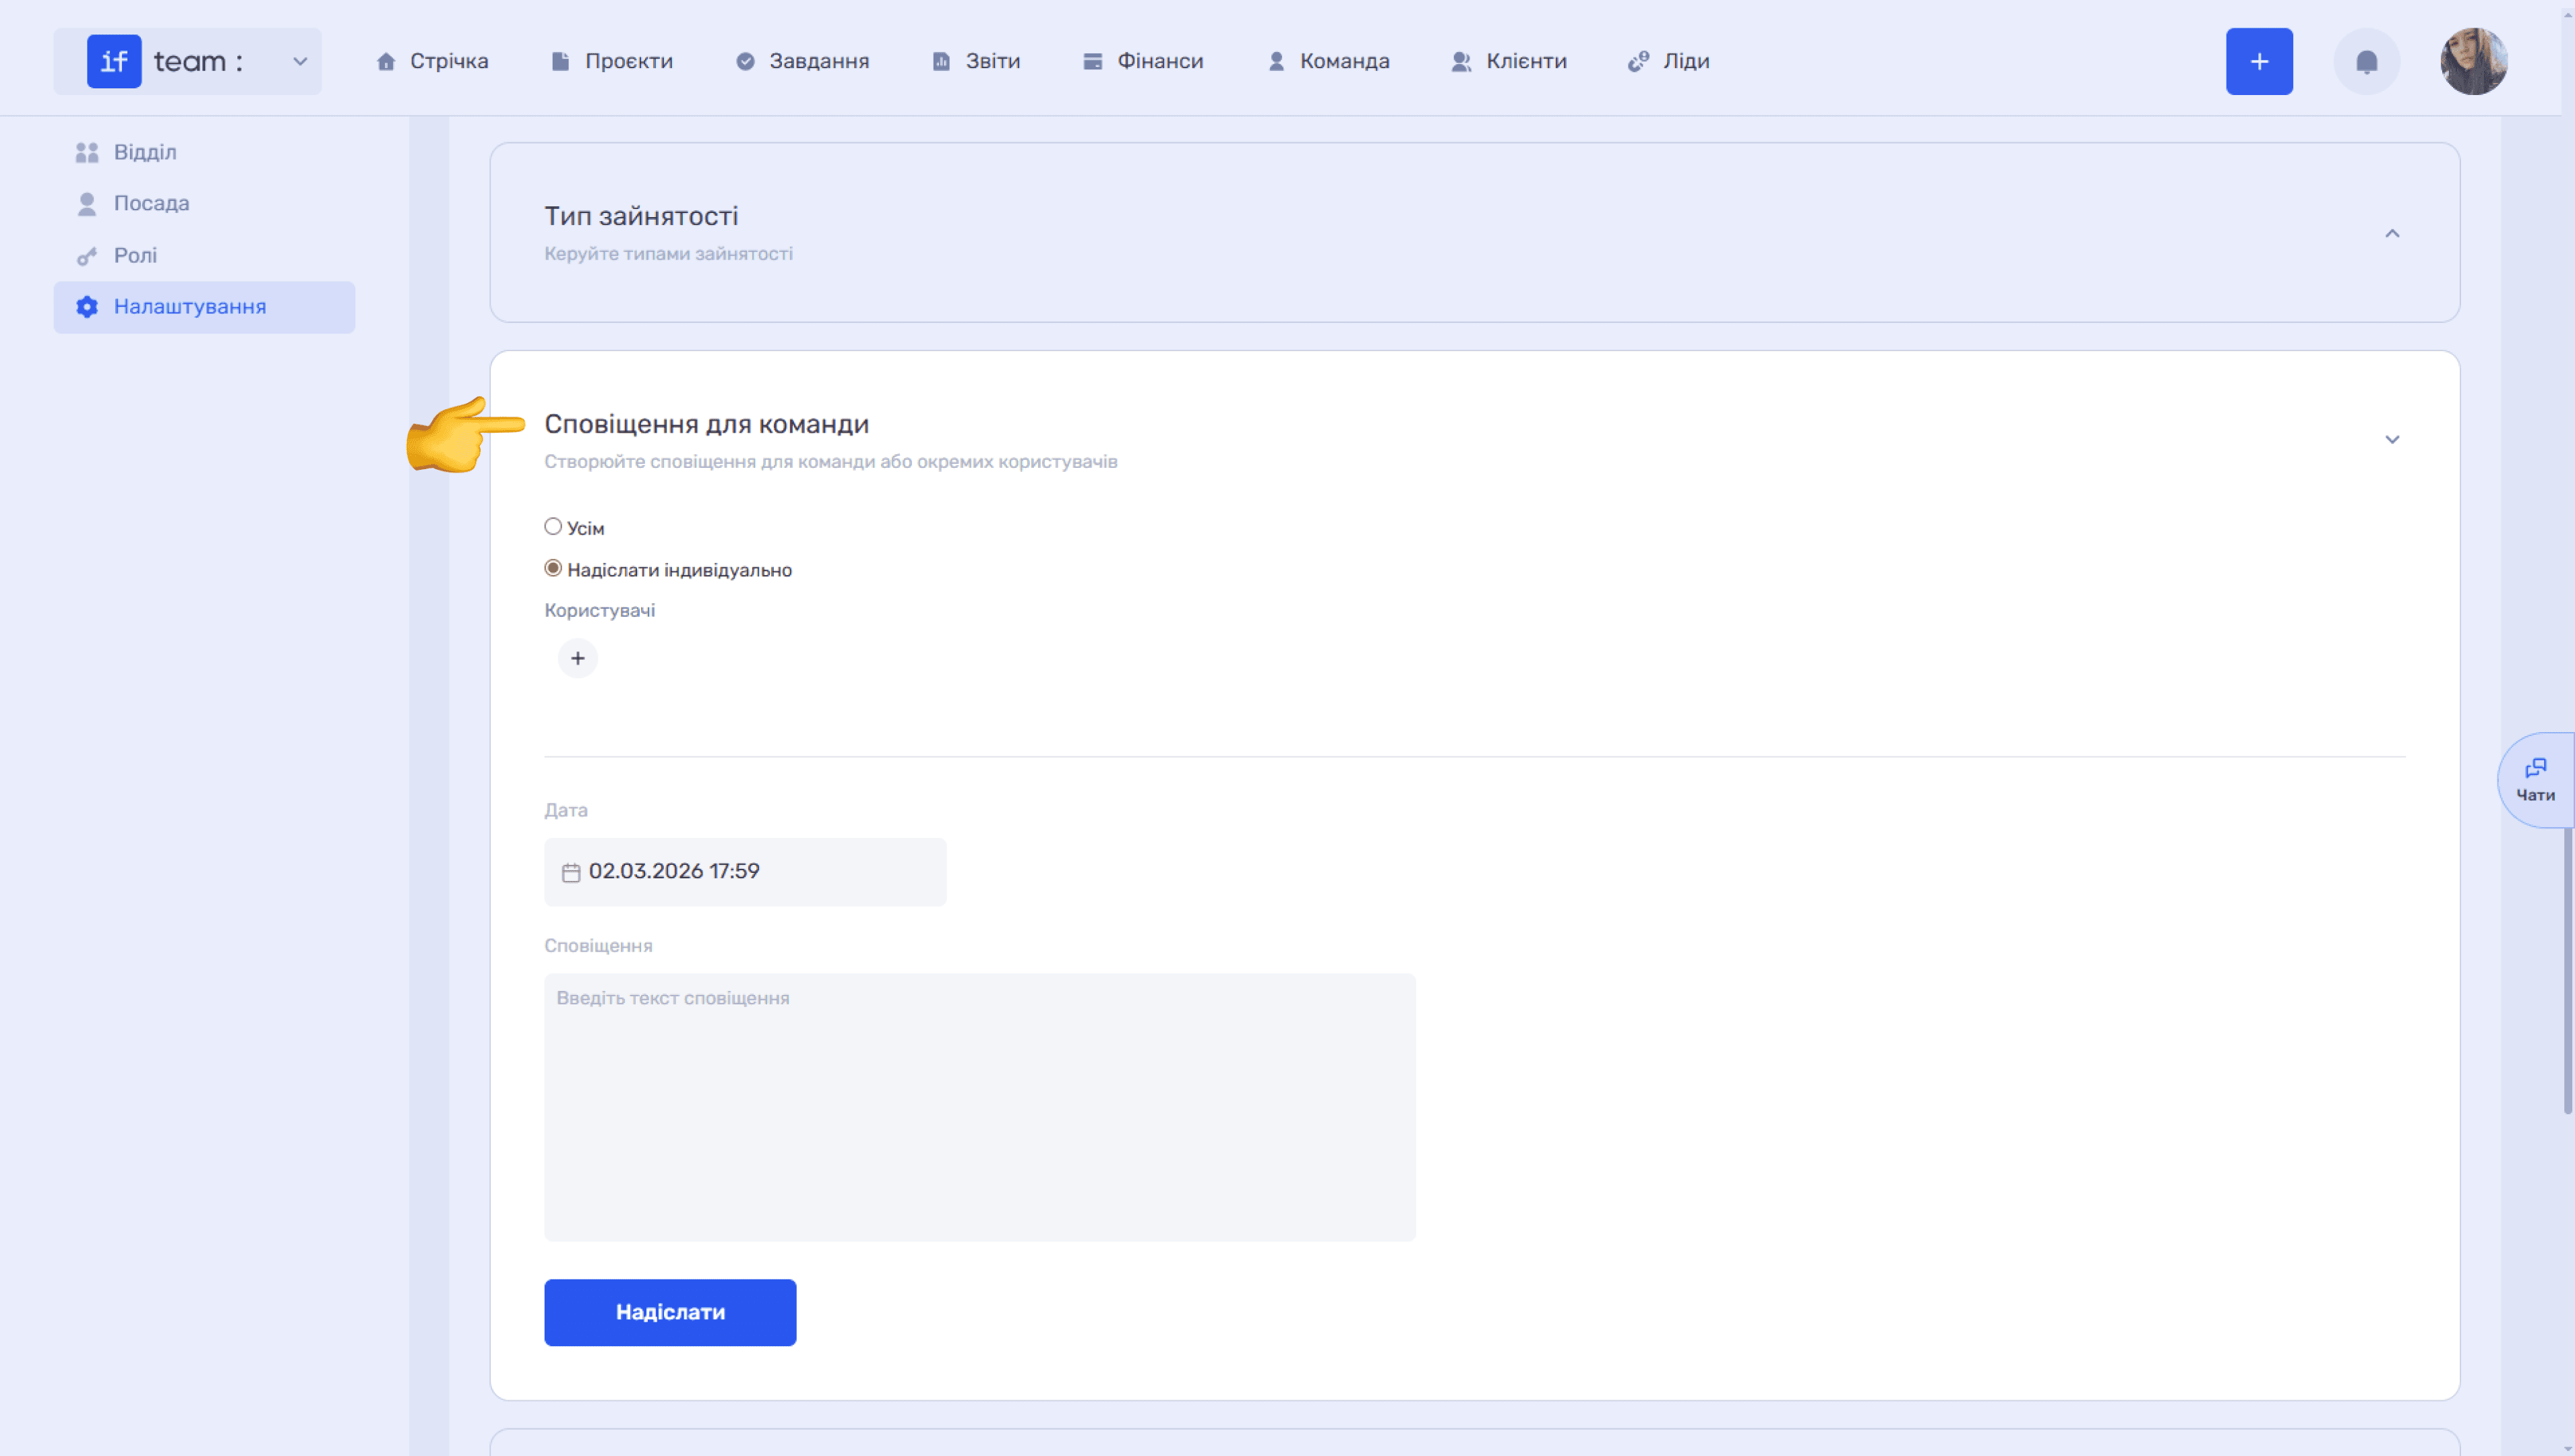
- Custom Fields lets you create custom fields that extend the standard task, client, lead, project, member, and transaction cards.
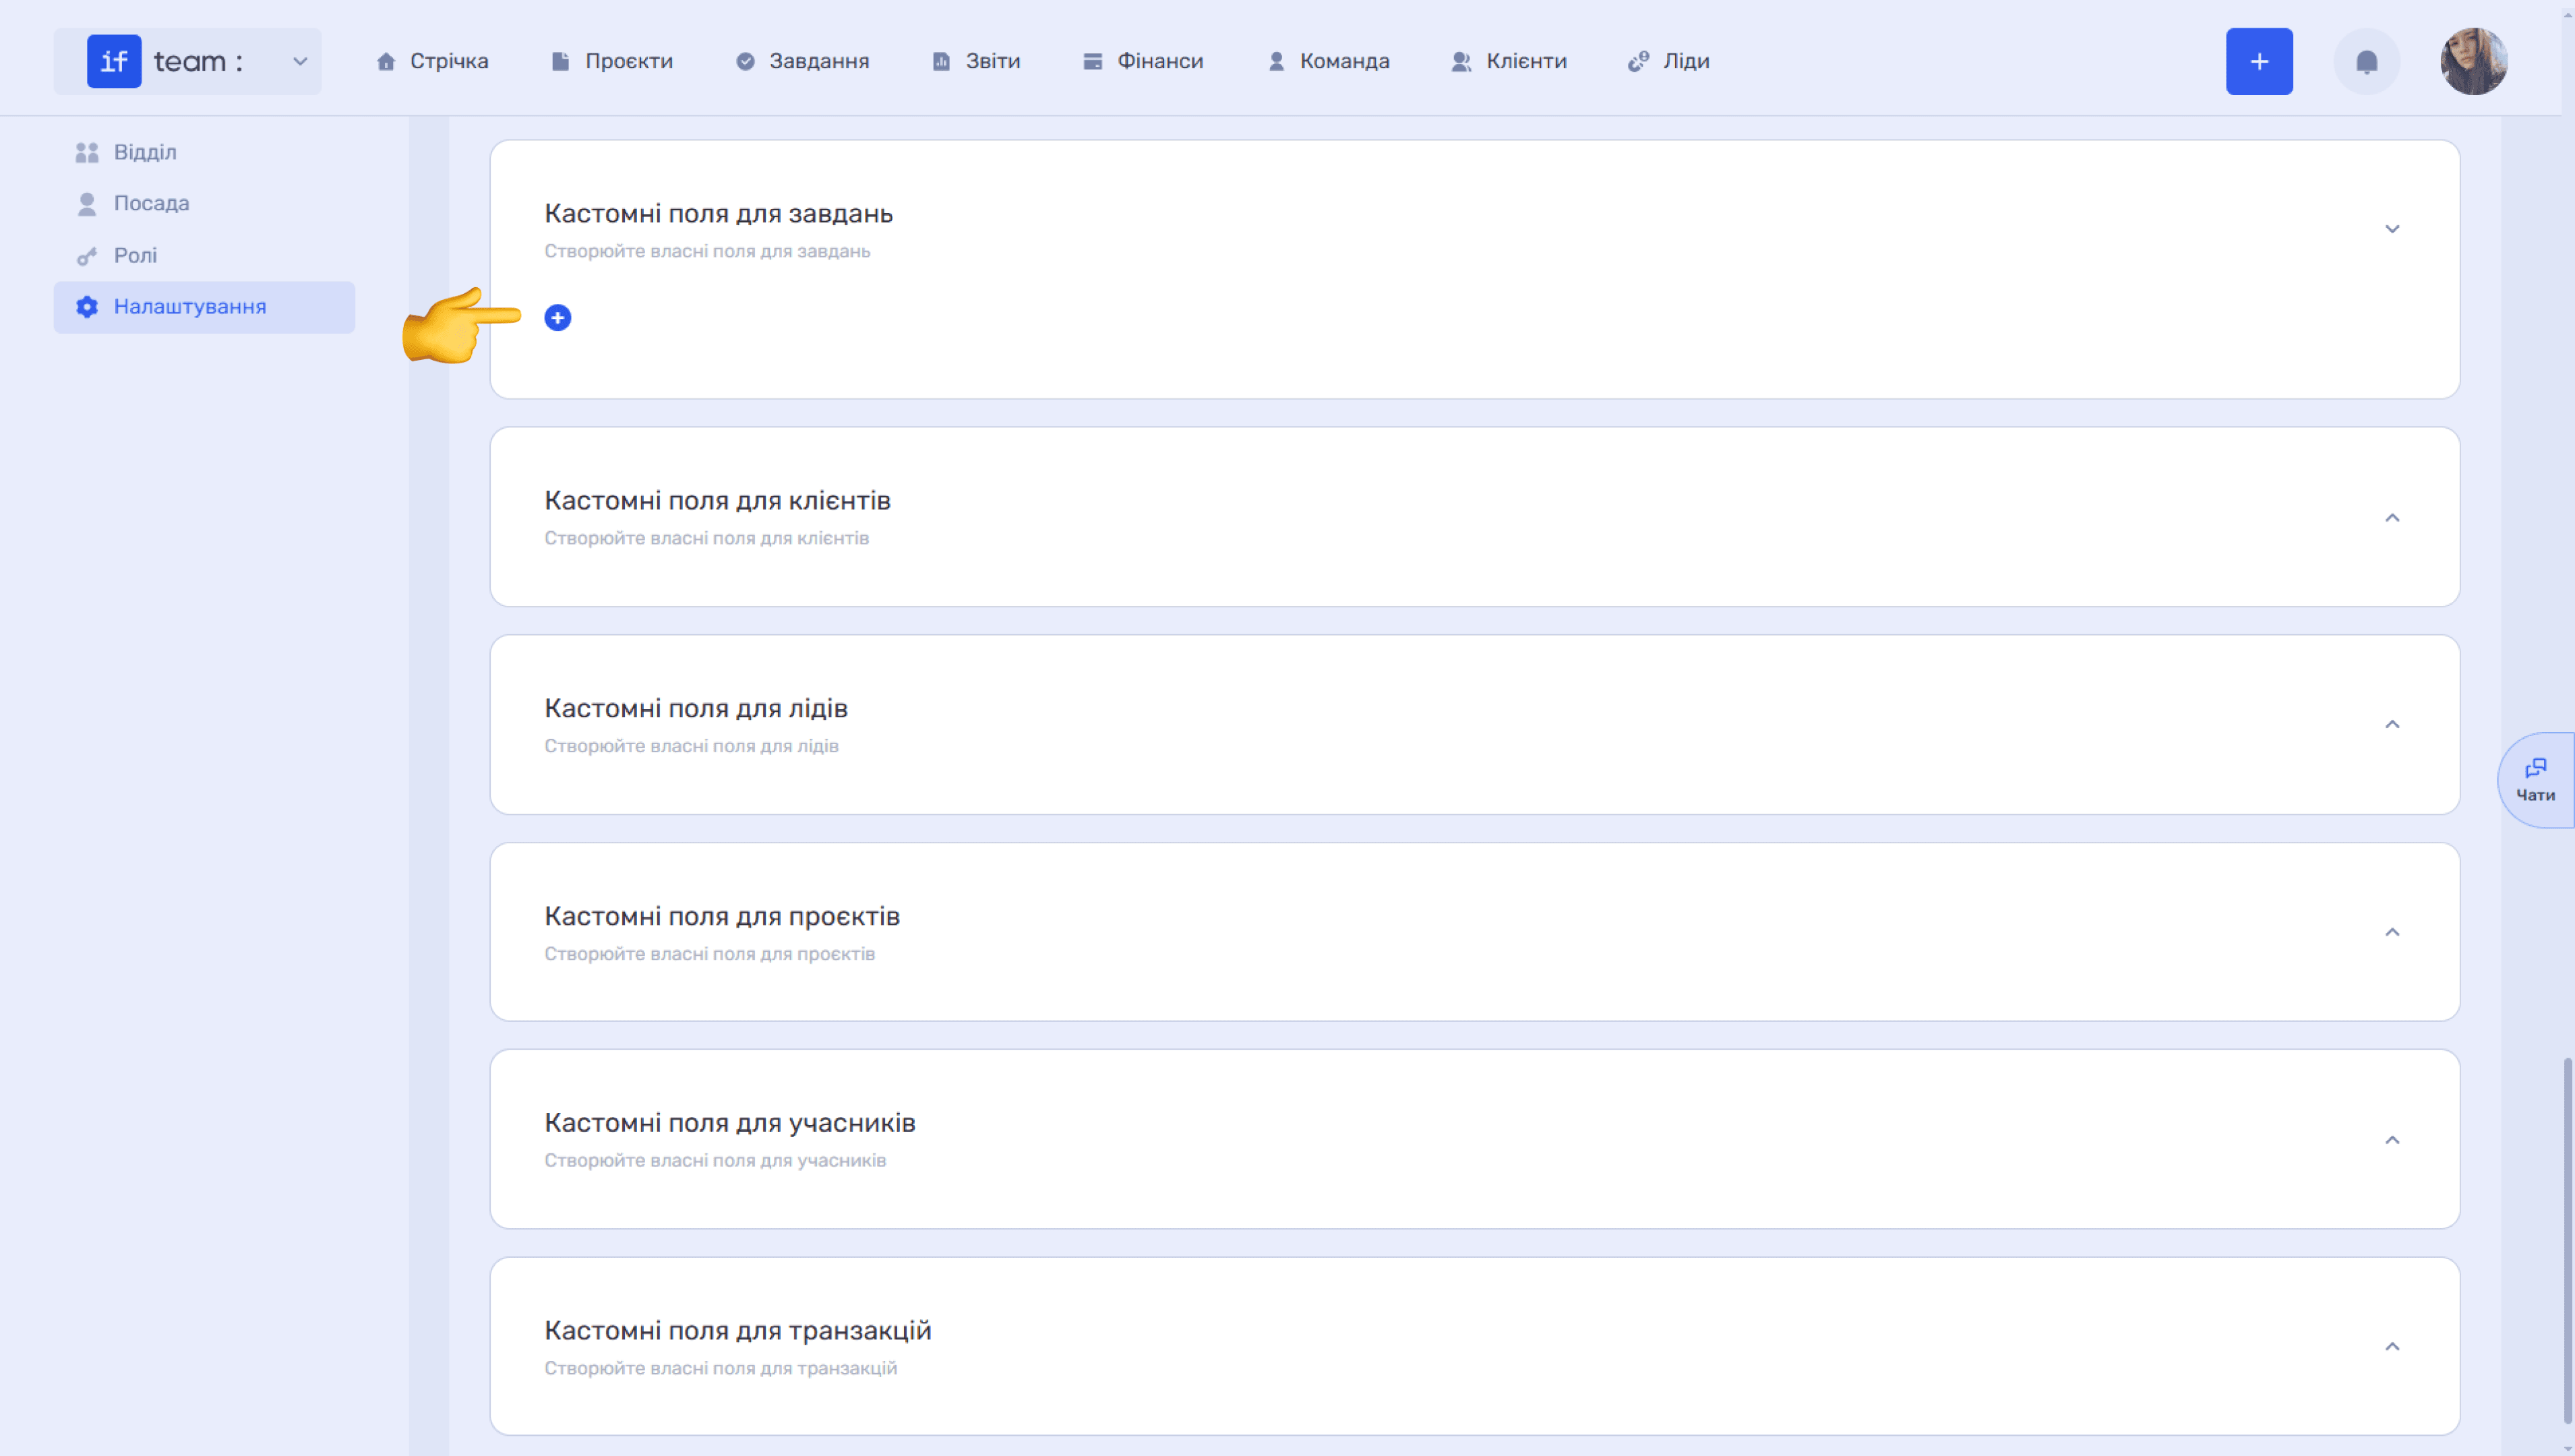
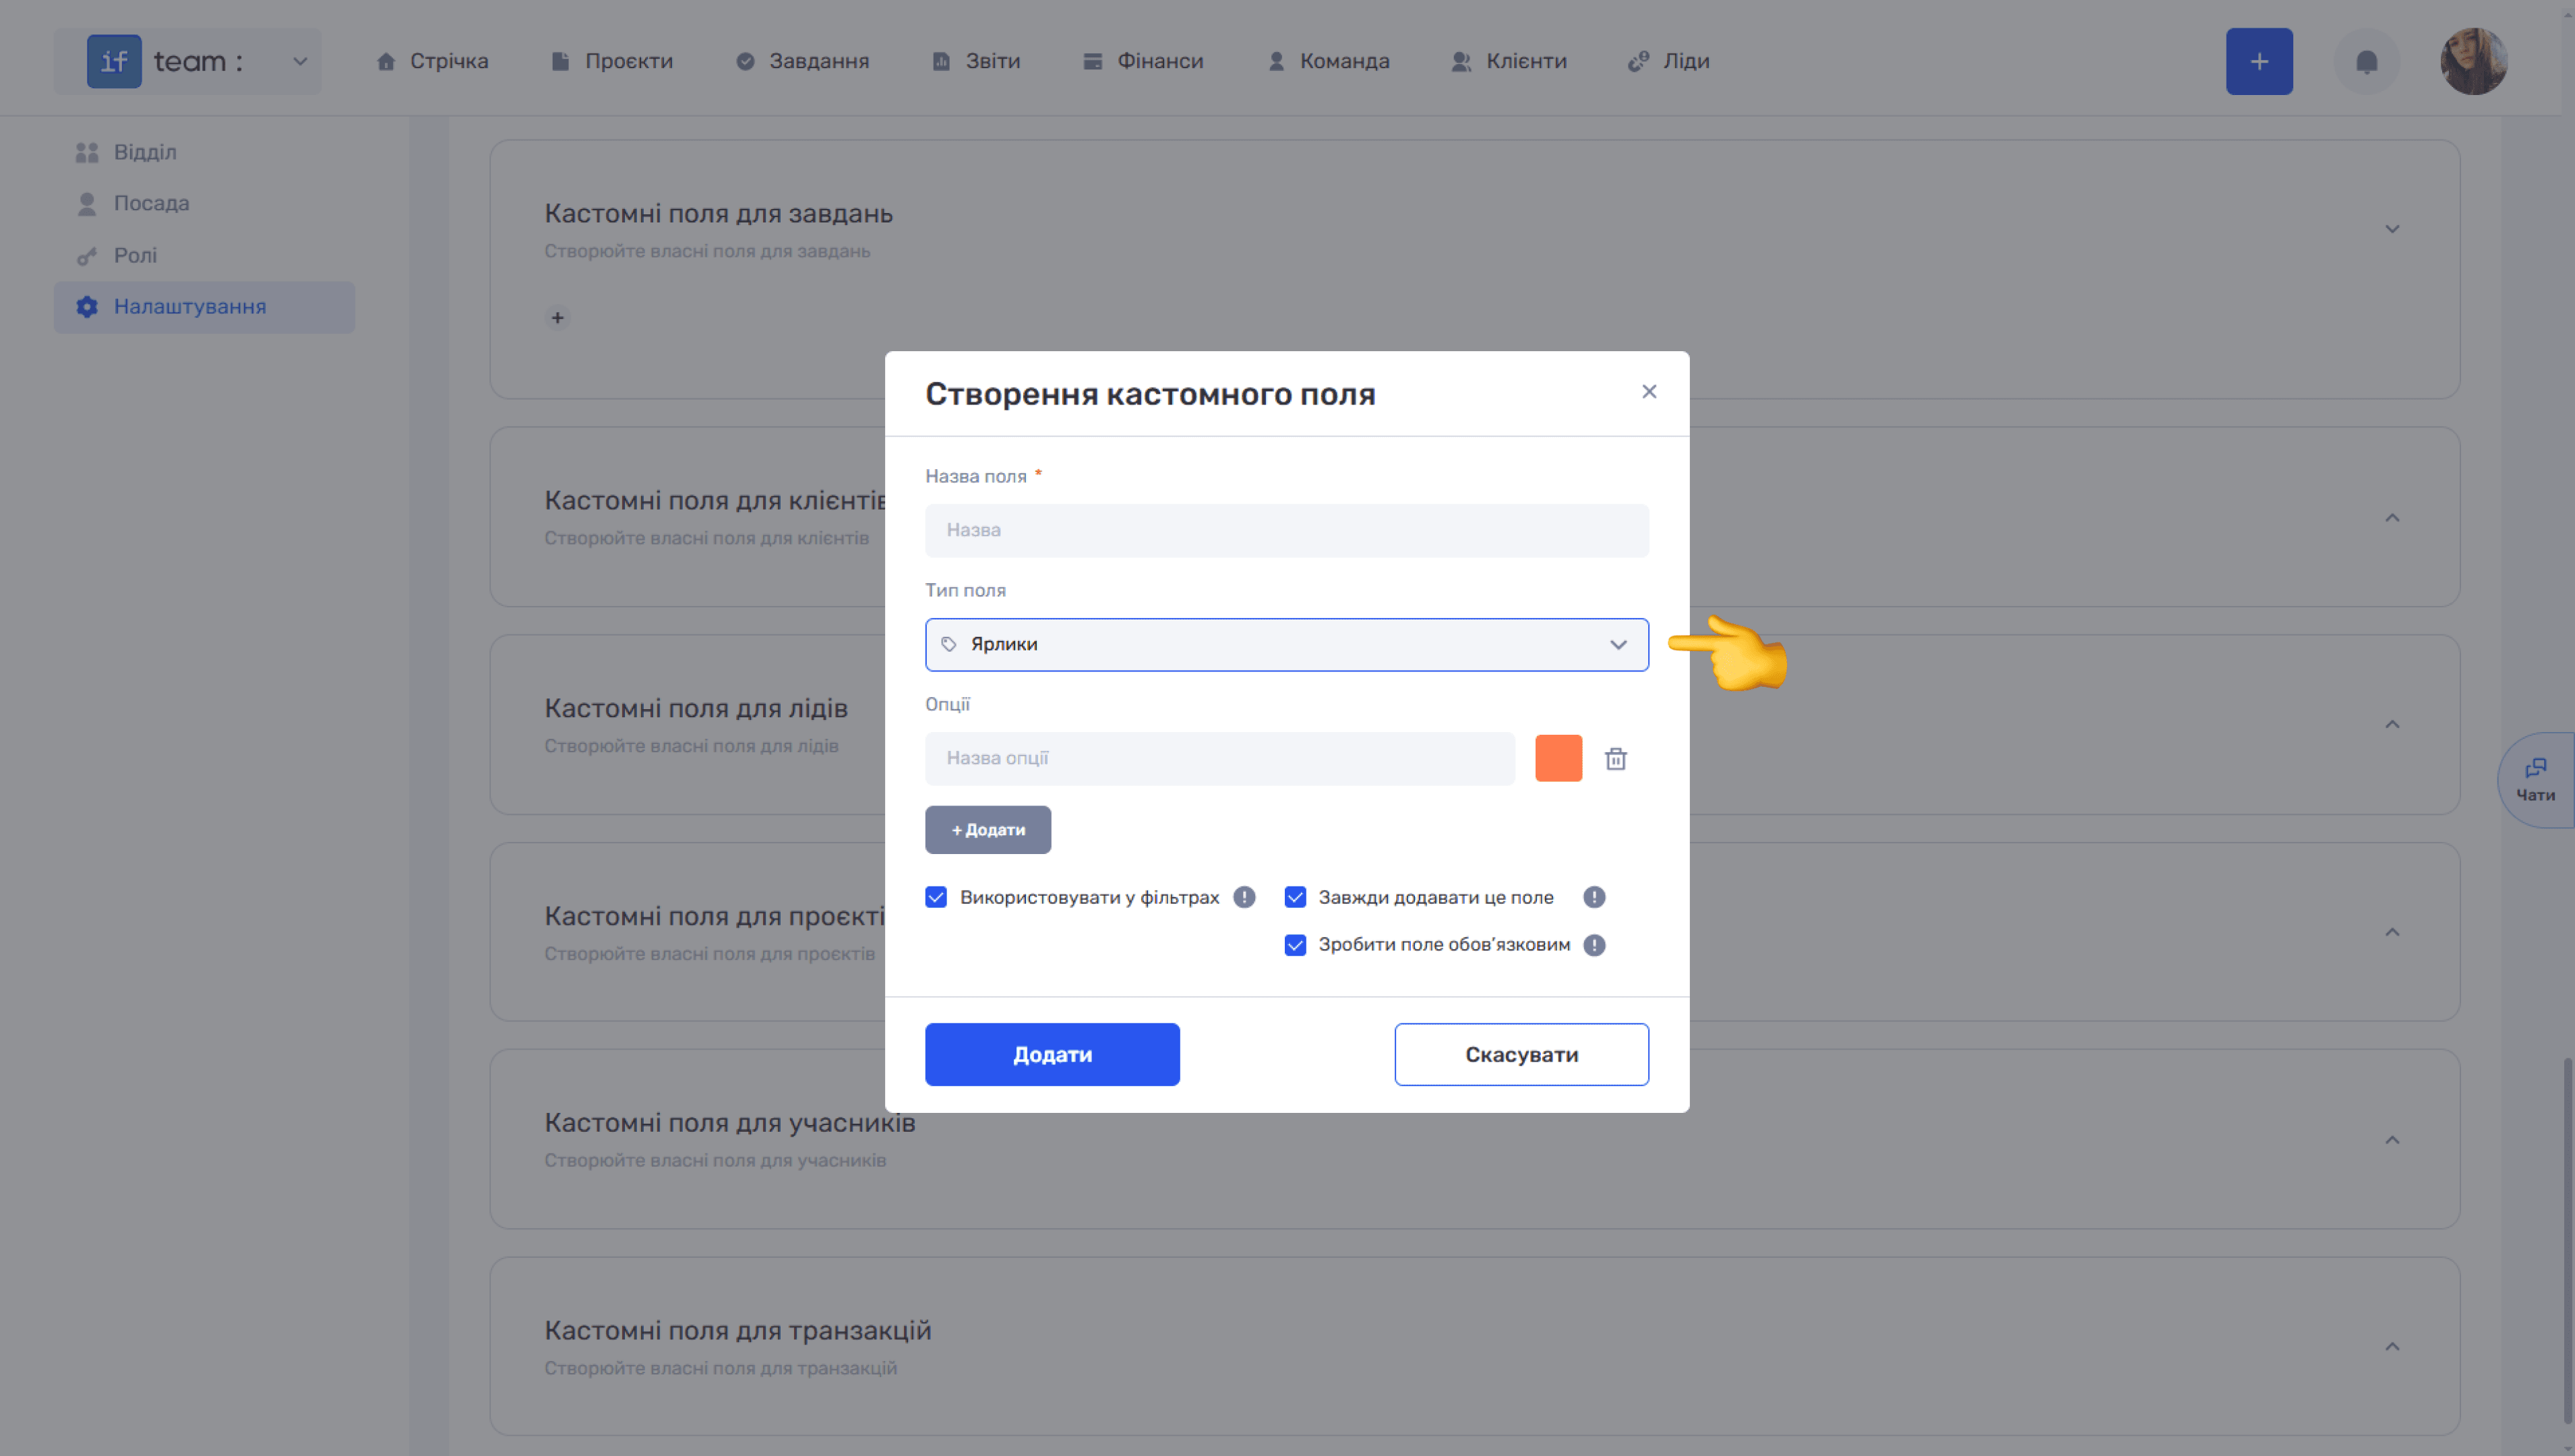
To create a field, click + in the corresponding section, enter its name, and select a type from the list: Text, Description, Checkbox, Number, Drop-down, Date, Date and Time, Link, Labels, or Time. This lets you adapt if.team to the specifics of your business without additional integrations.
Still have questions?
Maybe we haven't added this information yet. But you can always reach out:
Request a demo
Submit a request and we'll show you how the service works and its capabilities.
Book a demo